By: Leica Camera
It’s your choice.
Check out all details and news on our website: https://sl2.leica-camera.com
By: Leica Camera
It’s your choice.
Check out all details and news on our website: https://sl2.leica-camera.com
Given the ongoing component shortages and price pressures, producing an affordable camera in 2026 is no mean feat — and that's exactly what OM System has achieved with the new PEN.
It has delivered the rangefinder-style mirrorless camera many PEN fans have been crying out for, and equipped it with in-body image stabilization, twin displays, a retro weather-proof design (IPX1-rated), and a range of fun computational photography modes — and kept the price to $1,000 / £850 / $AU1,800. Need a lens? The 14-42mm f/3.5-5.6 III kit (see below) is just $100 / £100 / AU$300 extra.
Beyond that kit lens, the OM PEN is part of the Micro Four Thirds system, with hundreds of lenses to choose, covering just about any situation, though any of these will add to the cost. I found it to be a great pairing with the low-cost Olympus 45mm f/1.8 for portraiture.
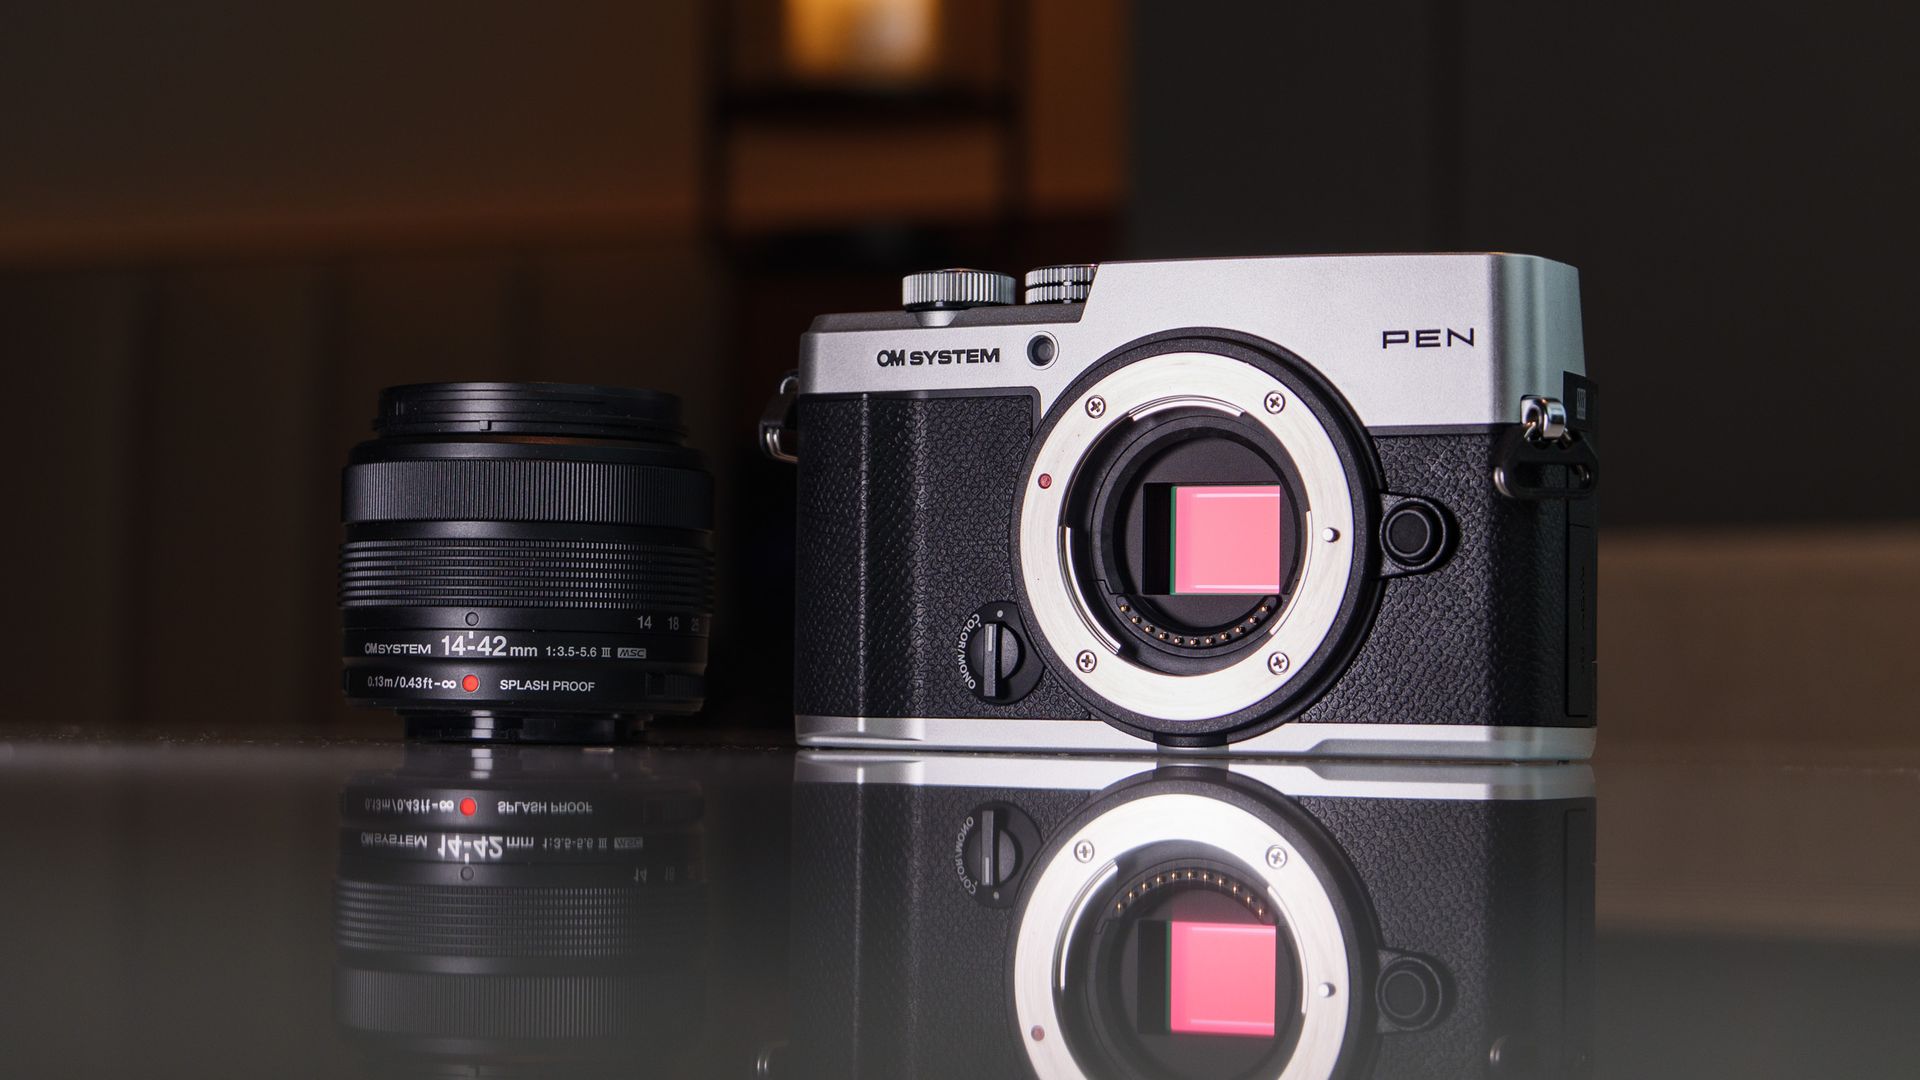
There's little that's new here, mind you — we have the same 20.4MP CMOS sensor with 5-axis image stabilization as previous models, including the OM System OM-5 II, and the same 121-point hybrid phase-detection autofocus, with stripped back subject-detection options. The vari-angle touchscreen and 2.36m-dot EVF are borrowed from previous models, too.
However, the OM PEN remains utterly compelling because it's so much fun to shoot the everyday with, so easy on the eye, and kind on the wallet. Sure, the PEN could be better in various areas (some of the controls are particularly fiddly), but all is forgiven when you consider the overall package, and that price tag.
Having used the camera for several weeks (and made direct comparisons with the excellent Lumix 10 premium compact), I think the OM System PEN as an ideal starter camera for smartphone upgraders — and it's the best beginner camera for 2026 so far.
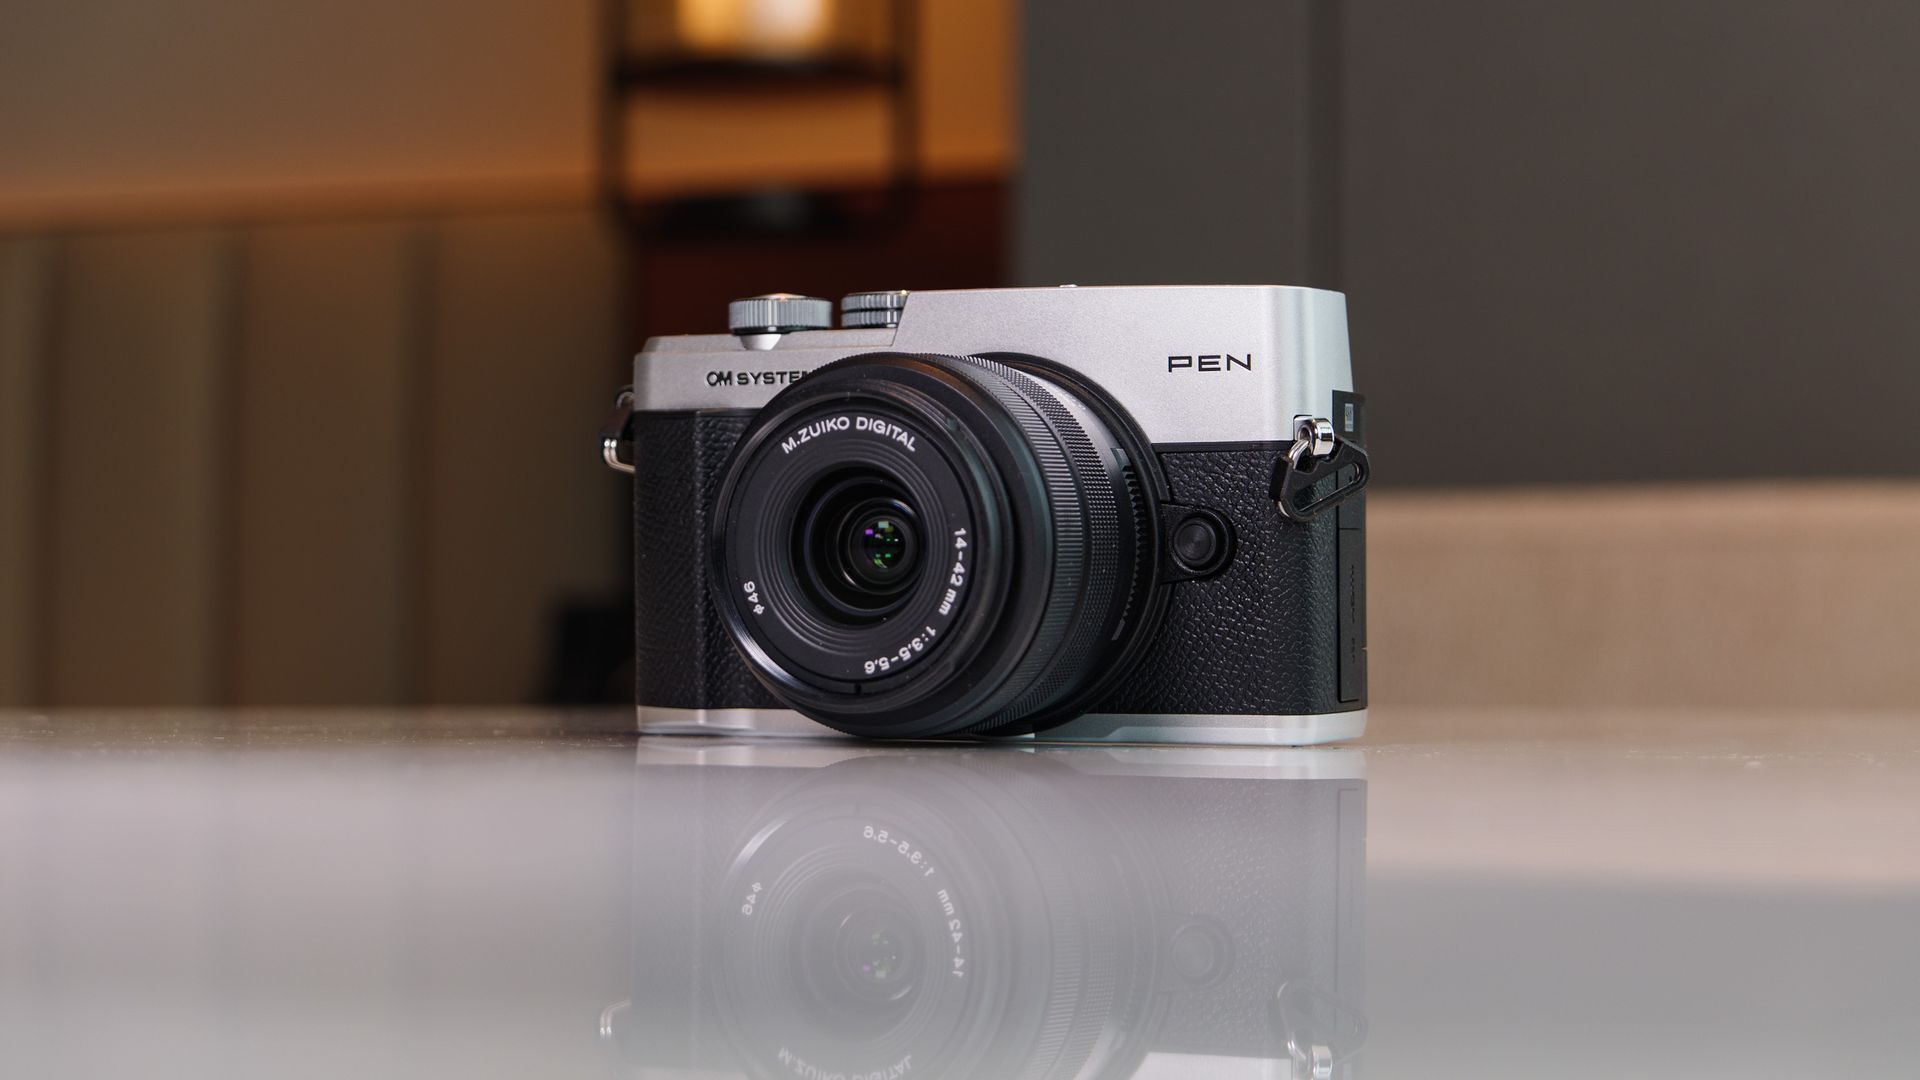
After years of rumors, OM System finally put its name on a successor for the Olympus PEN series of cameras. And like the OM-5 II before it, the OM System PEN is excellent value for money in an industry otherwise feeling the effects of component shortages and price hikes — where else can you find a new interchangeable-lens camera with a viewfinder and in-body image stabilization for less $1,000?
That price is for the body only, mind you, and if you're starting from scratch the best-value package is the camera with the new 14-42mm f/3.5-5.6 III zoom lens, and that costs $100 / £100 / AU$300 extra. The third-generation kit lens was announced alongside the camera, and gains a splash-proof design, matching the OM PEN camera.
The camera is available for preorder now in two colorways: black, and black with silver trim.
Type: | Mirrorless camera |
Mount: | Micro Four Thirds |
Sensor: | 20.4MP (effective) MFT CMOS |
Autofocus: | 121-point hybrid phase detection, subject detection; cats, humans, dogs (stills only) |
Continuous shooting: | Up to 30fps (electronic shutter), 5fps mechanical |
Video: | 4K up to 30fps, C4K 24fps, 8-bit, OM-Log400 profile |
Viewfinder: | 2.36M-dot OLED EVF |
Screen: | 3.0-inch vari-angle touchscreen, 1.04m-dots |
Storage: | Single SD/SDHC/SDXC slot |
Connectivity: | 2.4 and 5GHz Wi-Fi, micro HDMI, USB-C, mic |
Battery | BLS-7, rated to 410 shots |
Dimensions: | 125.8 x 74.5 x 43.3mm |
Weight: | 13.9oz / 393g (with card and battery included, 344g without) |
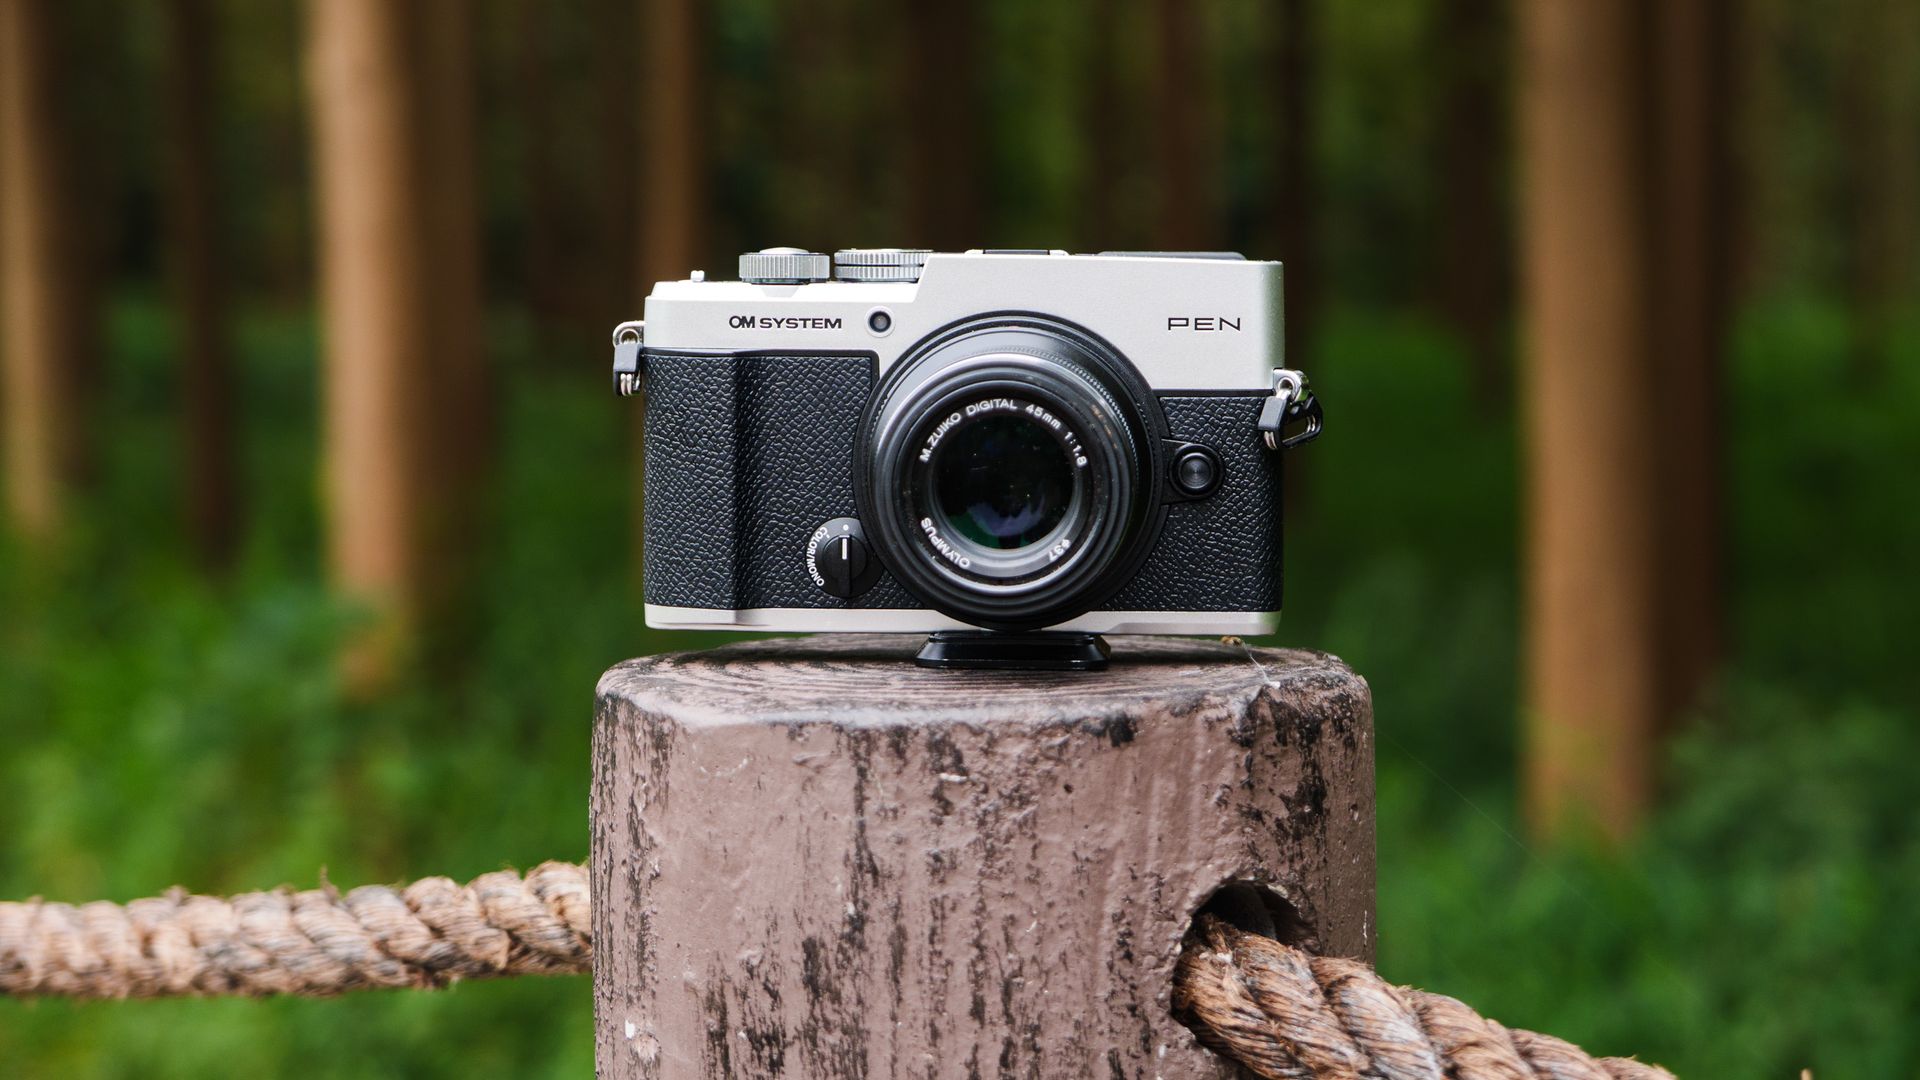
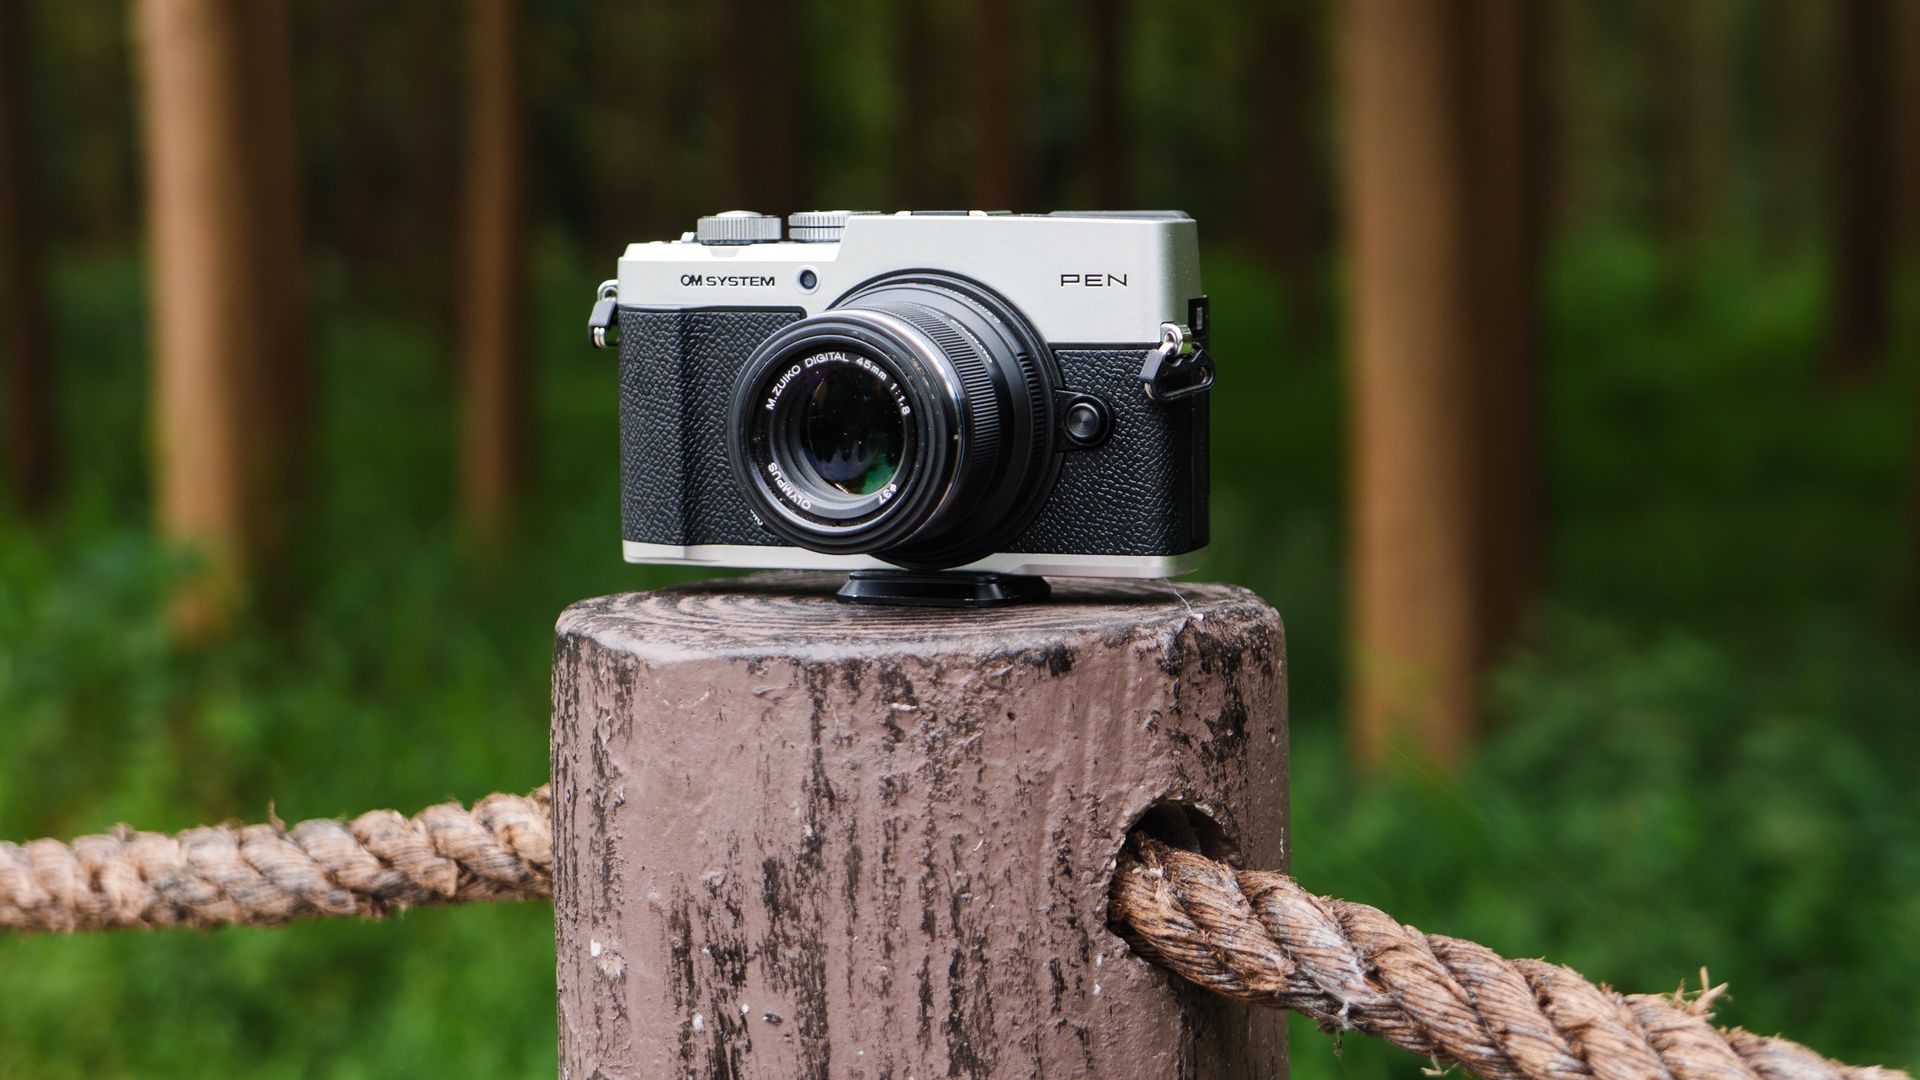
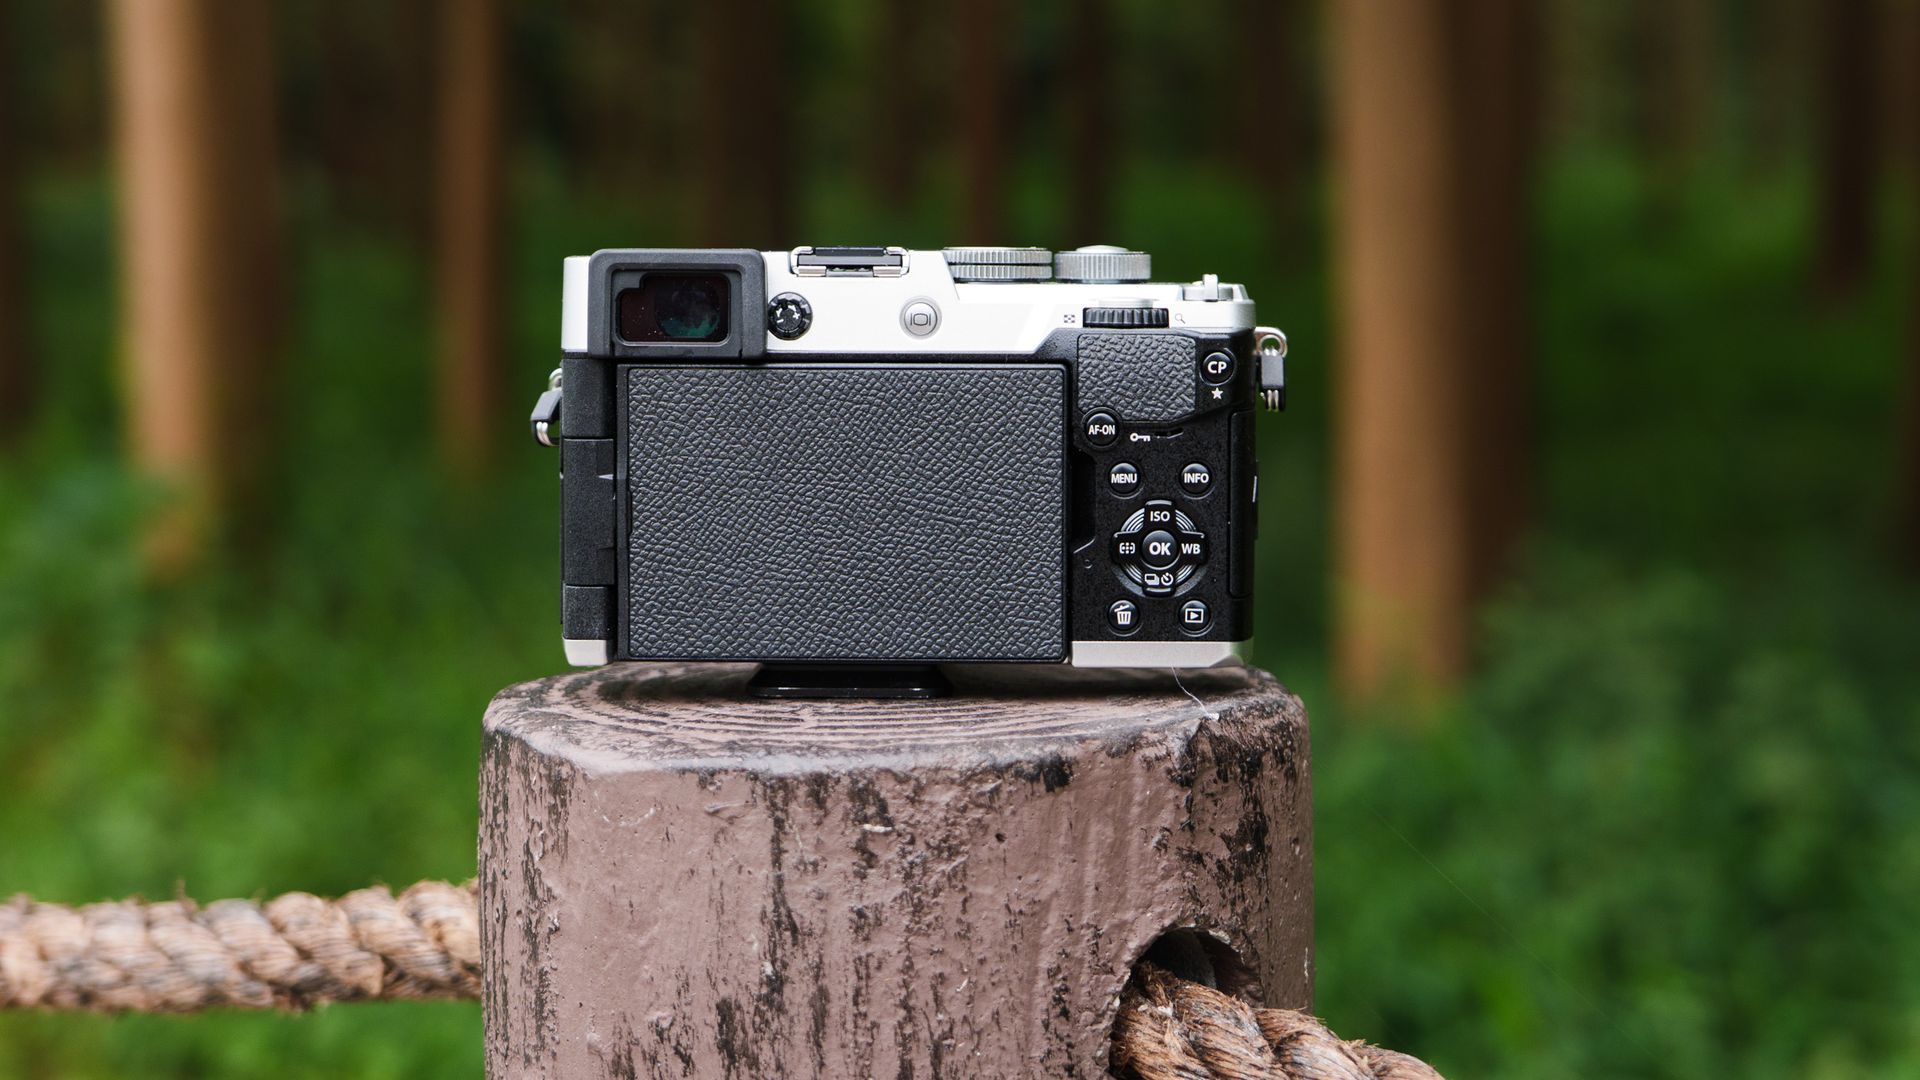
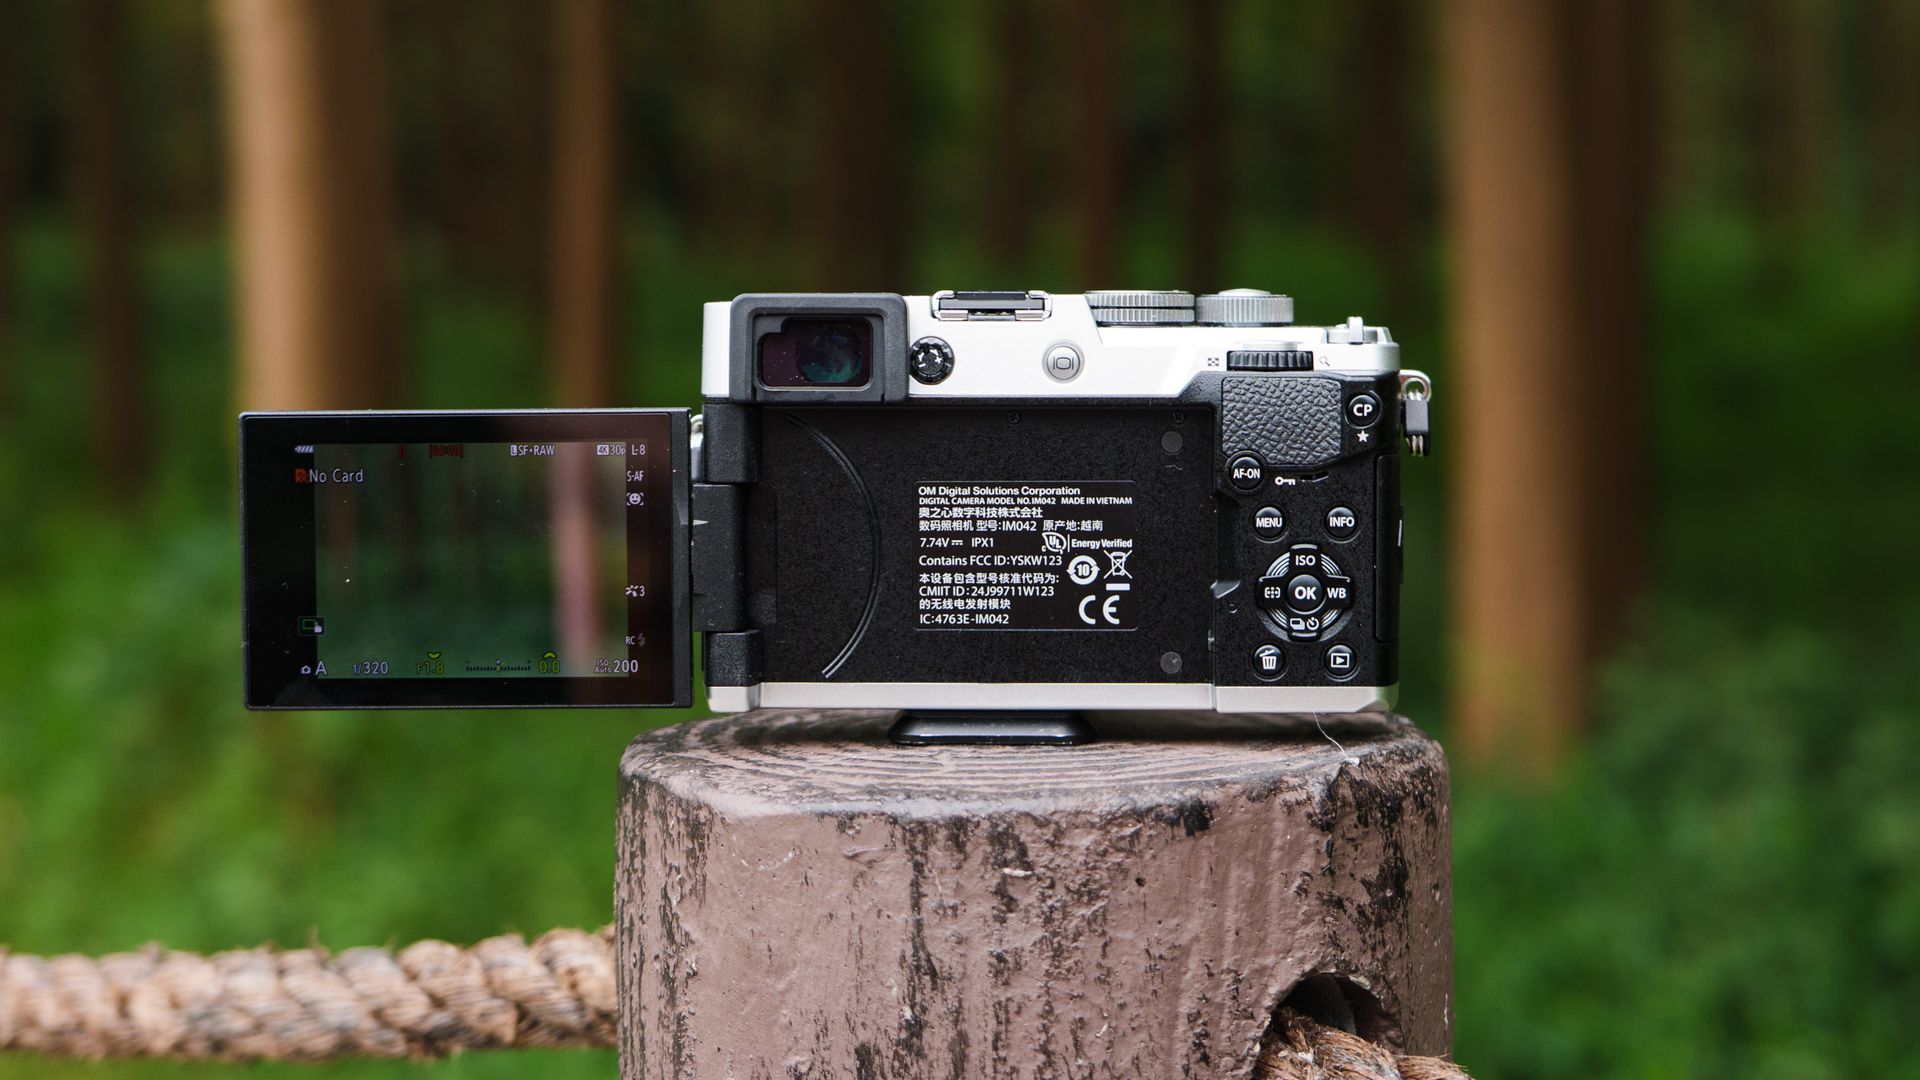
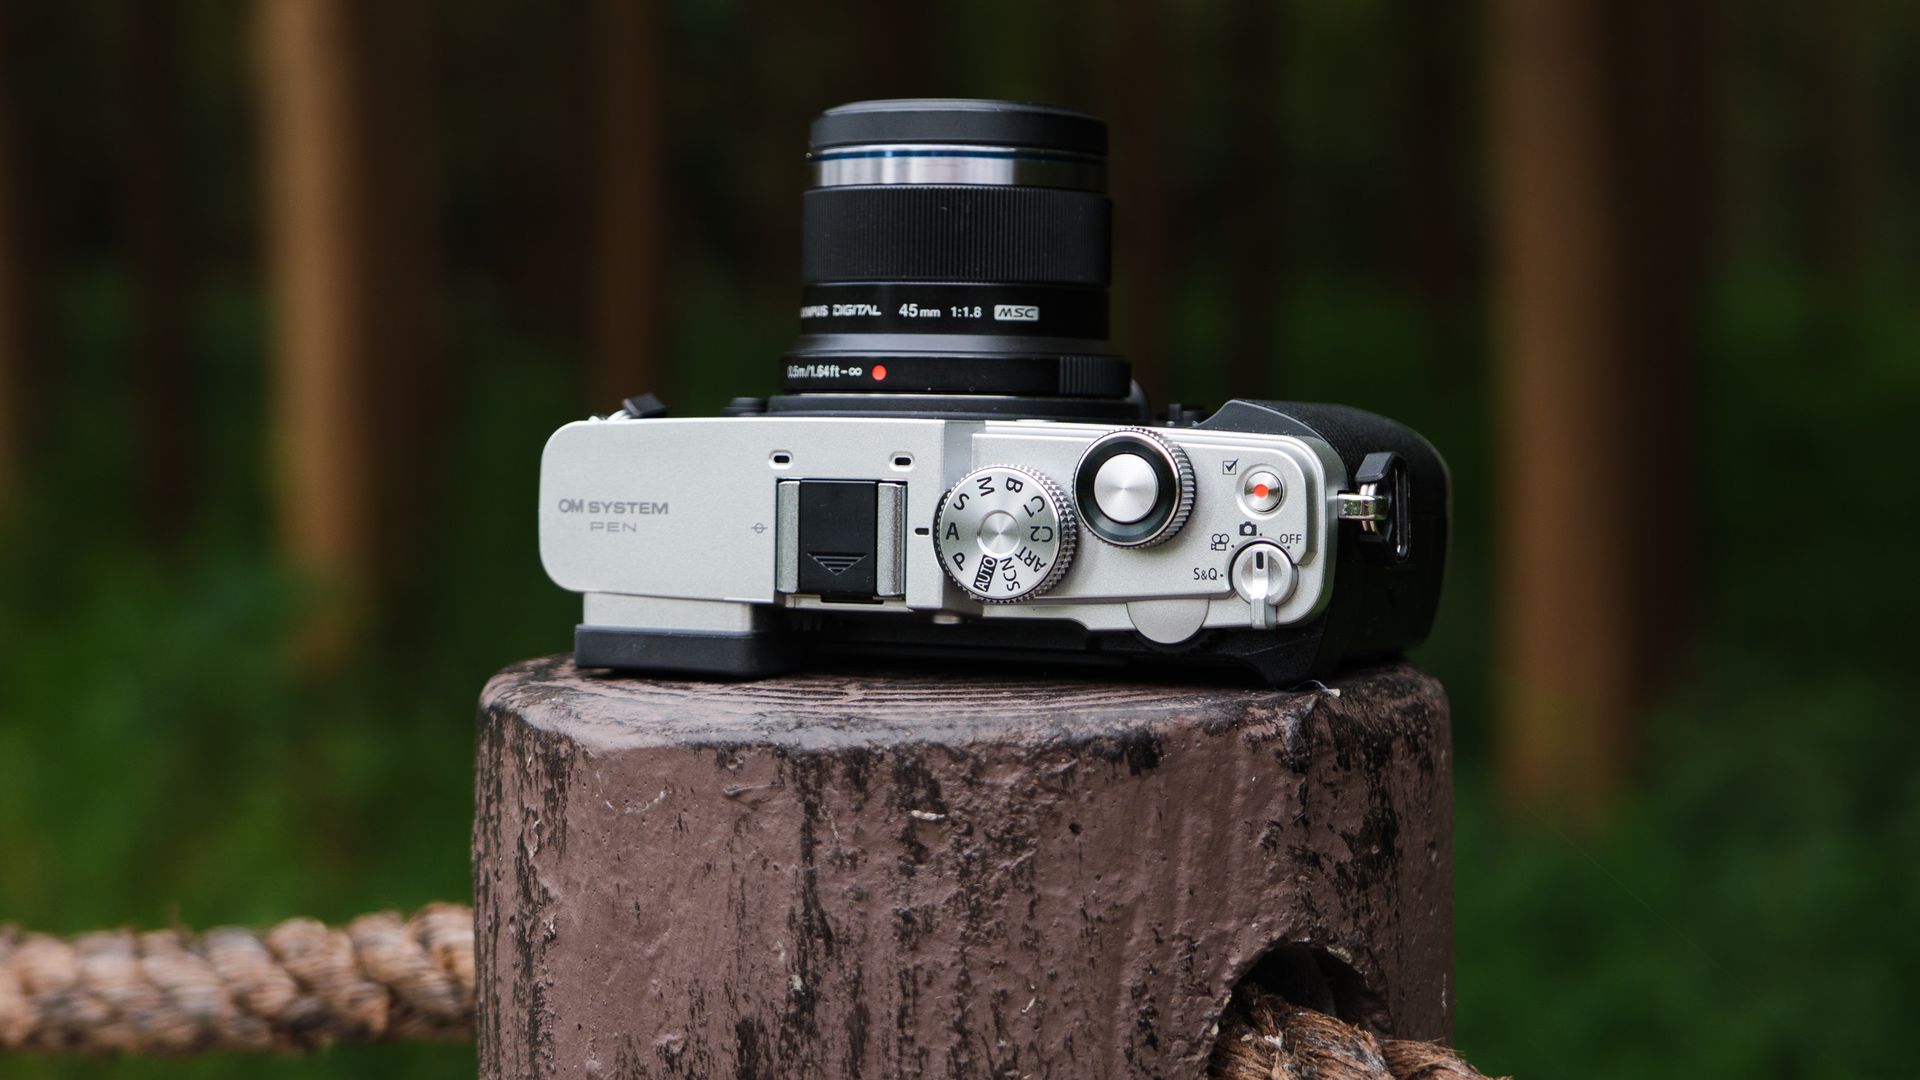
There's no shortage of OM System bodies, but the PEN is the first OM-branded rangefinder proper, with its 2.36m-dot EVF neatly tucked into the top-left corner of the compact, IPX1-rated retro body.
It's the same EVF that you'll find in the slightly pricier OM-5 Mark II — a camera that we awarded a 5-star rating, and which sits in top spot in TechRadar's best travel cameras guide.
The key difference between those two bodies is that the OM-5 Mark II has higher-rated weatherproofing, a pronounced viewfinder bump, and a larger grip — meaning it's better suited to inclement weather, outdoor photography, and use with larger lenses. The OM PEN is also a superb travel camera, but you'd typically use it on city breaks, for everyday and street photography with smaller lenses.
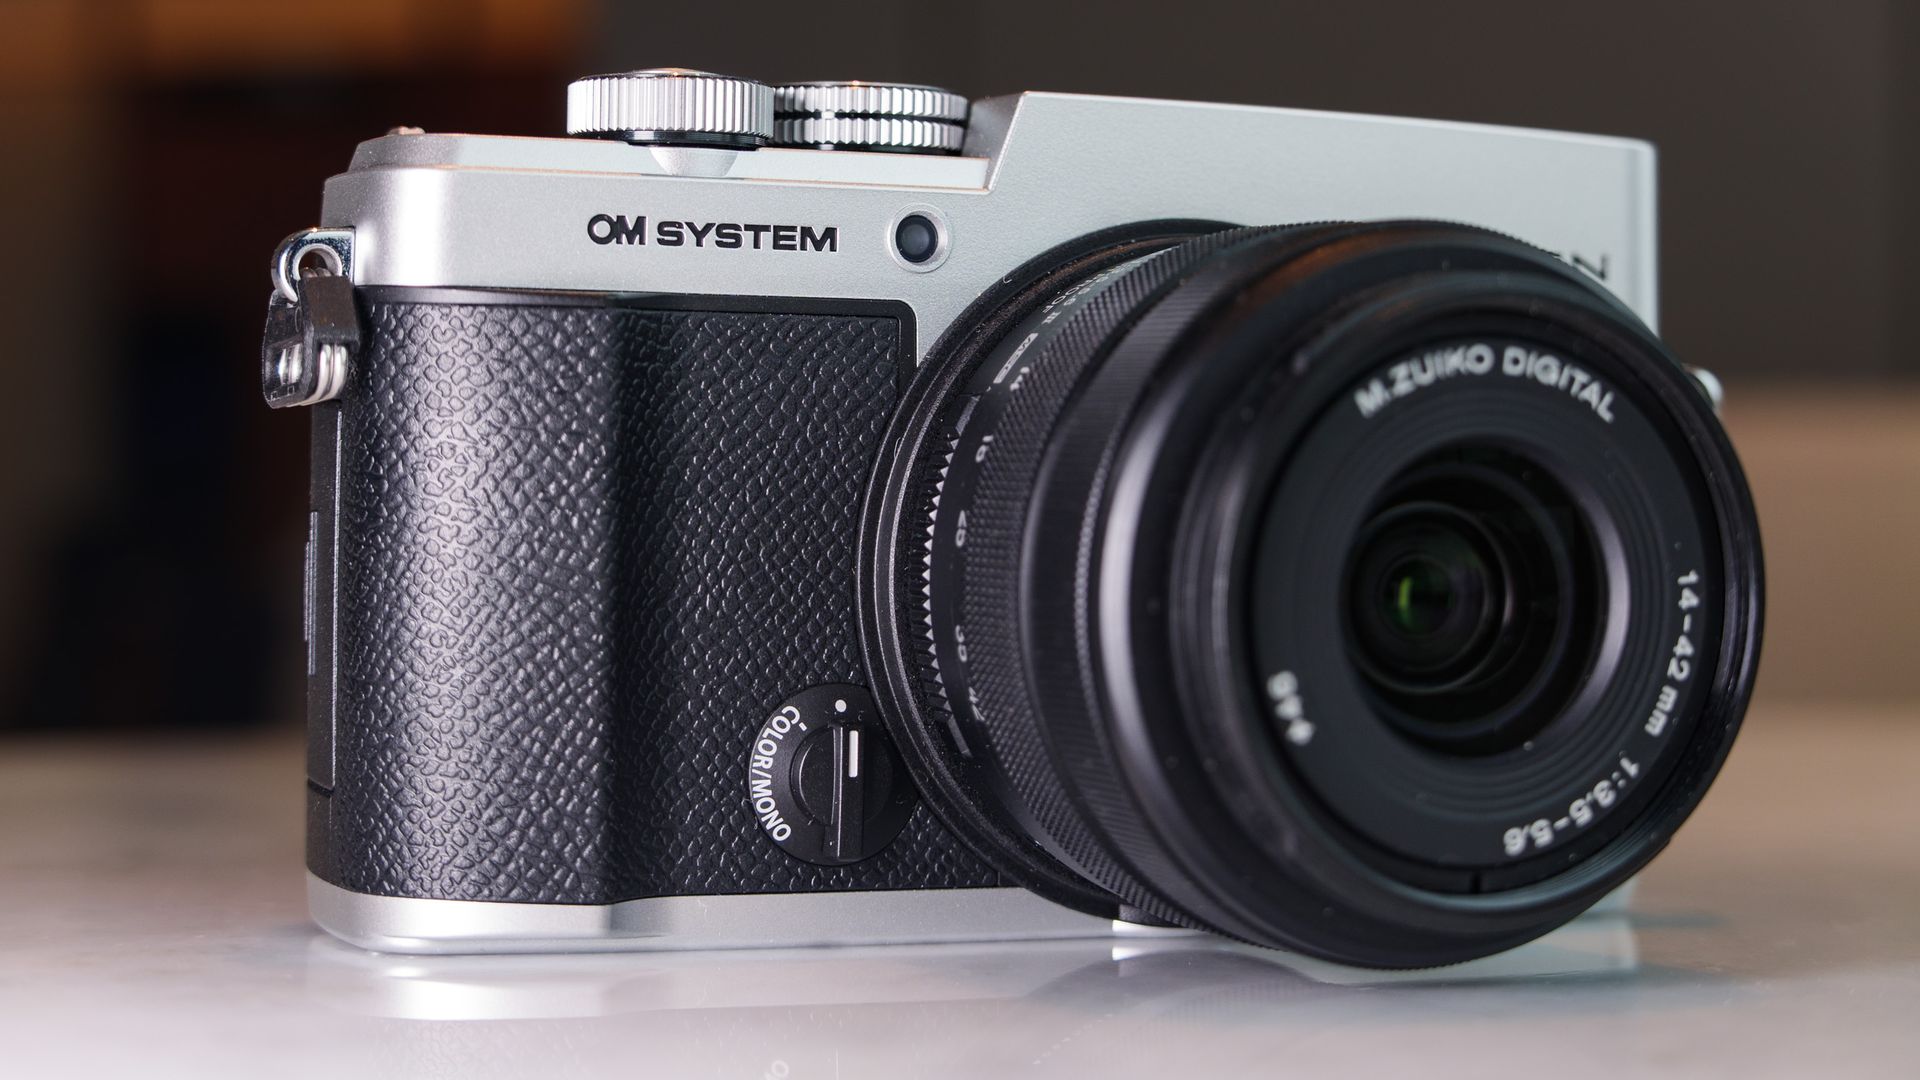
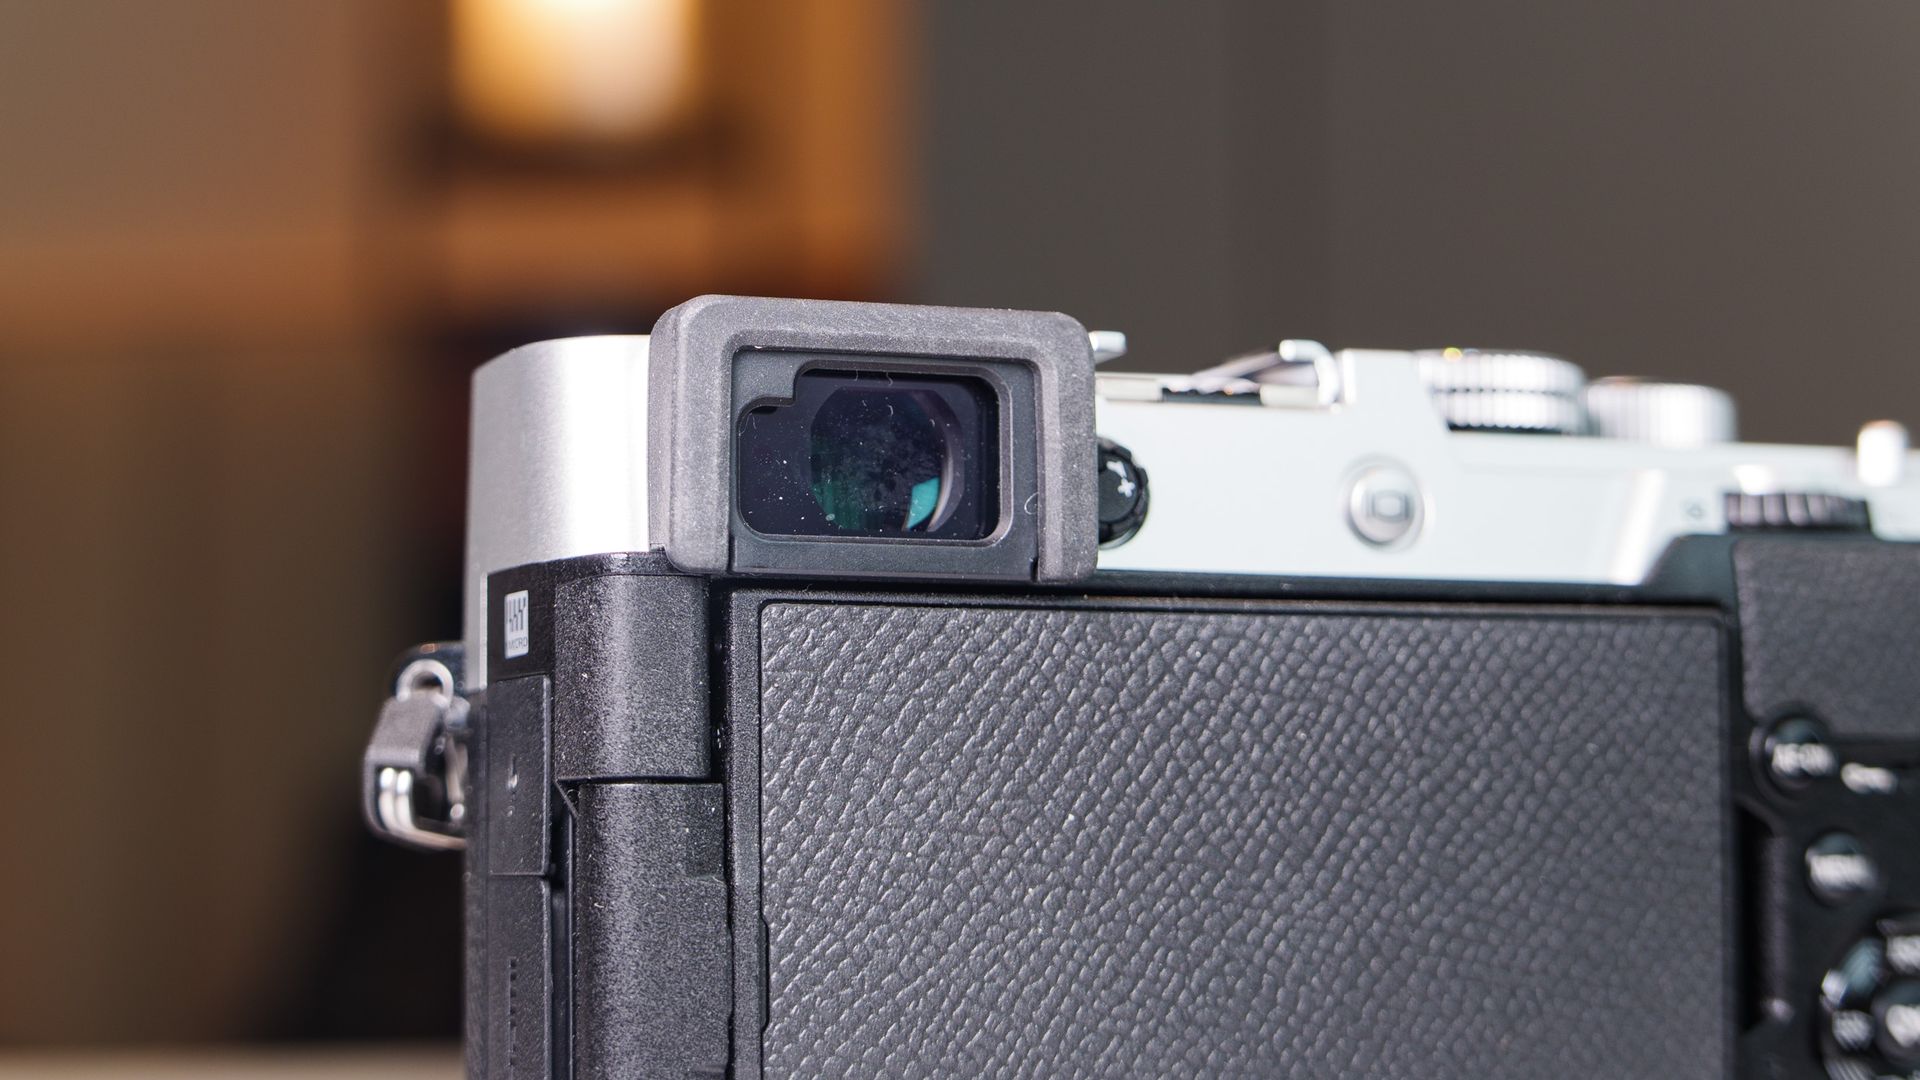
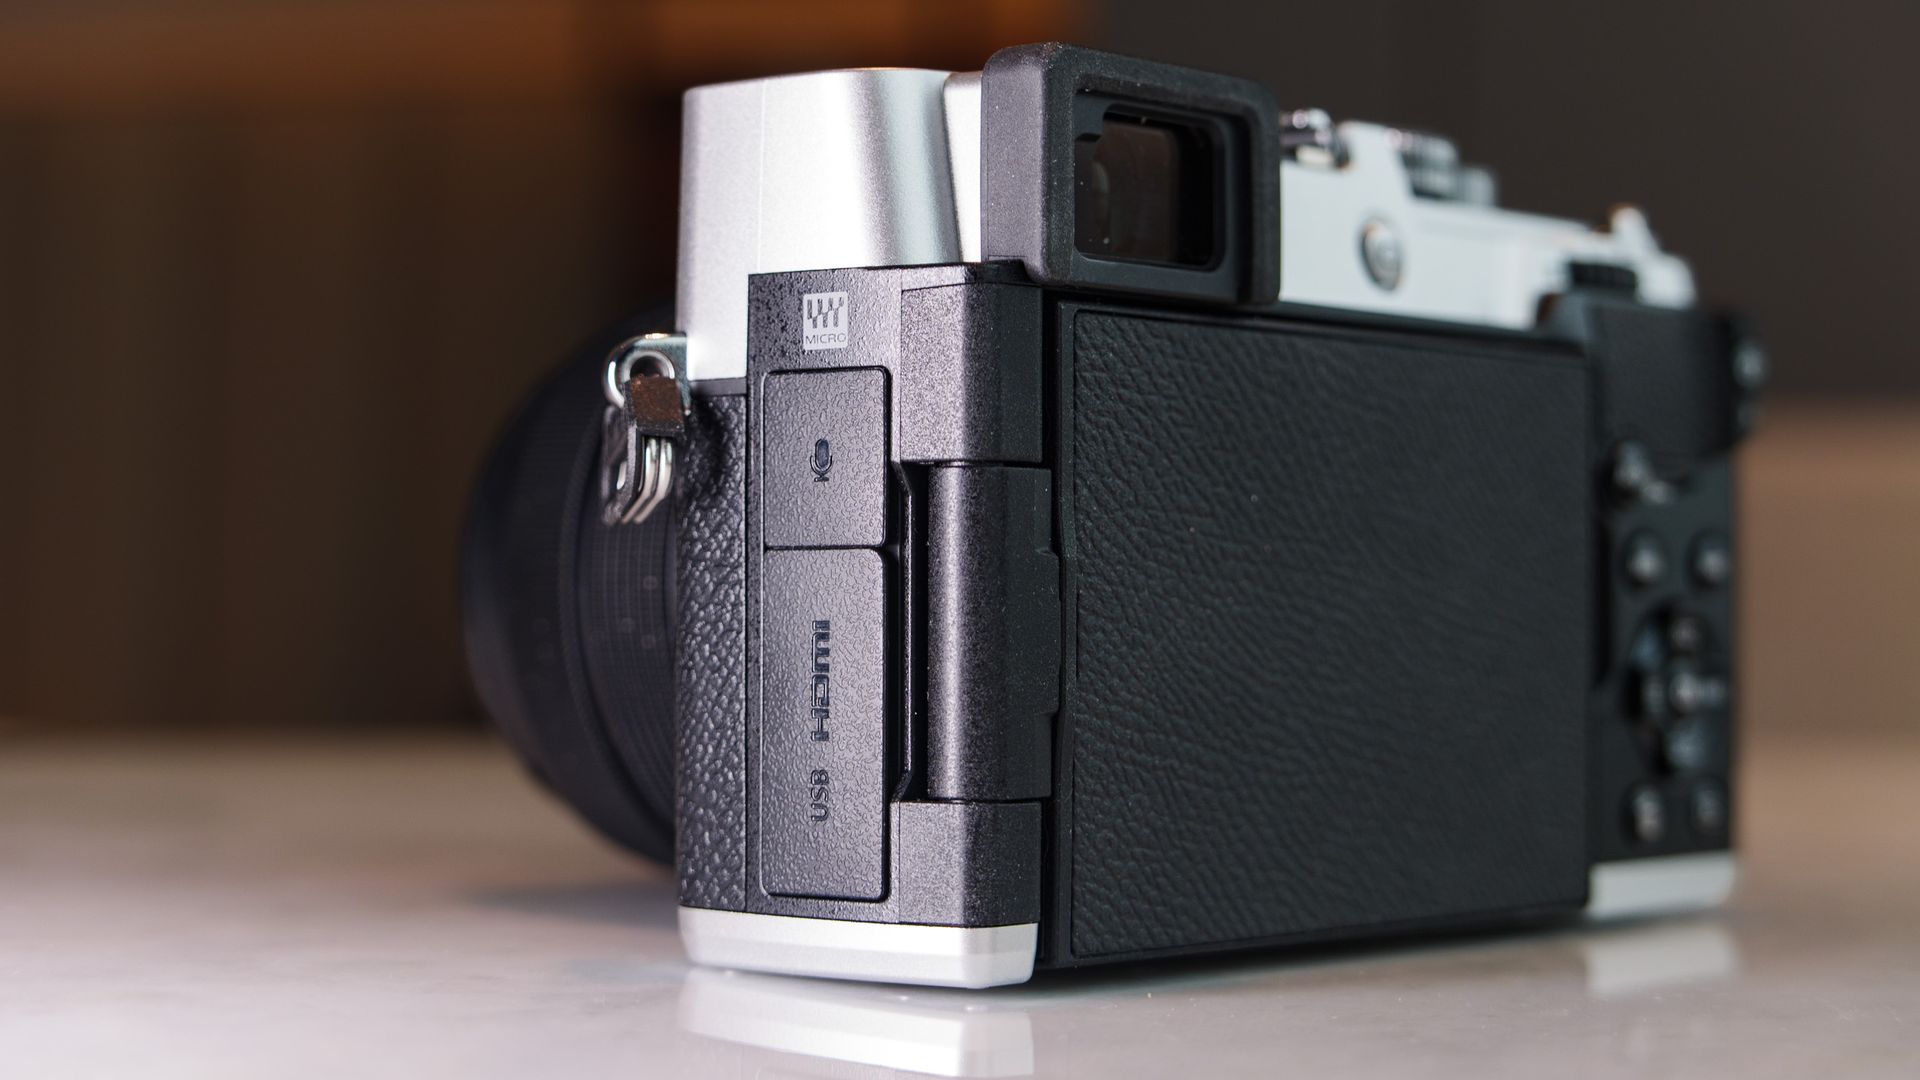
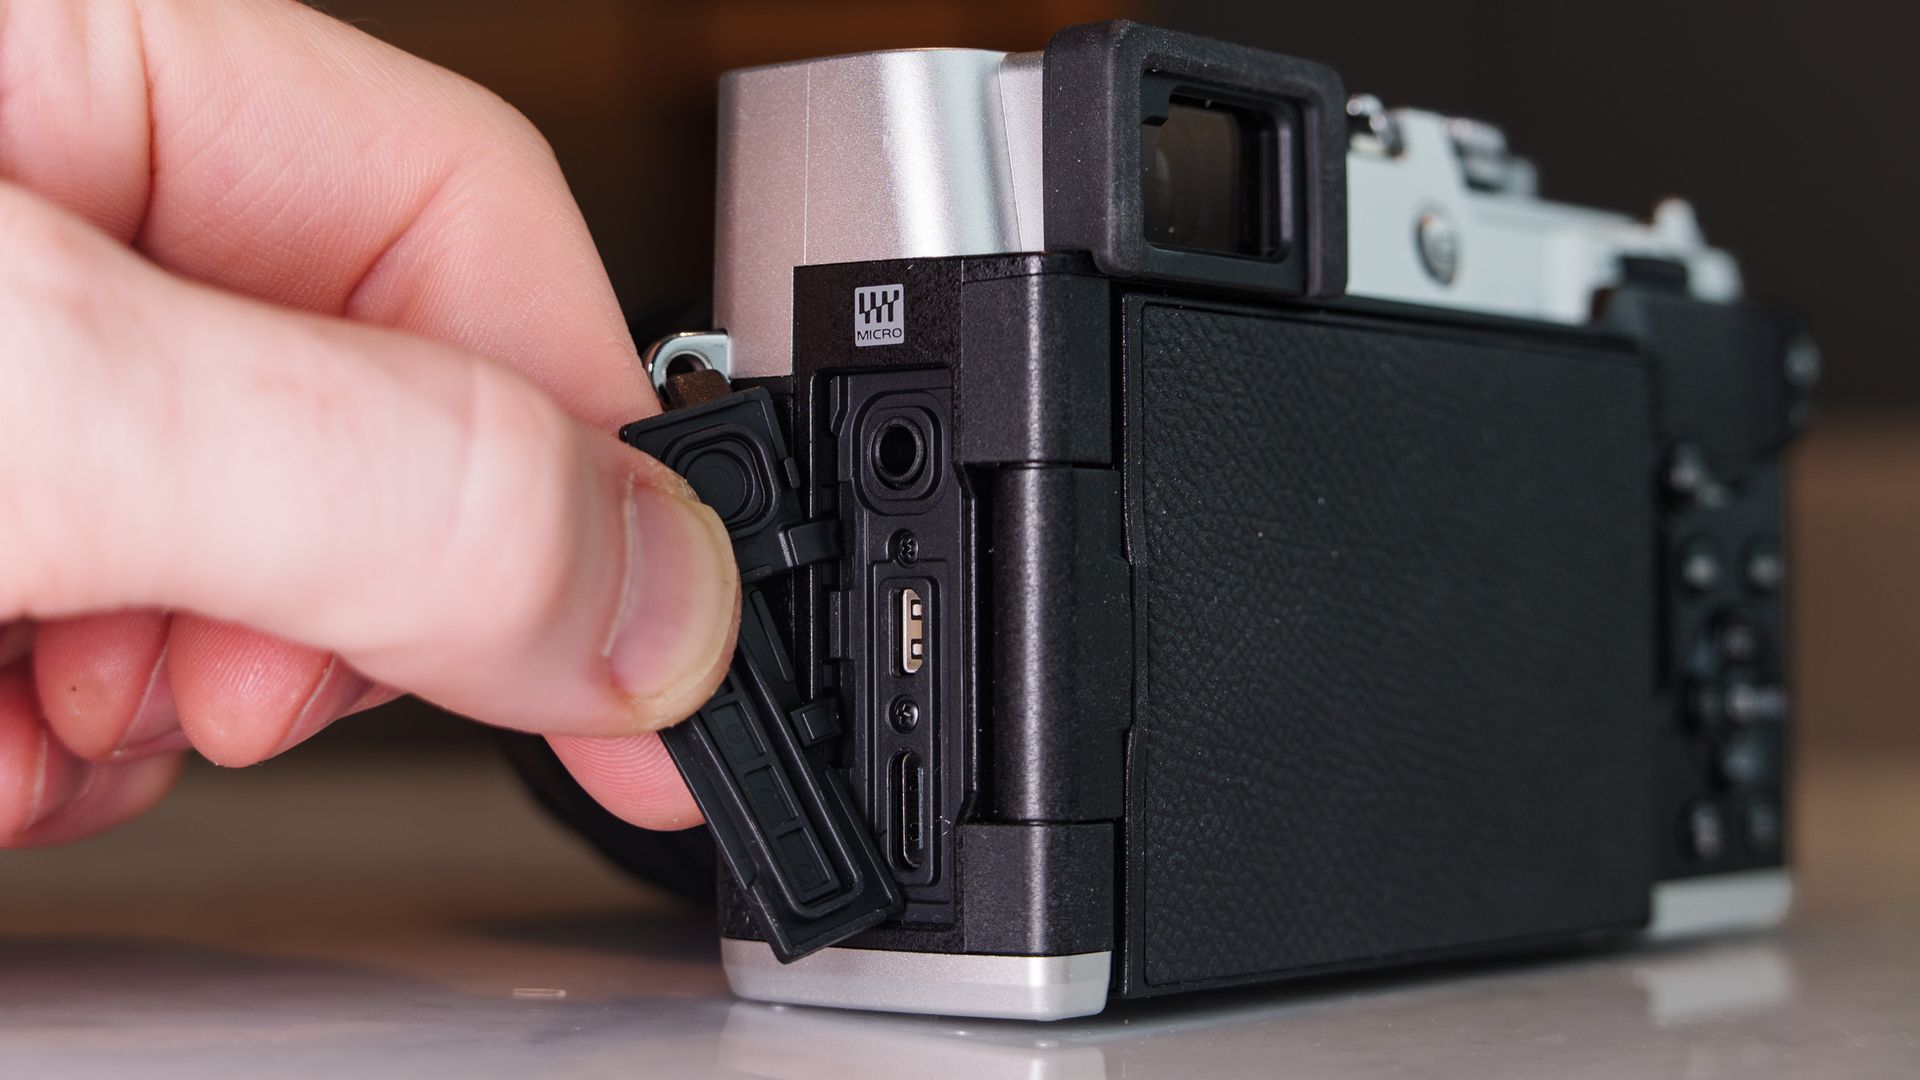
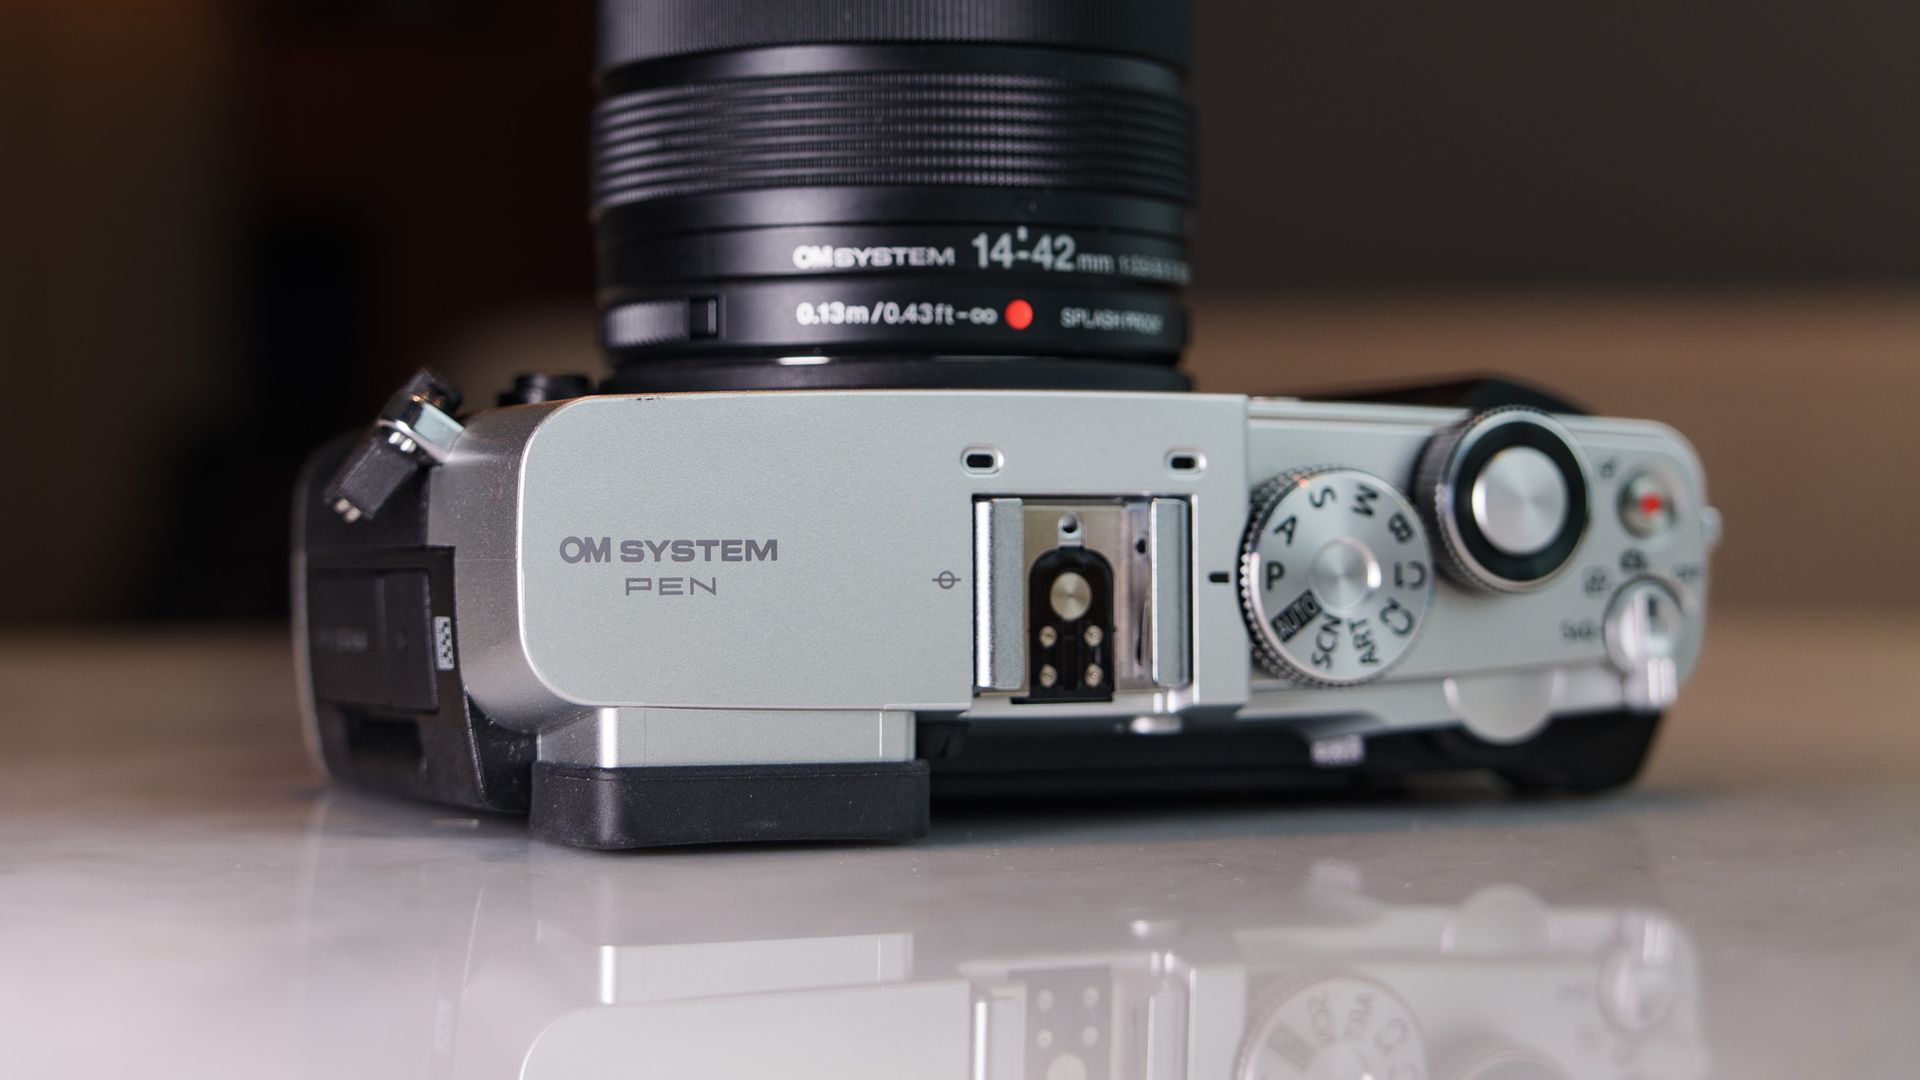
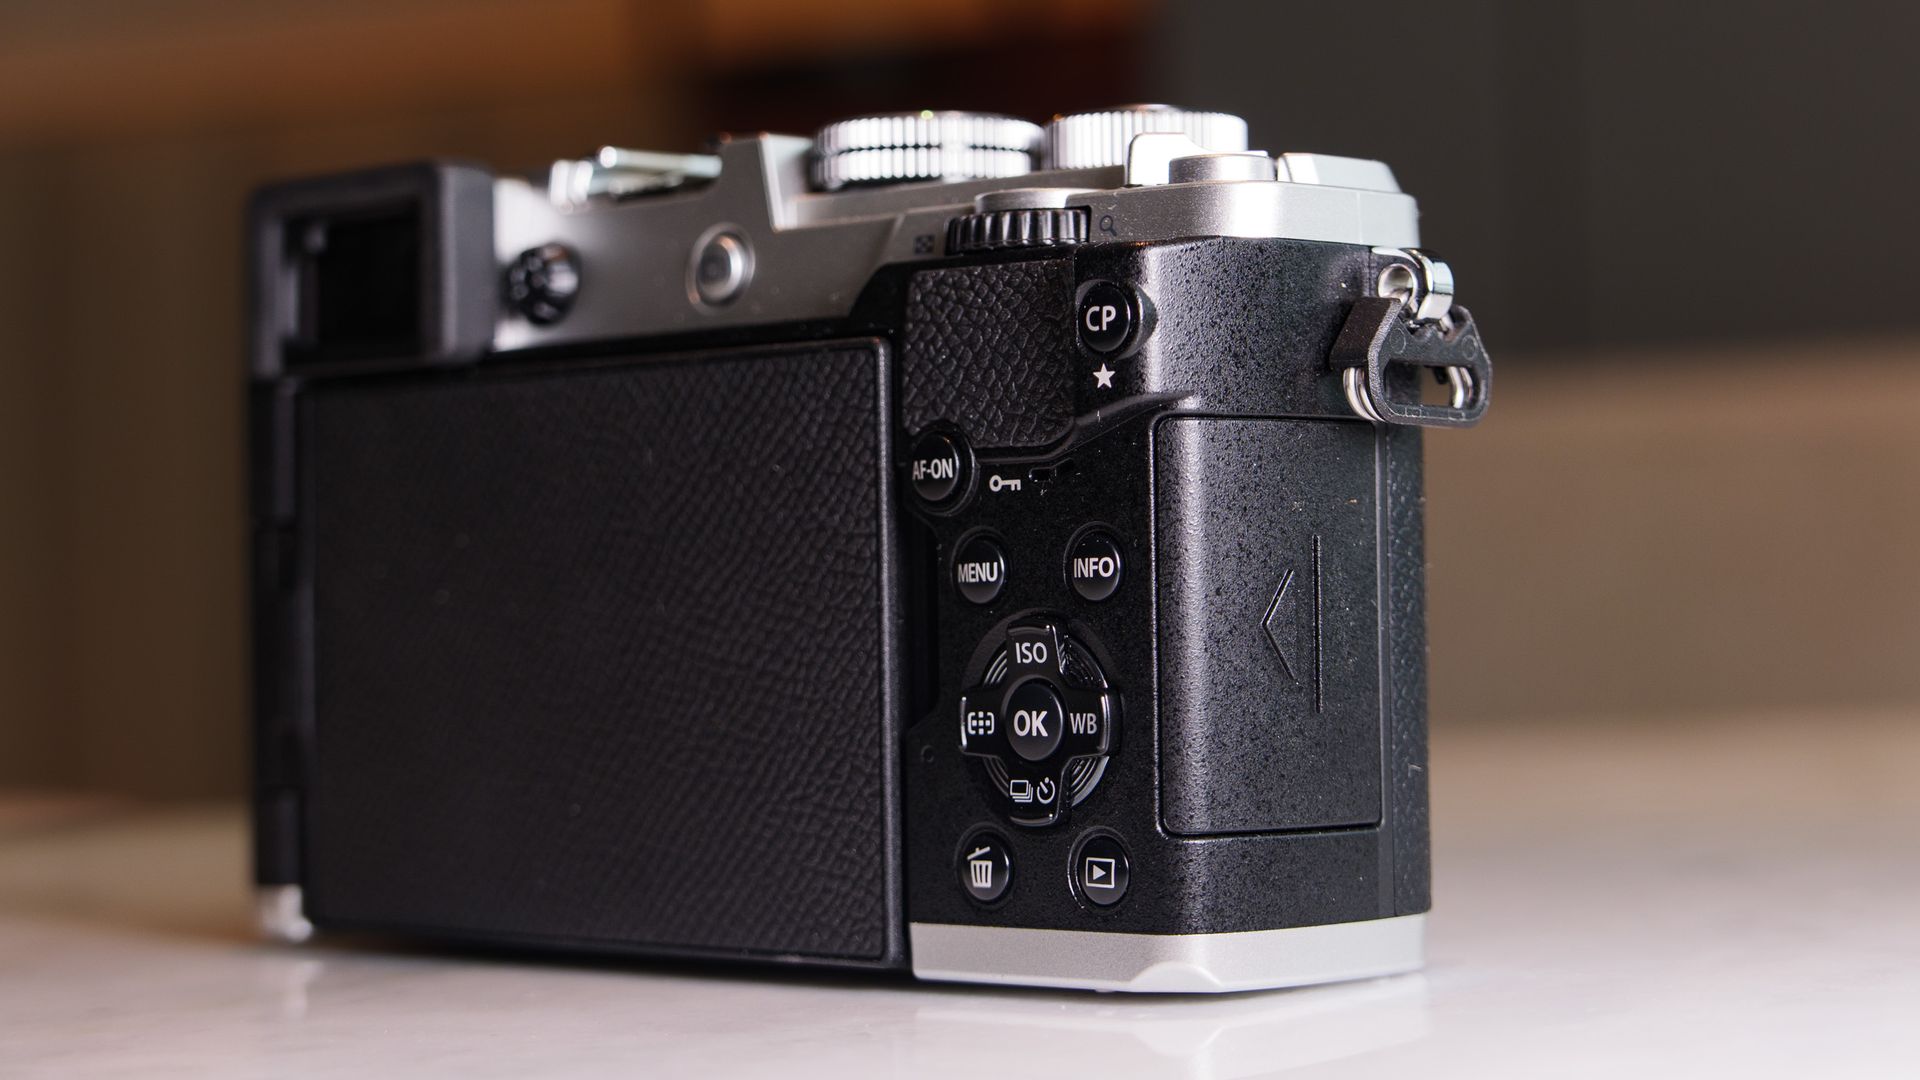
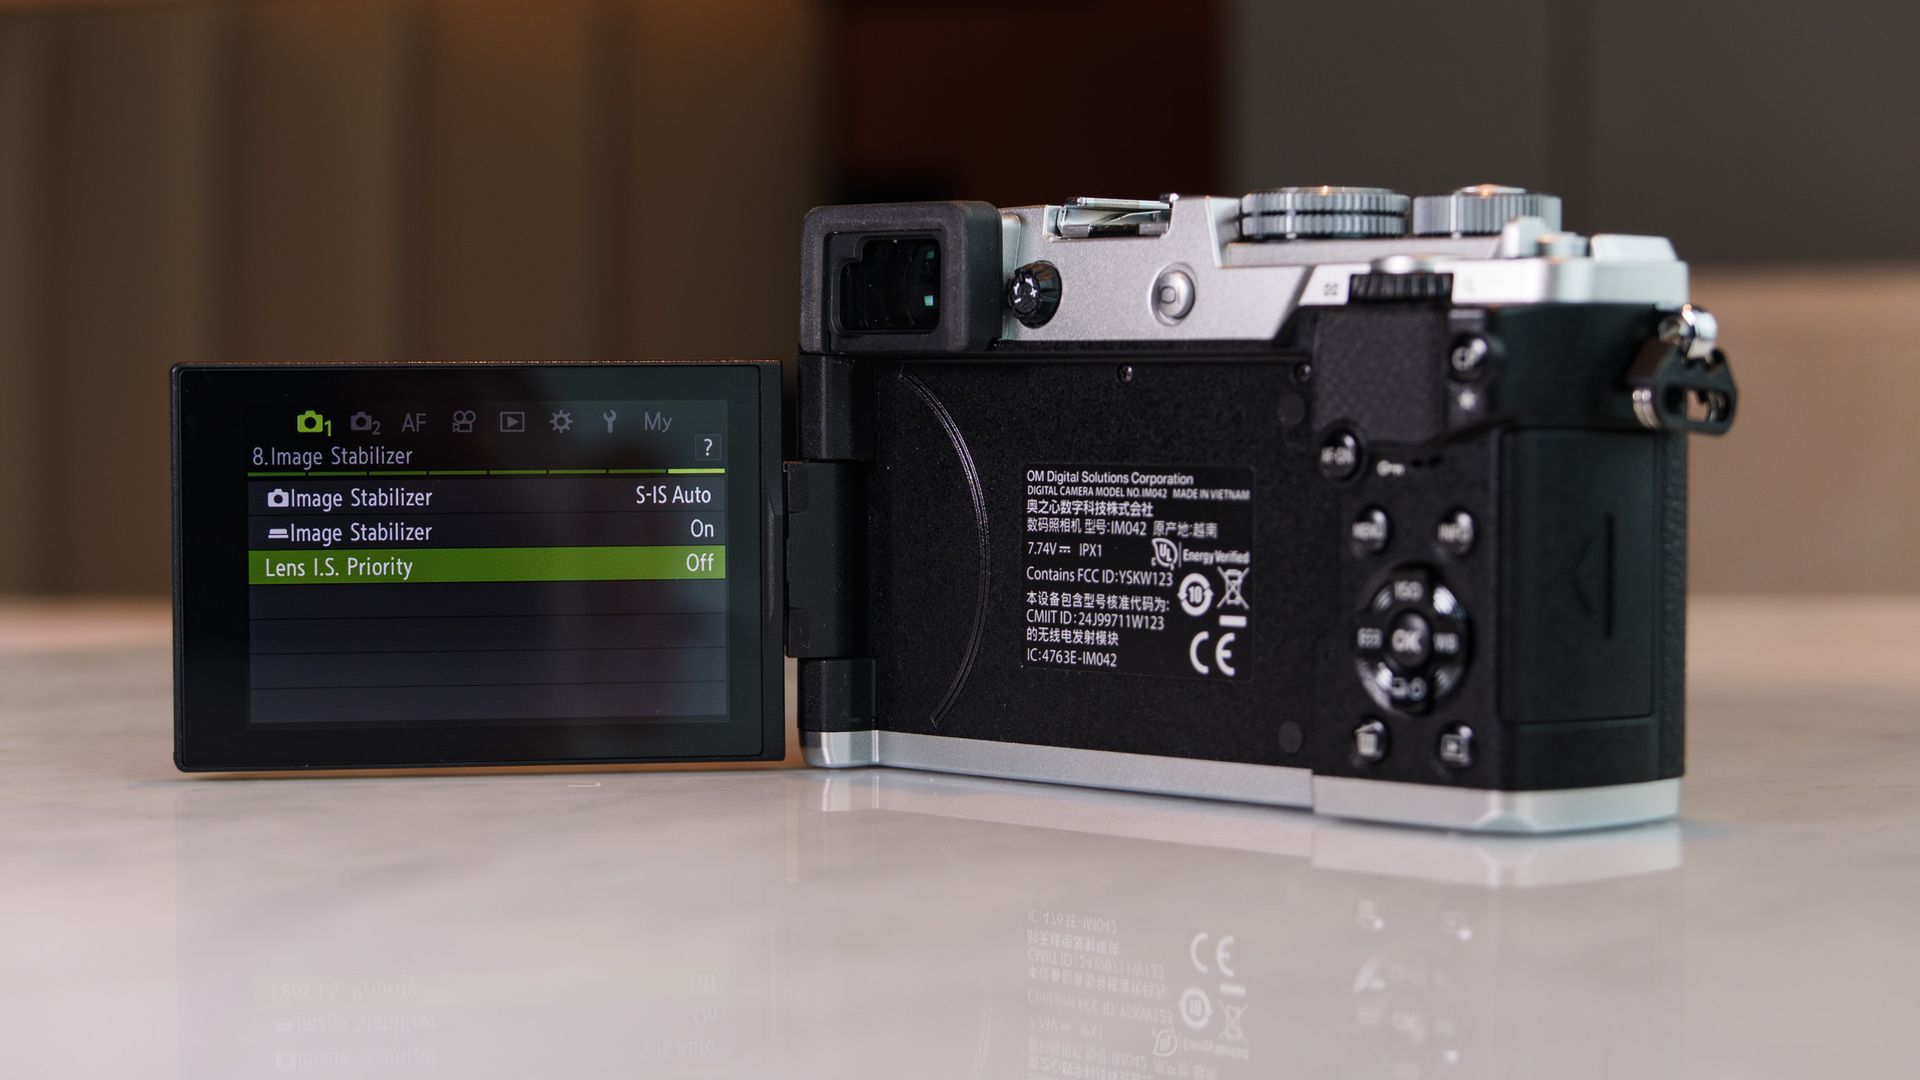
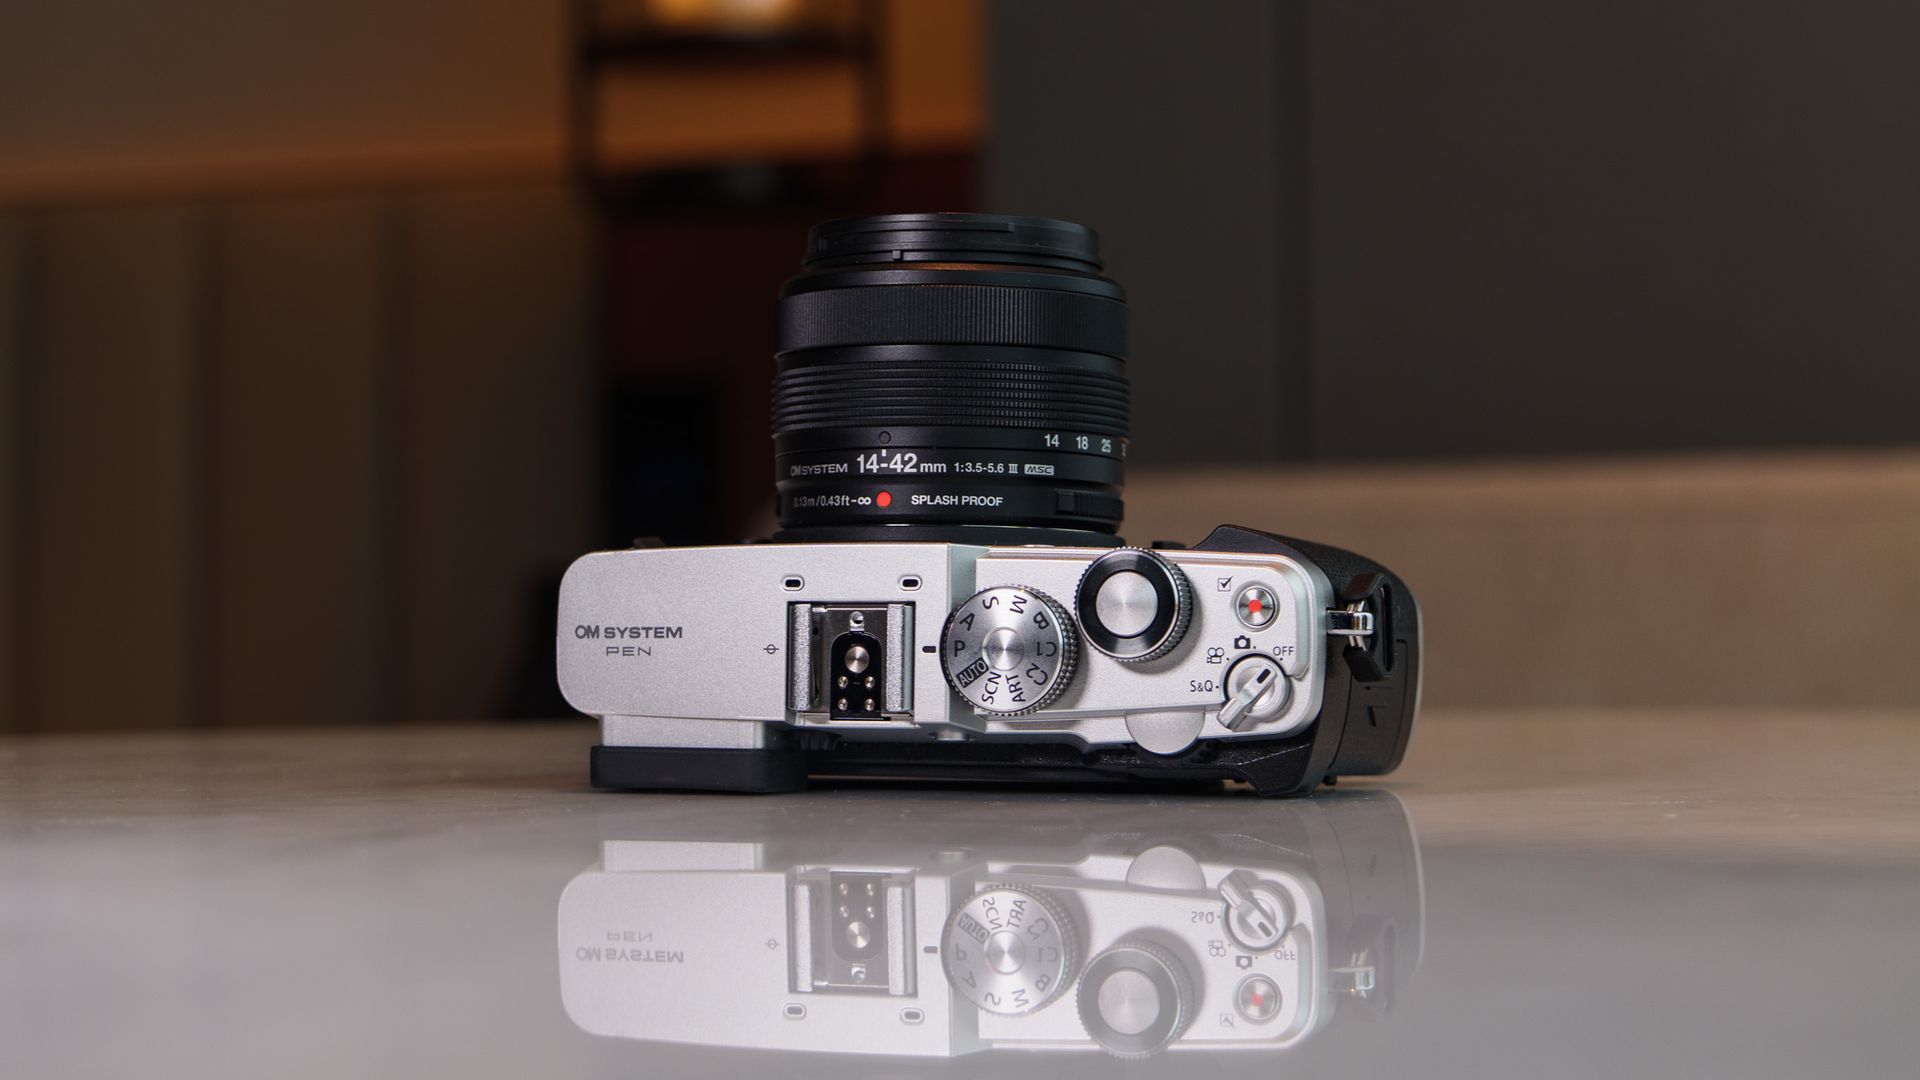
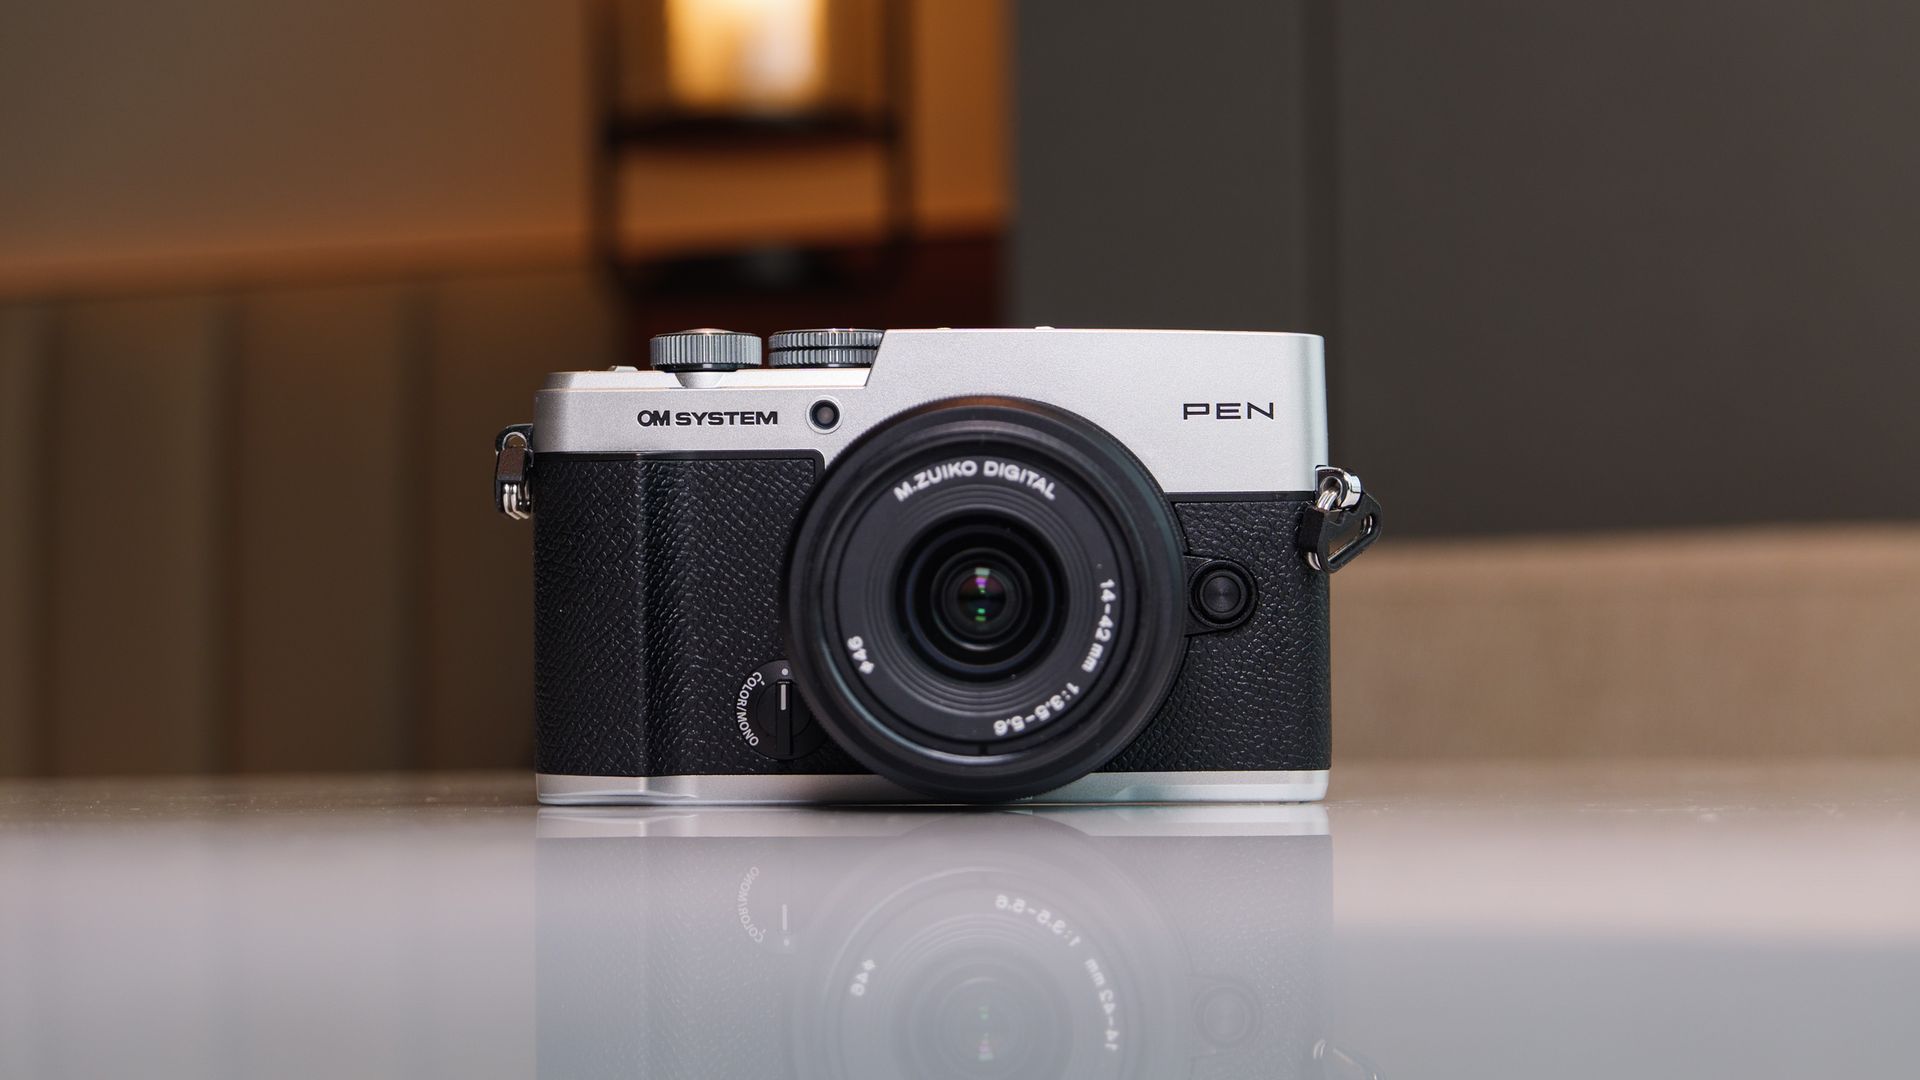
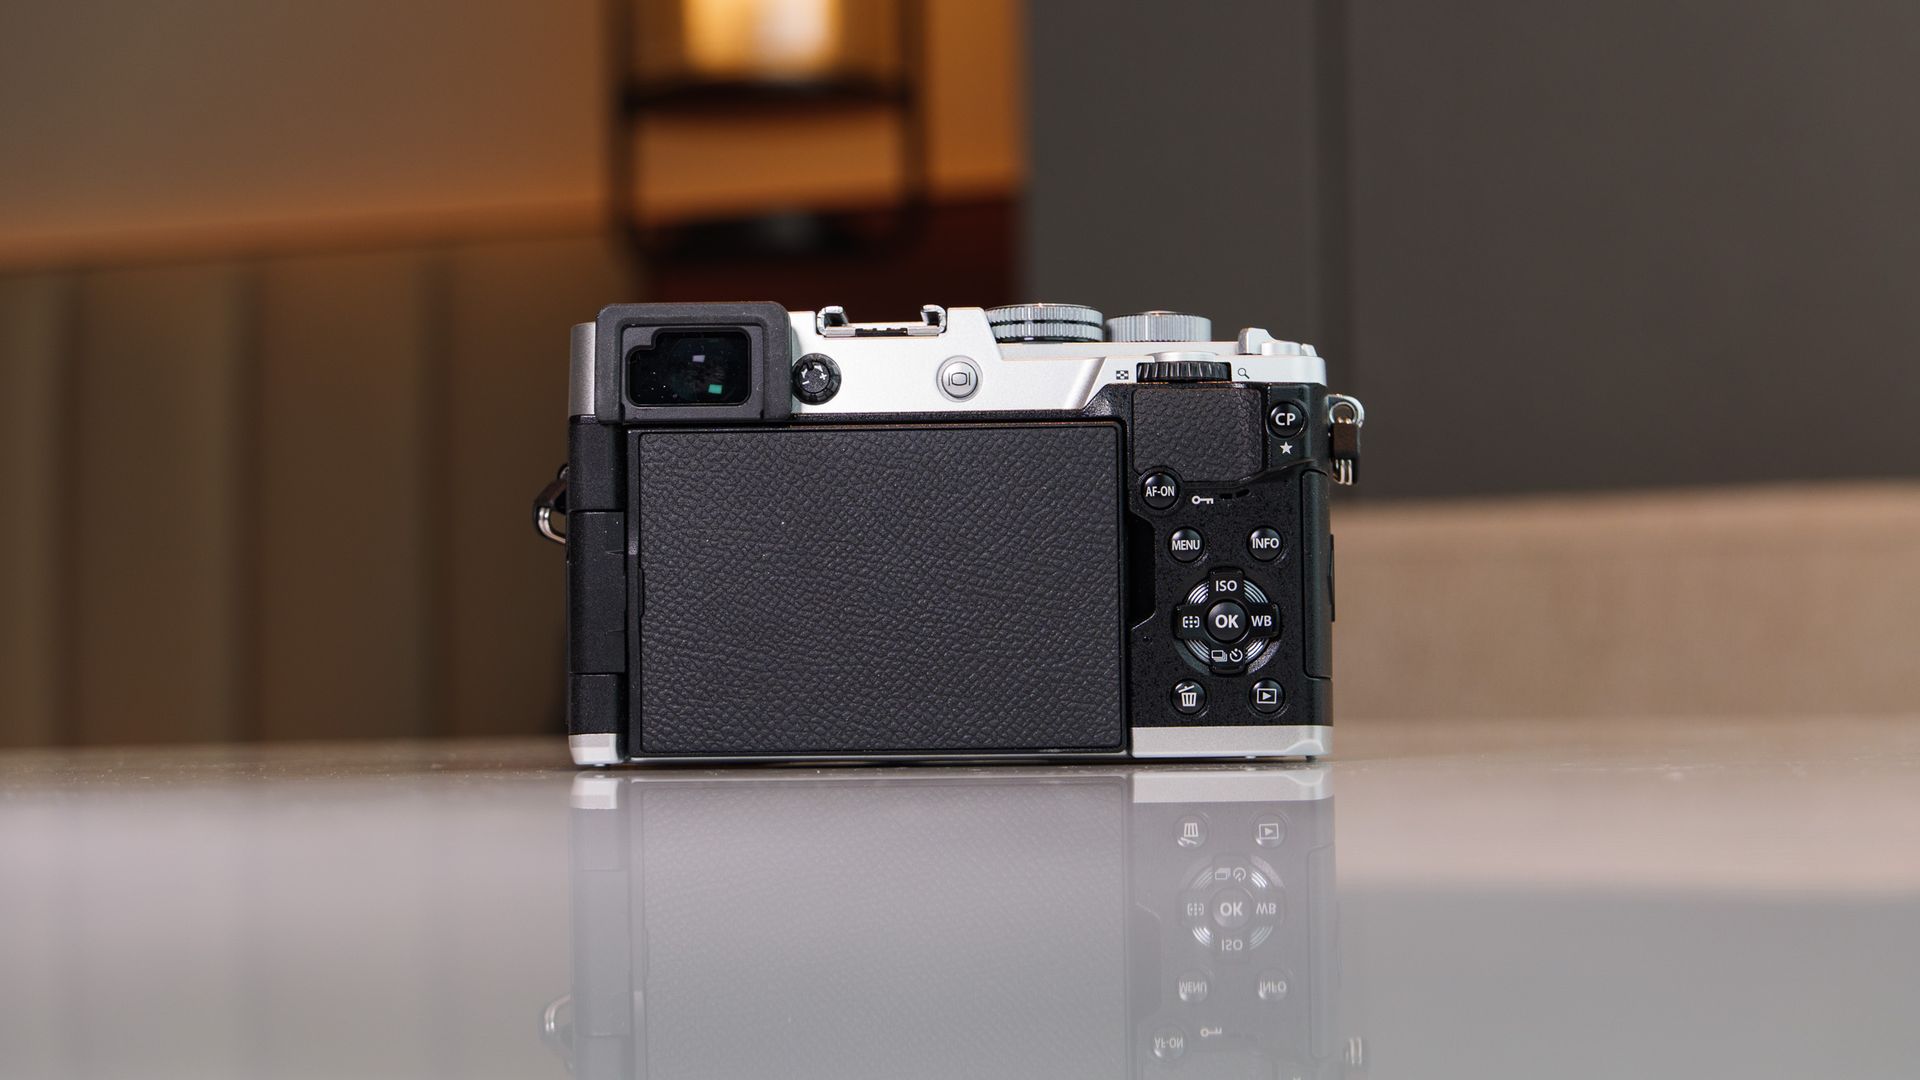
It has the retro charm we've come to expect from Olympus / OM System bodies, and I particular liked the black and silver version I had for this review. It's equipped with a hotshoe for accessories such as an external flash (there's no built-in flash), a Mono / Color profile switch, a USB-C port for charging, micro HDMI, mic jack and a single SD card slot.
Most of the buttons are small and can be a little fiddly. I found accessing the computational photography a pain — you need to hold down the 'CP' button while rotating the top dial (that the shutter button is set within) to access the menu. Why not require just a press of the CP button to open the menu?
The on/off switch is poorly designed, too — good luck trying to land on the photography setting without skipping past it to the video mode. If you have moderately large hands like I do, the whole layout might feel a little fiddly. And I'm sure there are some retro camera fans who will be disappointed that there's no cable-release thread in the shutter button. All that being said, I still very much enjoyed using the PEN.





A 20.4MP Micro Four Thirds sensor is nothing to get too excited about in and of itself when you consider the larger-sensor, higher-resolution alternatives that are available.
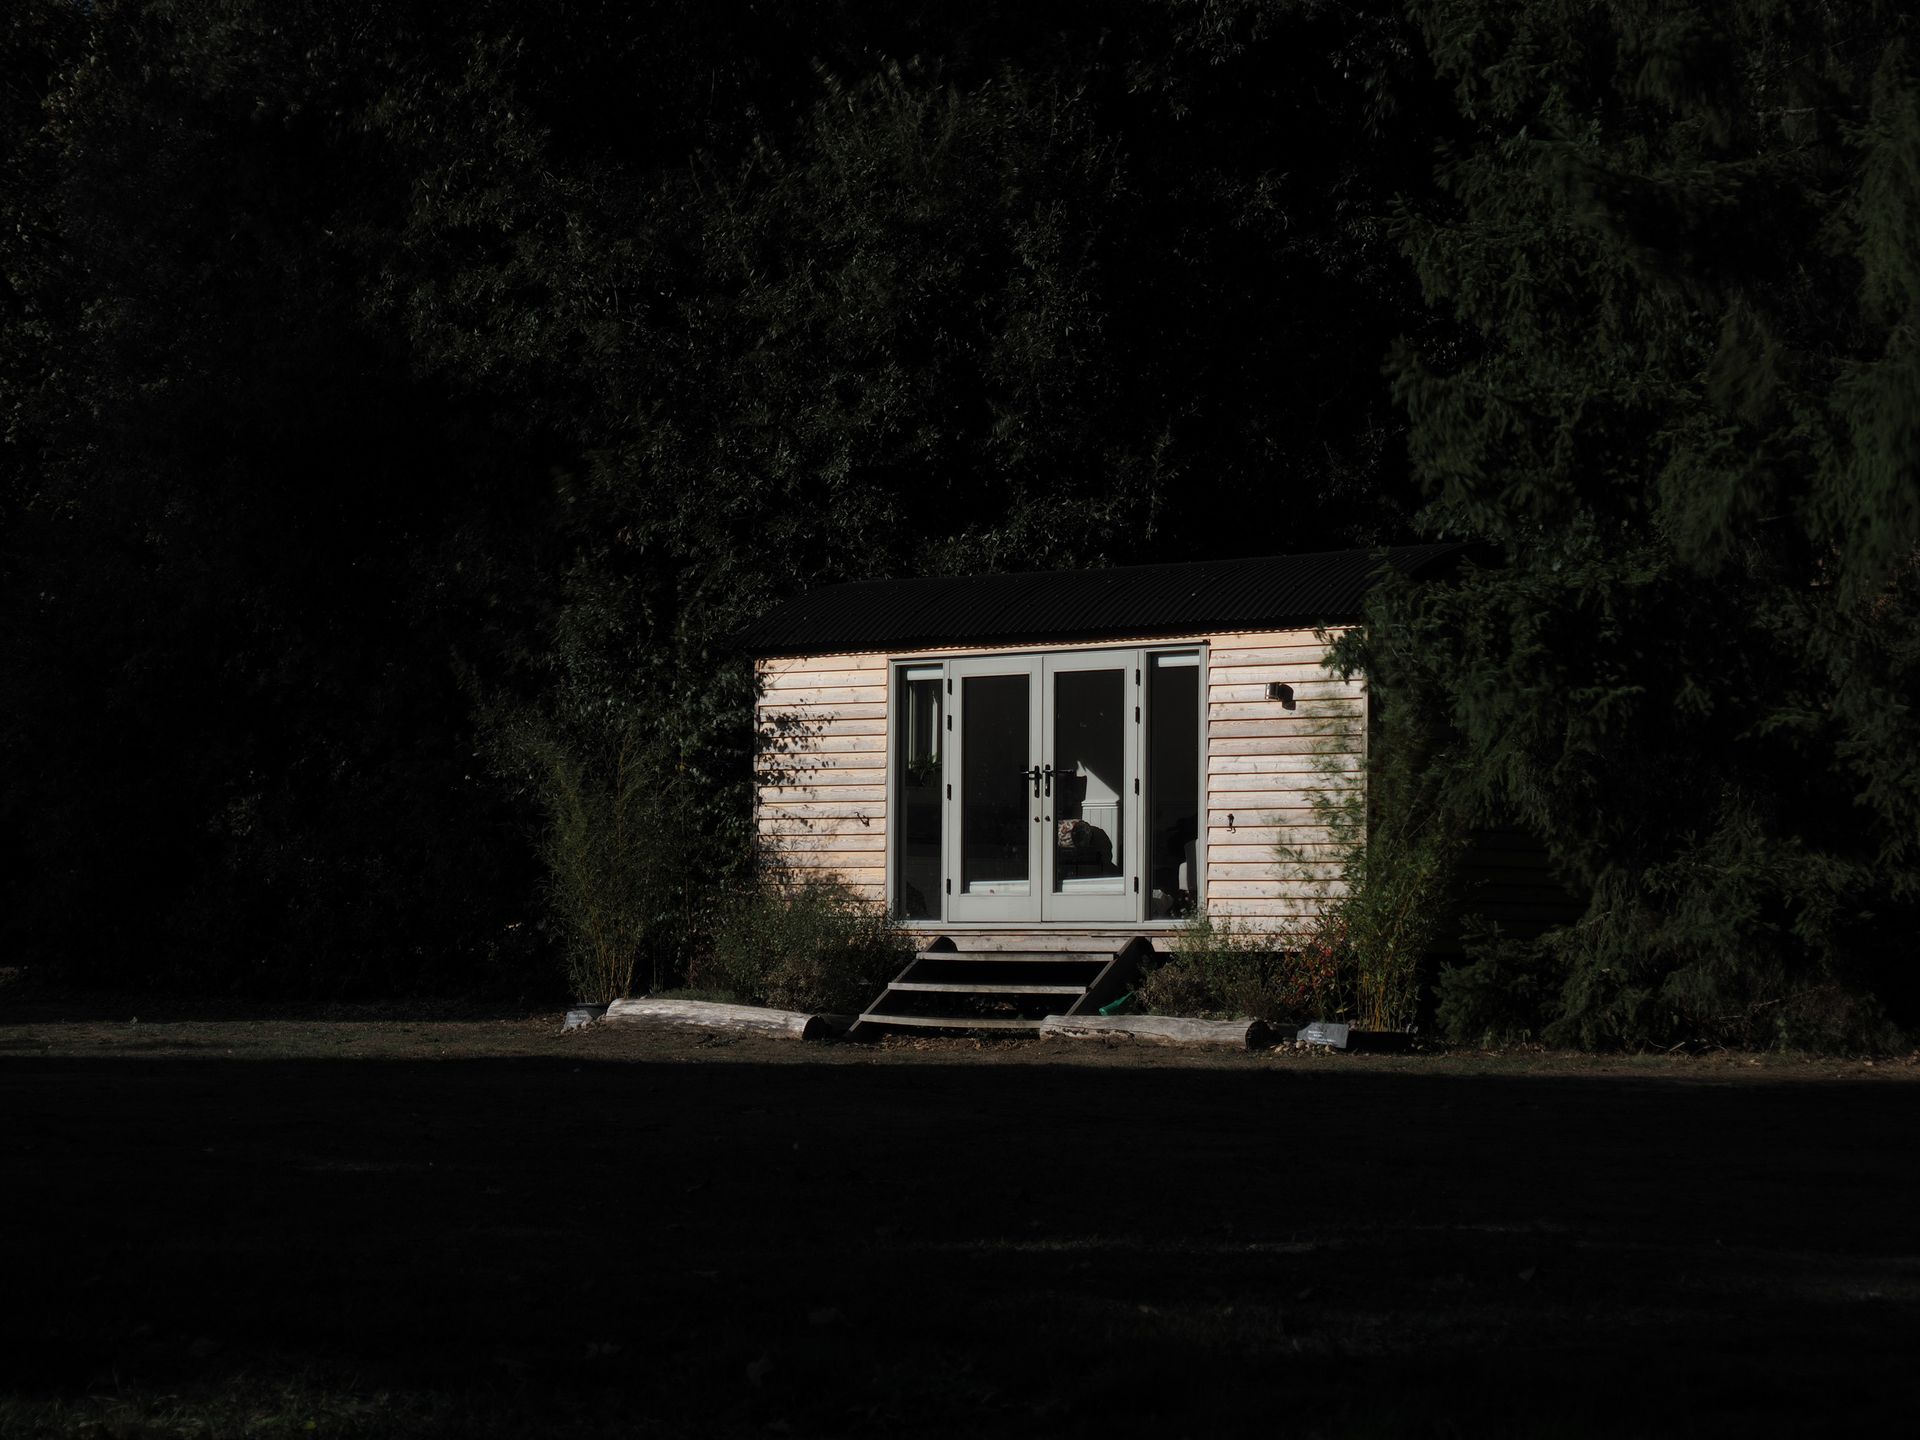
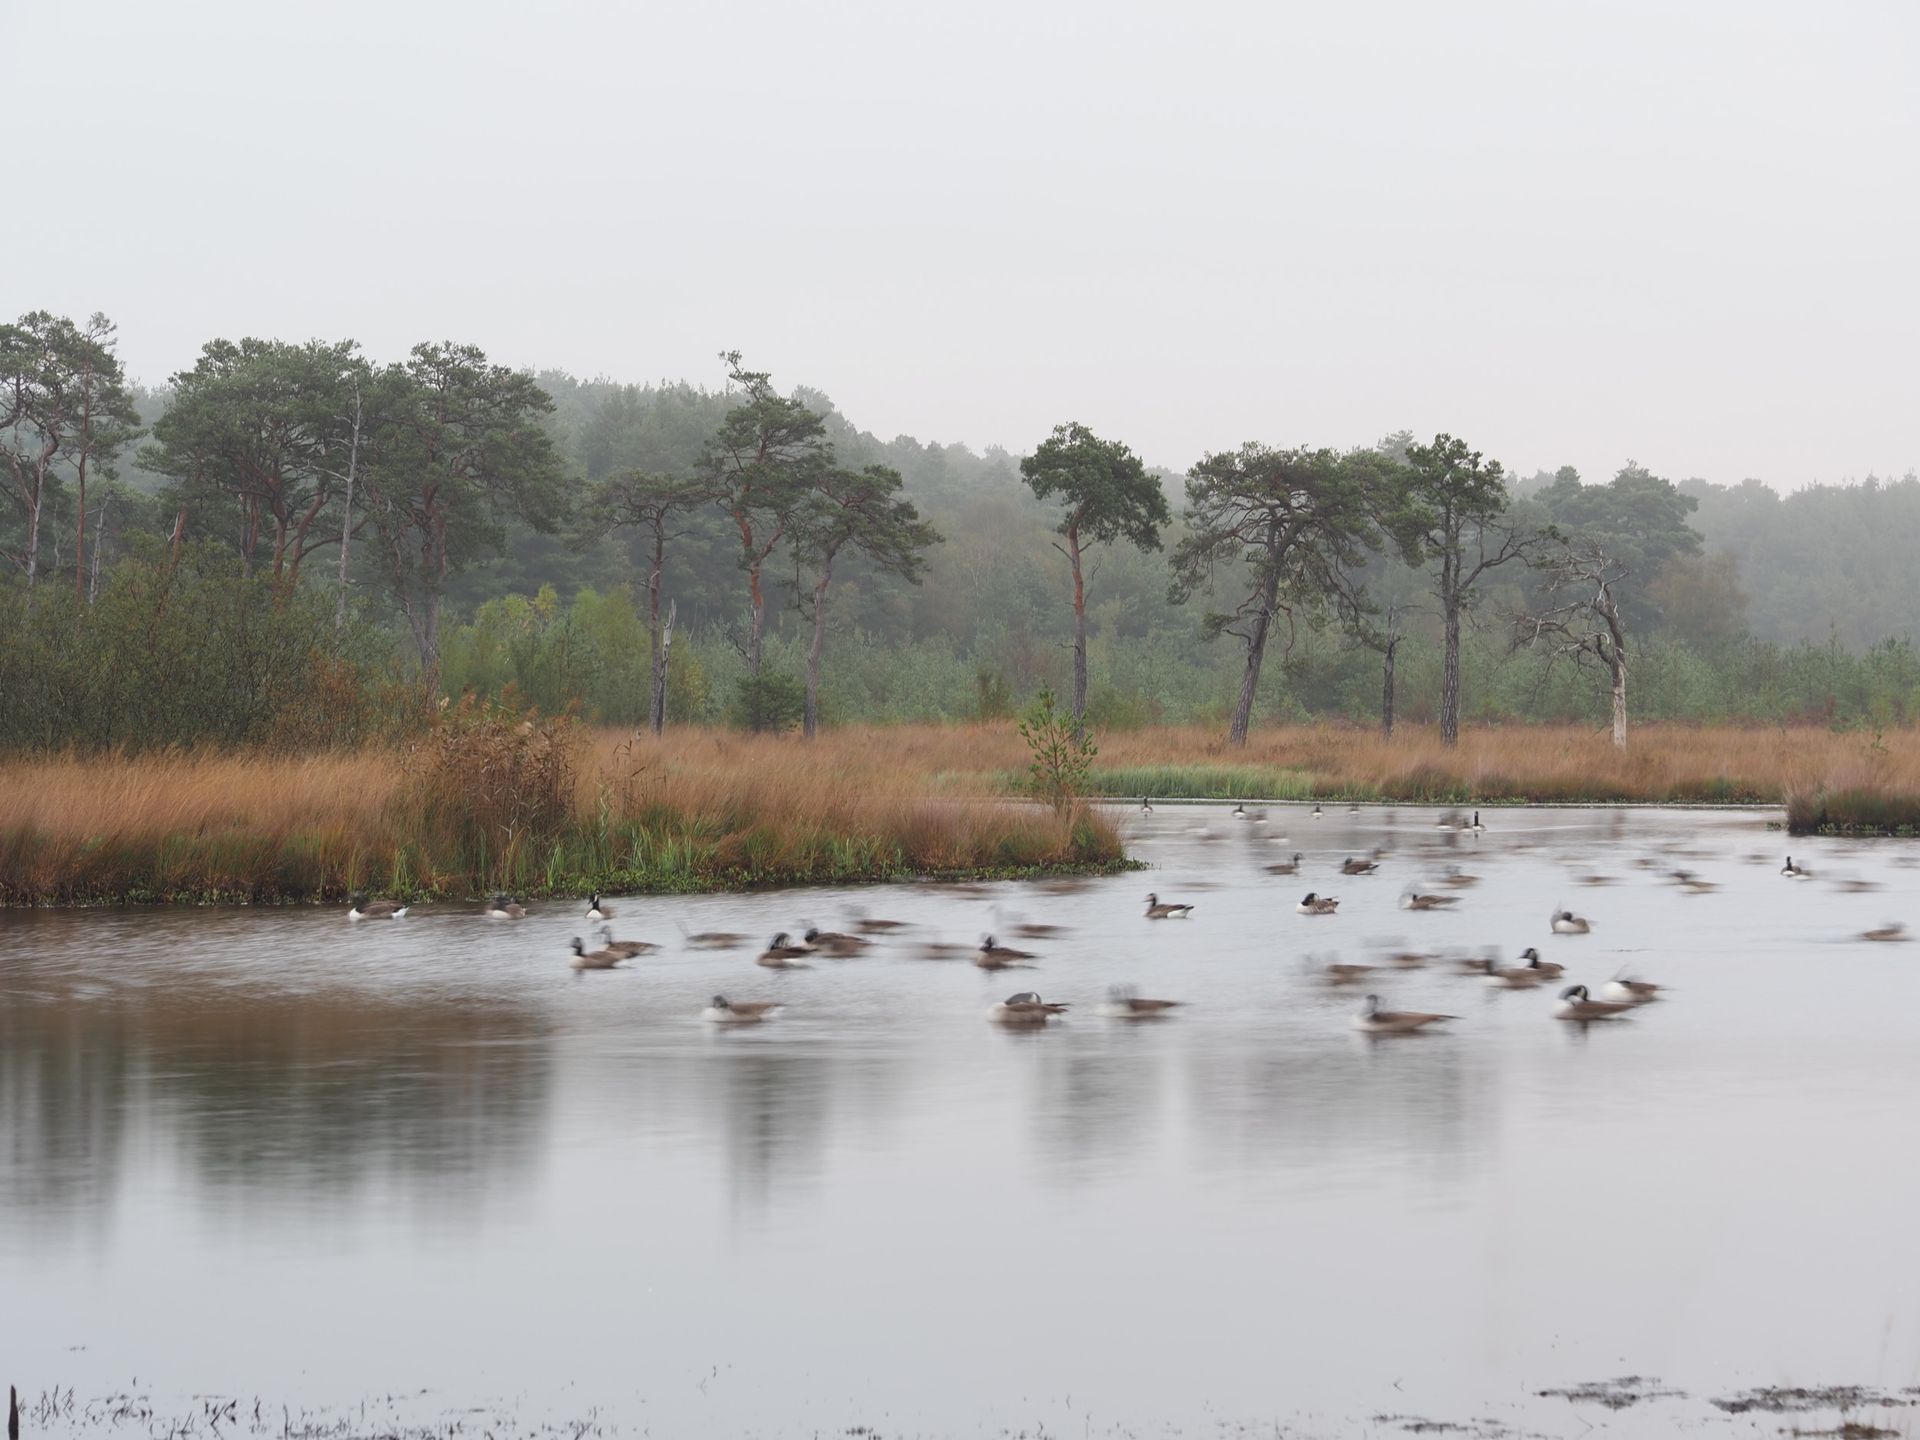
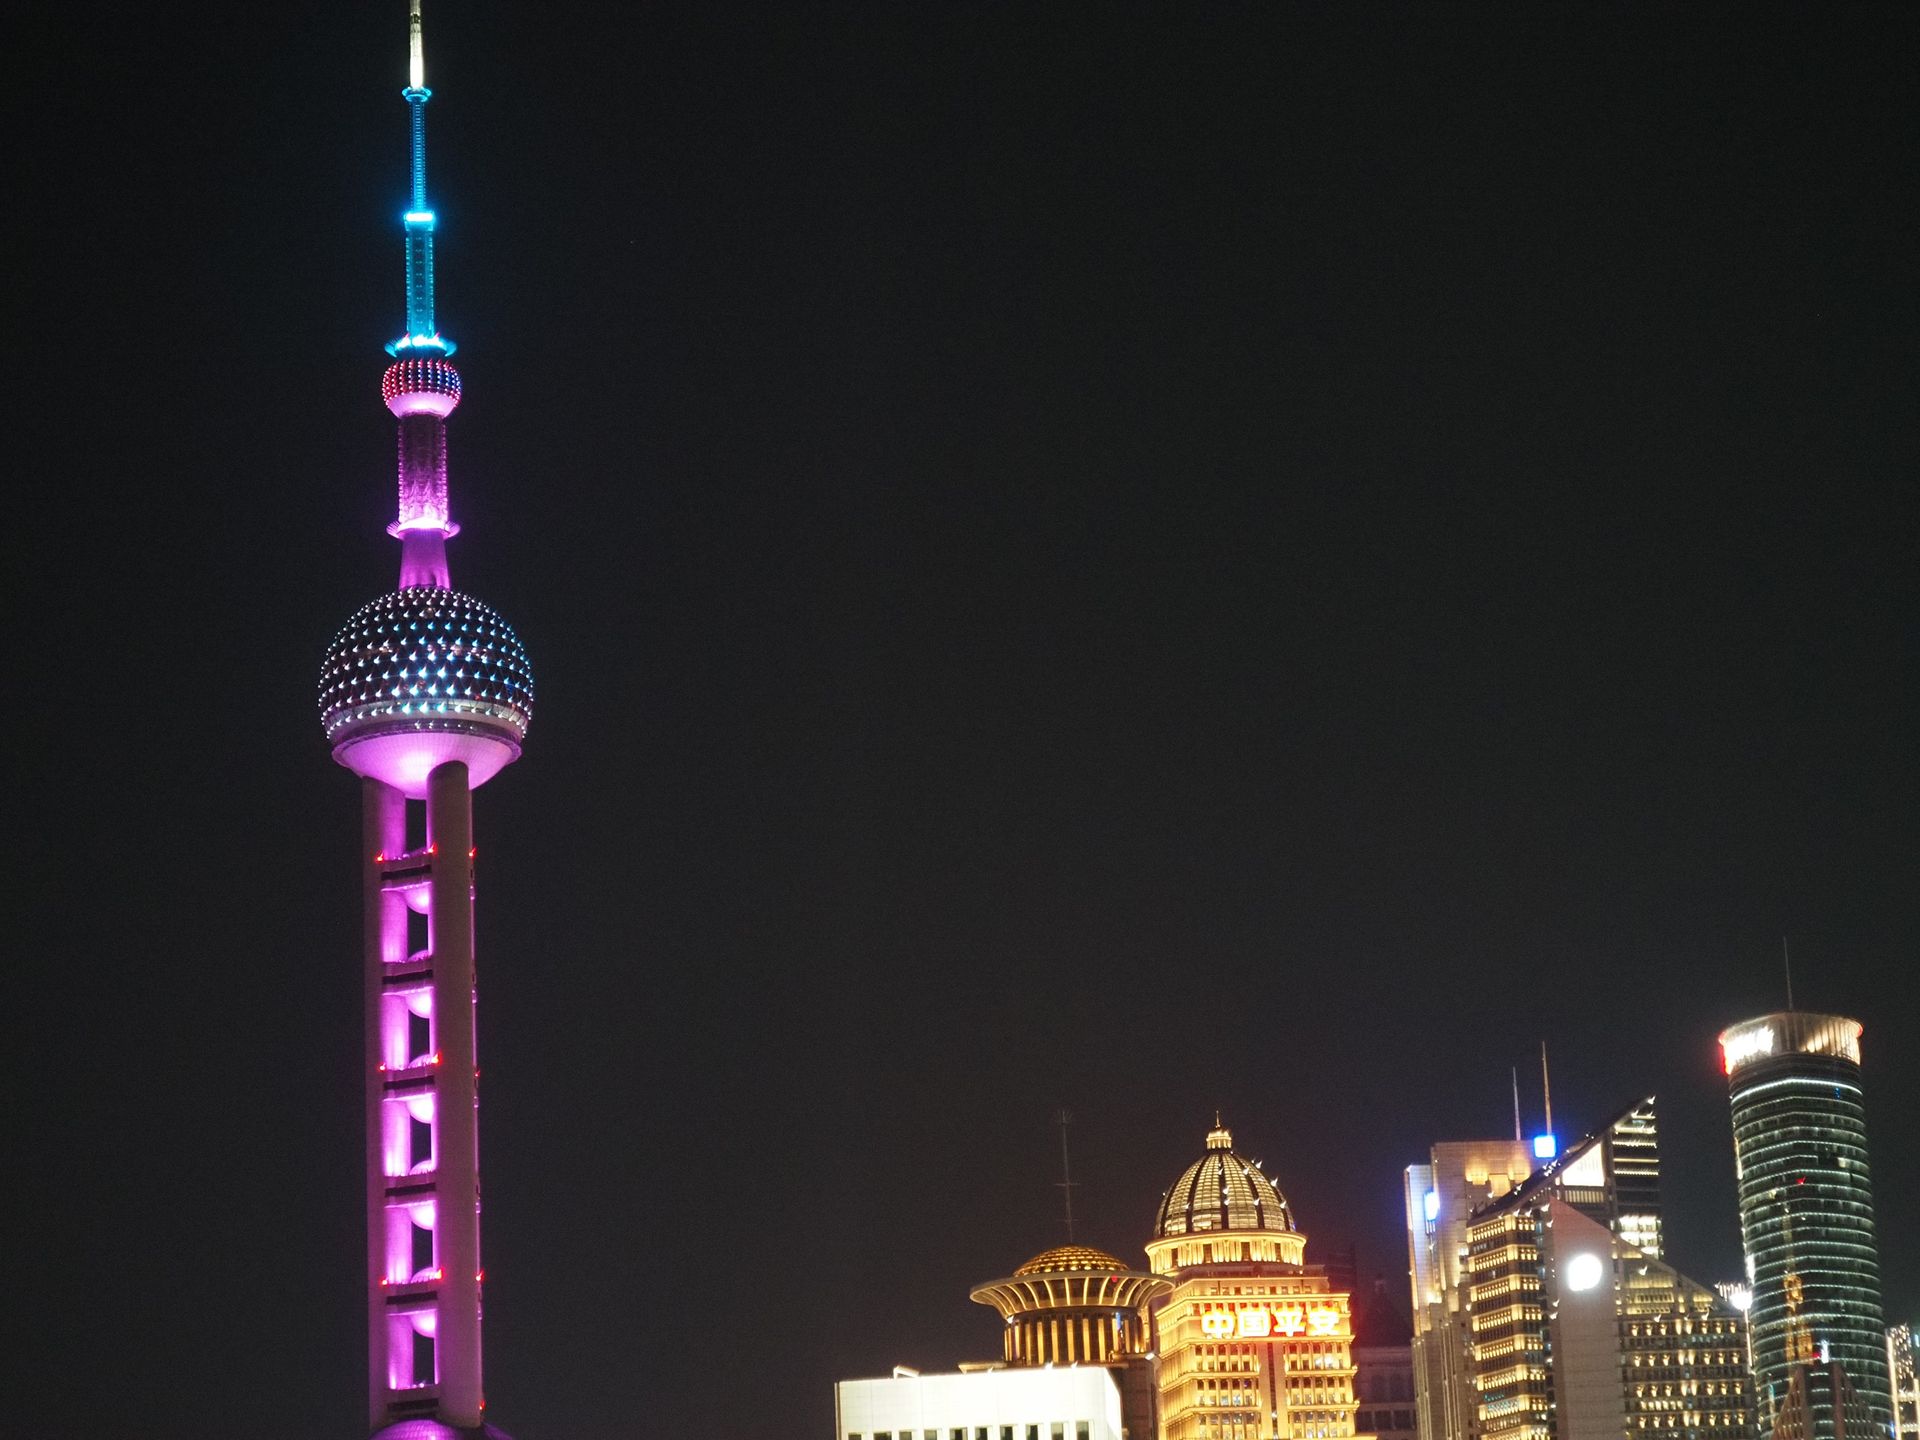
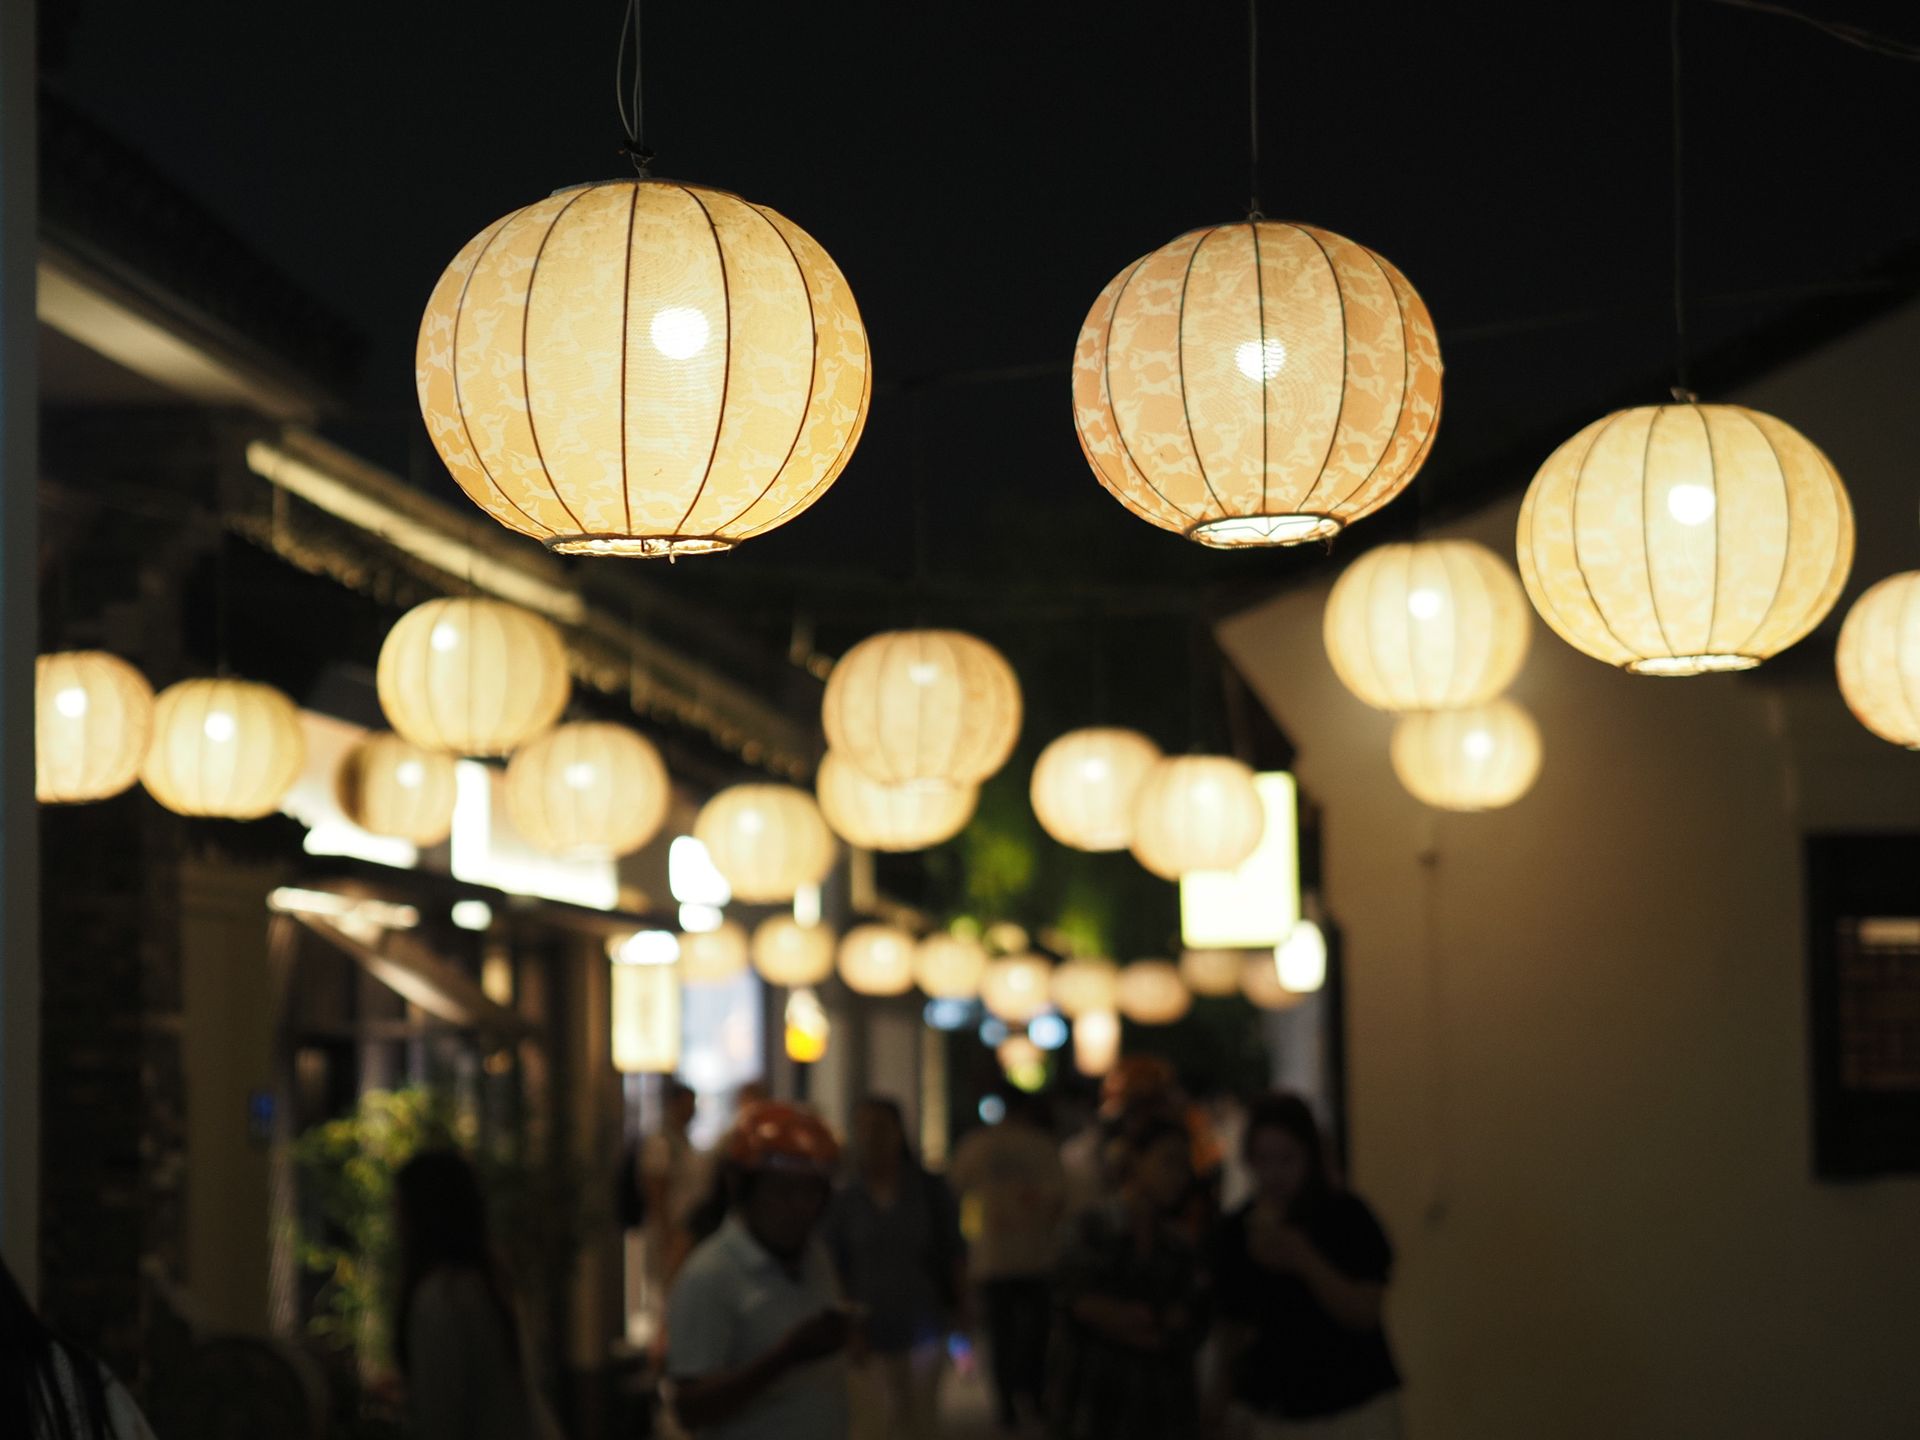
Computational photography modes can close the gap where there are drawbacks; addressing the fewer pixels and lesser dynamic range versus larger-sensor alternatives, though they don't work for every scenario. (I've included some examples, above.)
With 5.5EV image stabilization, the High Res Shot mode can be used handheld to increase resolution from 20MP to 50MP, though it won't work for scenes with movement in them. The same can be said for the HDR modes, which also work by combining several images captured sequentially together into one, and would otherwise have ghosting in them where there's movement in the scene during capture. For still scenes, HDR works perfectly well for increasing dynamic range.
As a starter camera, however, the level of detail this tried and tested sensor is able to capture is easily sufficient for travel and everyday photography. Add a decent lens — and there are hundreds to choose from, including the low-cost 45mm f/1.8 for portraiture — and you have the foundation for smartphone-beating images.





There's nothing wrong with OM System's 121-point hybrid phase-detection autofocus system, despite its stripped-back selection of subject-detection options that includes humans or animals (cats and dogs).
I've used other systems with a wider range of subject-detection modes, but for the most part you'd struggle to see a major difference in performance — when tracking birds, for example, I found the animal-detection autofocus to be sticky. There's not the same degree of complexity for face and eye detection, though — it's reliable, but you can't manually switch which eye the camera autofocuses on.
Battery life is decent, being rated at 410 shots, but video specs are fairly basic for 2026 — 4K up to 30fps / C4K up to 24fps, with a wide choice of color profiles including OM System's flat OM-Log400 profile, but just 8-bit color depth. The slow and quick mode unleashes up to 120fps slow-motion recording, or down to 1fps quick motion, but in 1080p only. Image stabilization works for video, though, which is a major draw for a camera at this price point.





You're a smartphone upgrader
The experience of using the PEN compared to a smartphone is both wildly different and somehow familiar — its retro design and viewfinder are highly appealing, while its modern features, such as computational photography, eke out the best image quality possible and encourage creativity, much as a good smartphone camera can. View Deal
You want a highly enjoyable everyday/ travel camera
The PEN's compact and classy design features a decent EVF, vari-angle touchscreen and capable image stabilization, making it a highly versatile and enjoyable walkaround snapper.View Deal
You're more into outdoors and action photography
Yes the PEN is capable in all photography genres, but its design is less suited to long lenses and inclement weather, for which the slightly pricier OM-5 II is a better bet (or even pricier OM-1 II). View Deal
You're unlikely to buy more lenses
Micro Four Thirds cameras are blessed with a plentiful number of lenses. However, if you're only likely to buy the camera with the kit lens, you might find it doesn't scratch your photography itches — I would budget for a fast aperture prime. View Deal
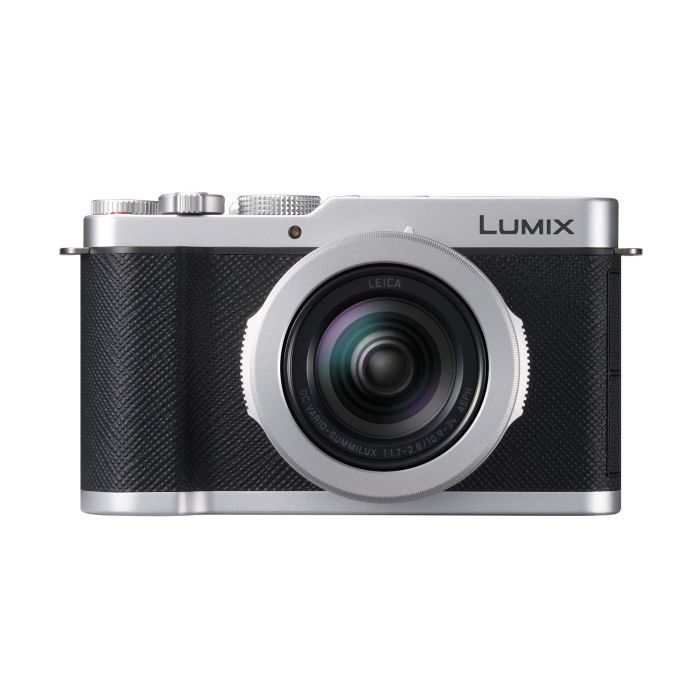
Panasonic Lumix L10
The Lumix L10's design is strikingly similar to the PEN, and it also uses a Micro Four Thirds sensor. Where the cameras differ is how the Lumix model is a compact camera with no stabilization and a built-in 24-75mm f/1.8-2.8 lens and it costs more, while the PEN has stabilization and a MFT lens mount. I've compared the two cameras directly to find out which is best.
Read our Panasonic Lumix L10 reviewView Deal
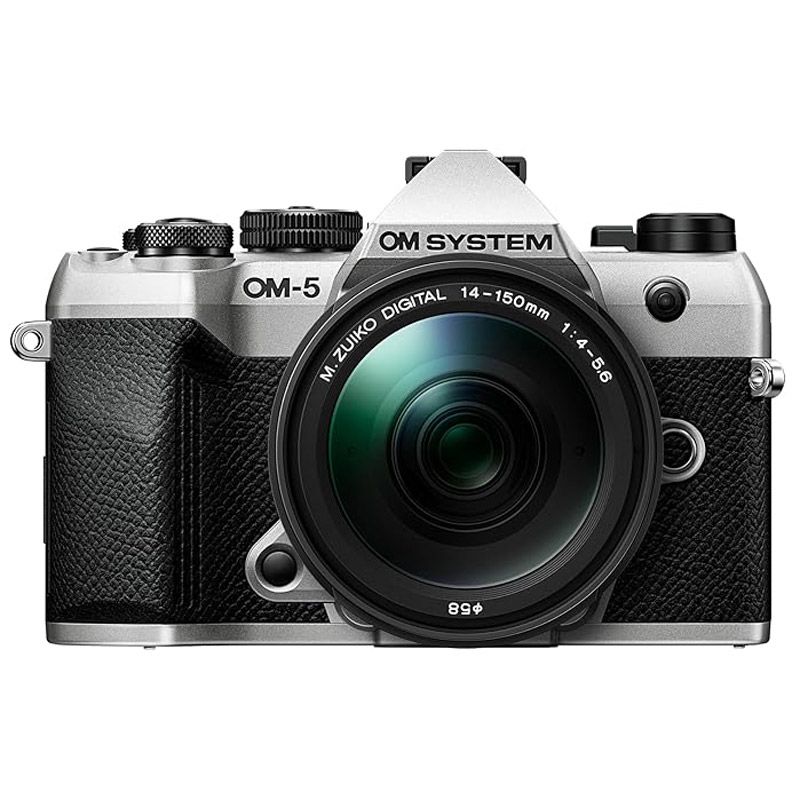
OM System OM-5 II
If you like the sound of the PEN's features but you'd prefer a tougher body, chunkier grip for comfortable use with a wider range of lenses, plus pronounced viewfinder design, the OM-5 II is the camera for you — and it doesn't cost too much more than the PEN. The Fujifilm X-T30 III is another option, and it costs the same as the PEN, coming with an 26MP APS-C sensor, but no image stabilization.
OM System sent me the black and silver version of the PEN with the new 14-42mm f/3.5-5.6 III kit lens, and I used the kit regularly for several weeks, including during a work trip to China. I also paired the camera with an Olympus 45mm f/1.8 lens and a (Panasonic) Leica 12-60mm f/2.8-4 lens.
I've tried the various computational photography modes, used slow shutter speeds, and shot video handheld to test the image stabilization effectiveness, and tried out various autofocus modes.
I've used the camera in light rain and in bright light, testing its splash proof credentials and the brightness of its displays. Along the way, I compared the PEN to the Lumix L10, a similar MFT camera.
The Bird Buddy 2 is the next-gen smart feeder on from the sleek, popular Bird Buddy Smart Feeder Pro. It shares the same integrated solar roof panels but has a new circular magnetic camera unit that pops out and rotates instantly between 9:16 portrait and 16:9 landscape modes.
More than six months after first hanging the Bird Buddy 2 in my garden, I'm delighted with its build quality and solar efficiency; however, it's fair to say my relationship with this smart feeder is still a mix of genuine appreciation and lingering frustration.
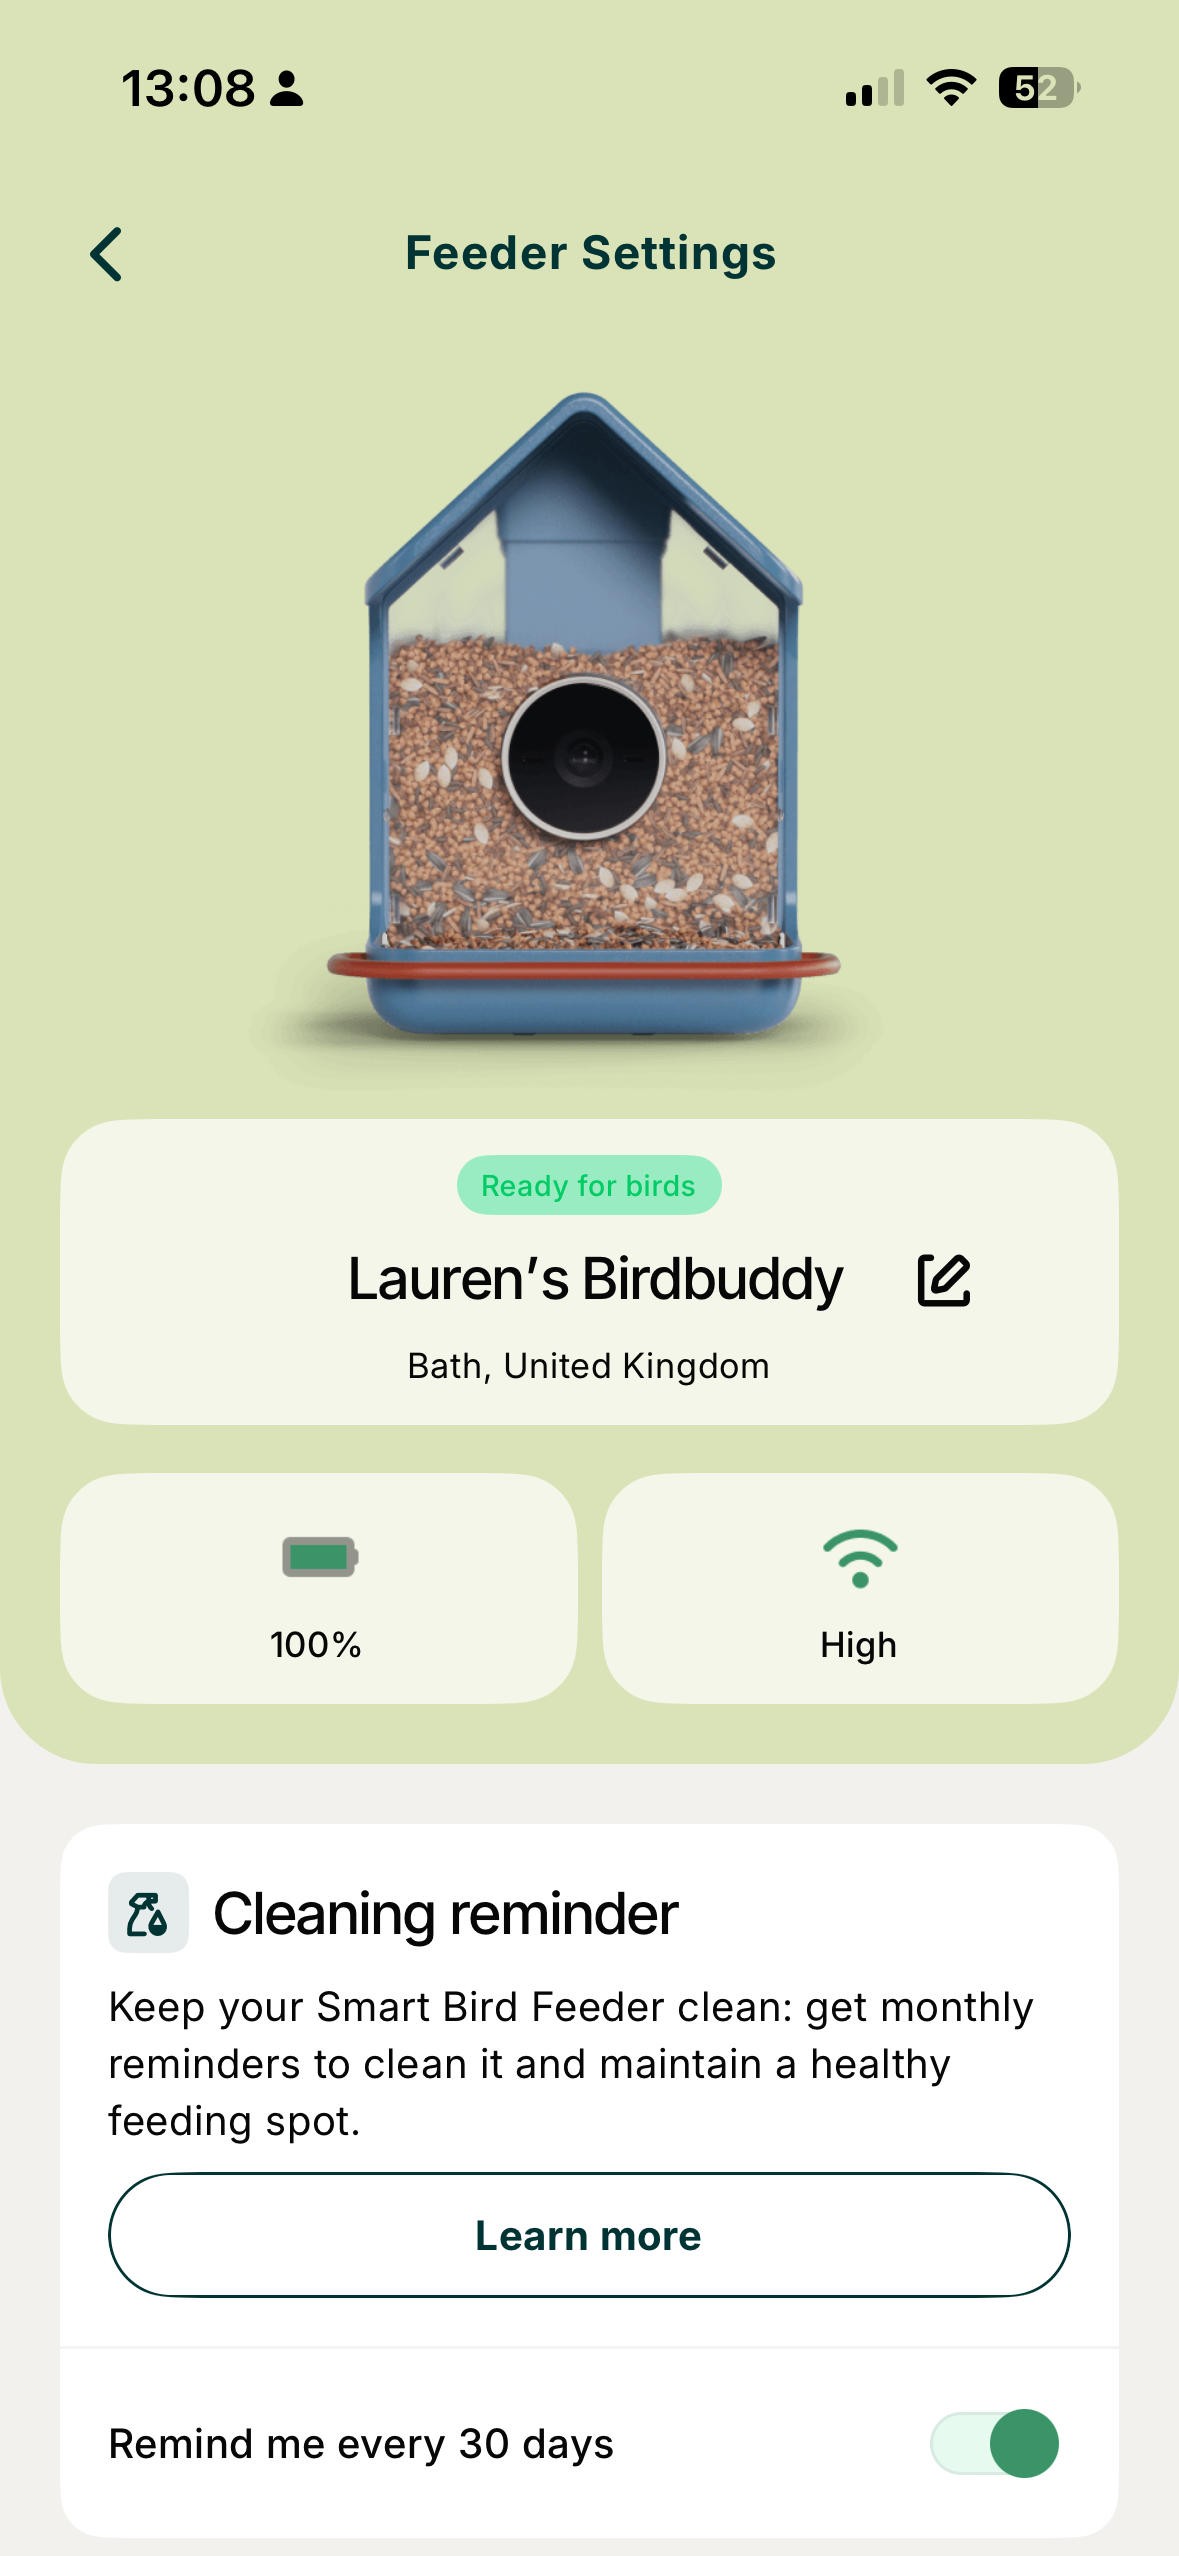
The feeder's integrated solar roof has kept the camera powered continuously for over half a year without me needing to bring it inside to charge once (which is good, as this is a fiddly job).
Combine that with its neat, easy-wipe, plastic build, clean refill design, and a charming app full of postcards and daily highlights, and I think it remains one of the most enjoyable, albeit pared-back smart feeders on the market. The equally popular Birdfy ecosystem offers more functionality, whereas I see Bird Buddy aiming for a simpler user experience.
Although it's easily rotatable, the camera is fixed facing forward, and framing isn’t quite right for landscape mode. The shallow seed tray means smaller birds sitting right in the seed for a good munch get cropped at the bottom of the frame. But now that 2K Ultra video resolution is available to Premium users, it takes the clarity of footage to an impressive level.
As I’ve said, one of the big selling points of the Bird Buddy app is how user-friendly and engaging it is, but this can come at the detriment of basic usability features – such as having customizable sleeping hours – meaning my camera regularly missed the earliest (and often most active) morning visitors because it’s not awake to record them.
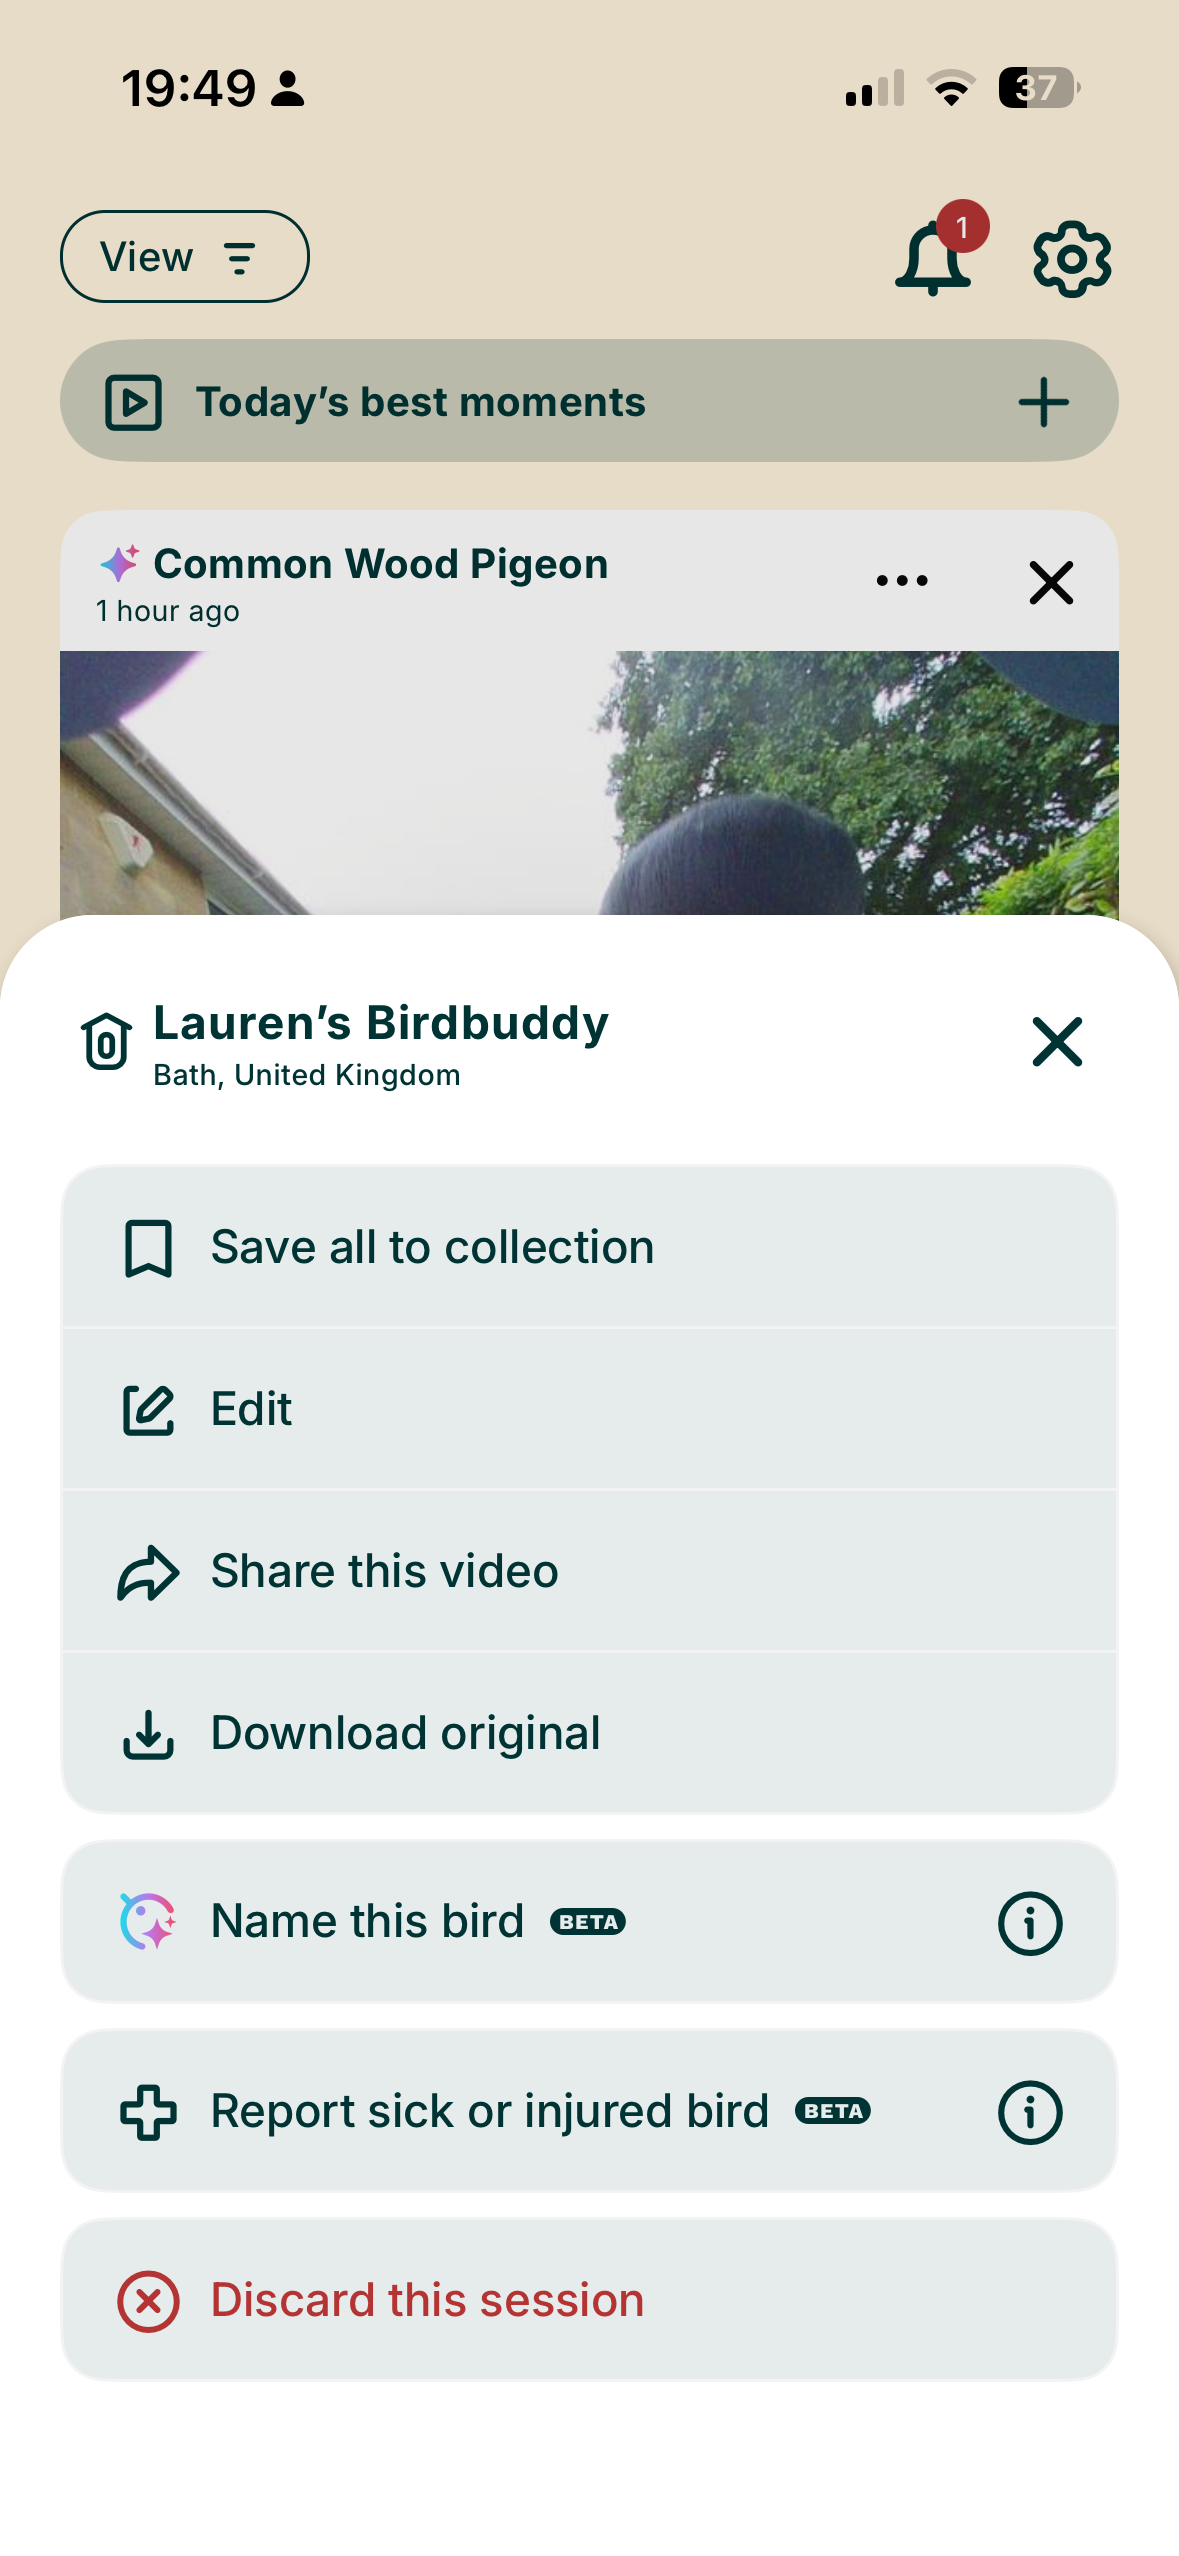
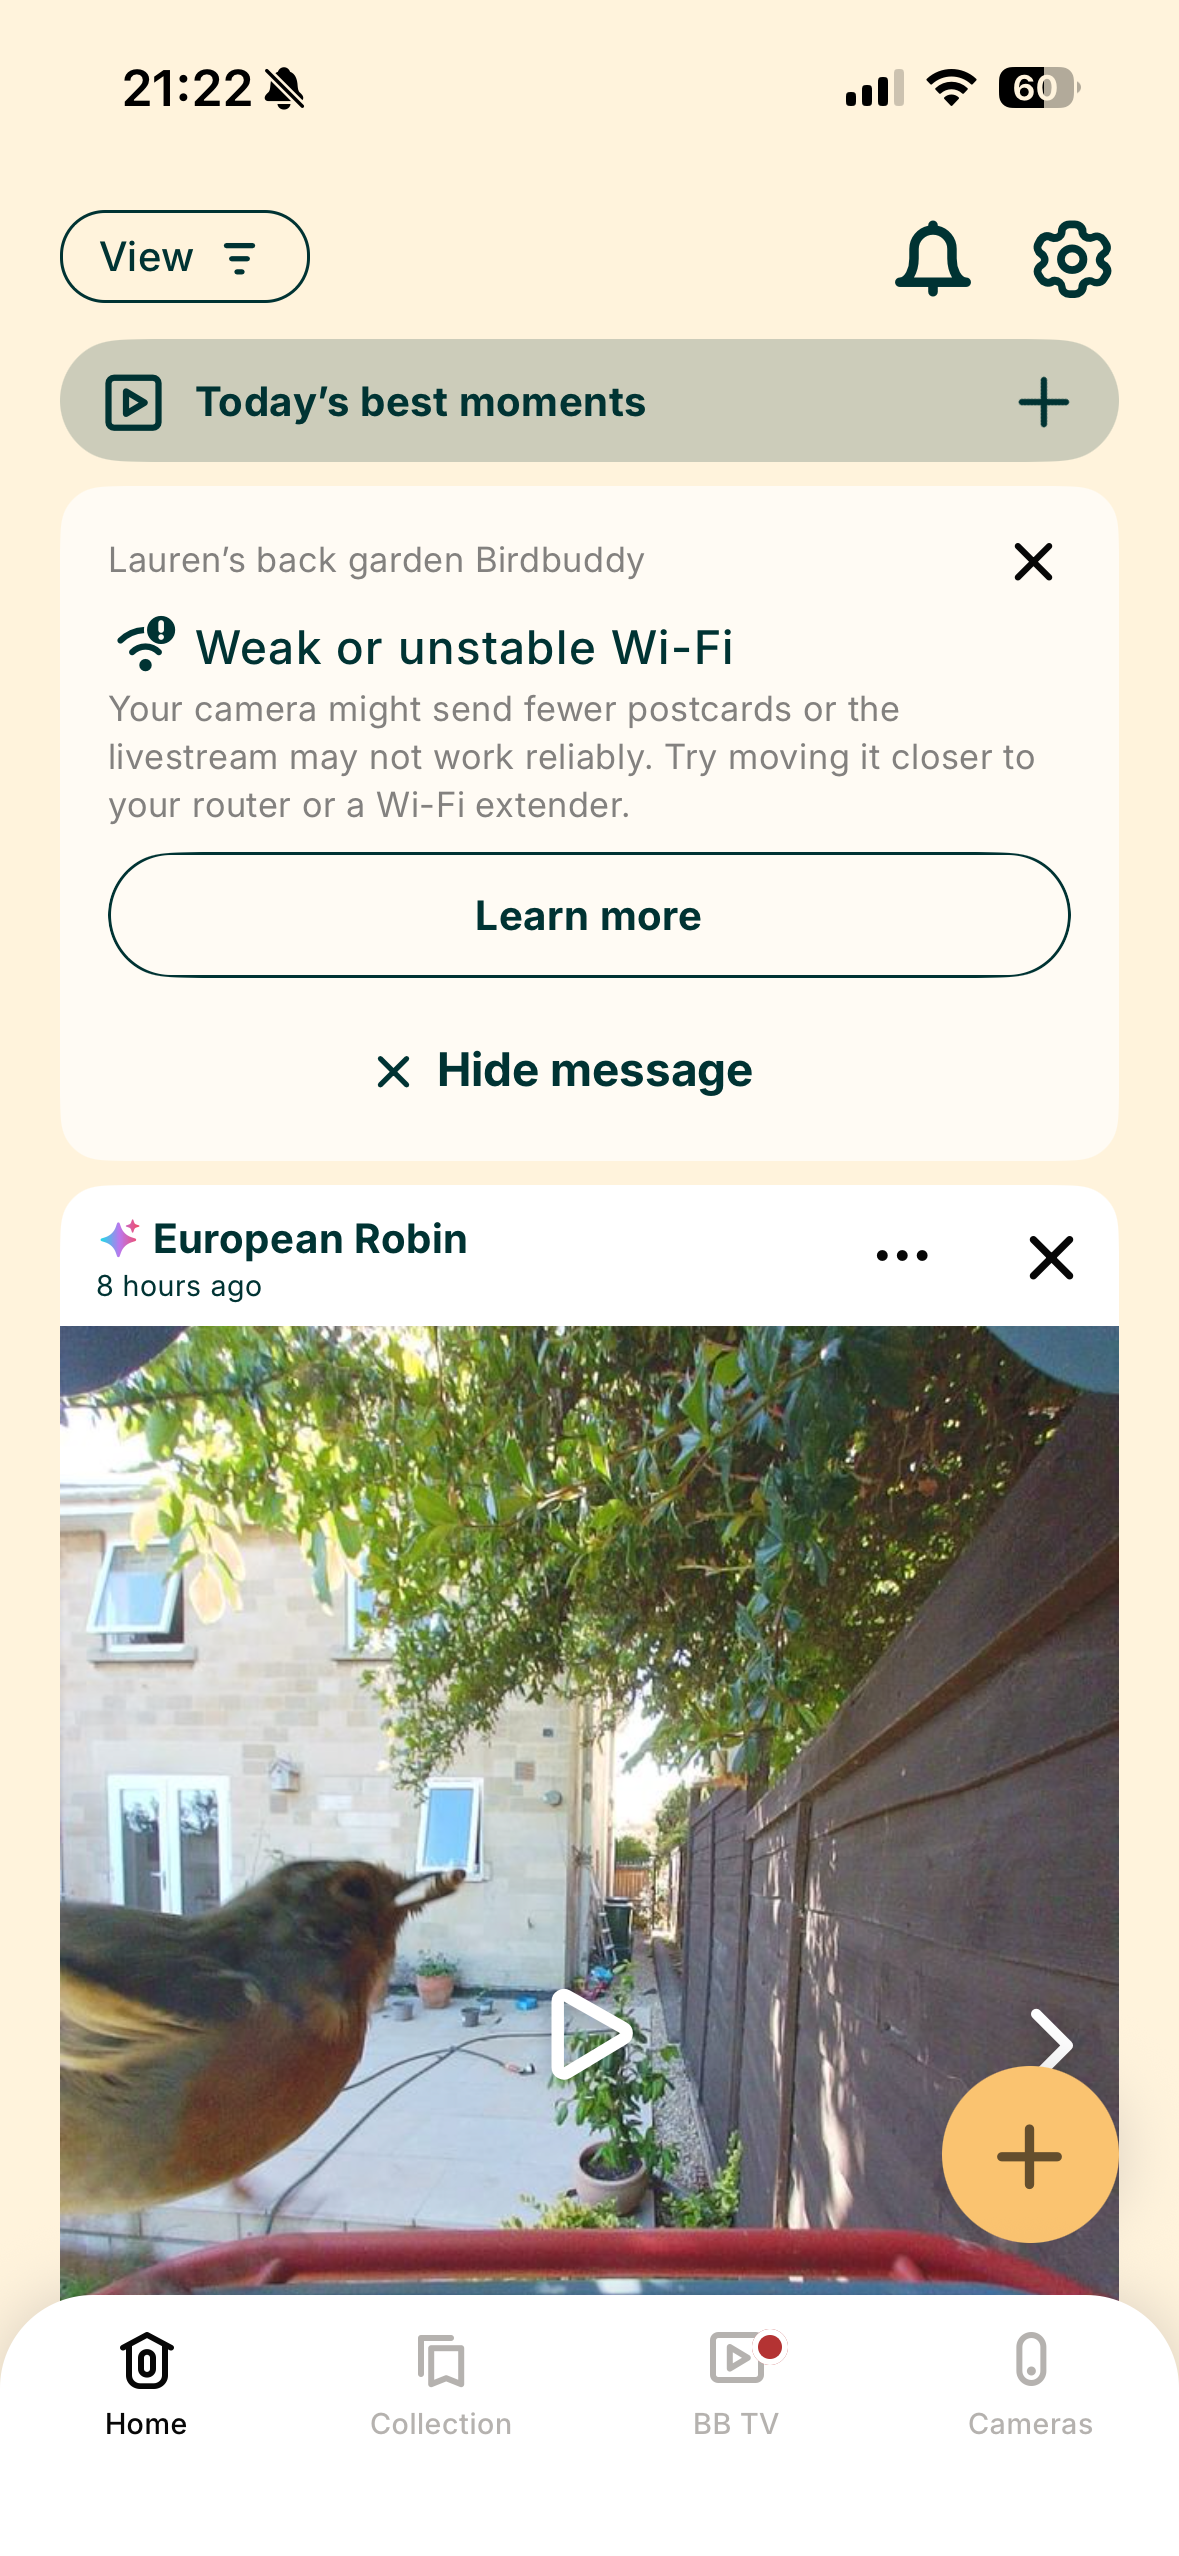
But I do love how easy it is to keep your feed organised. New postcards will stay in your active feed for a week. From here, you can choose to collect or discard them (and the collection is where postcards stay permanently), which means the onus is on you to curate your sightings and choose the best clips and stills.
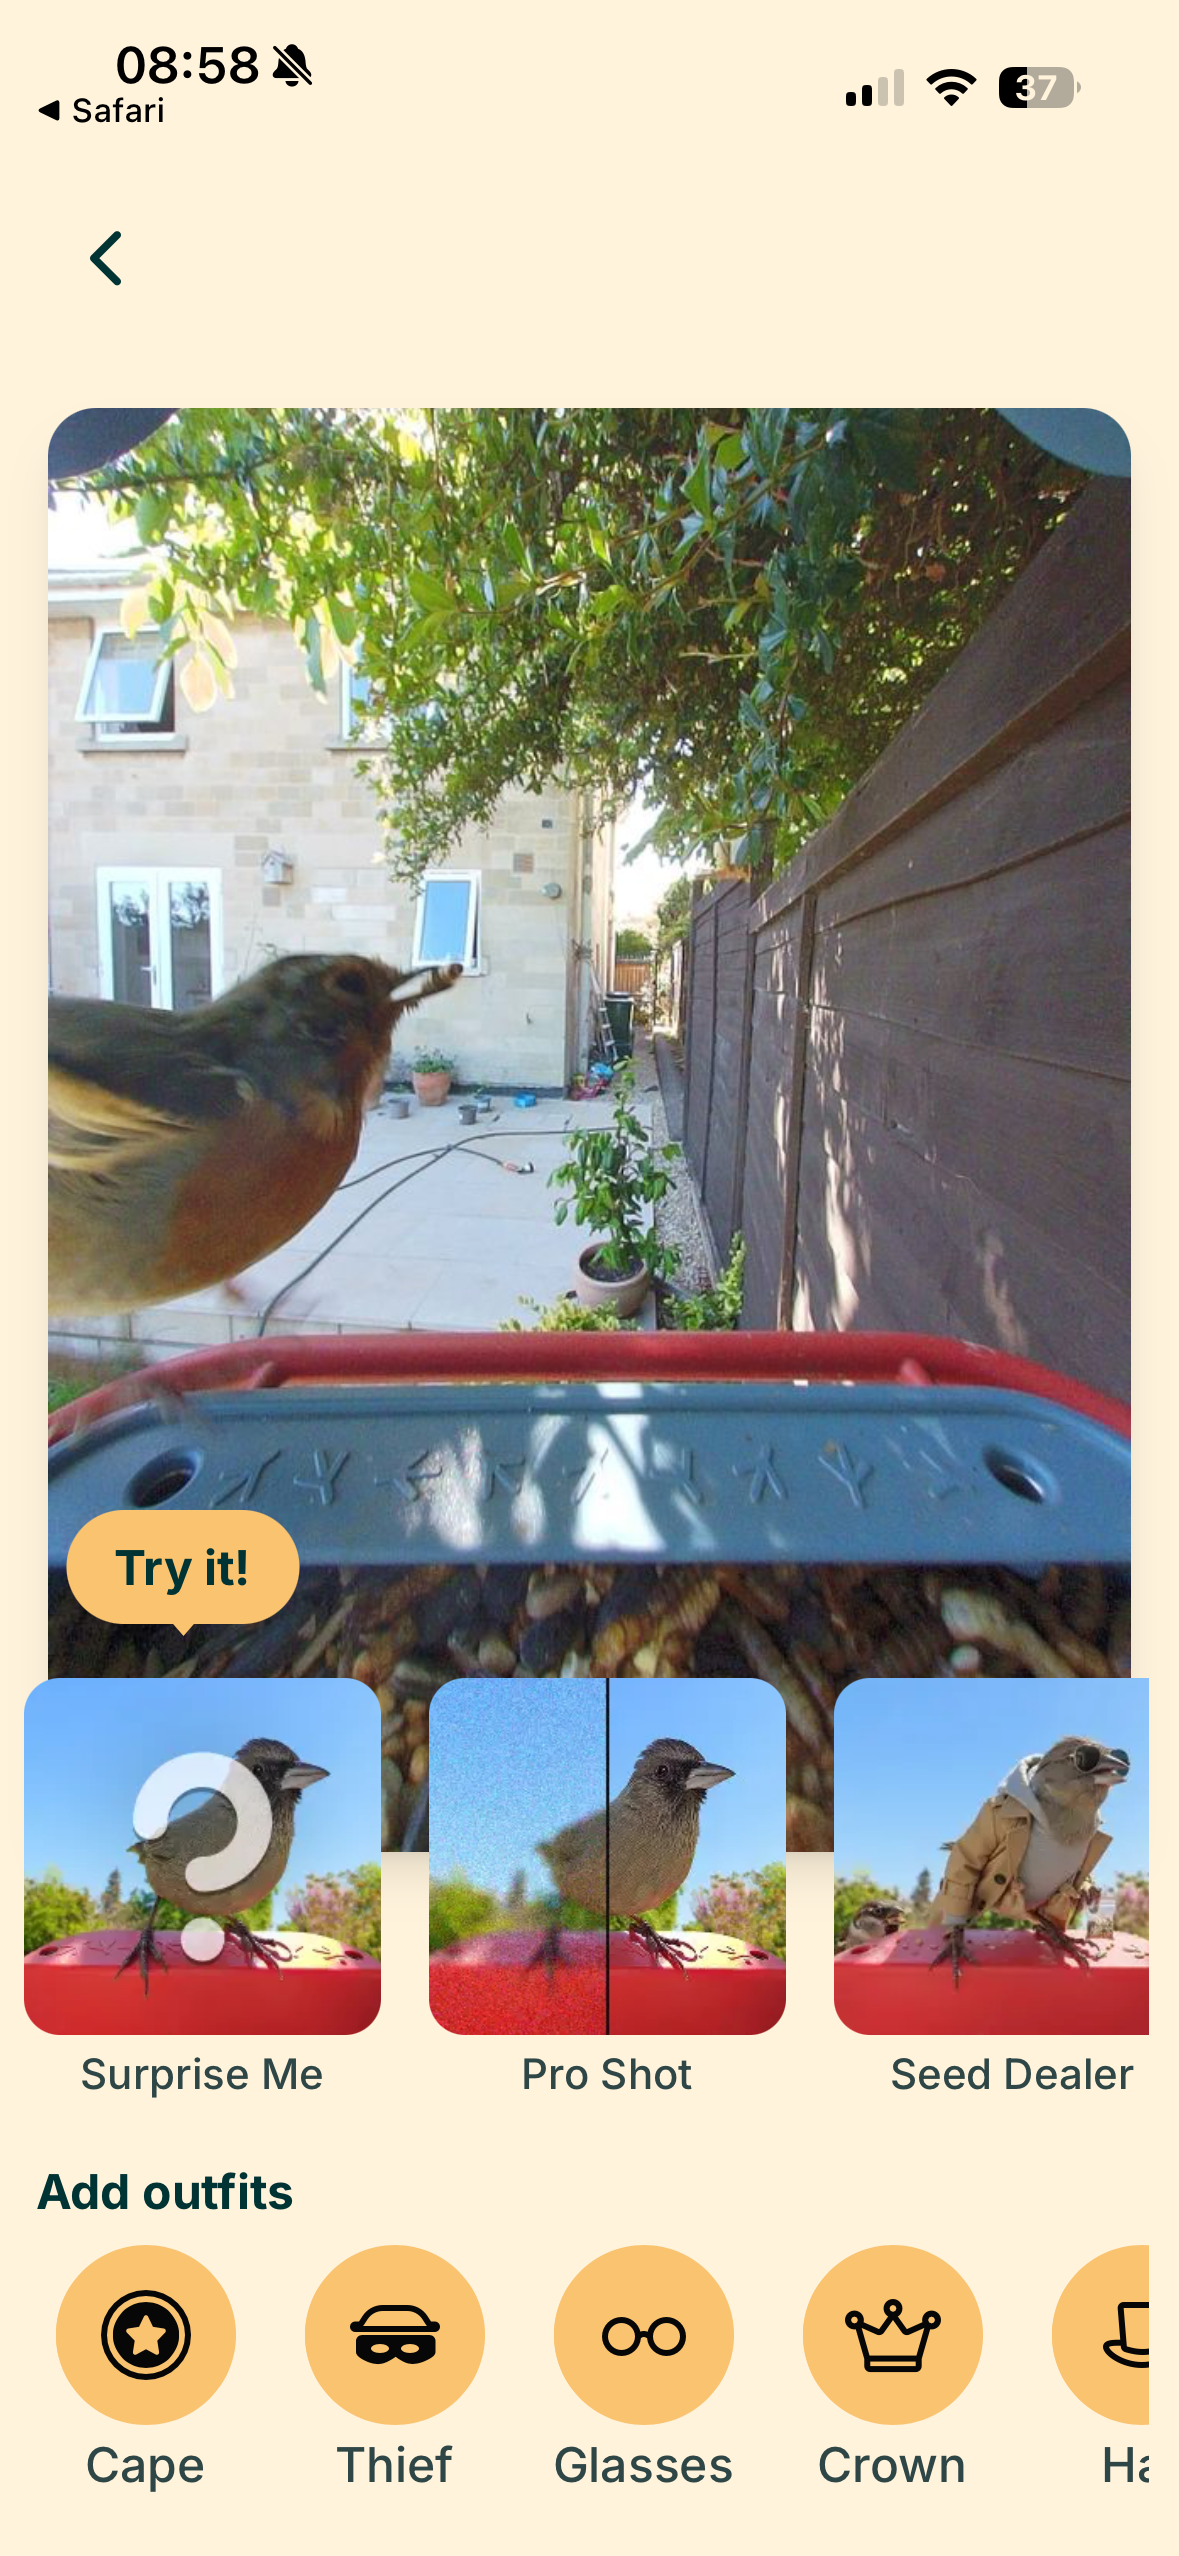
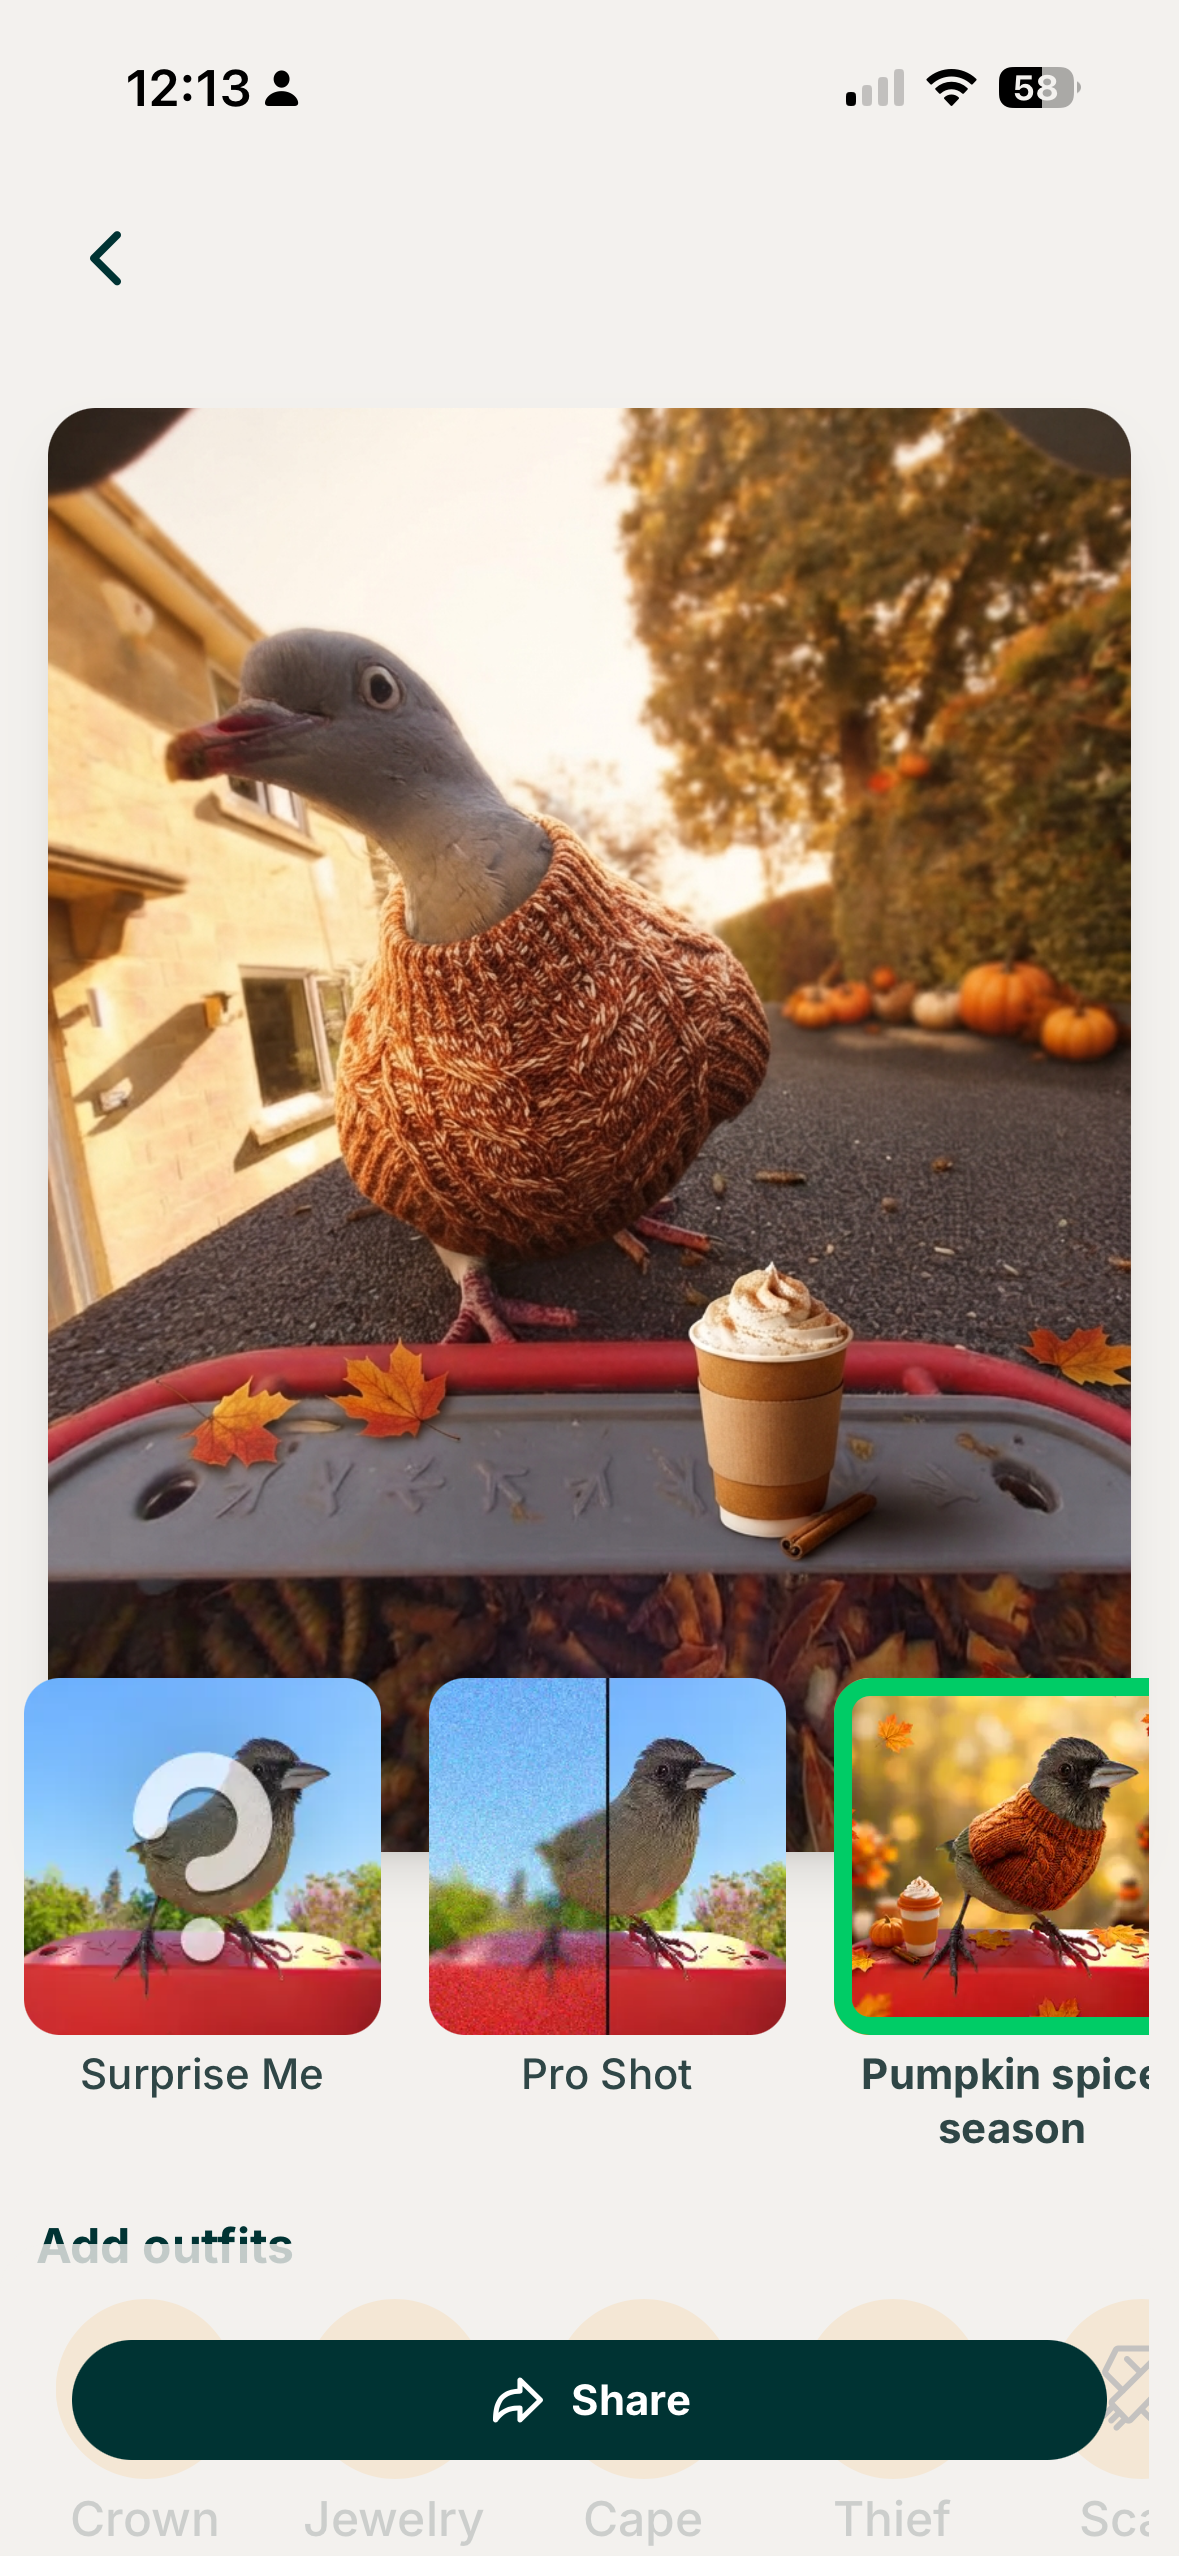
I'm not sold on the app feature to give images filters and birds outfits – but if it helps entice younger users into birdwatching, then maybe it's not such an awful idea. There's also a lot of educational content, with Birdy Buddy feeding you tidbits of facts about identified species.
I found live streaming to be occasionally laggy, sometimes not loading at all, and even when I set the camera to Frenzy Mode, the AI postcard capture missed birds I could clearly see sitting on the feeder from my kitchen window. It’s not the most reliable feeder I’ve used, and not ideal if you want to capture every single bird and build a picture of their visiting habits; however, it does stop your feed from getting clogged with thousands of similar clips.
Despite these niggles and quirks, I really enjoy the core experience. The AI bird identification is almost perfect, the postcard collection system provides a handy highlight reel, and the solar roof means near-continuous use.
The Bird Buddy 2 is a sleek, low-maintenance smart feeder with strong app design and best-in-class solar performance. For now, it earns its spot in my garden (and believe me, I have four smart feeders on the go), though I can’t help thinking about its price and hope tighter bird detection lands in future updates.


At $299 in the US and about £300 on Amazon UK, the Bird Buddy 2 sits firmly at the premium end of smart bird feeders. It demands a serious investment compared to standard single-camera setups and sits noticeably higher than competitors like the Birdfy range (even the dual-lens Birdfy Feeder 2 Pro at $279).
Bird Buddy is fully functional without a paid subscription, however, giving you AI species identification, live streaming, and daily Postcards for free. The Bird Buddy Pro subscription ($5.99/month or $59.99/year) is optional and unlocks longer video clips, 2K Ultra Resolution, Alexa integration, species-specific AI filtering and more.
US buyers can order directly from Bird Buddy or Amazon, but the brand doesn't currently ship the Gen 2 directly to the UK via its official site. That leaves Amazon UK (around £300) as the main route for UK buyers to get hold of one.
That price tag covers the built-in solar roof, but you don't get accessories like a wall mount in the box, and mounting poles are separate, too (less surprising). The Bird Buddy 2 is undoubtedly a steep purchase, with extra costs for the Premium features like 2K Ultra footage. I think a handful of keen and more technically-minded birders spending this much might feel short-changed.
Feature | Specification |
|---|---|
Sensor | 1/2.8" |
Photo quality | 5MP - HDR, 66–150mm (2.6–5.9 in) focus range with a 135-degree FOV |
Video quality | Up to 2K @ 30fps (with HDR), Slow motion up to 95-120fps @ 960p |
Memory | N/A - online storage |
Dimensions | 160 (W) x 230 (H) x 175 mm(D) |
Weight | 600 g (approx. empty) |
Weather resistance | IP67 Certified |
Battery | 3900 mAh rechargeable lithium-ion |
Connectivity | Dual-band Wi-Fi (2.4 GHz / 5 GHz) and Bluetooth |
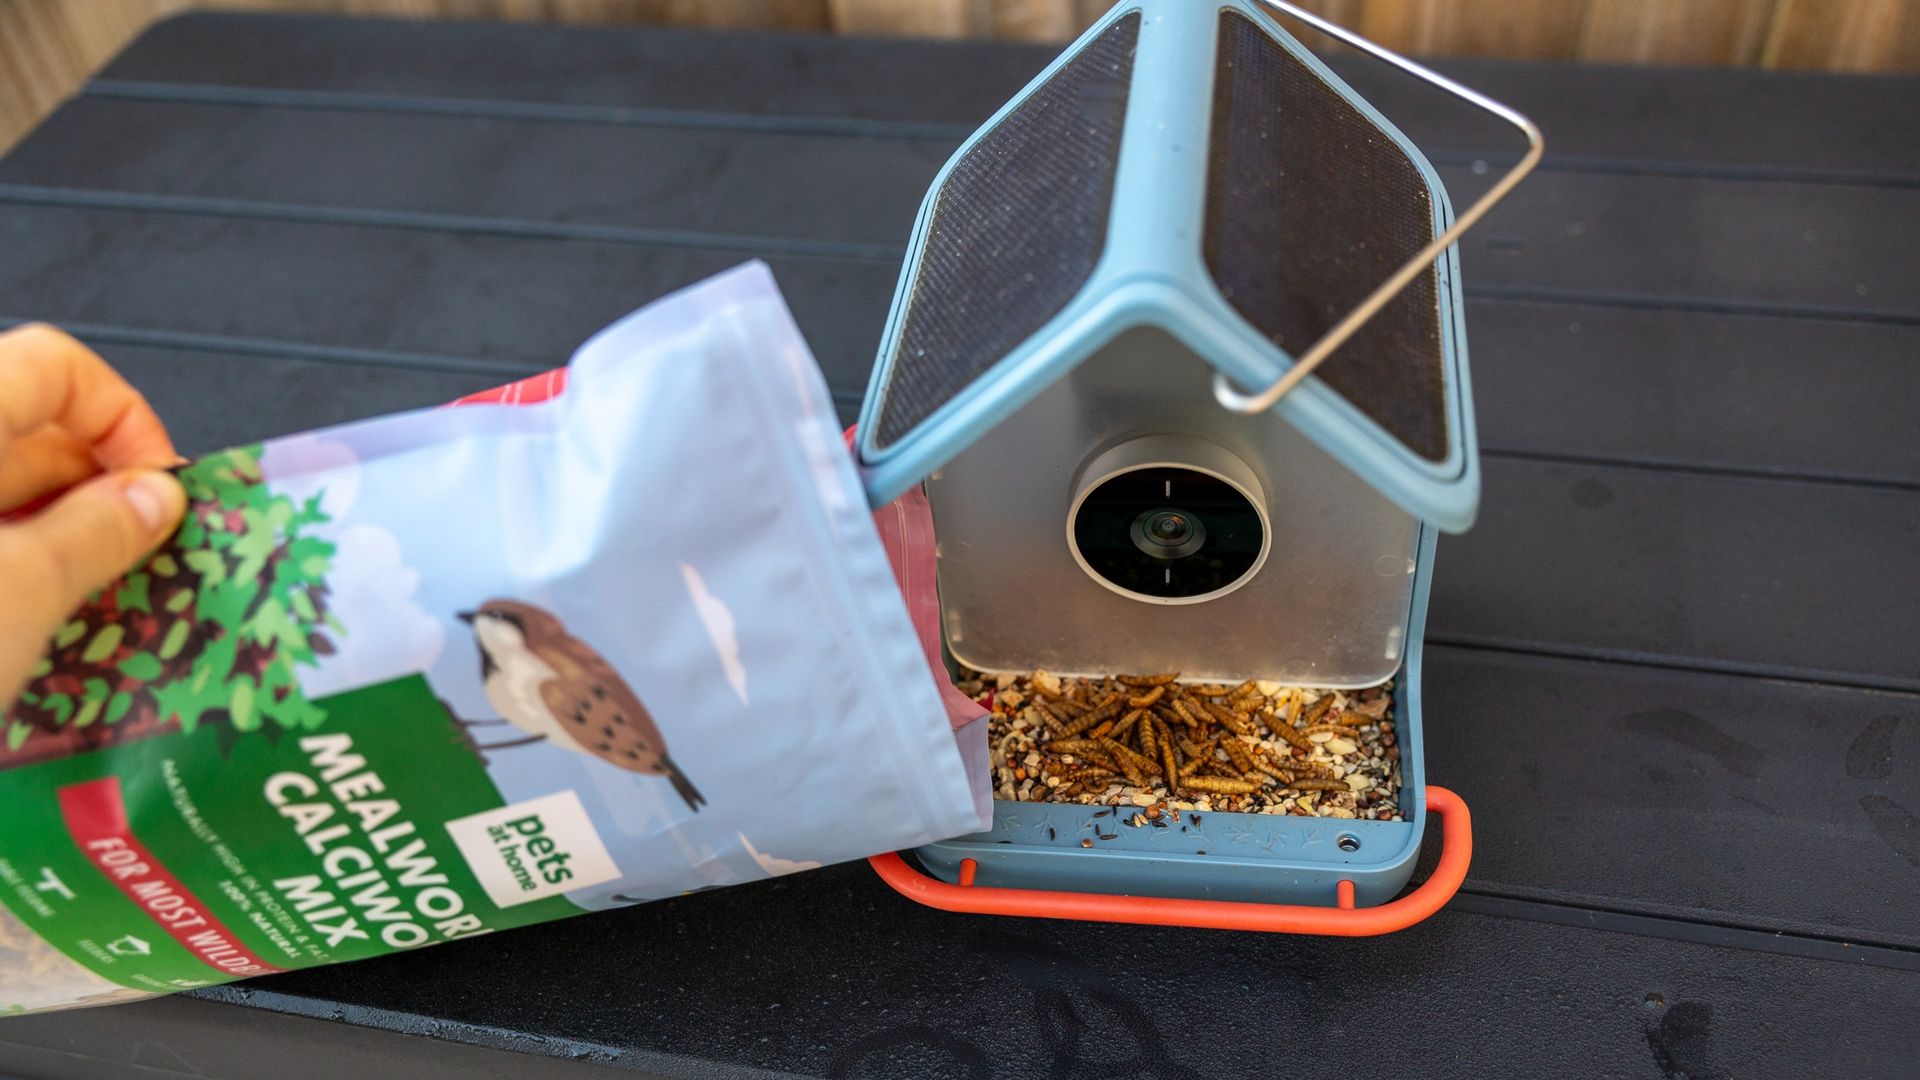
I found setting up the Bird Buddy 2 pretty painless; a booklet in the box details assembly, plus an app walkthrough. Like all smart feeders, you need to download the app first, then follow a series of illustrated steps to set up the Wi-Fi connection between your phone and the camera. It takes no more than five minutes and has been well thought through.
Initially, I connected the Bird Buddy 2 to my main internet router (likely about 12 metres away), as it said there was a strong signal. But each day I checked the app status, and it flagged that there was a low, unstable signal, and this may affect the number of postcards I was getting. Well, reader, it did just this, as I regularly watched a couple of blue tits land, feast and fly off from my kitchen window without any notifications.
I then added a wireless extender much closer to the garden and the camera. You can't change the Wi-Fi network on the camera directly in the app and instead have to factory reset the device and pair it again as a new one. This doesn’t lose postcards and your history as I thought it would; it’s more just a faff.
I’ve tested over ten smart bird feeder cams in my garden before, and the Bird Buddy 2 stands out for its clean aesthetics. It’s still plastic (recycled ASA plastic with an IP67 weather rating) rather than wood or bamboo, but the housing feels solid and has resisted any signs of UV fading over a very hot, bright British summer. Crucially, I’ve also found it fairly easy to keep clean, but you can't dunk the whole feeder in water to avoid getting the USB-C charging point wet.
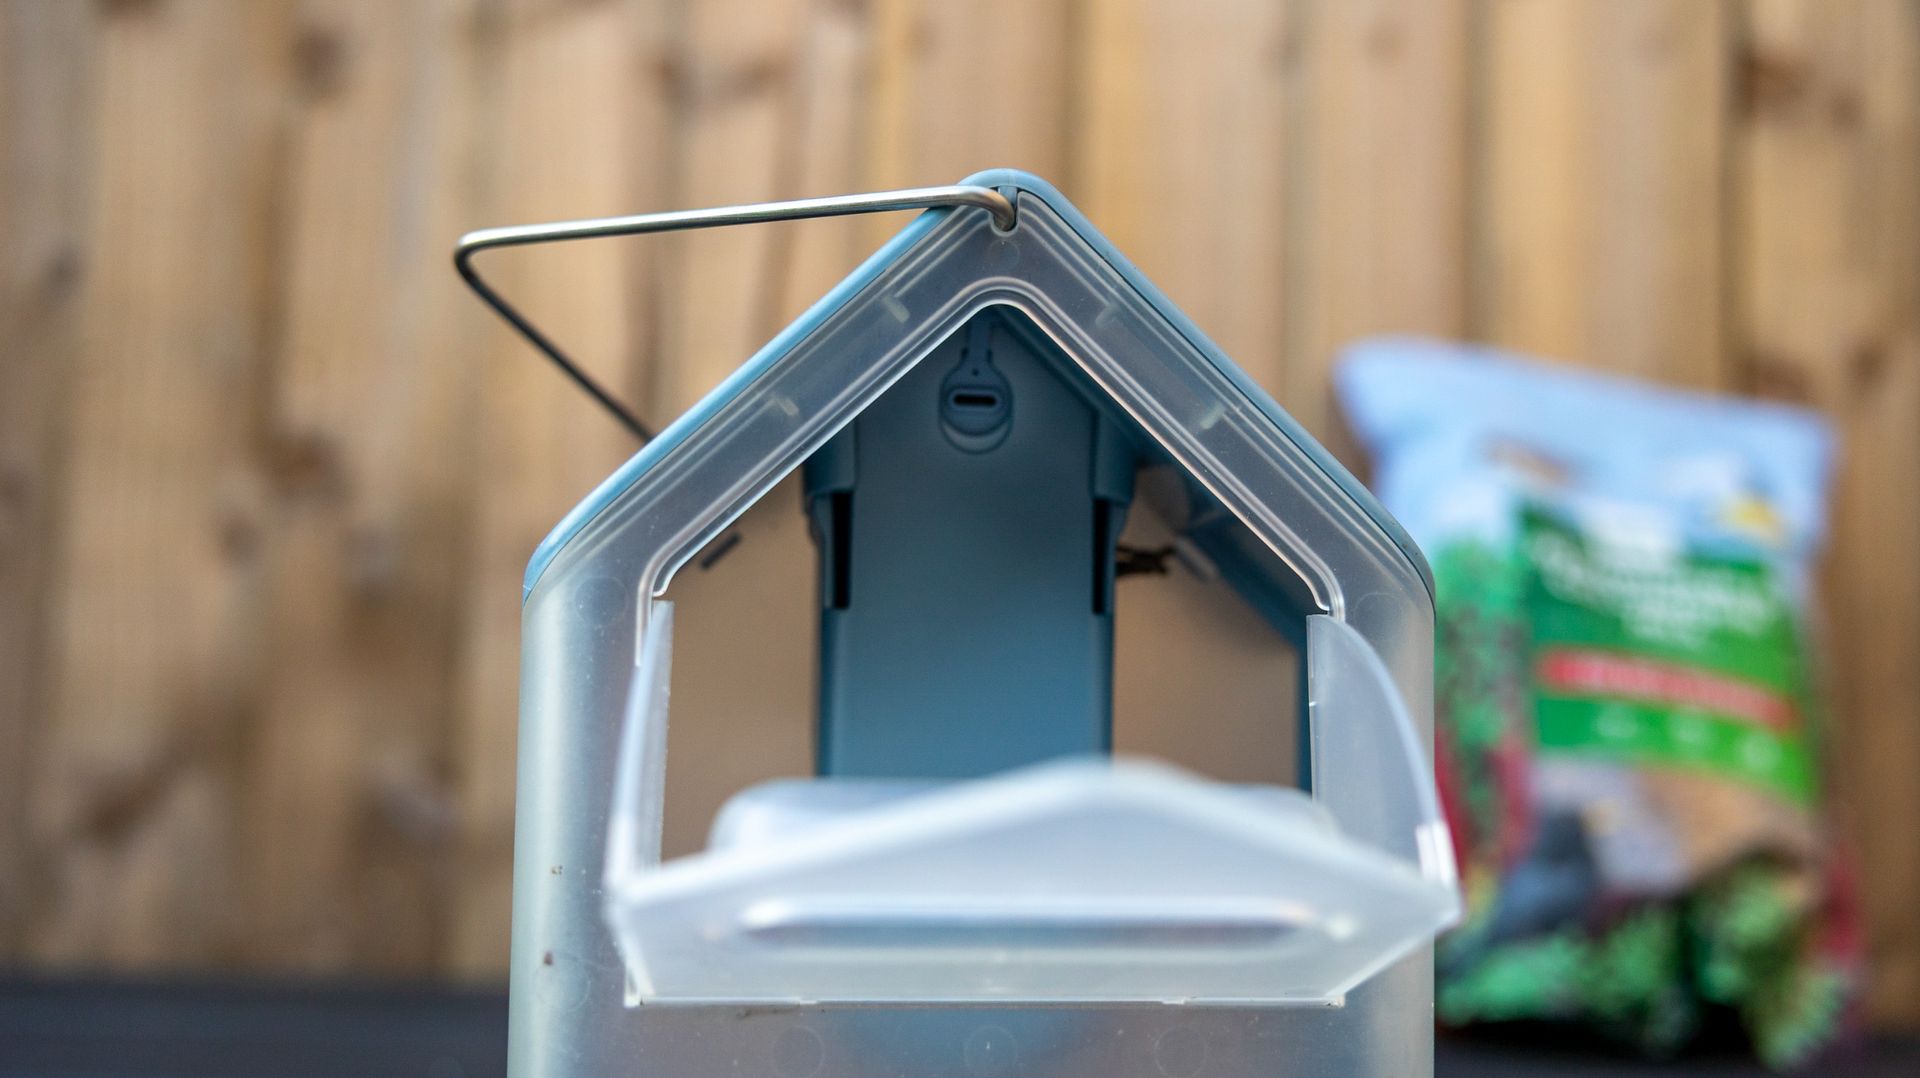
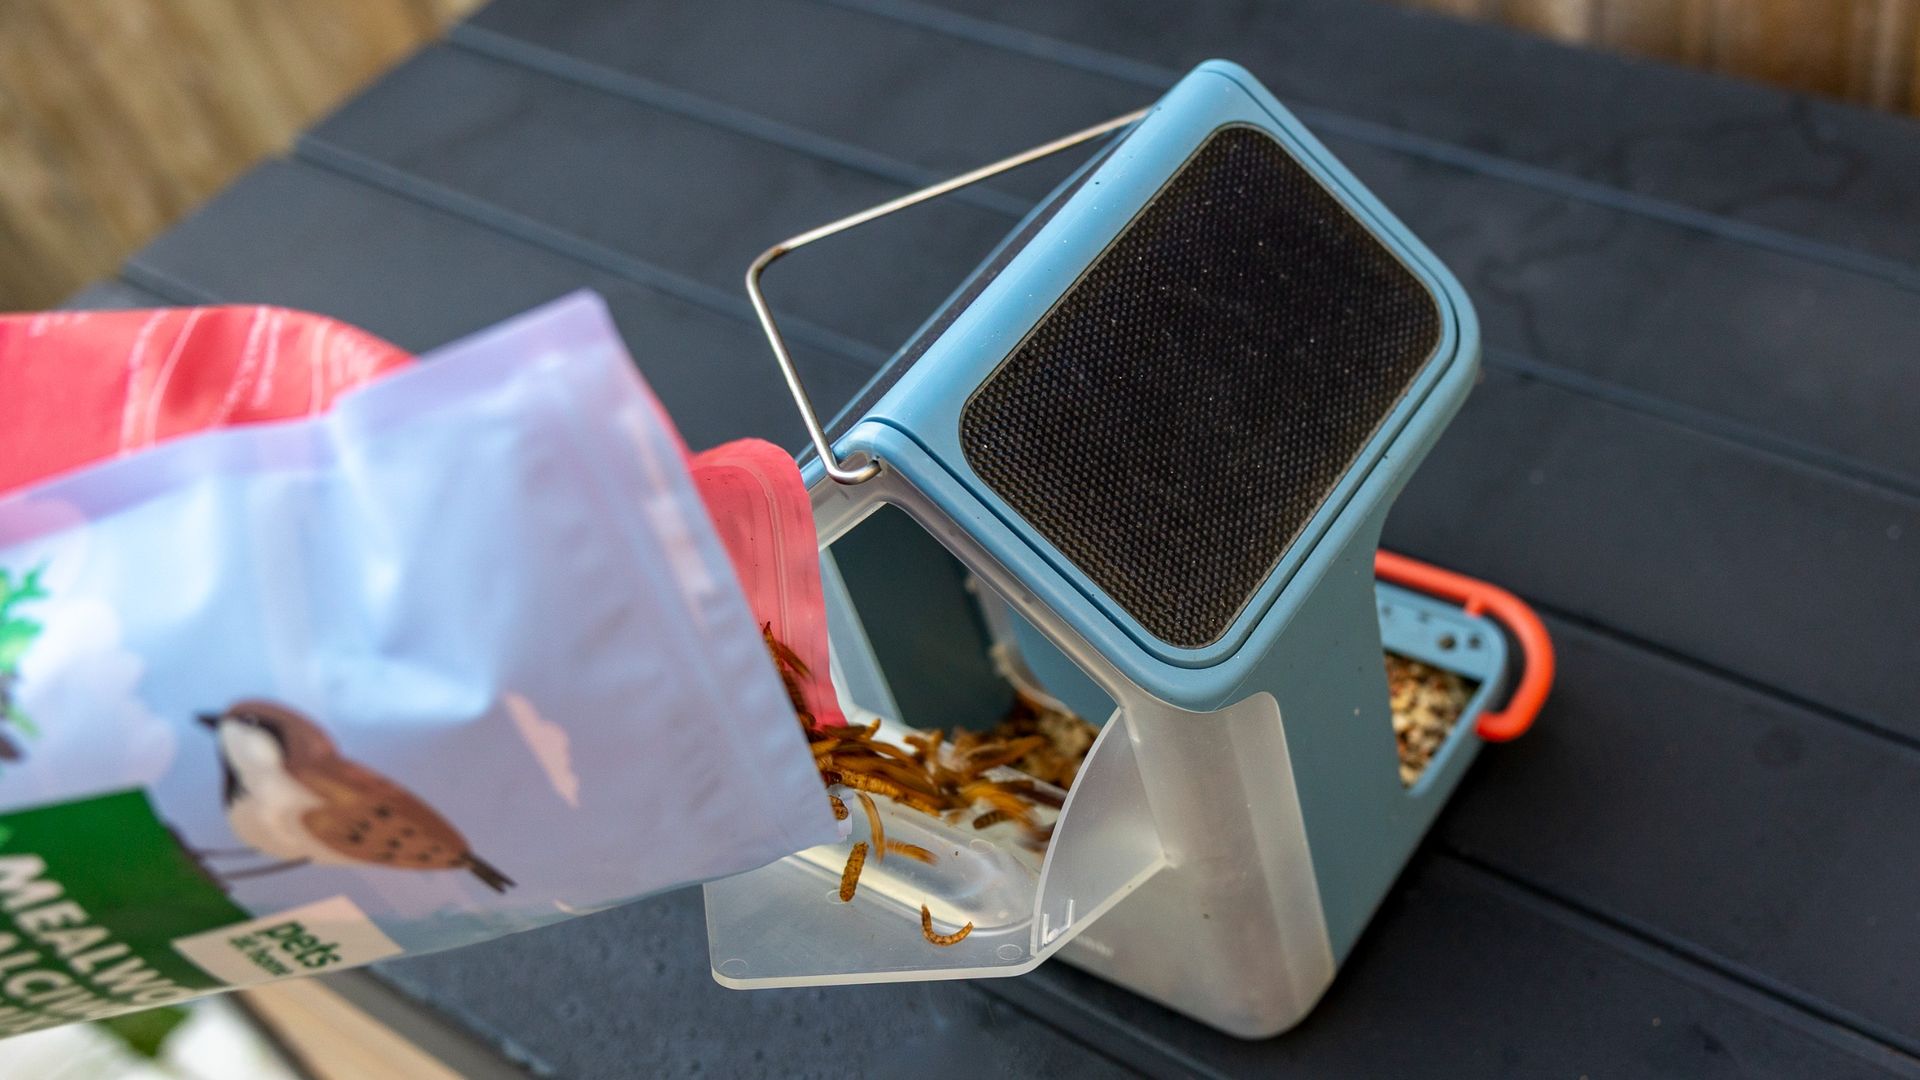
On earlier units, you could pop the camera out to charge and leave the feeder hanging outside. With the Gen 2, because the solar roof and camera housing are wired together, offline charging requires unhooking the entire dirty feeder or wrestling with the mounting bracket outdoors. At least the solar roof panels sit flush against the top without trailing cables or awkward side arms. Top-ups are easy thanks to a rear-sliding tray that lets you pour seed in without spilling. There’s less room for access than other feeders I’ve tried where the lid totally comes off, but it’s nice and secure.
The biggest design change on this second-generation unit is its circular, rather than pill-shaped camera module. It attaches in a magnetic socket behind a scratch-resistant Gorilla Glass lens, and can be twisted 90 degrees to flip between vertical (9:16) and widescreen (16:9) modes on the fly. For bird photographers who are more accustomed to landscape framing, I think it’s a welcome addition.
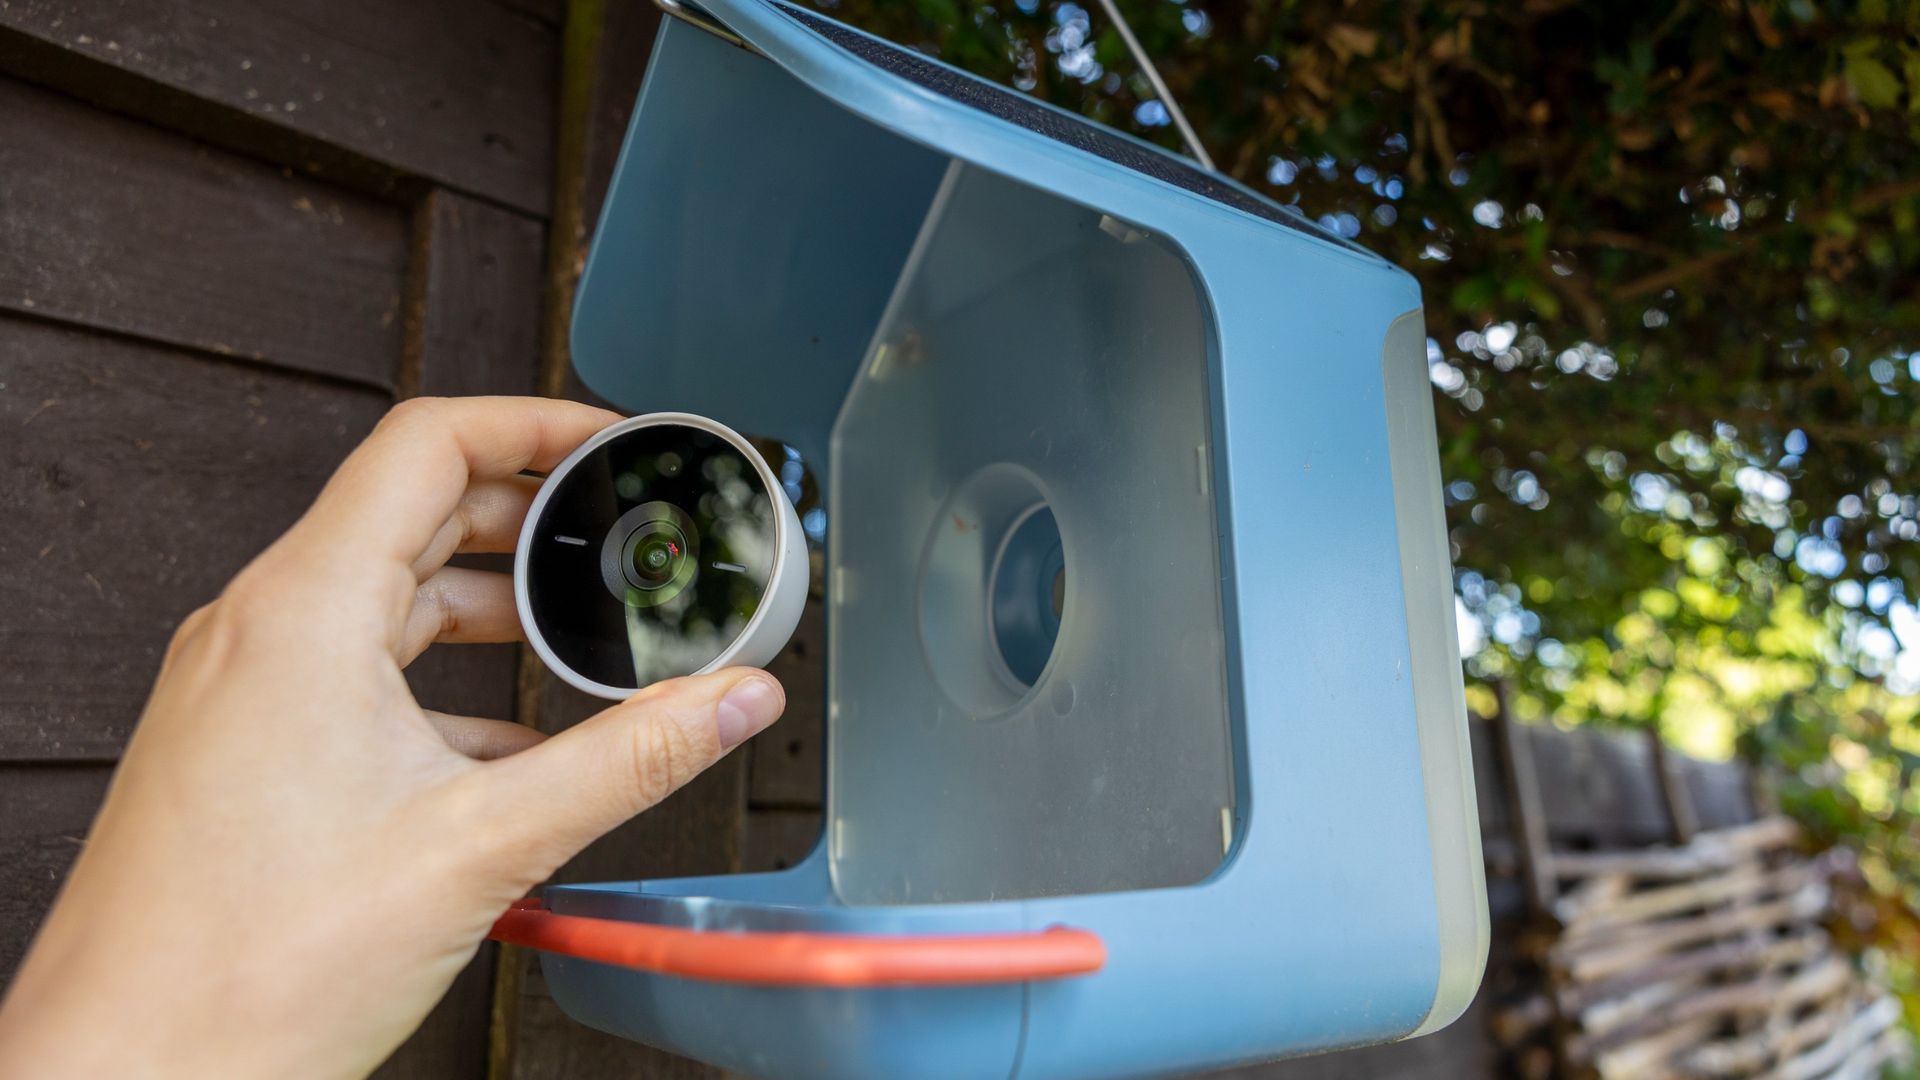
However, I found that the seed tray depth negates some of the benefits of having two different views. Because the tray floor sits close to the lens mount, small garden birds often drop low into the seed to feed. In both portrait and landscape orientation, this leaves their bodies cut off by the bottom lip of the frame, resulting in video clips that showcase plenty of background trees but only the top of a bird's head.
There are several ways to mount the Bird Buddy 2. The easiest is to use the metal hanger wire included in the box, which keeps the feeder suspended from a hook or branch in your garden. I used this option and found the wire very strong, though the Feeder did sway slightly in high winds.
A bottom bracket adapter is included in the box, though Bird Buddy sells a metal mounting pole separately. A wall mount for fence panels and outside walls is another optional add-on, which is a shame, as rival Birdfy usually includes this option in the box.
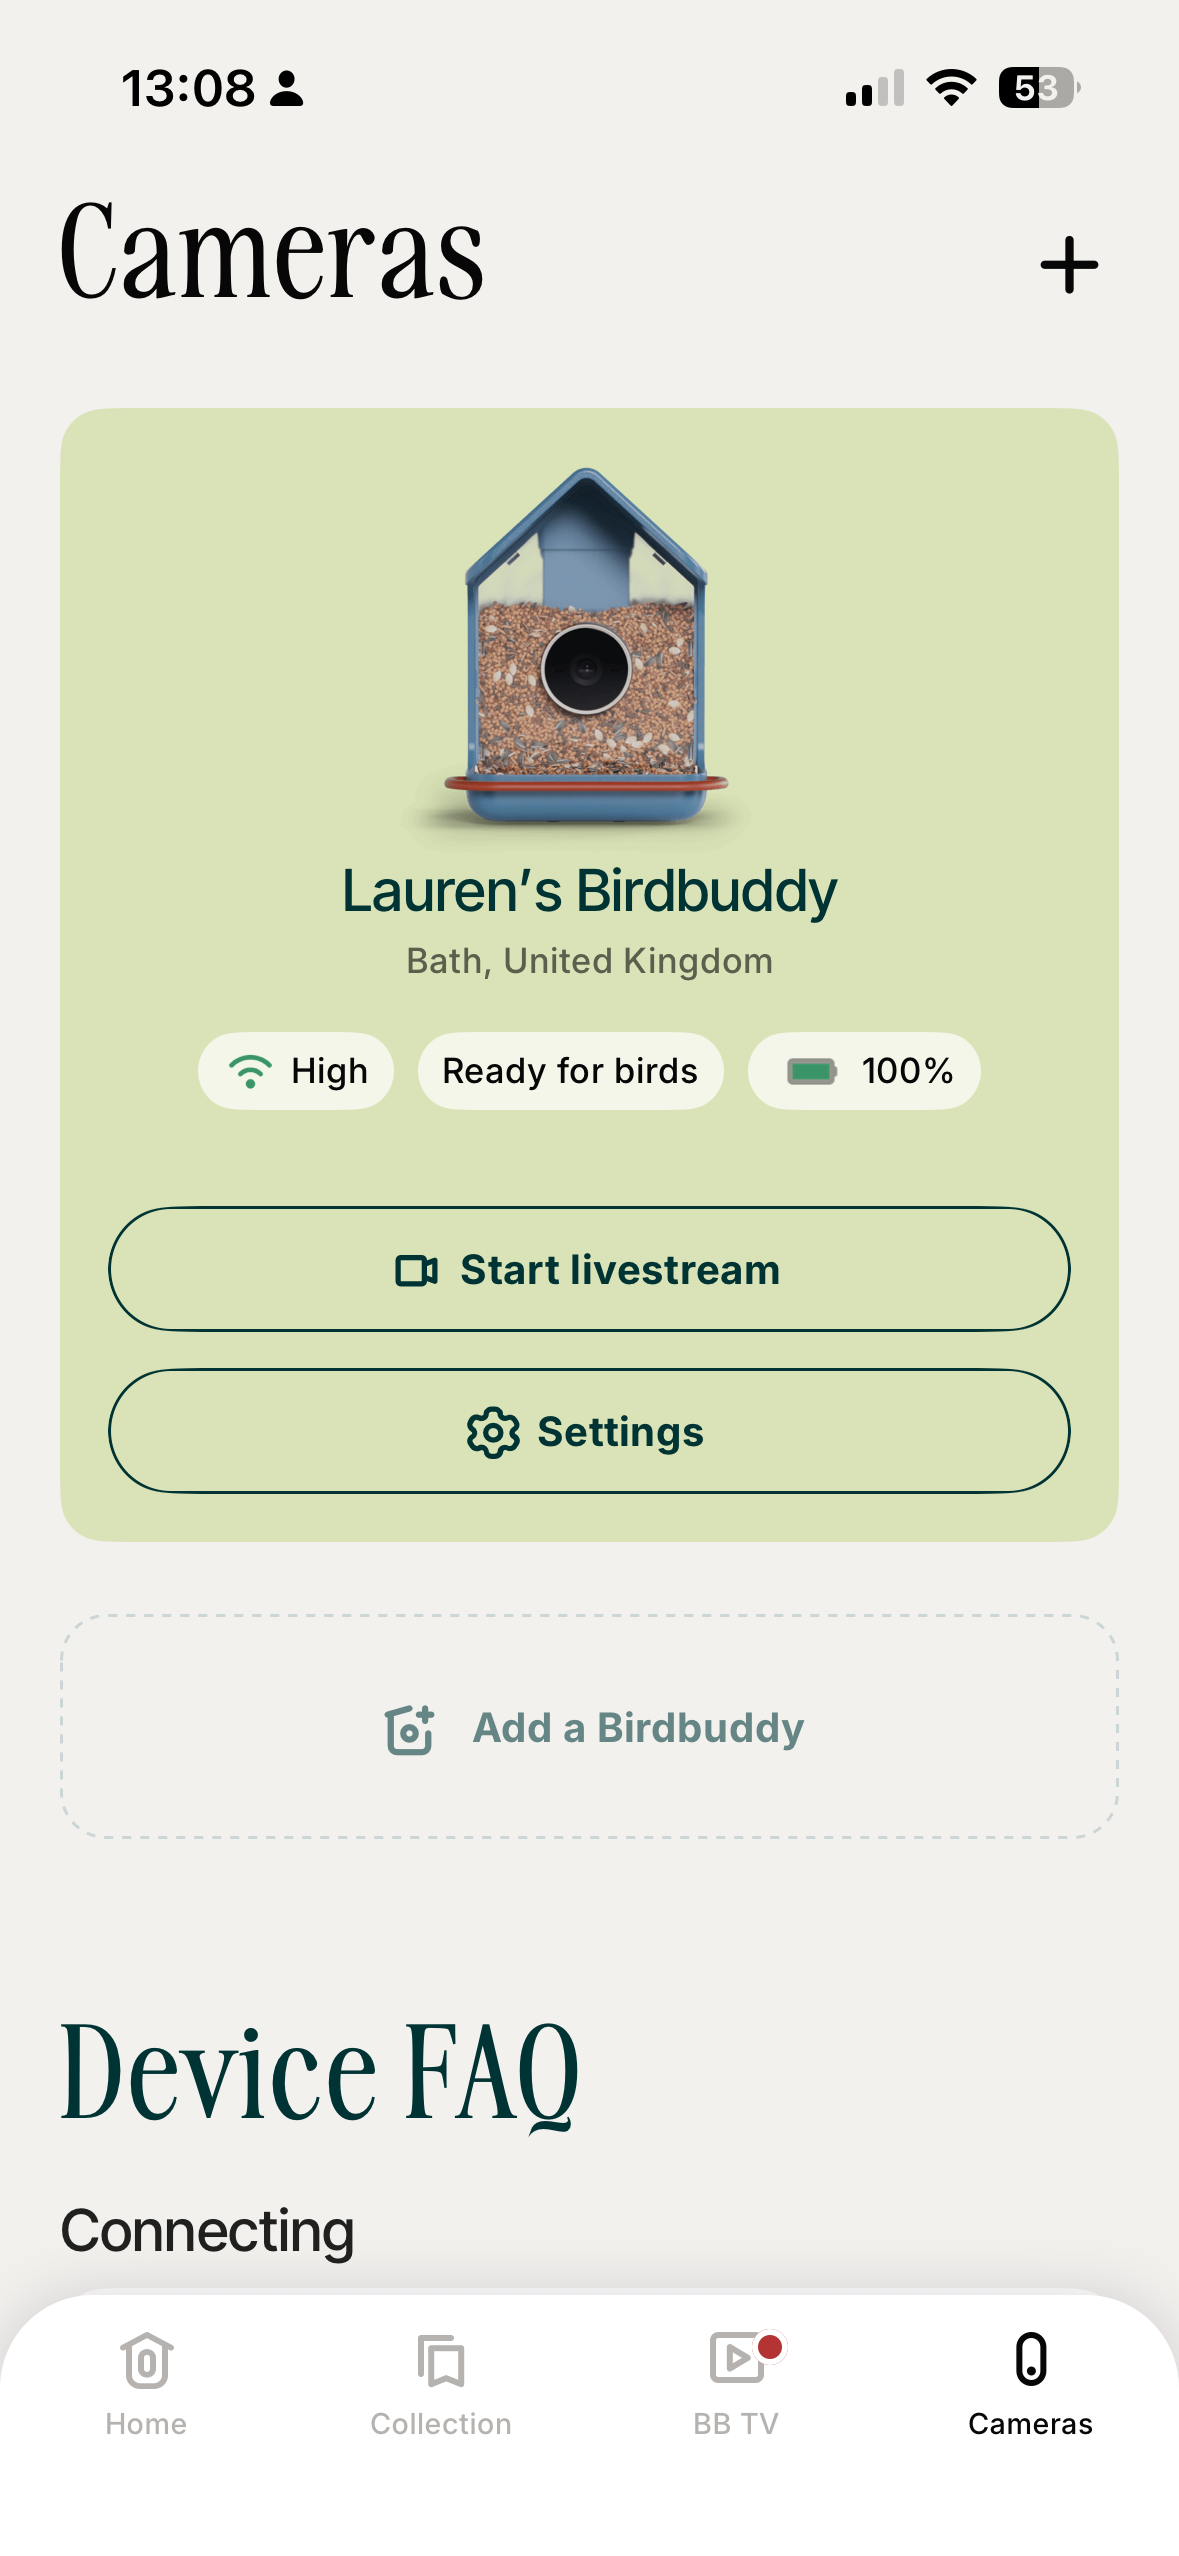
If there’s one good reason to buy the Bird Buddy 2, it is the battery performance. Over six months of continuous outdoor use, the solar roof kept the battery topped up continuously and is still at 100% as I write this review. I haven't needed to bring the camera inside to plug it into a wall outlet even once—a massive win for an outdoor smart device—even if I have had to bring it in for cleaning and firmware updates.
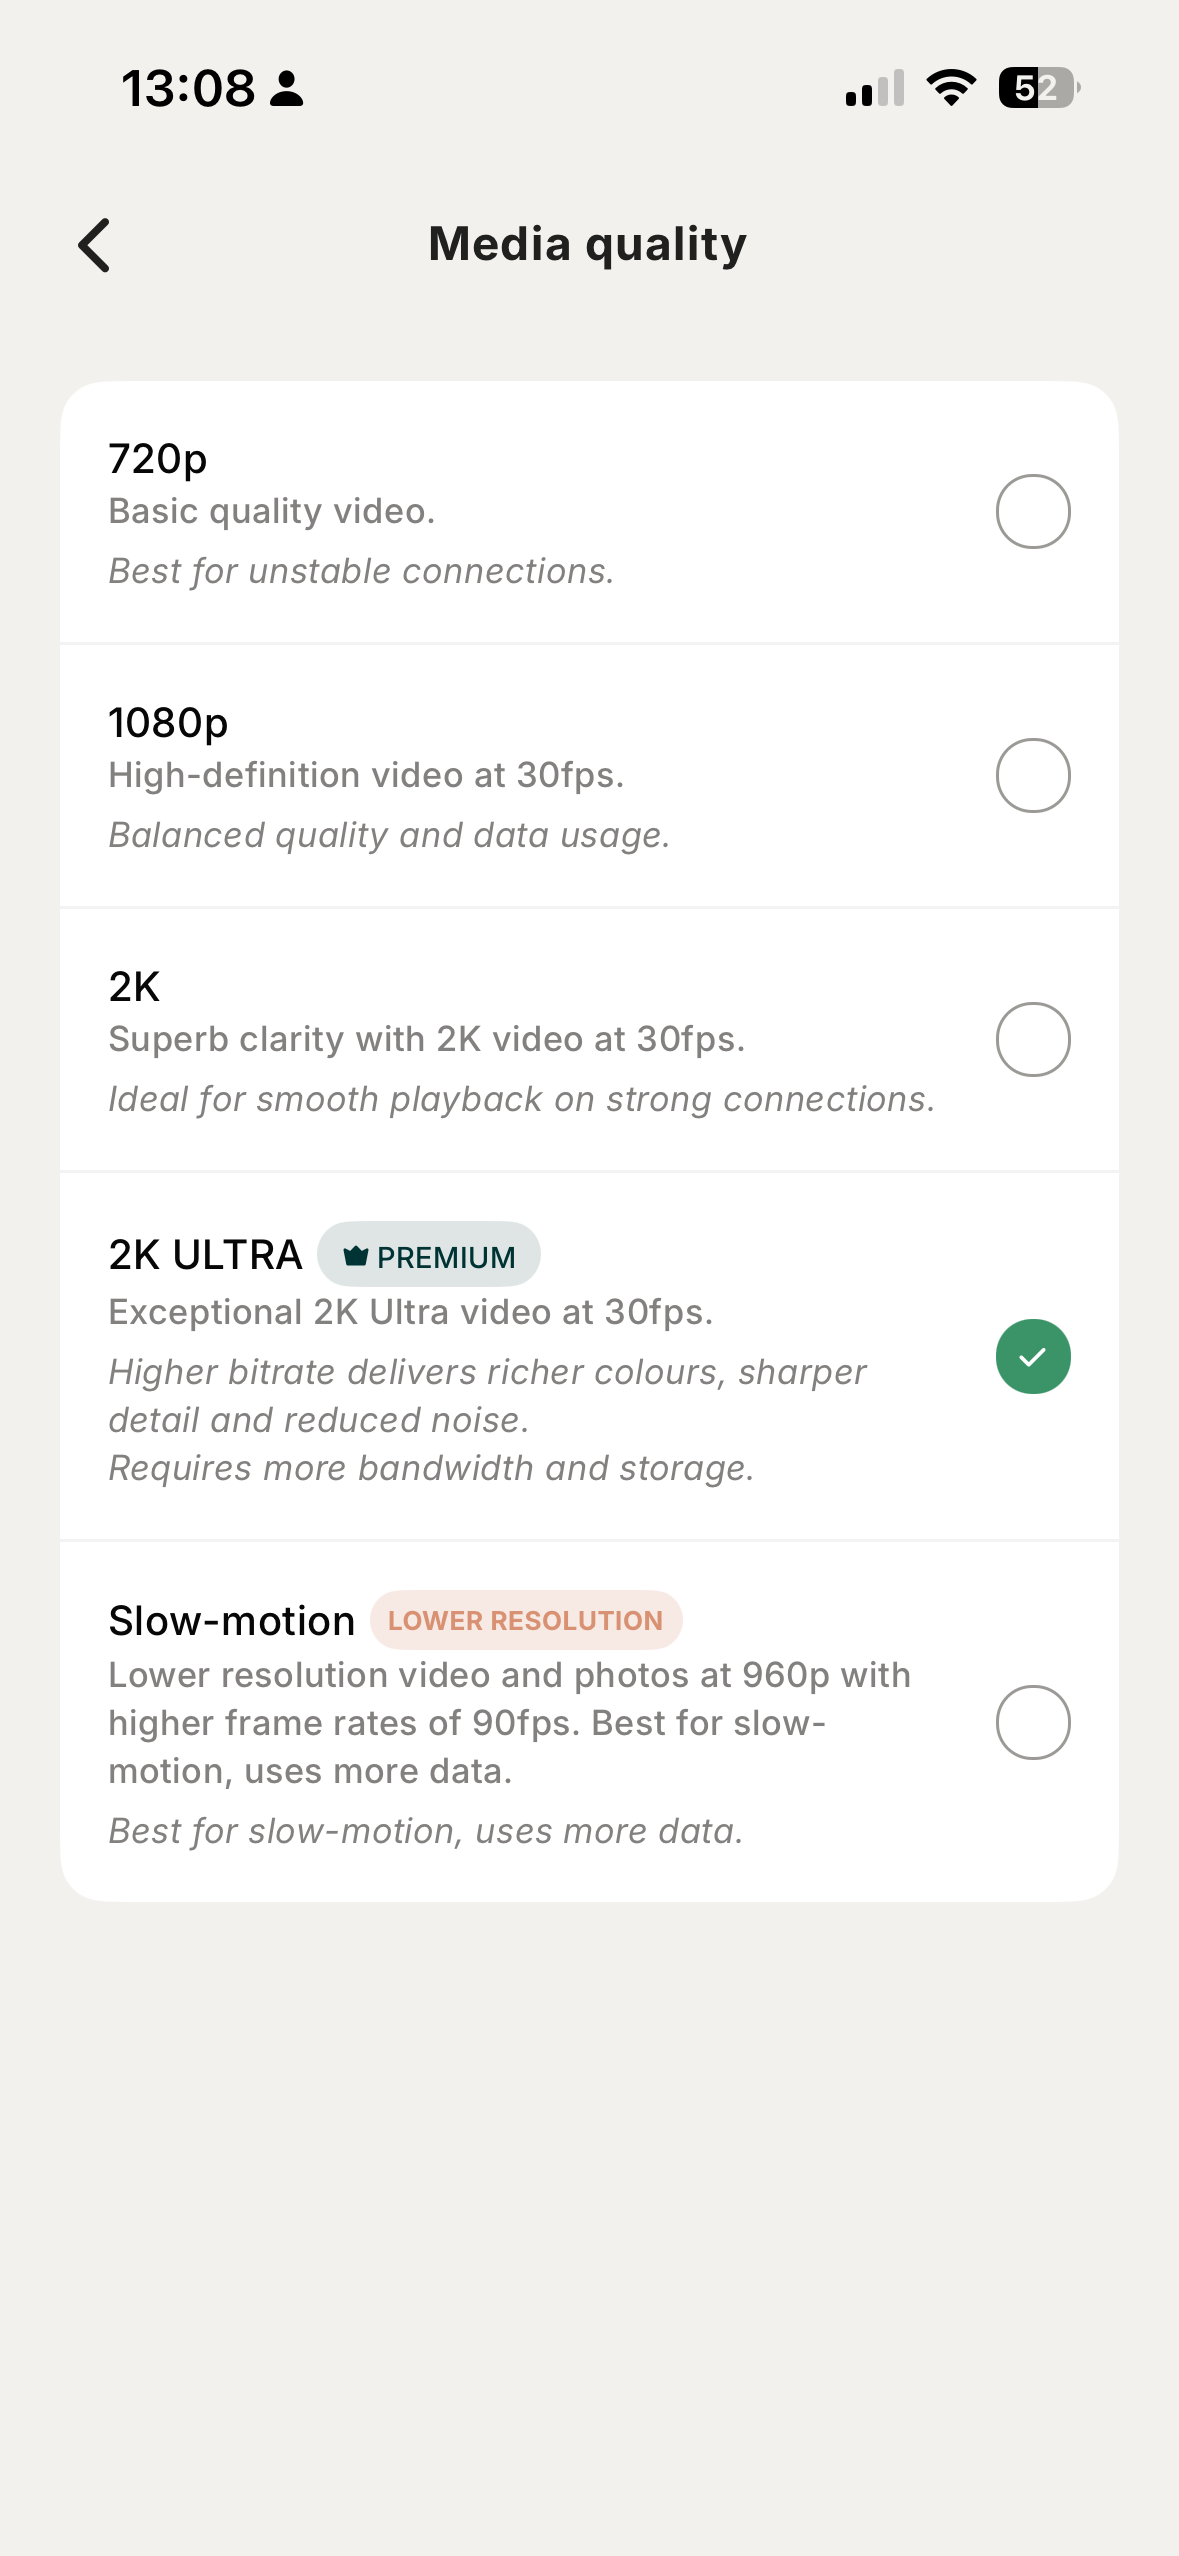
Like any camera, the Bird Buddy 2’s image quality depends on the light quality. When mounted in gentle, direct sunlight, I found the 1080p videos and 5MP photos captured were crisp and vibrant. Close-ups show some feather textures, eye reflections, and accurate colors, particularly on bright birds like blue tits. The 2K Ultra footage (available to premium users) truly has the sharp look you might expect at a $299 / £300 price point.
For smartphone viewing and social media sharing, both the 1080p and 2K Ultra clips look great – colorful, sharp, instantly recognizable, and easy to download and share to your camera roll. It's a shame that the downloaded images have the Bird Buddy watermark, but this isn't unique to the brand.
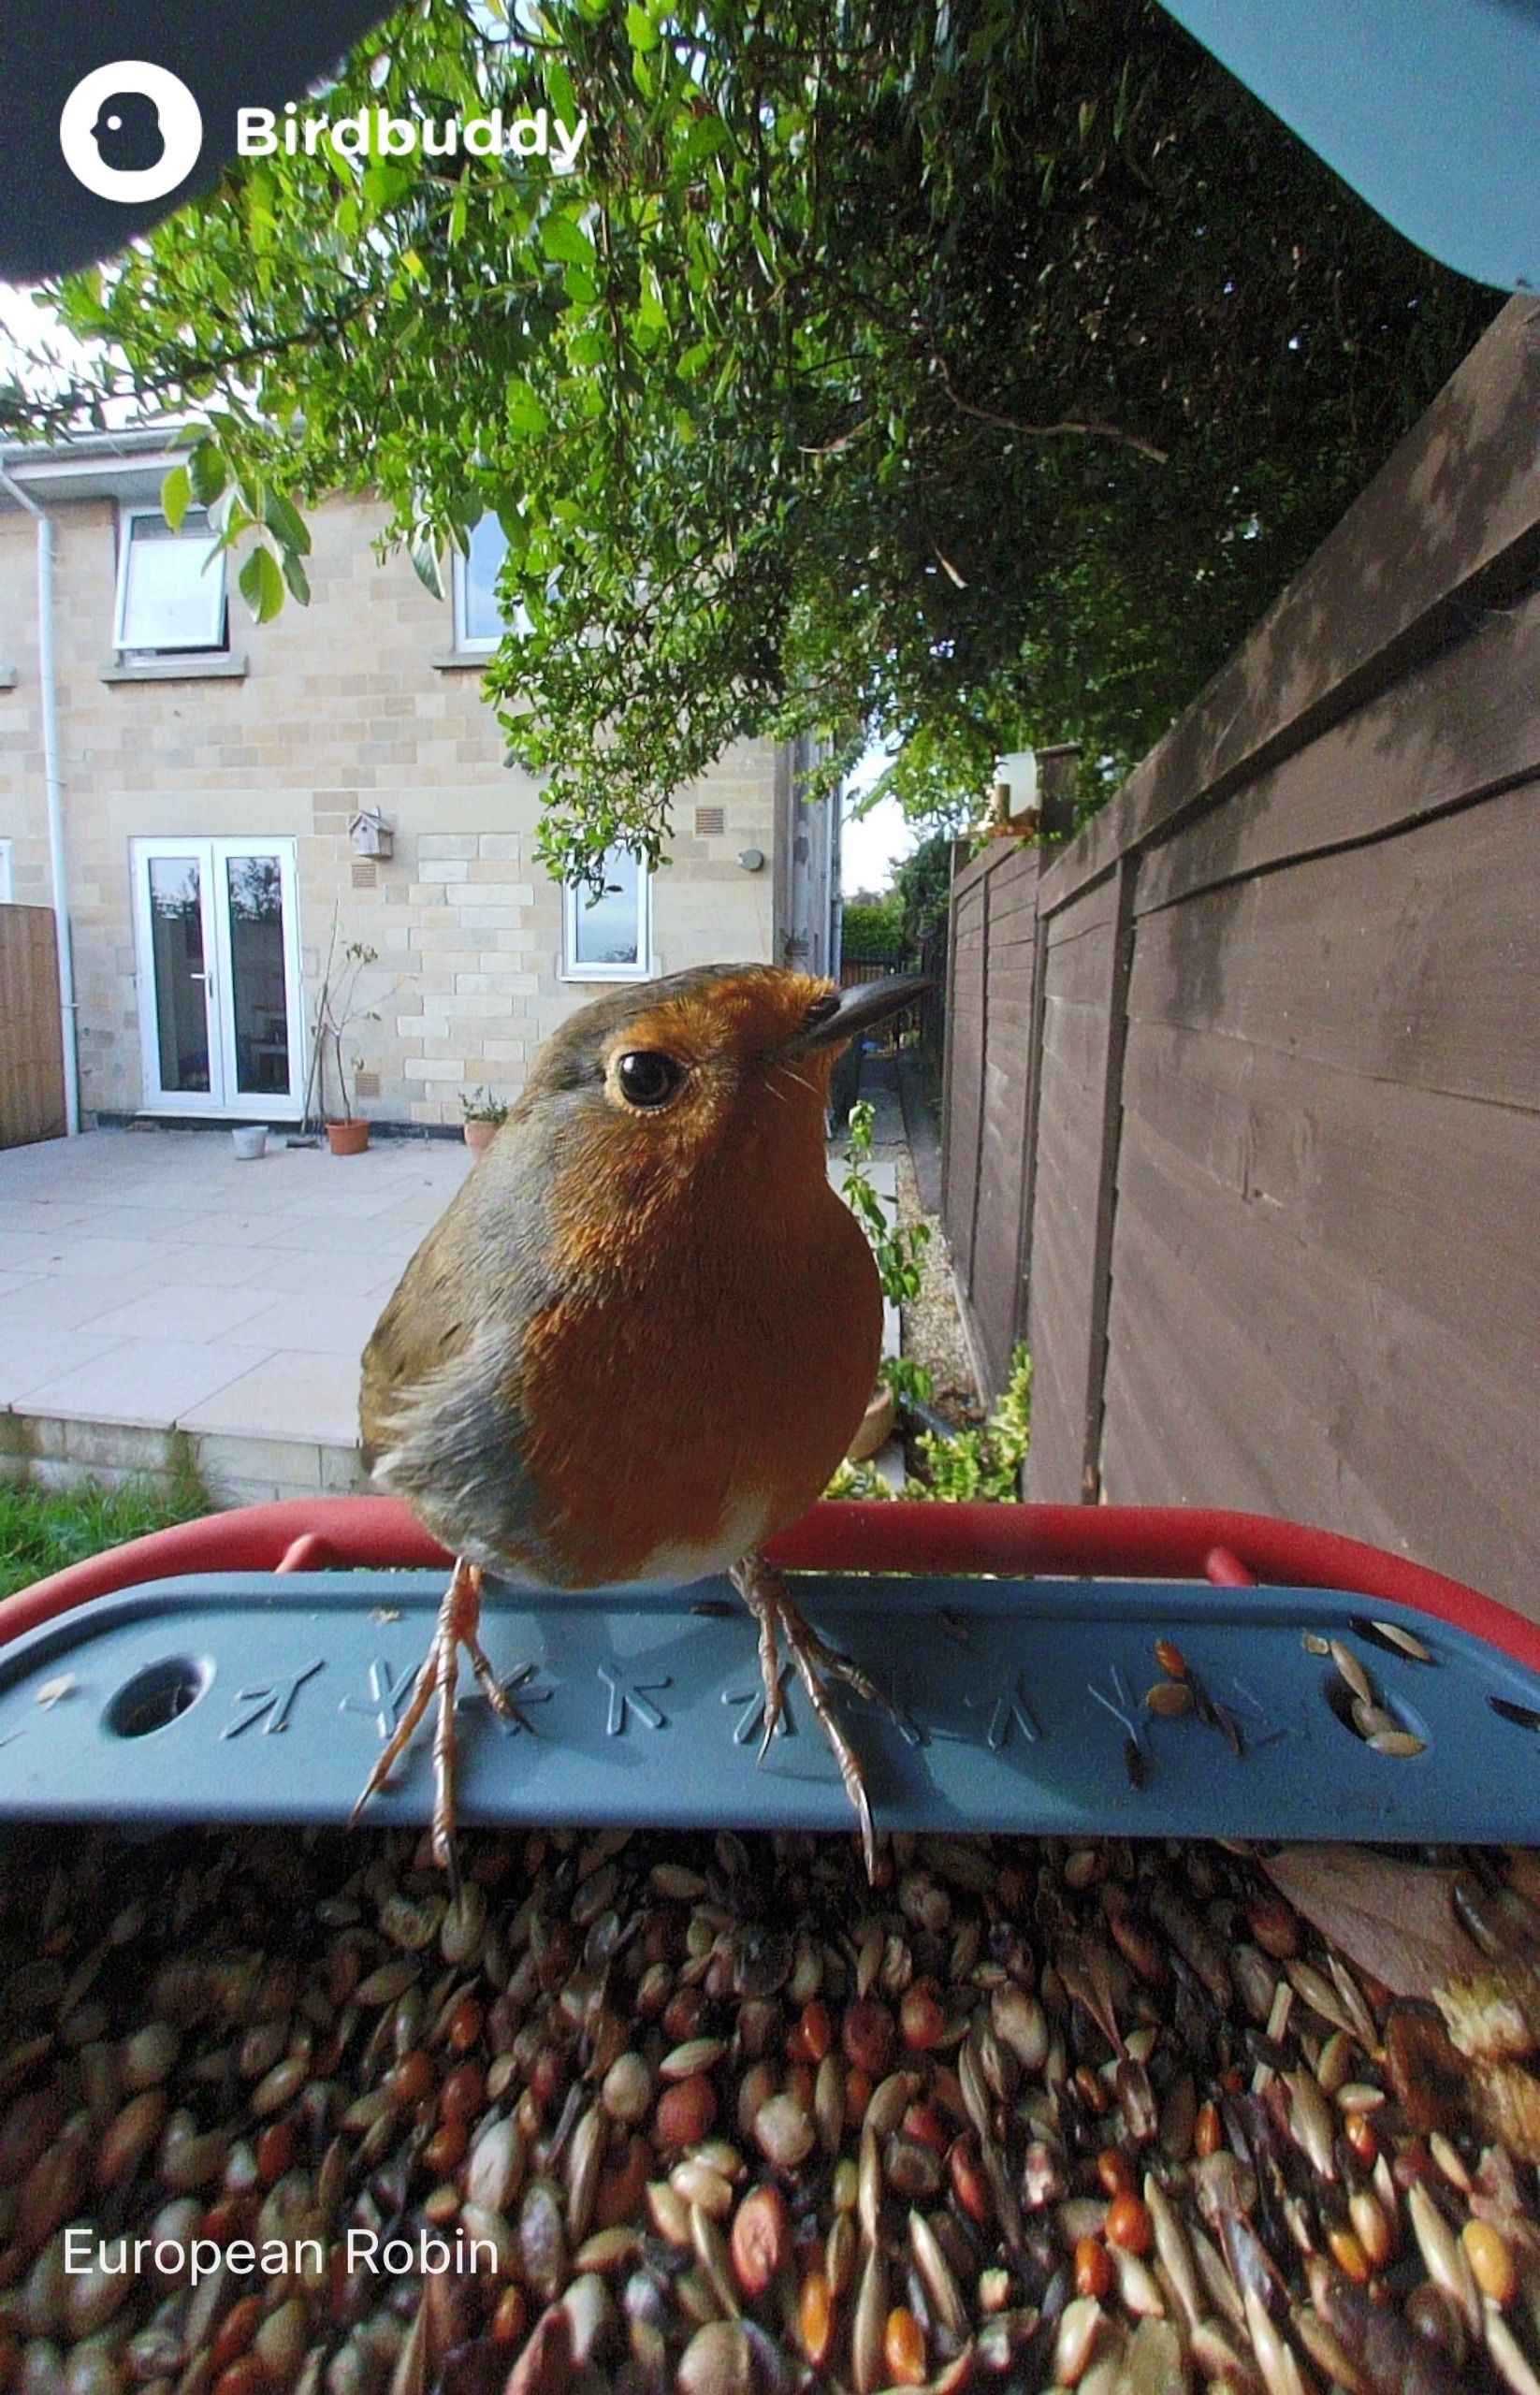
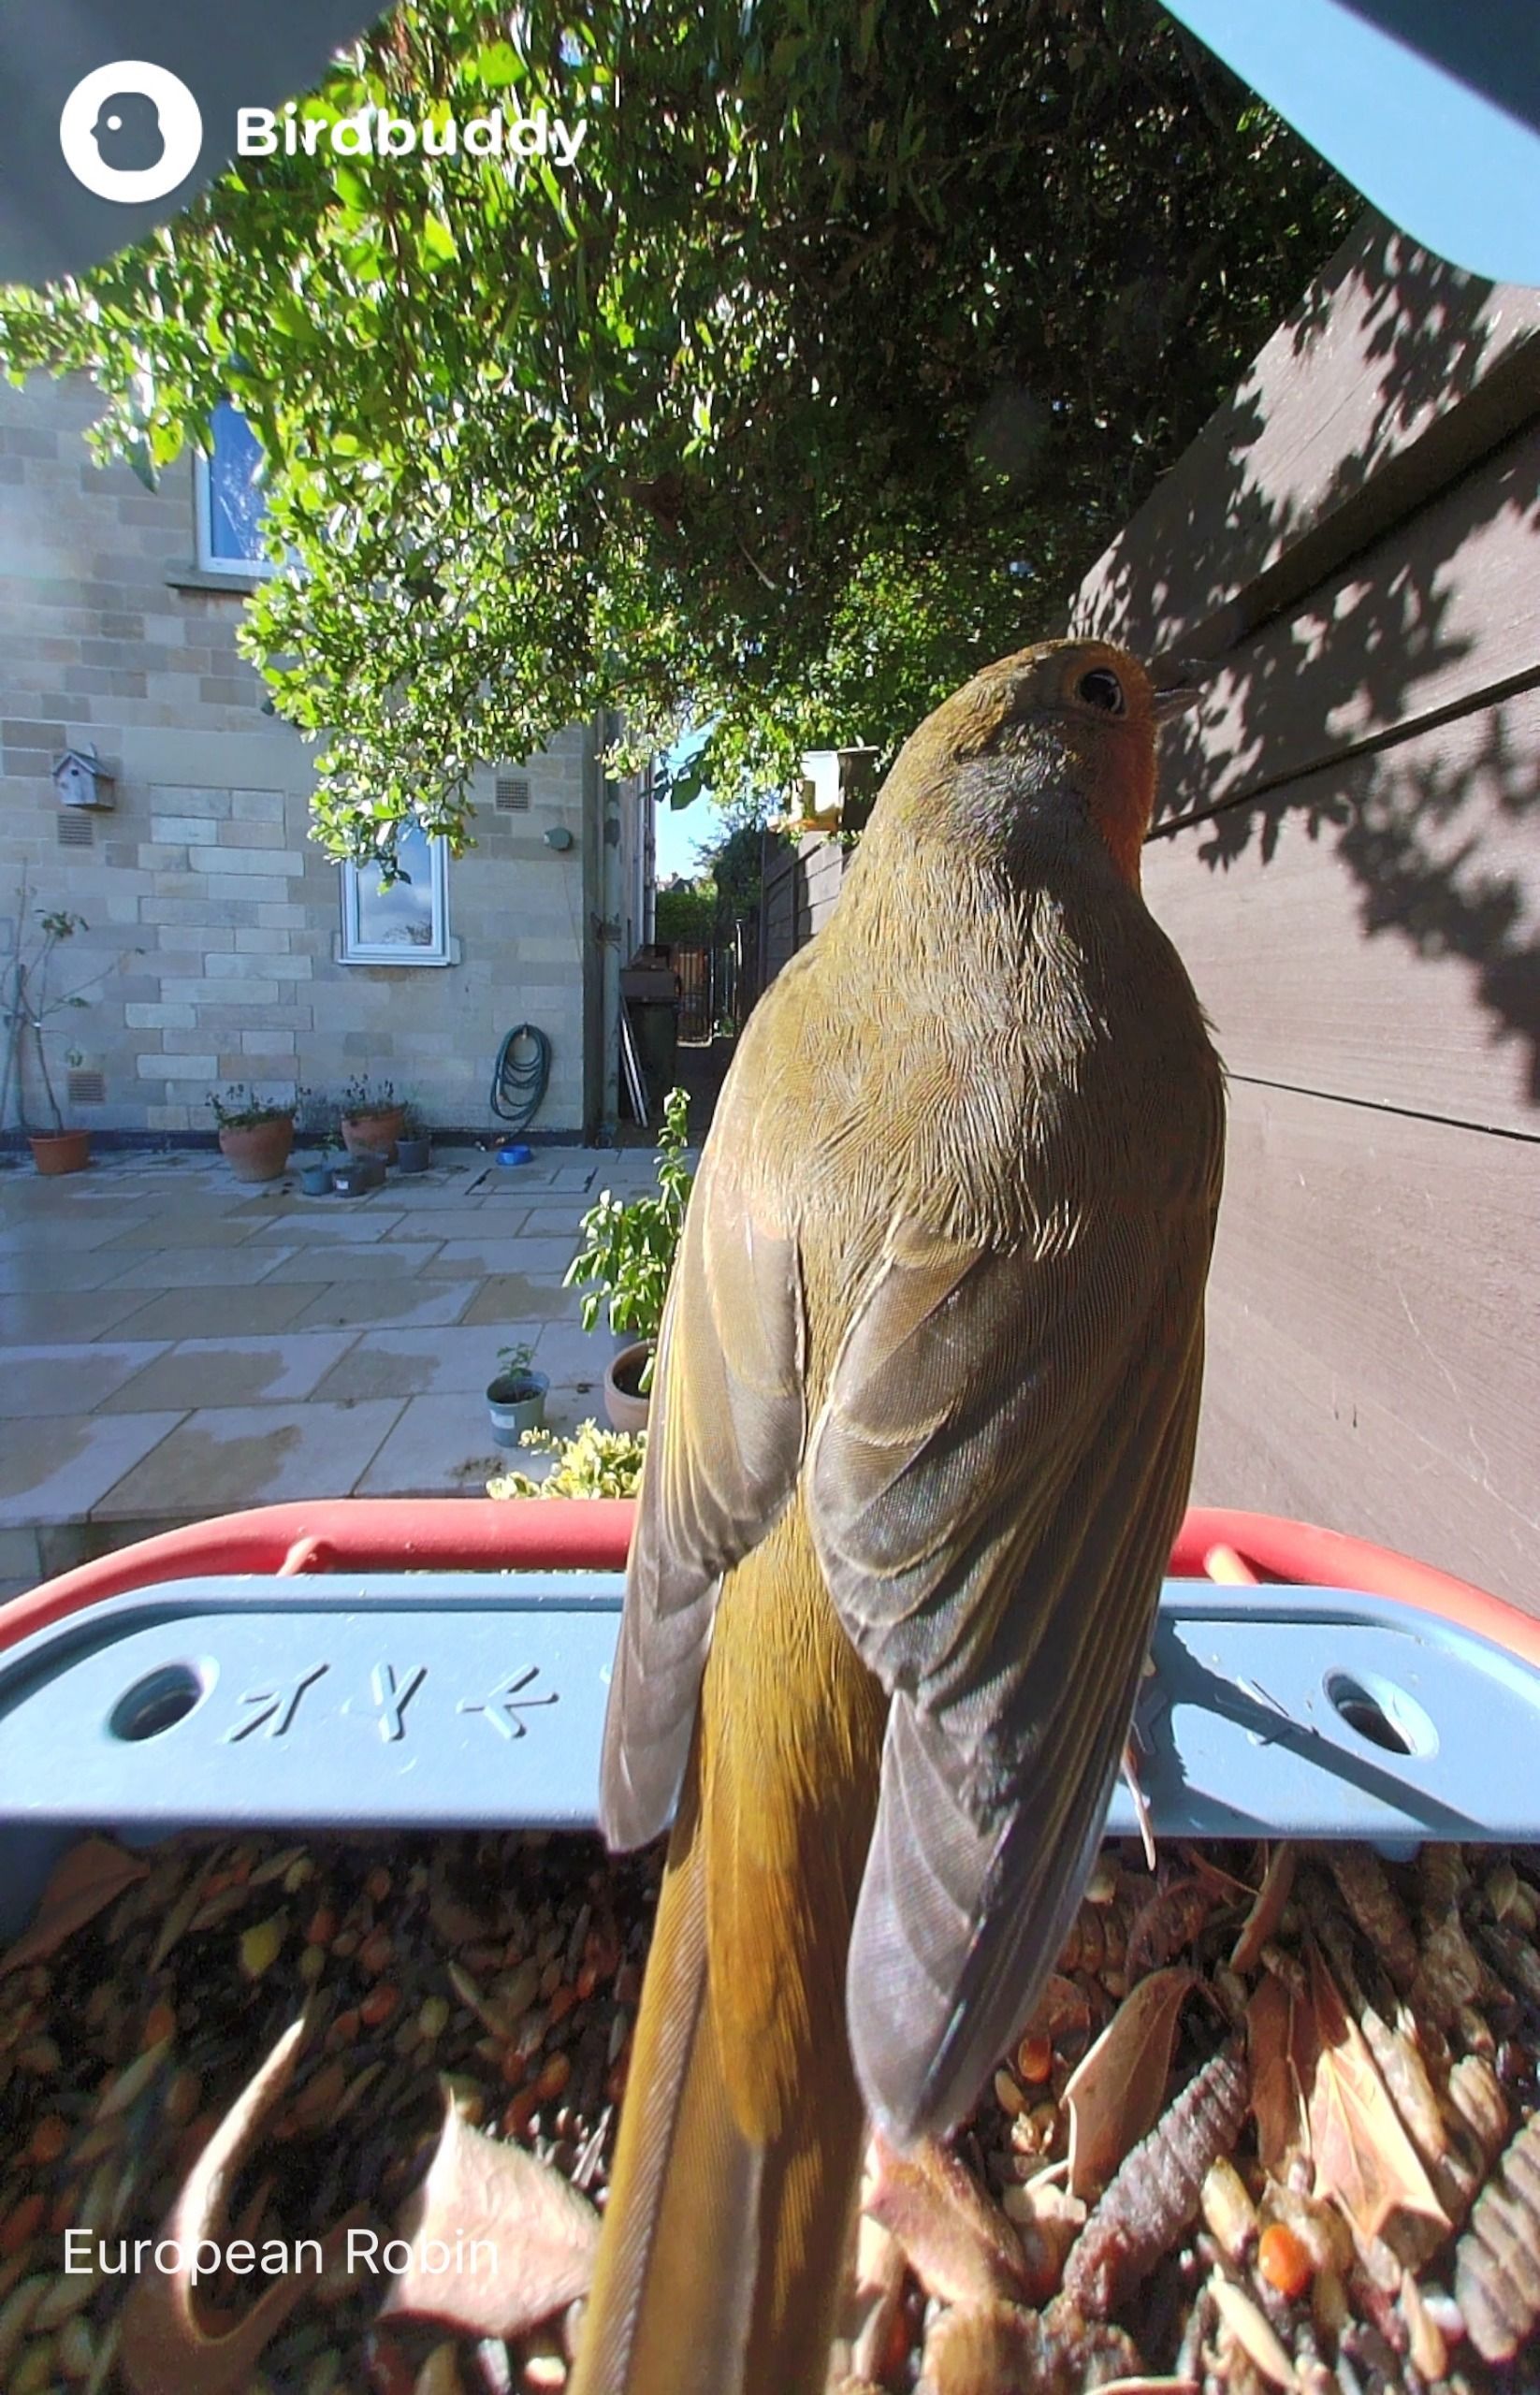
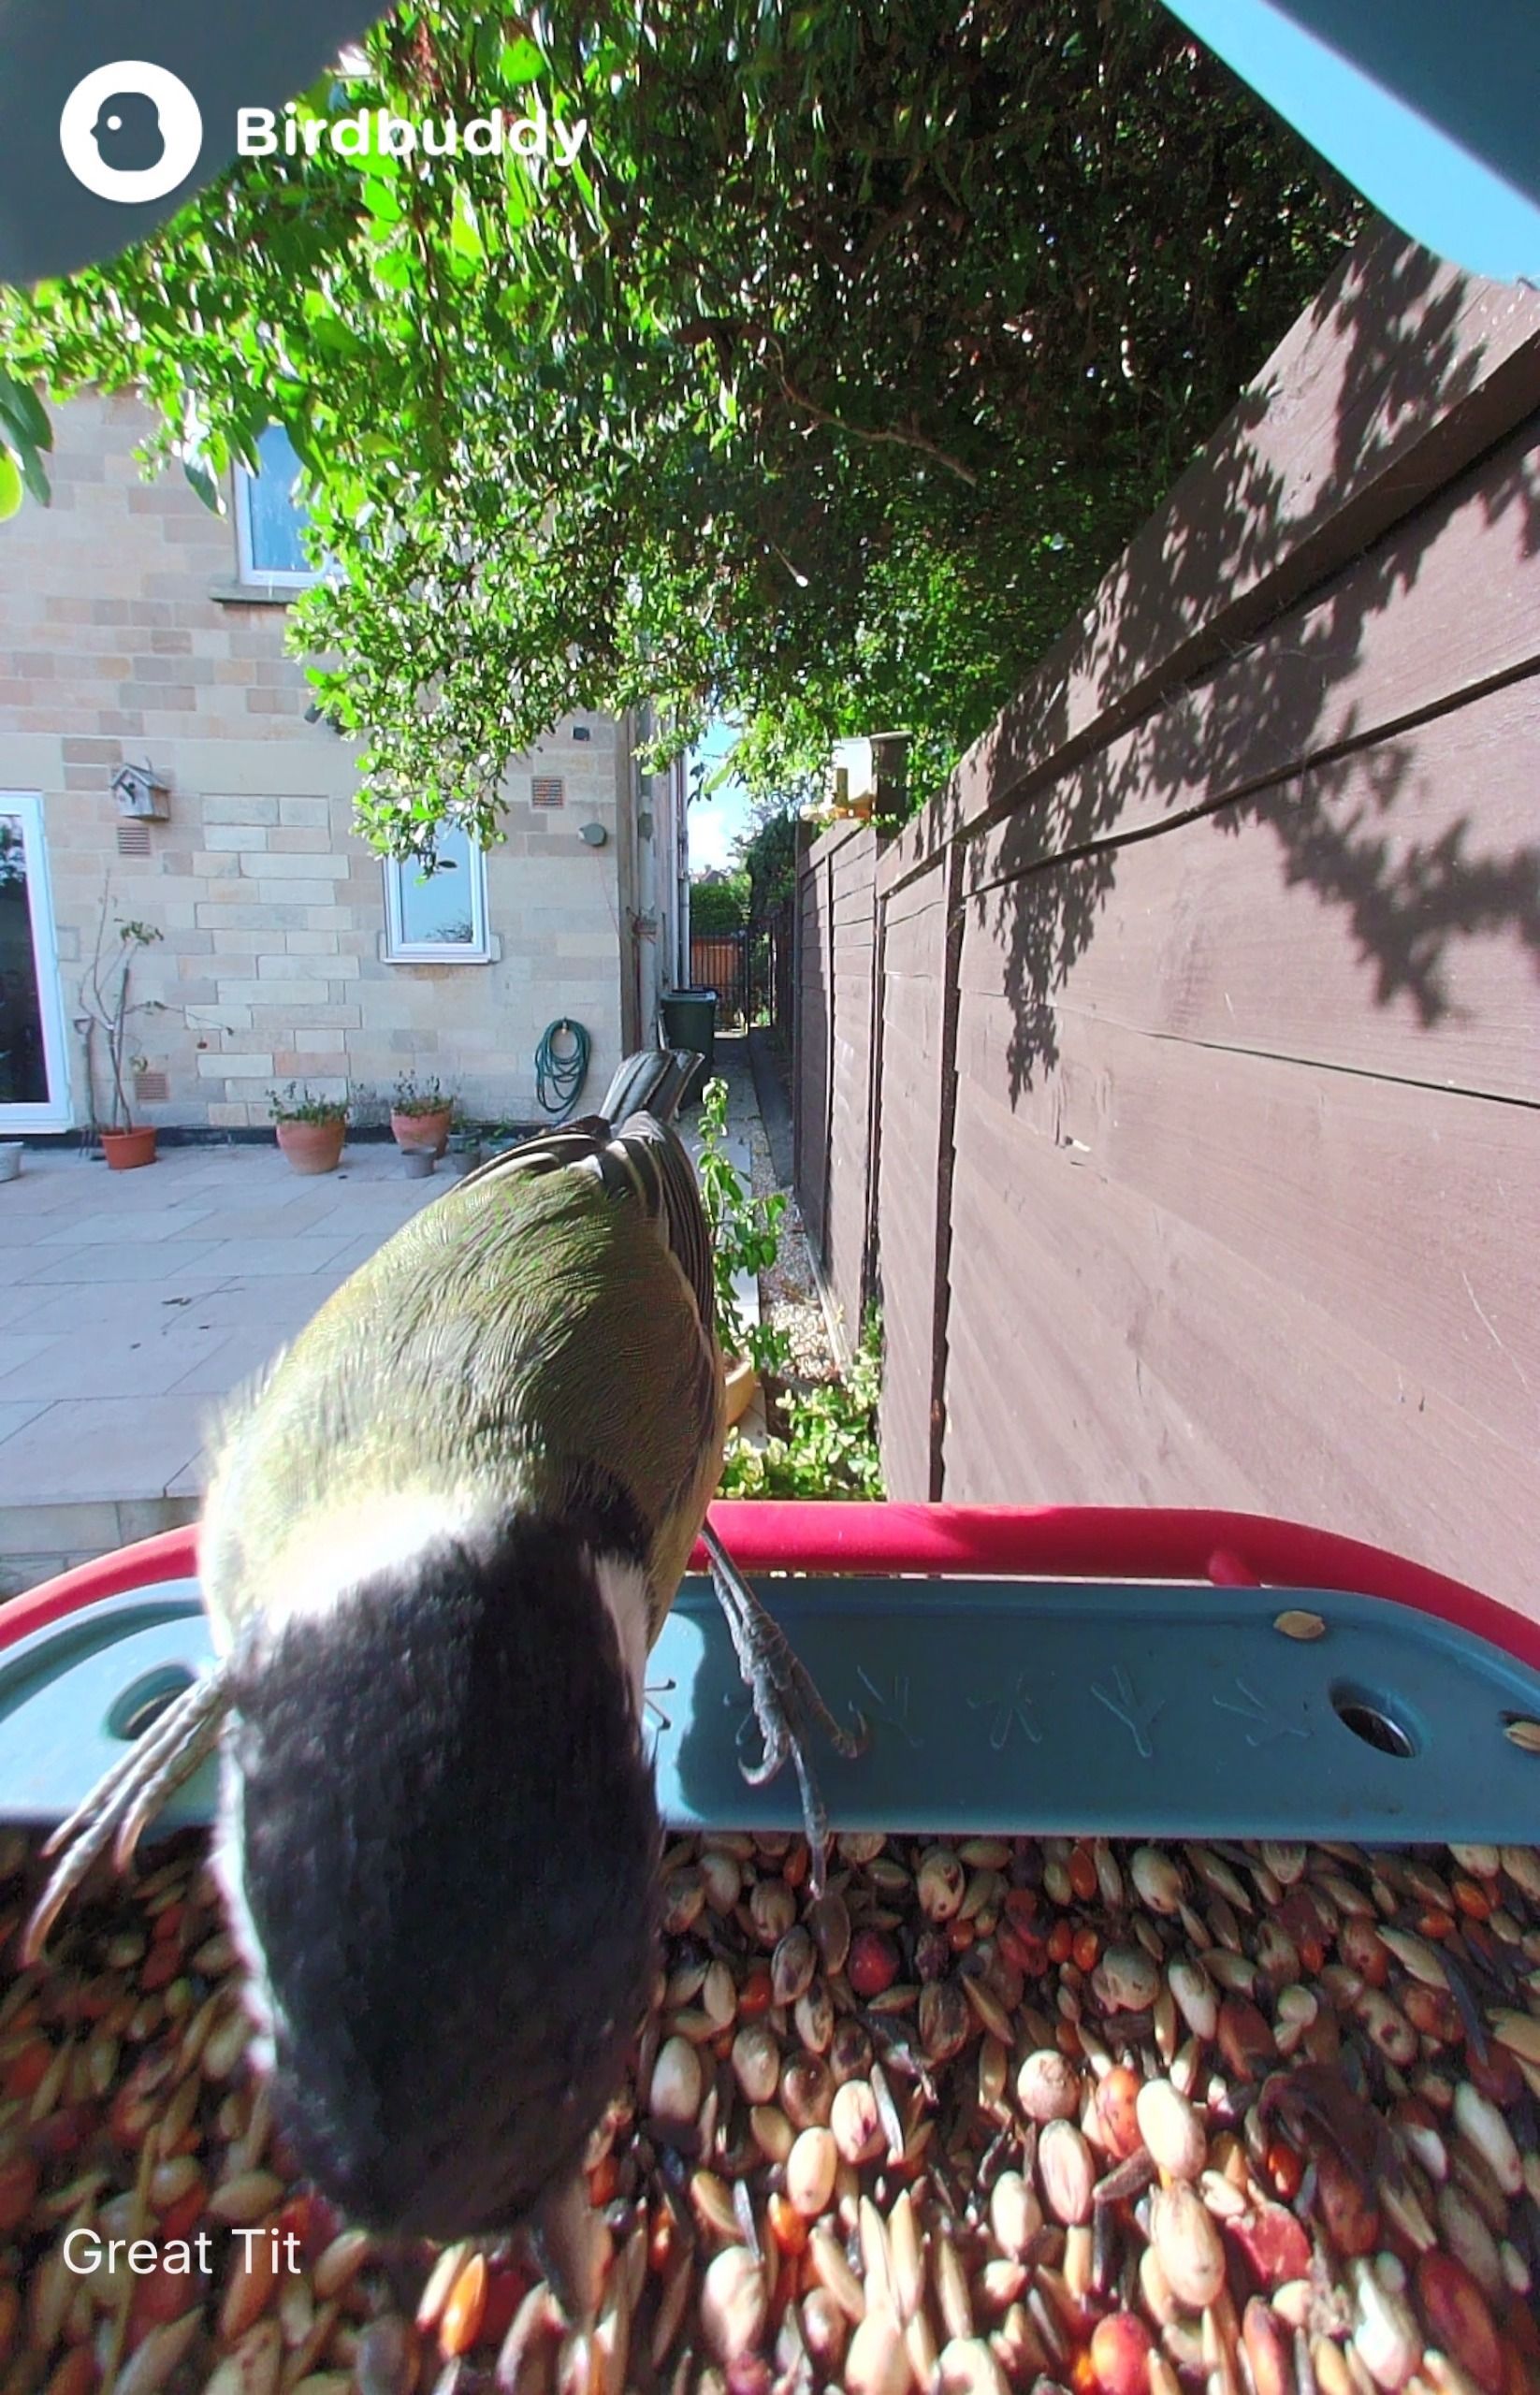
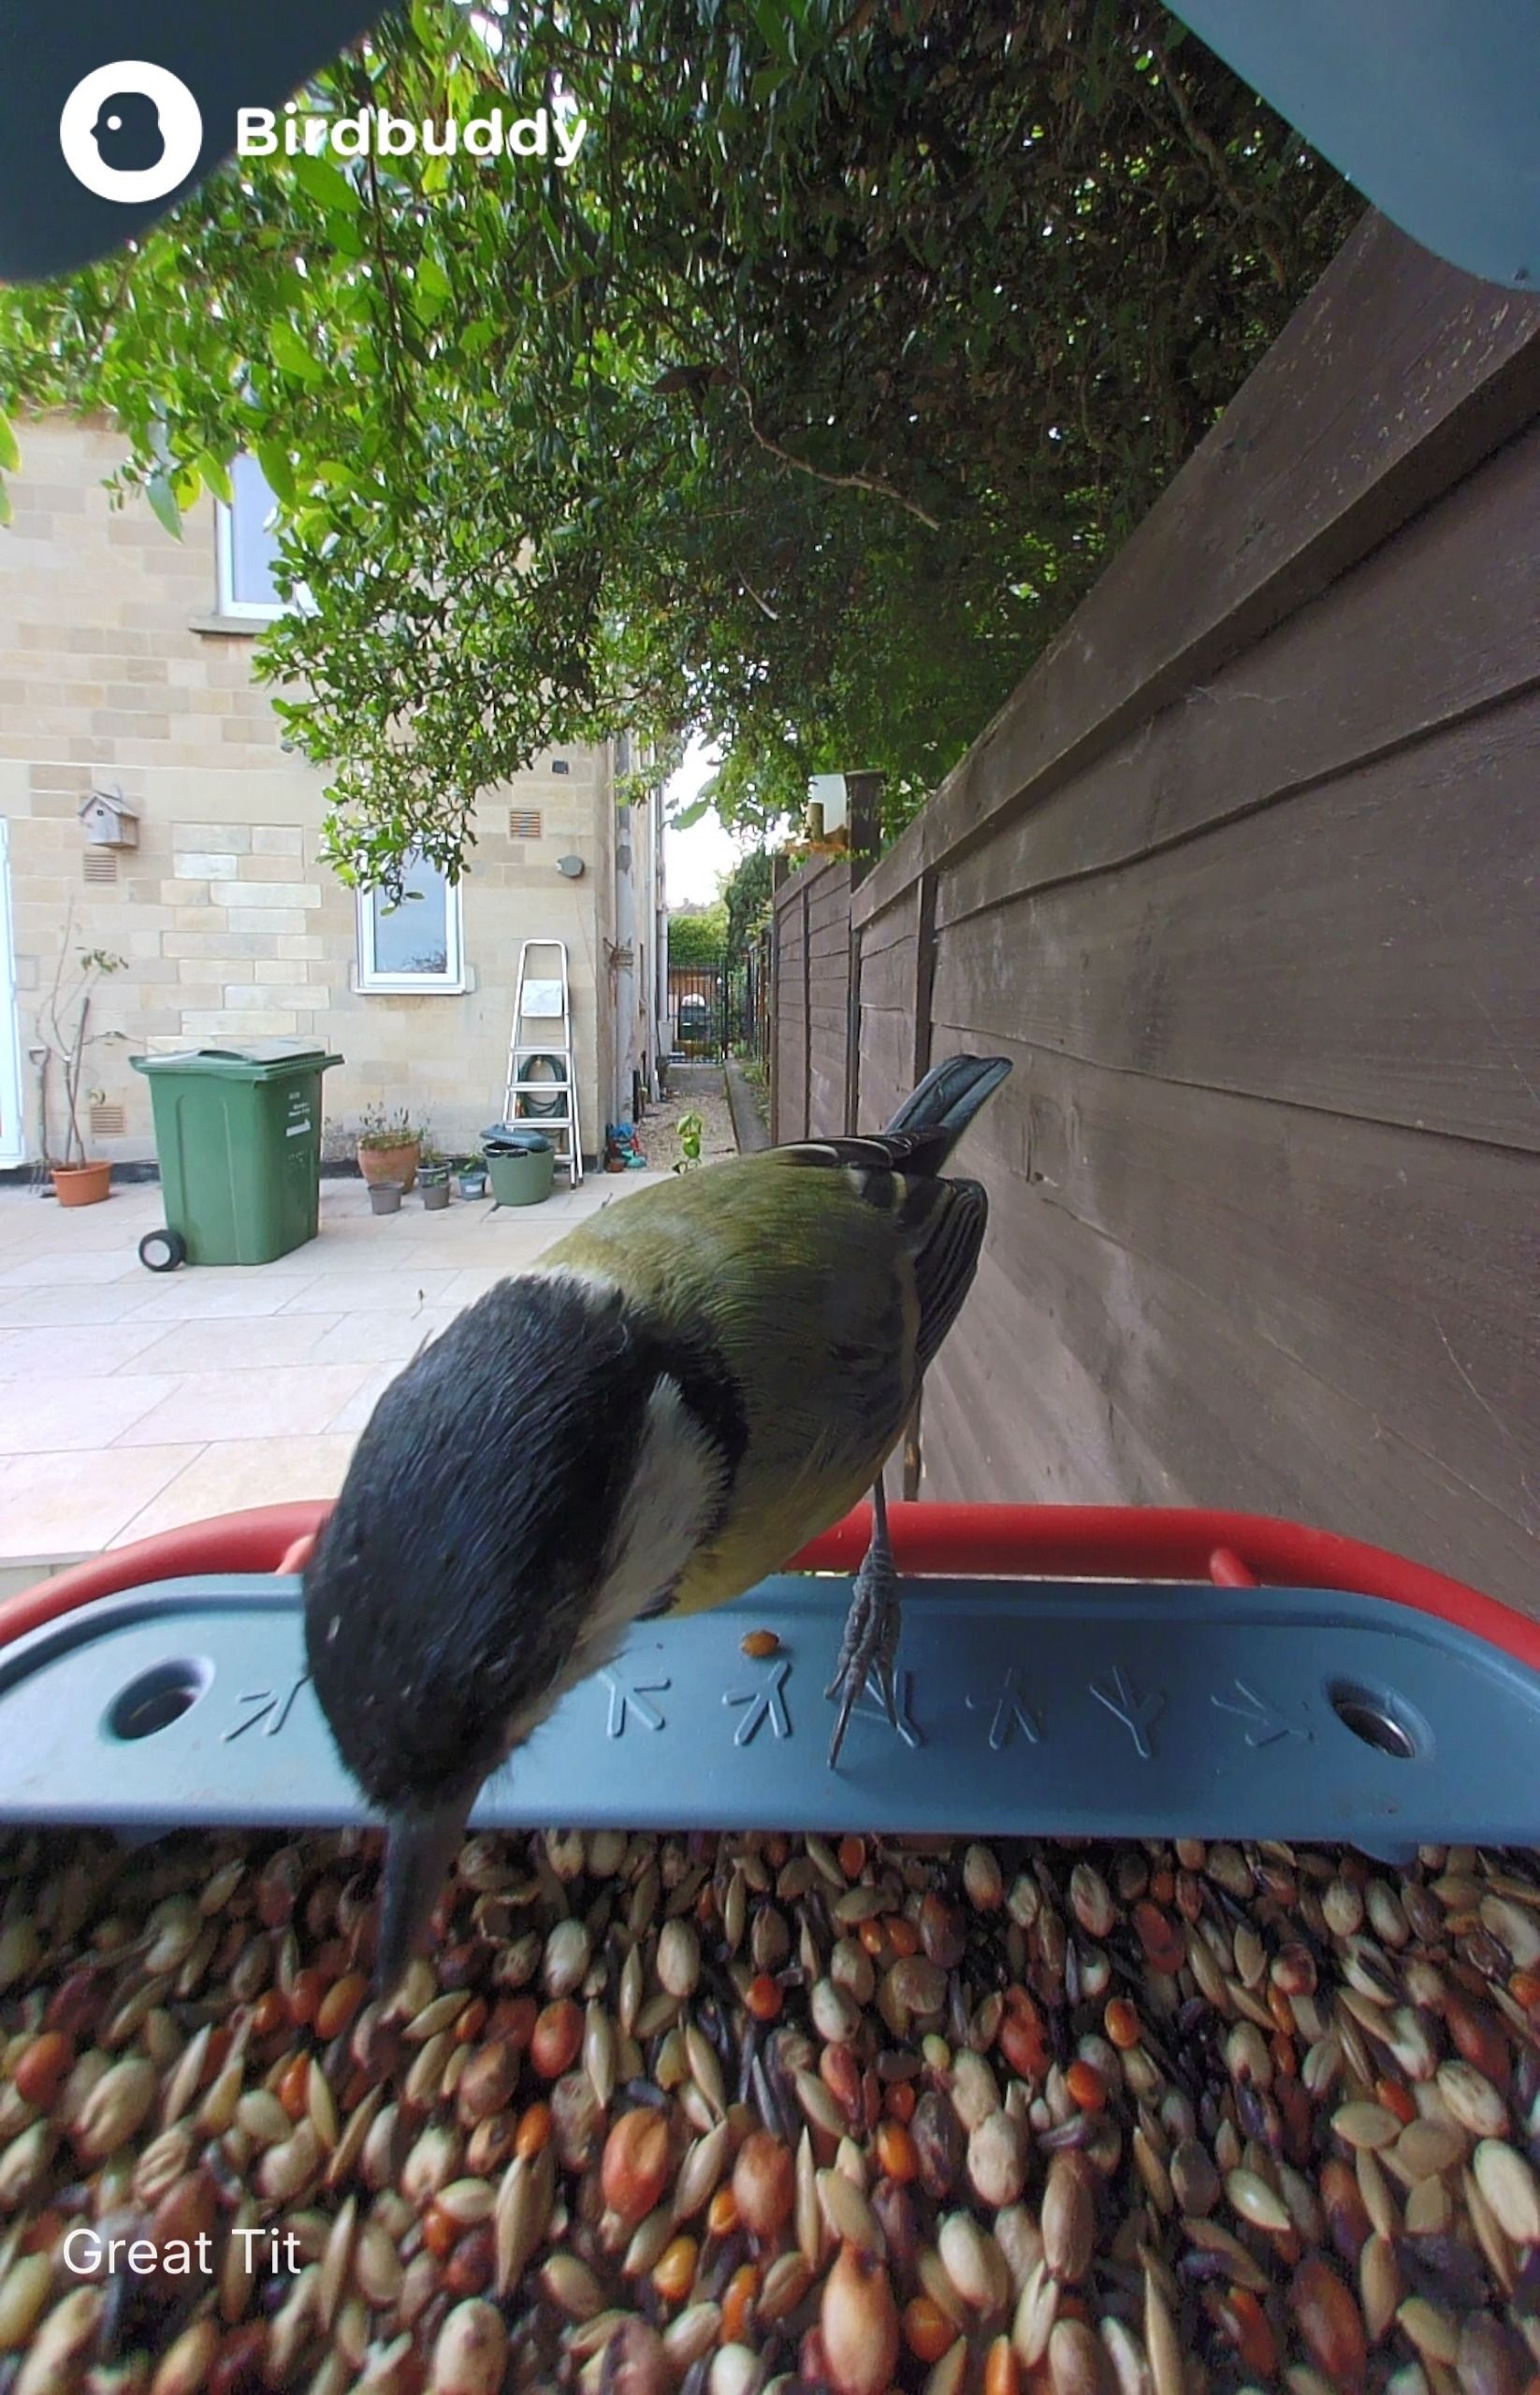
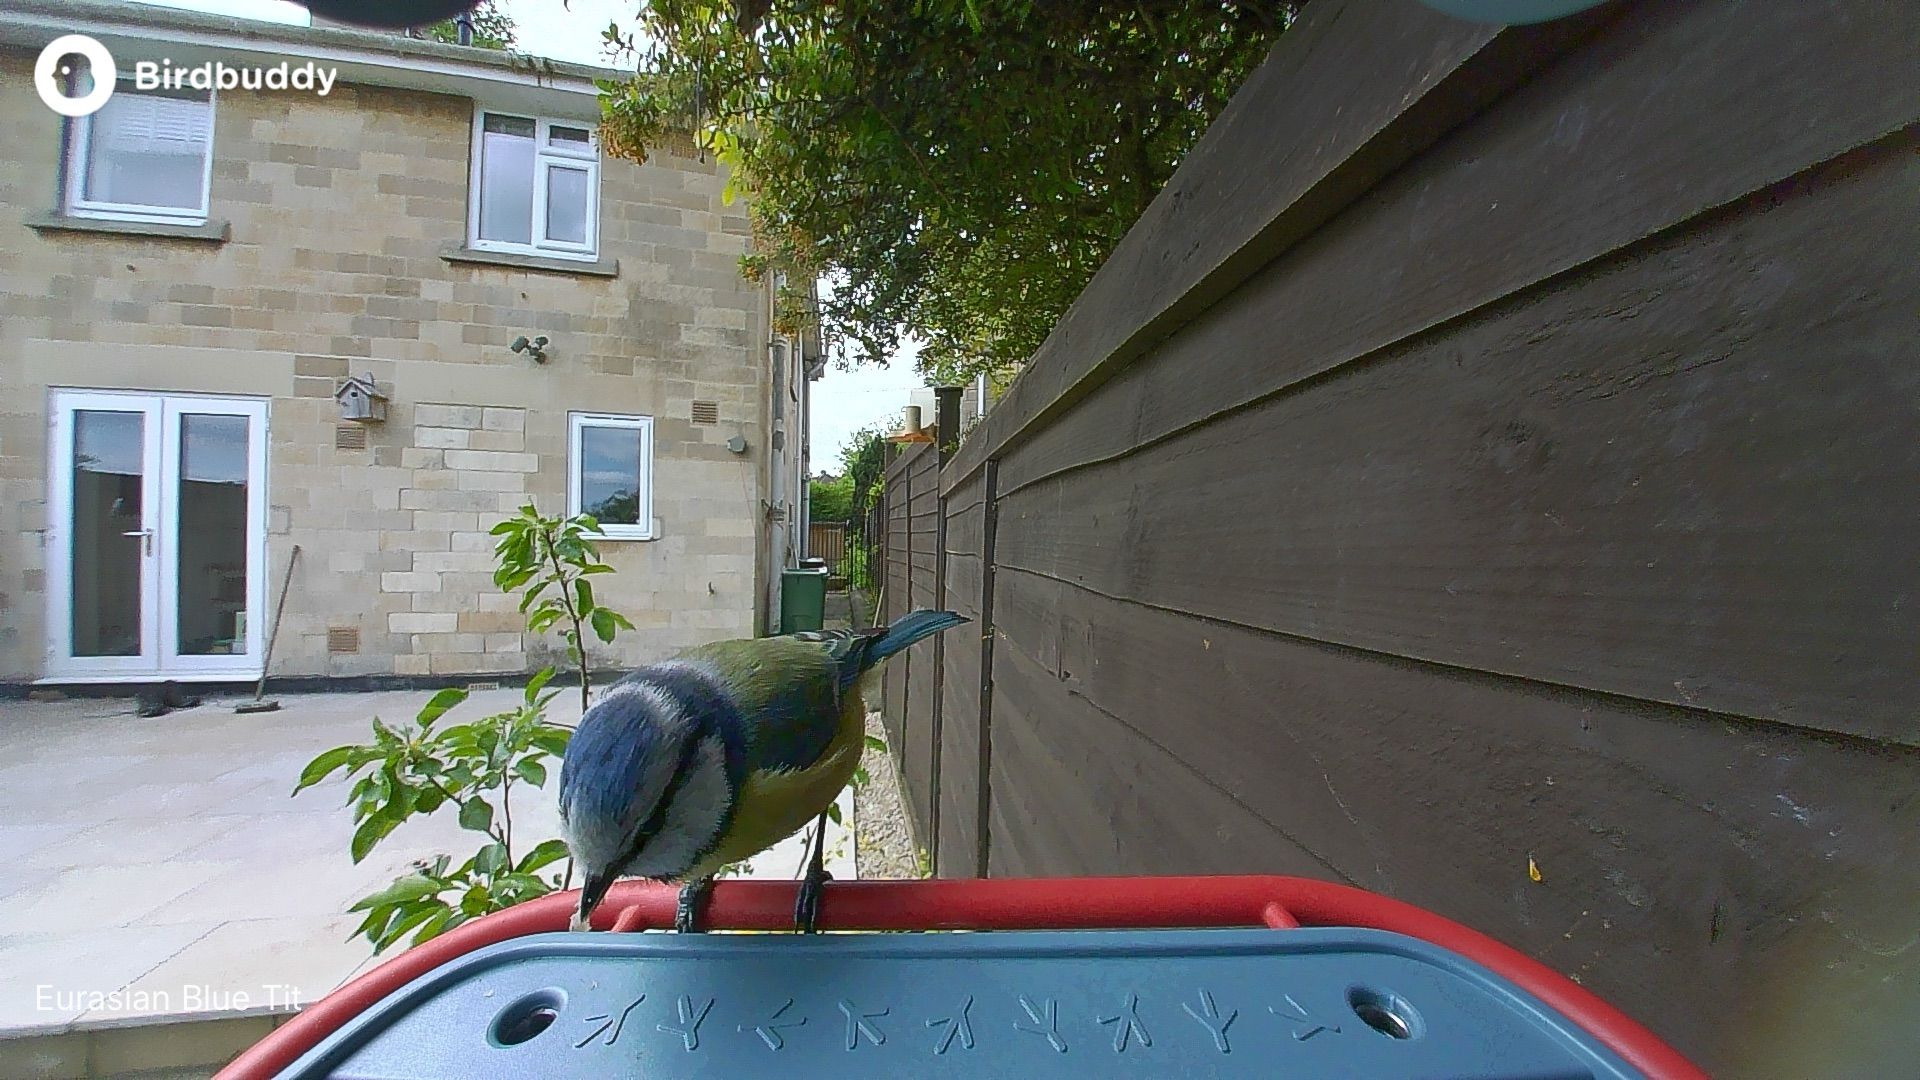
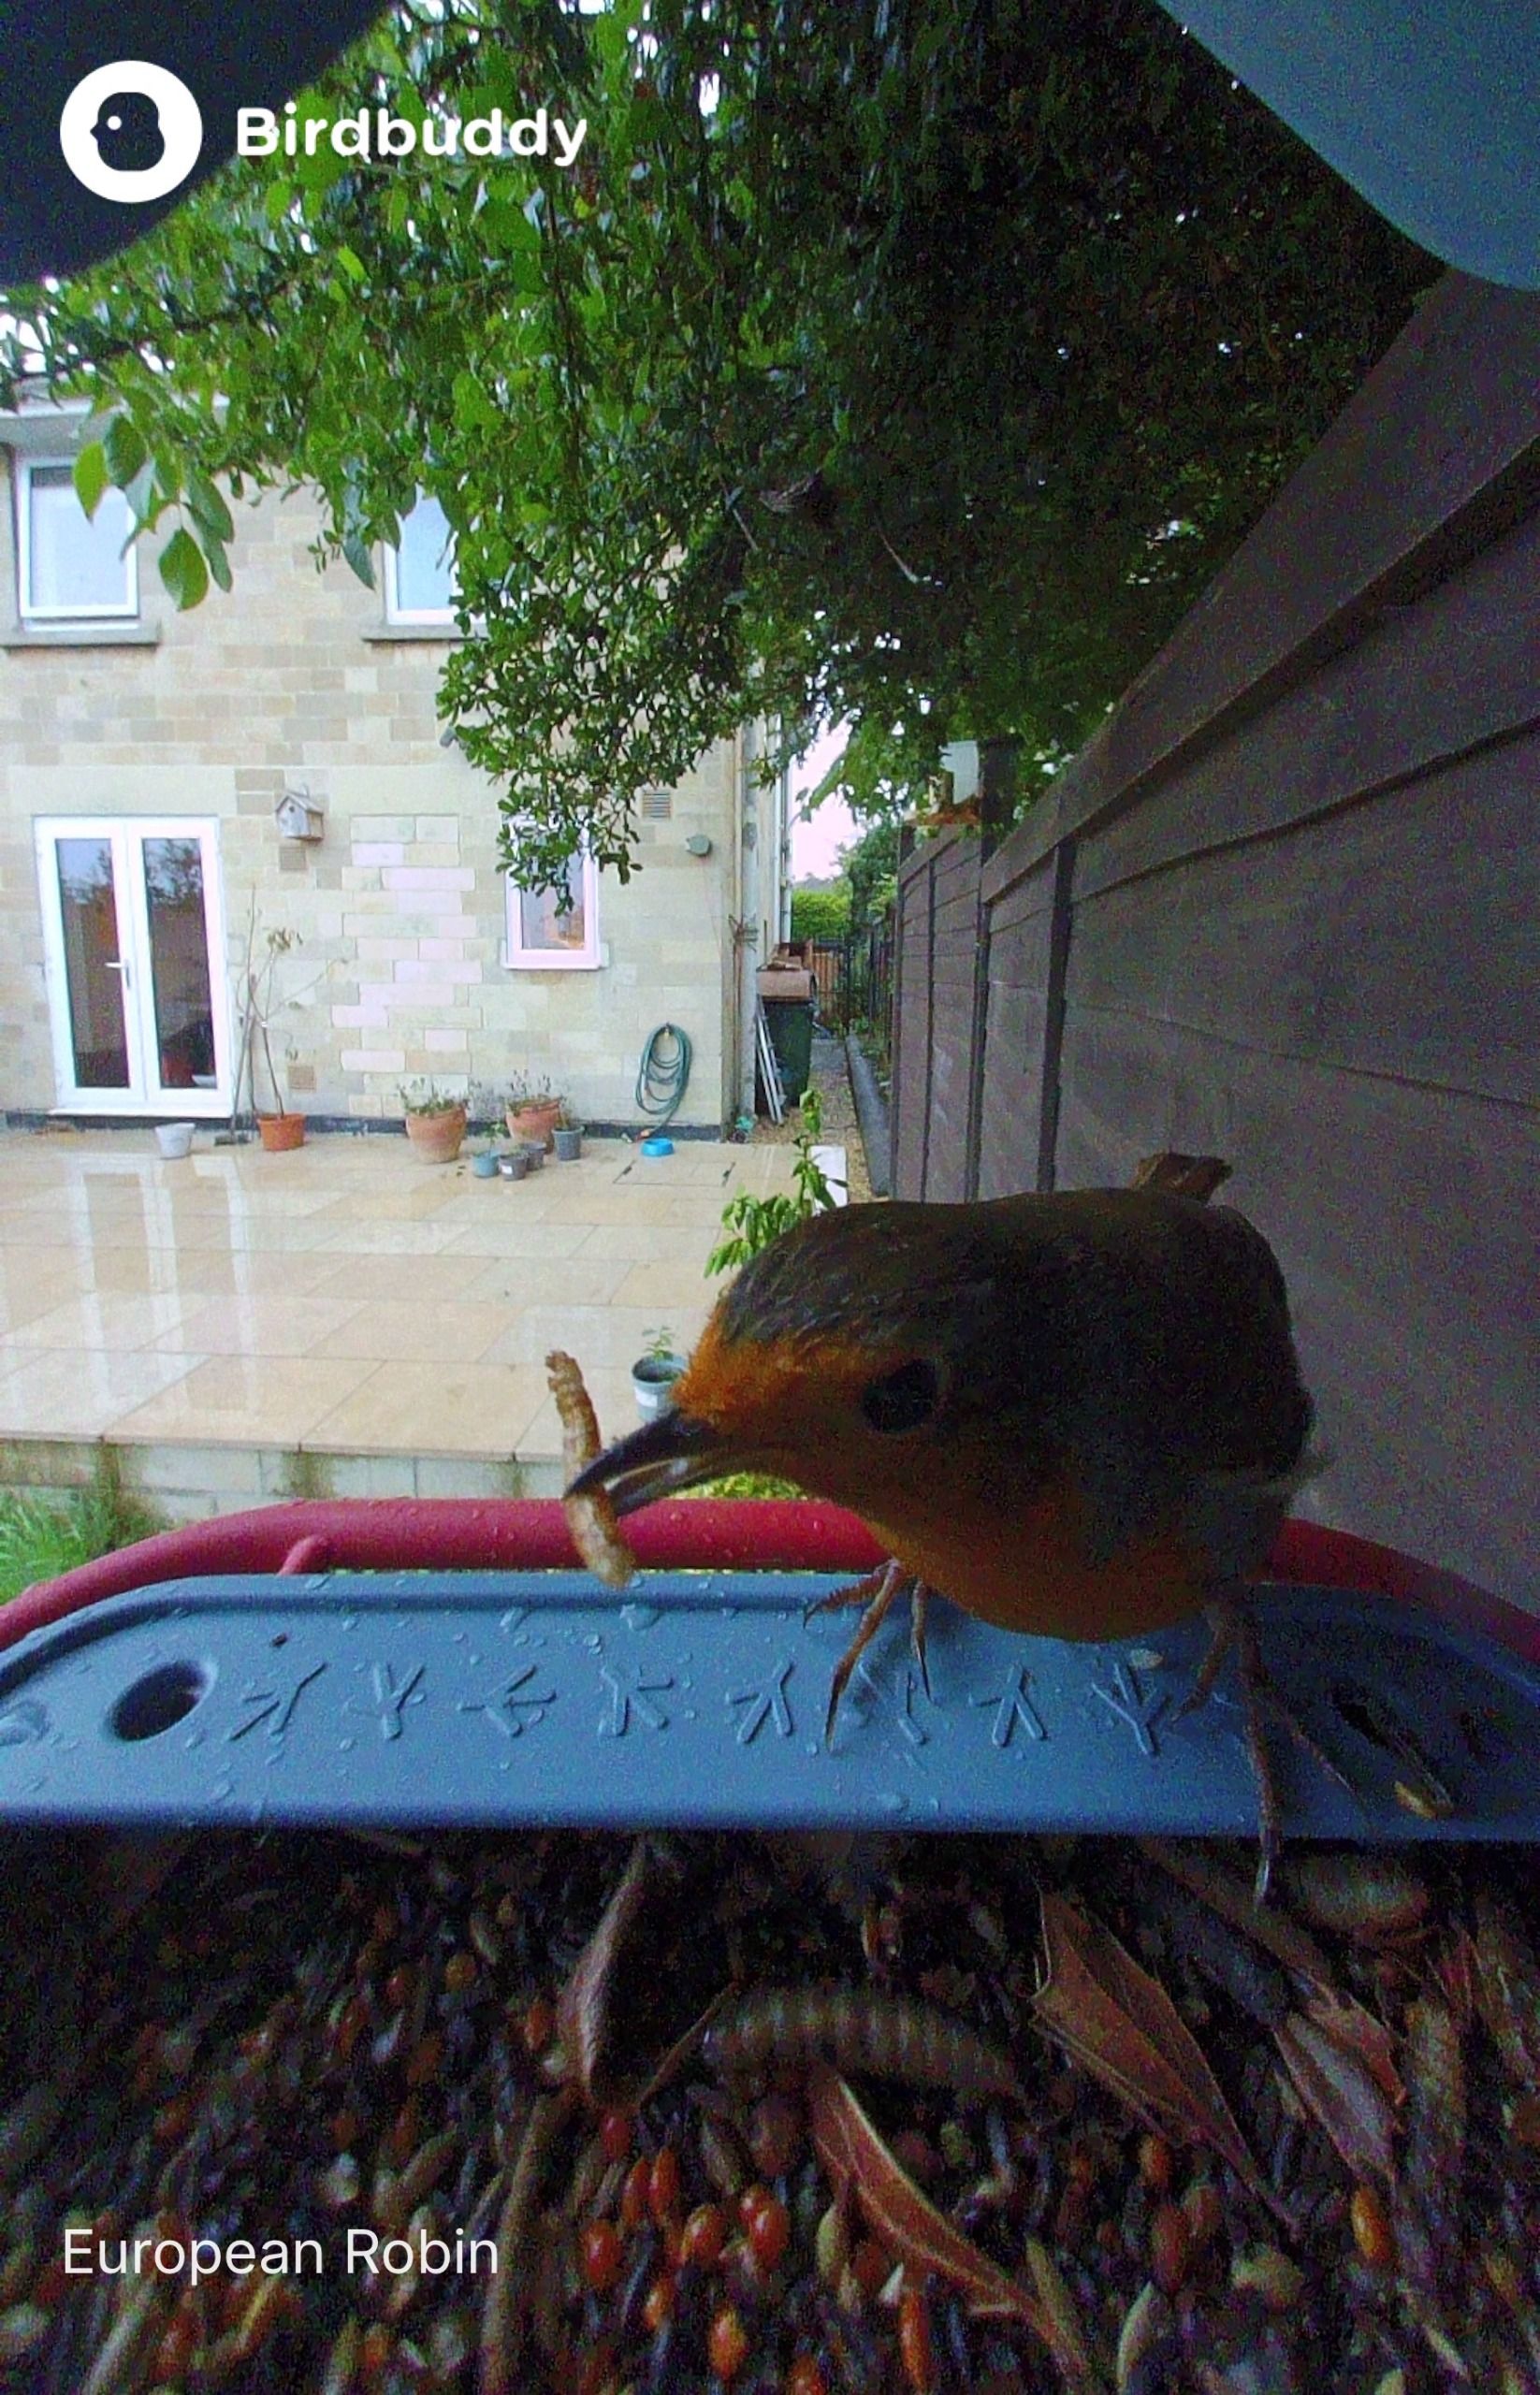
The wider 135-degree field of view also gives a nice sense of surrounding garden action, but I still find it frustrating how much of the bird gets cut off when sat straight in the feeder.
Like most small-sensor outdoor cameras, image quality drops off noticeably in flat or shaded light, and noise becomes noticeable. In high-contrast situations (like bright sun filtering through trees), the dynamic range struggles, leading to blown-out highlights or heavy shadows on dark-plumaged birds. The built-in microphone is clean enough for the app's AI audio identification features to work effectively.
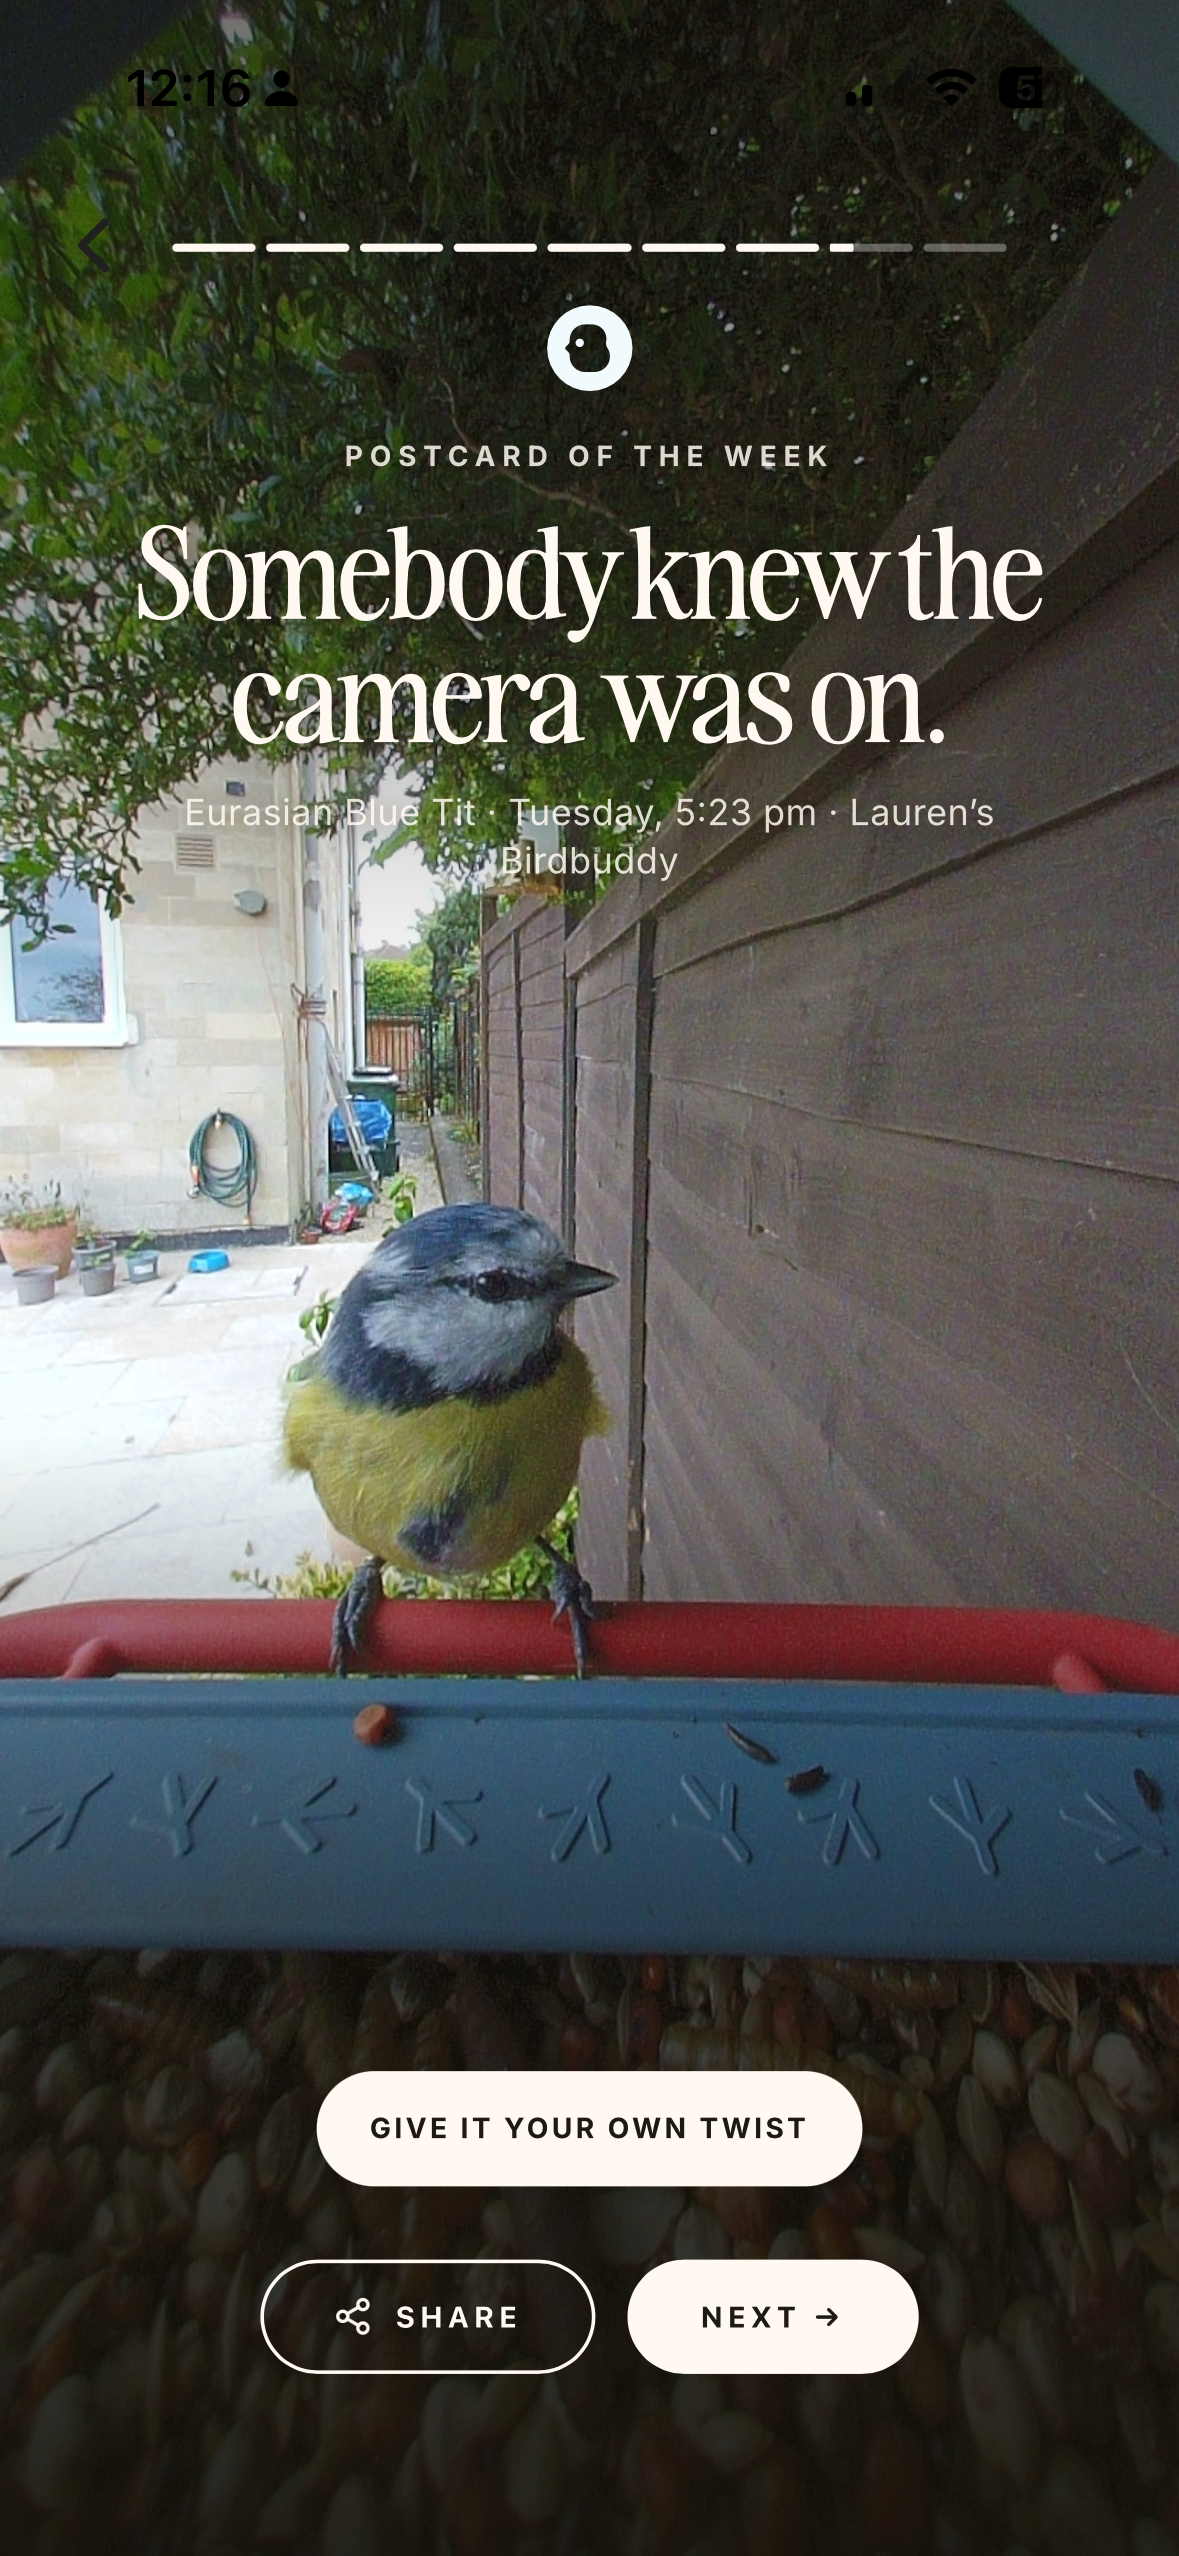
As for AI species identification, only a handful of entries weren't identified, usually because the bird in question (Common wood pigeon) was too close to the camera, but you can edit the species manually if you want. When it does trigger automatically, however, the digital Postcards are delightful. Instead of spamming your phone with hundreds of motion-alert notifications like standard security cameras, the AI compiles a daily highlight reel with accurate species identification. It turns checking your garden activity into an enjoyable daily routine rather than notification clutter.
Detection consistency is an area needing refinement. The app prioritizes simplicity over granular controls, which means you can’t adjust the camera's sleep and wake hours. As a result, the feeder frequently stayed asleep past dawn, missing early-morning feeding rushes.
Even when I toggled it to Frenzy Mode for maximum recording sensitivity, the feeder frequently ignored birds clearly visible with the naked eye. Live streaming initially suffered similar latency issues, often taking 15 to 20 seconds to establish a connection, but improved with time. Maybe like the hobby of birdwatching itself, the Bird Buddy 2 just requires a bit of patience and learning to get into the swing of things.
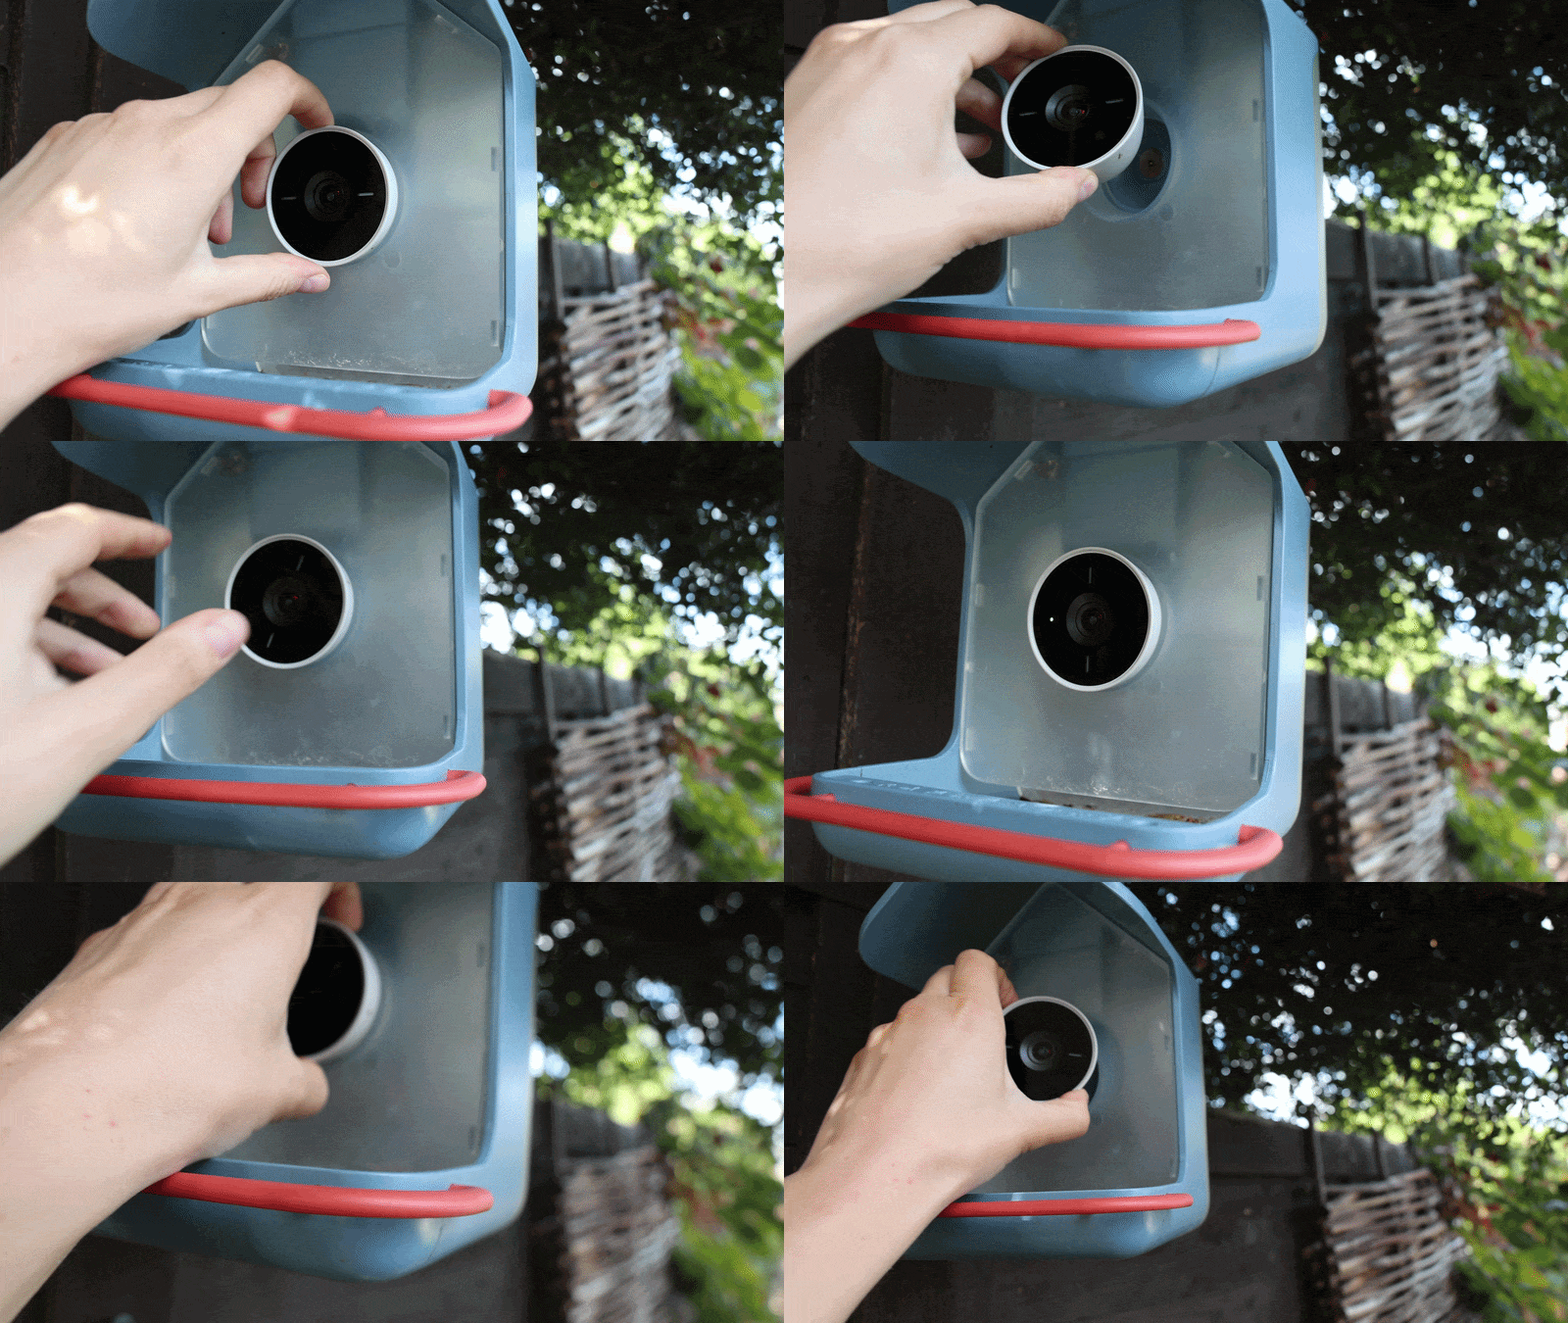
You want to swap camera orientations
The twistable magnetic camera unit lets you instantly swap between 9:16 portrait (good for socials) and 16:9 landscape framing to suit your preference, common species or photo collection. No app required.
You want a stylish, low-maintenance design
The integrated solar roof kept my camera fully powered for over six months without ever needing to bring the unit inside to charge. The housing stands up to the weather well, is easy to wipe down, and I think it looks good despite being made from plastic instead of wood.
You want to capture a log of every visitor
The detection rate can be sporadic even in Frenzy Mode, and fixed sleeping hours mean the camera might miss early morning visits. If you're a birdwatching purist who wants a complete log of garden visitors, options like the Birdfy range are more steadfast trackers.
You want round-the-clock watching
The Bird Buddy 2 enters a power-saving sleep state at dusk, whereas some rivals in the Birdfy line, the NatureSpy BirdCam and smaller brands have infrared sensors to capture night vision.
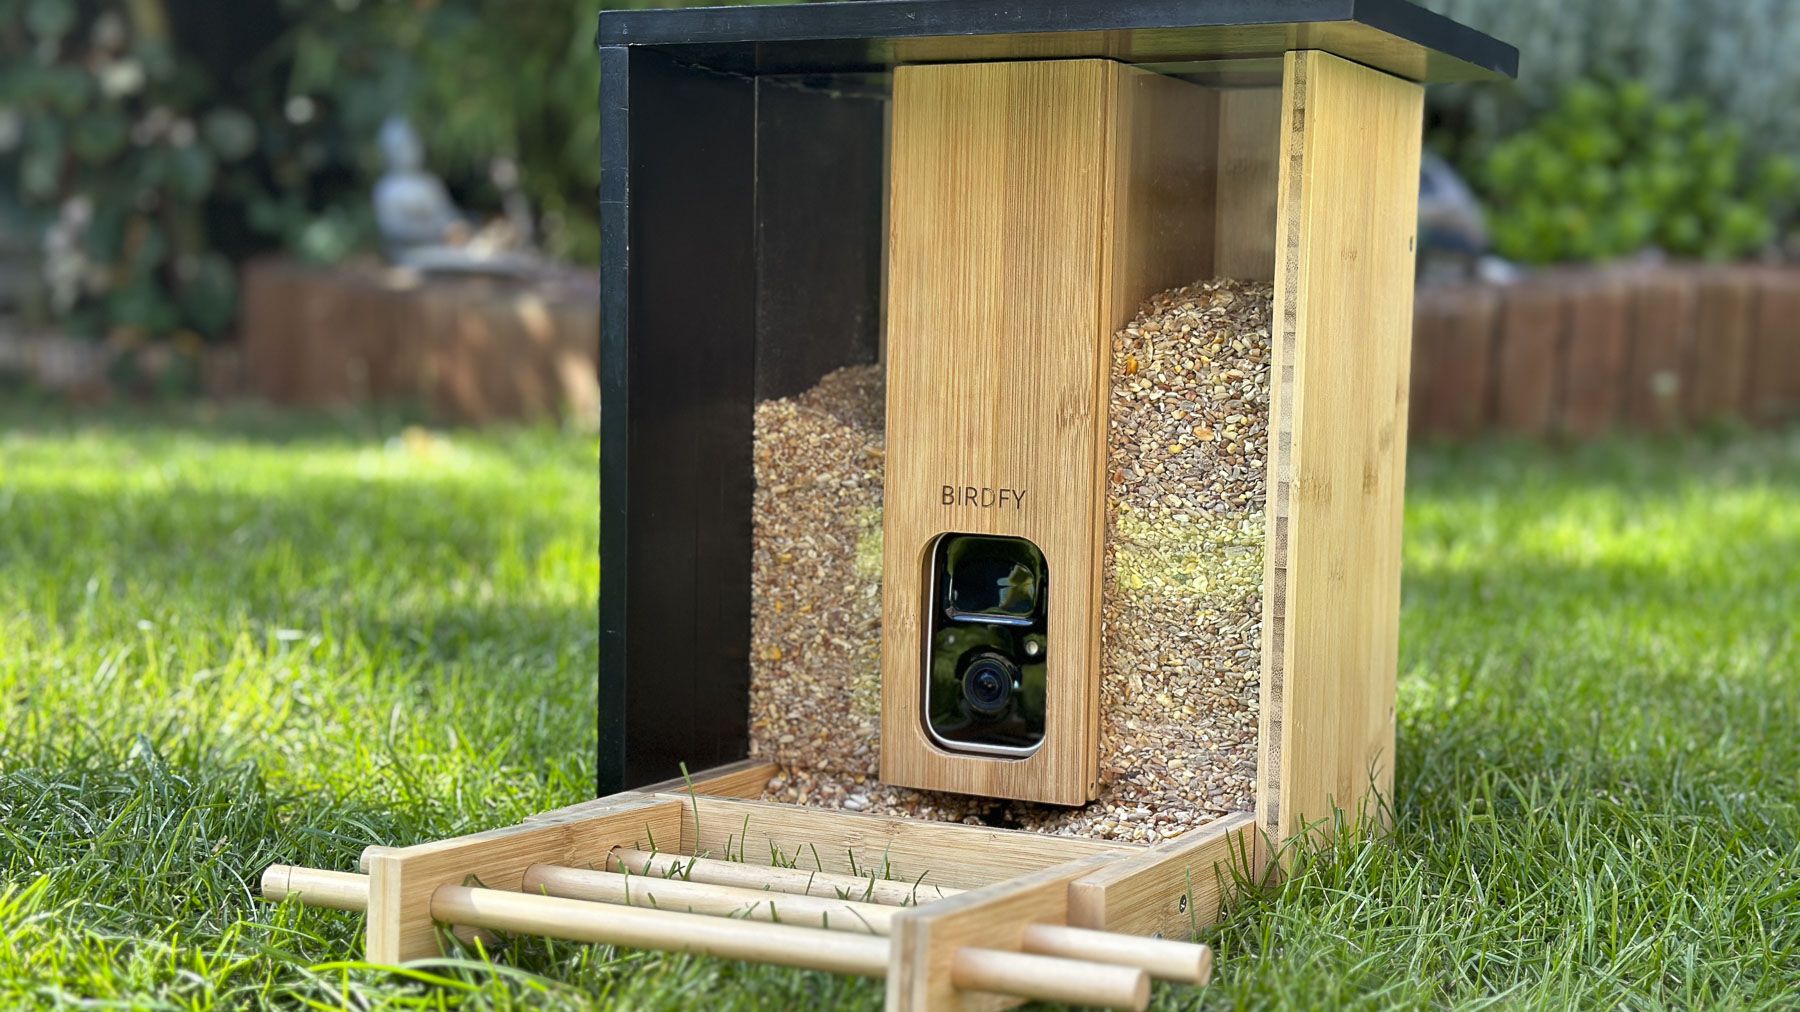
Birdfy Bamboo
If the Bird Buddy is a little too loud and plastic an ornament for you, Netvue's bamboo-constructed option is for bird watchers hoping for something more naturalistic in design. It's built from sustainable bamboo boards and looks far more integrated in a traditional garden setting. You still get AI species identification, while the app is slightly more home-security-style, but it's still a full-featured HD feeder camera. Just note that because it's real wood, it needs more upkeep and is more likely to be chewed by squirrels.
Read our Netvue Birdfy Bamboo reviewView Deal
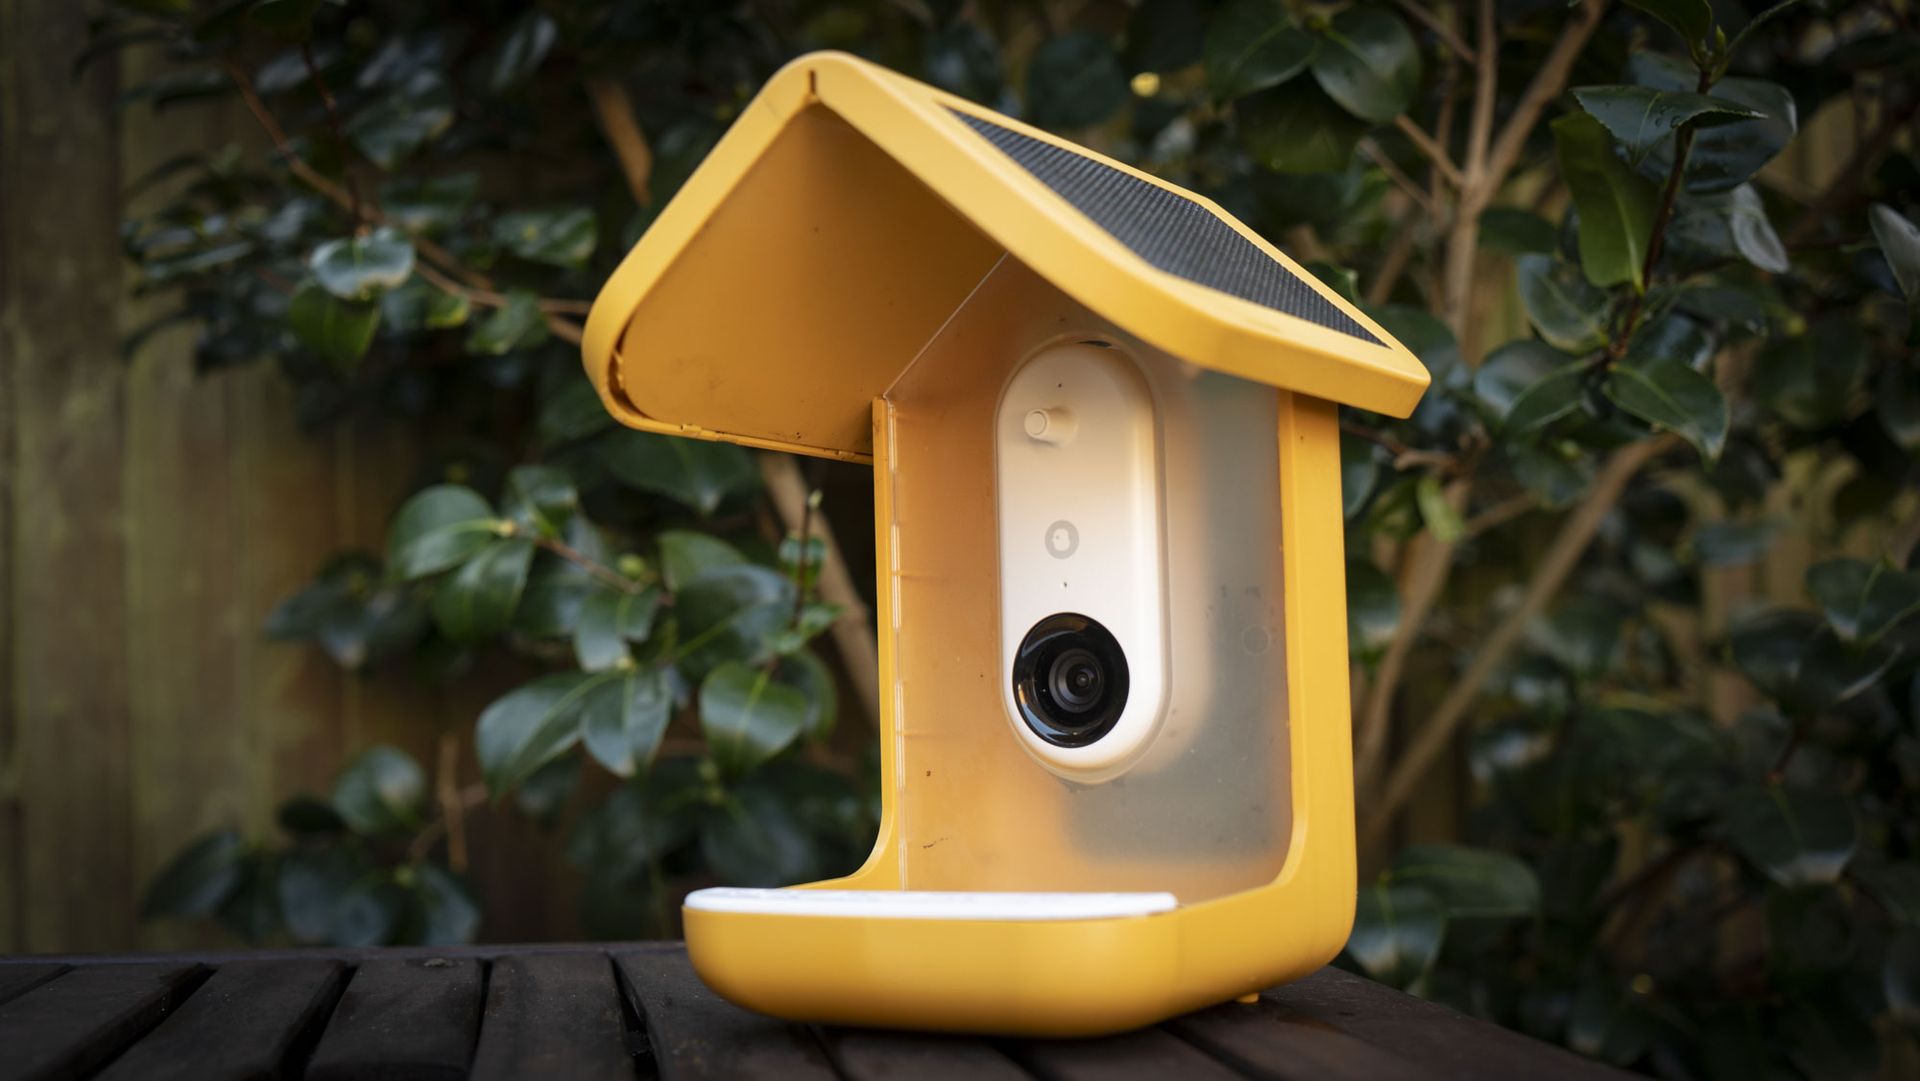
Bird Buddy Pro (with solar roof)
The Pro version with a solar roof is a similar proposition to the Bird Buddy 2 but slightly cheaper. The Pro Solar has the same set-and-forget power potential, meaning you can forget about charging for months. The camera is vertical-only, meaning you miss out on landscape mode. Image quality is on par, with HD video and 5MP images, though 2K is only unlocked by subscription.
Read our Bird Buddy Pro reviewView Deal
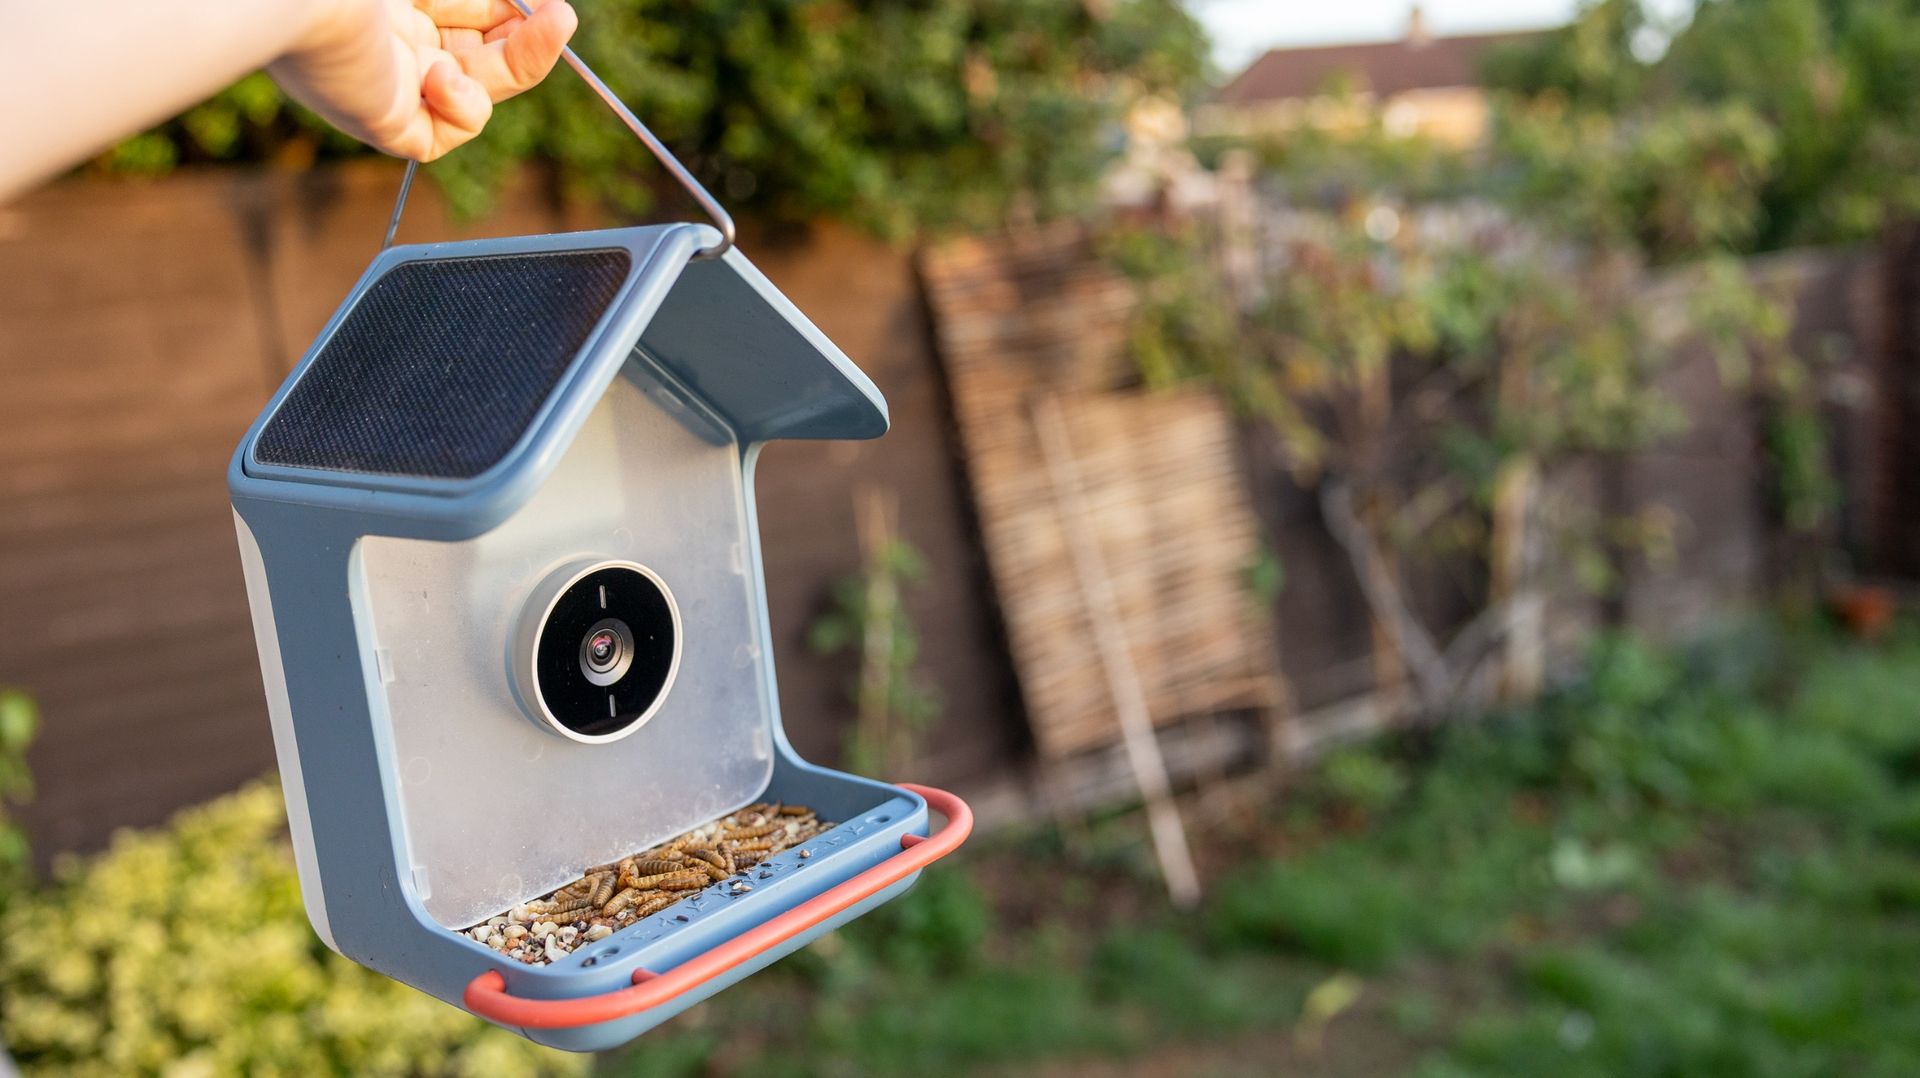
I tested the Bird Buddy 2 for more than 6 months, hanging it from a pole in my UK garden where small birds and squirrels visit regularly through the seasons. I left the feeder in the same spot, only bringing it inside briefly once a month for cleaning.
I paired the feeder to my iPhone 15 Pro using the Bird Buddy app, and set up a nearby Wi-Fi extender in my kitchen to ensure it always had a strong connection. I tested the feeder's reliability for recording sightings, assessed the AI recognition and tested all the features and settings available in the Bird Buddy app.
Before May, I filled up the feeder more fully with a premium garden bird seed mix. During the summer months, I followed RSPB guidance on feeding birds and left small amounts of mealworms and suet in the base of the feeder.
First reviewed October 2026
I’ve never seen my teenage son more animated about a camera than he was about the Instax Pal 2 — and he’s seen his fair share over the course of my years reviewing gear.
It’s tactile and sensory, with its exaggerated sound effects, clicky winding lever, joystick, dampened dial, and pop-out USB-C connector. For my son, it was like a fidget toy. And I have to confess it was for me too.
The emphasis here is on toy, mind you — he could happily fiddle with the controls for hours without taking a single photo.
Even with my Serious Camera Reviewer hat on, I’m enamored with the Pal 2; it's cute, it's dinky, and there’s enough here to keep my attention.
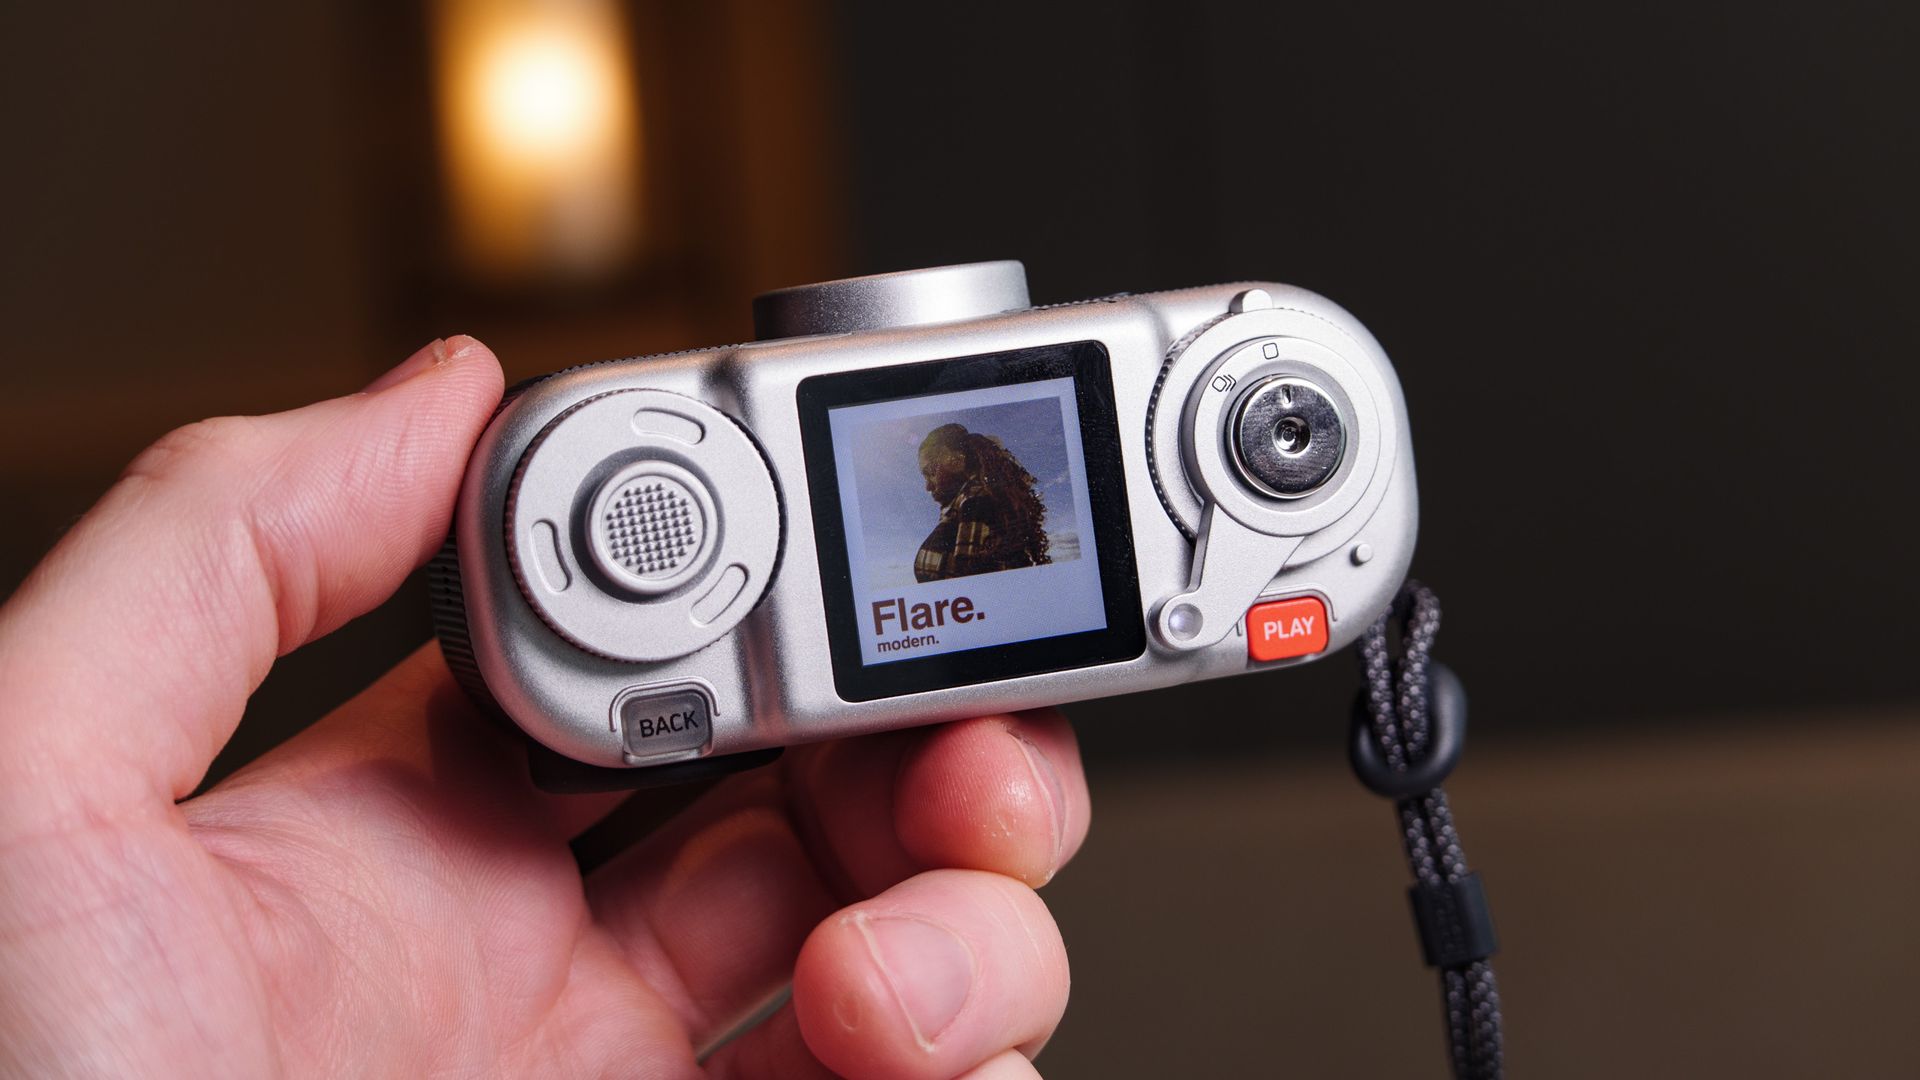
There's the winding lever that scrolls through the Instax mini, square and wide film formats (or no border at all); the dampened dial for the various picture effects; the joystick that you use to navigate a sub-menu with options for self-timer, flash and display modes, and which you can also press to open the main menu.
Then there’s the cut-out optical viewfinder, and a top-down, 1.3-inch screen for waist-level photography, a red playback button and clear ‘back’ button. Every control is unique, and characterful.
Fujifilm’s design department clearly knows its market — the Pal 2 is latest in a long line of quirky, retro fun models that include the original Pal, the X half and the Instax Mini Evo Cinema.
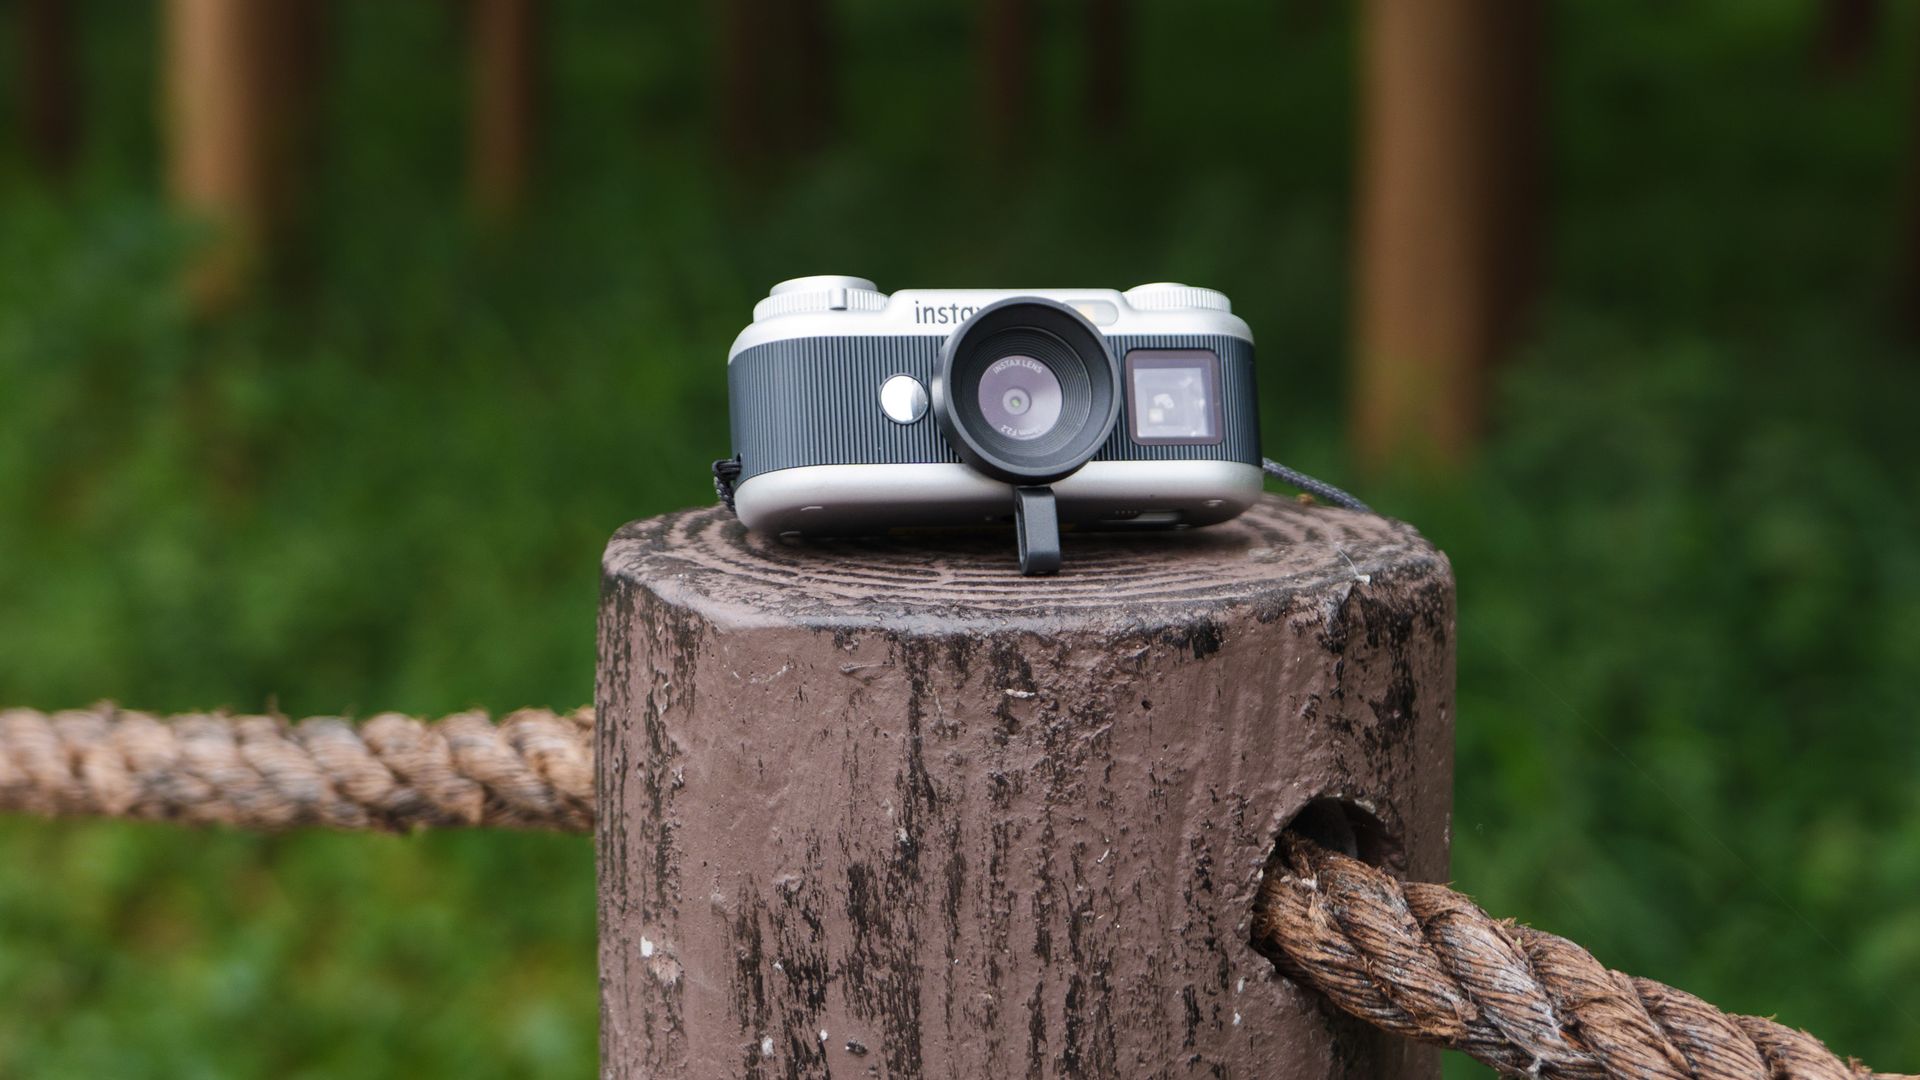
In a way it’s easy to forget that this palm-sized bundle of retro fun is a camera at all; but that's what it is, and it’s one with very basic tech inside: a tiny 1/3.06-inch sensor with 10MP JPEG photos, shot through a 28mm equivalent f/2.2 lens, with an LED flash for close-up low-light shots. There's no video here, just a 10-shot Animation mode.
It’s also Wi-Fi / Bluetooth-equipped, meaning users can wirelessly connect to a smart device and use the Instax Pal app for image uploads and sharing (the Pal app wasn't updated for the Pal 2 at the time of my review), or to one of Fujifilm’s Instax link printers for uploads or direct printing onto Instax film. There’s that pop-out USB-C for charging, too.
But — and it's a big but — it’s very expensive. The Pal 2 is not priced like the toy camera it is.
You can get four Kodak Charmeras for the price of one Instax Pal 2 and have some change left over. Yes, the Pal 2 is more camera than the Charmera in every way, but they are in the same novelty camera category, and the Charmera knows its place better.
Yes, my son loves the Pal 2, but it’s not in pocket-money saving territory, and it would be a stretch as a birthday gift.
It's easy to be won over by the Pal 2 — this is a retro, pocket digital camera with wireless image uploads and Instax printing. But when the Instax Mini Evo costs the same, and that camera has a larger body and screen, and can print images selected from the gallery directly, the Pal 2 feels like a stretch. If its price comes down, like the X half's did (by about 40%), then it might be a different picture.
The Fujifilm Instax Pal 2 costs $169.95 / £149.99 / AU$249 and is available in two colorways: black with silver trim, or white with silver trim. It comes with a small rubber selfie stand, which fixes in place by slotting around the lens, and a wrist strap.
Type: | Digital compact camera |
Lens | 28mm f/2.2 |
Sensor | 1/3.06-inch CMOS |
Photo resolution: | 10MP |
Video resolution: | N/A |
Storage: | Internal memory up to 100 shots, microSD card slot |
Screen: | 1.3-inch LCD, 170k dots |
Connectivity: | USB-C |
Dimensions: | 37 x 42 x 92.3mm (excluding projecting parts) |
Weight: | 3oz / 87g |
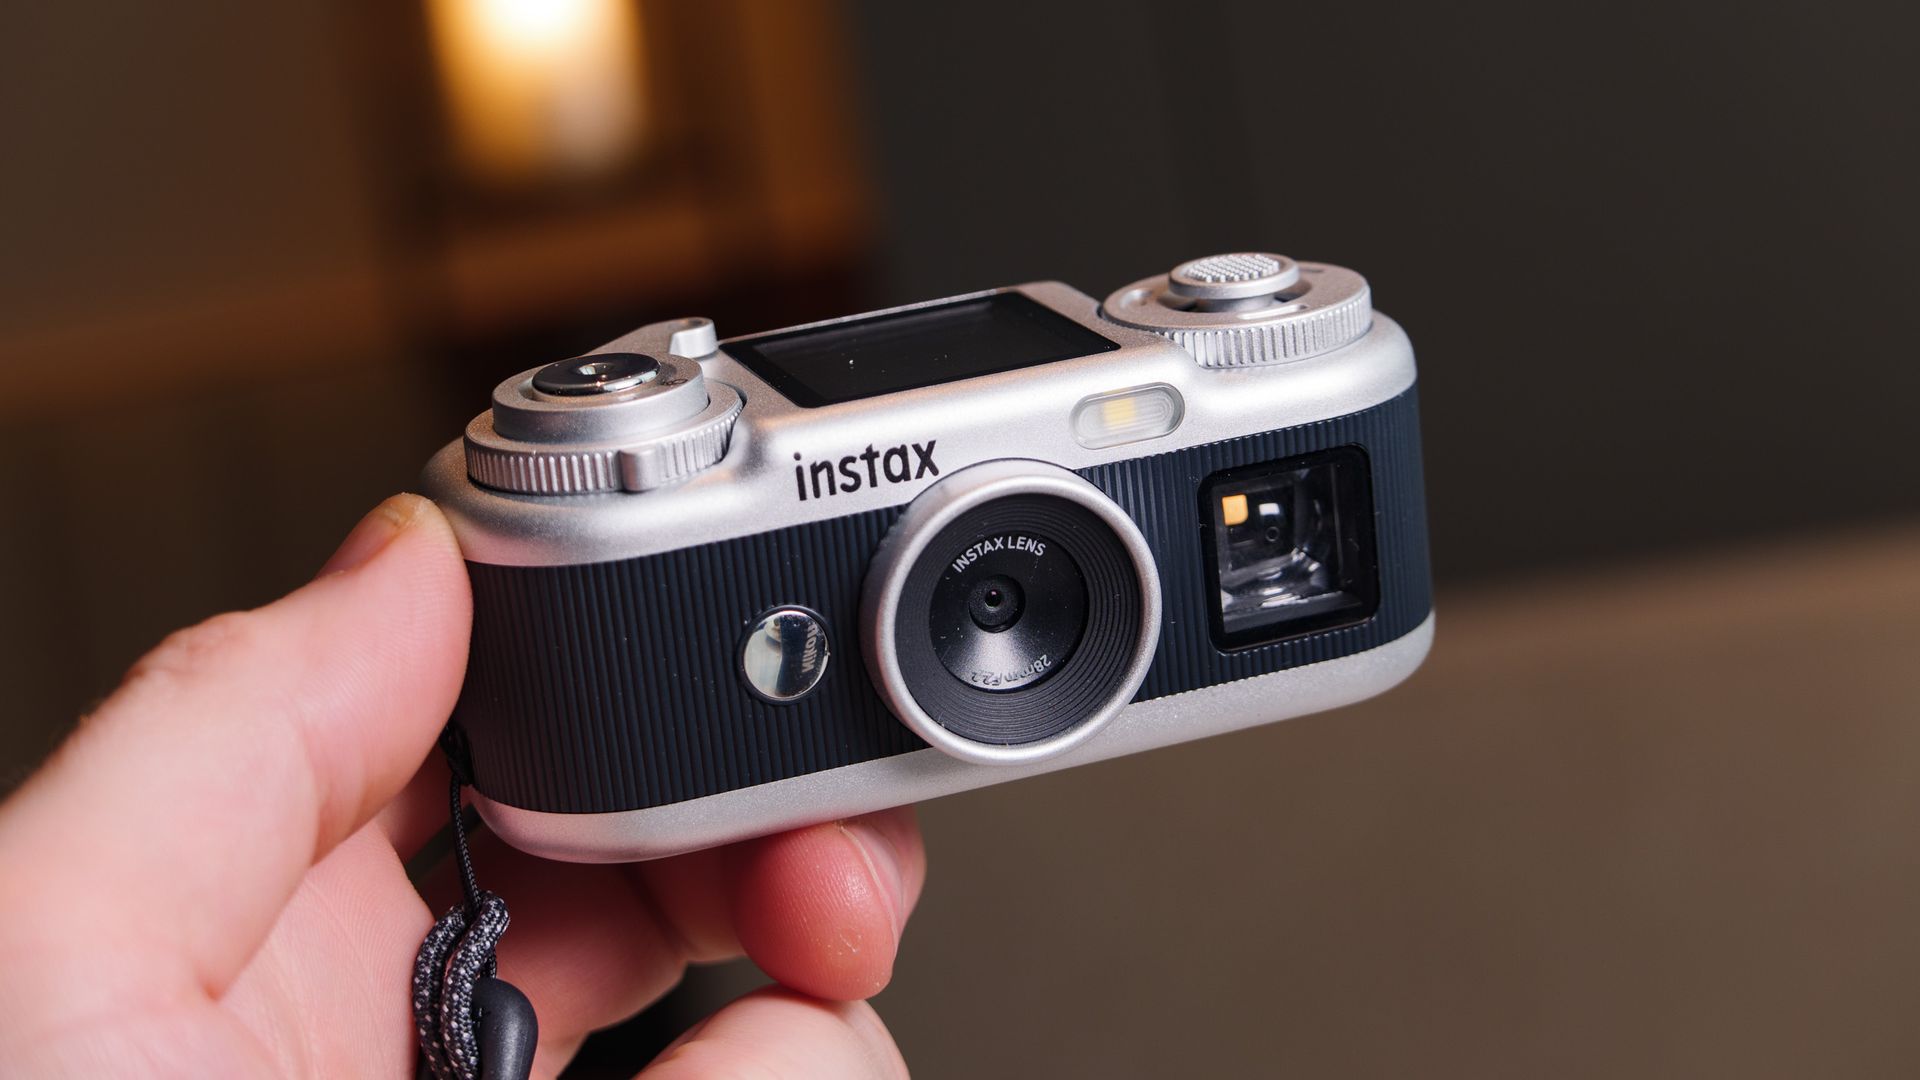
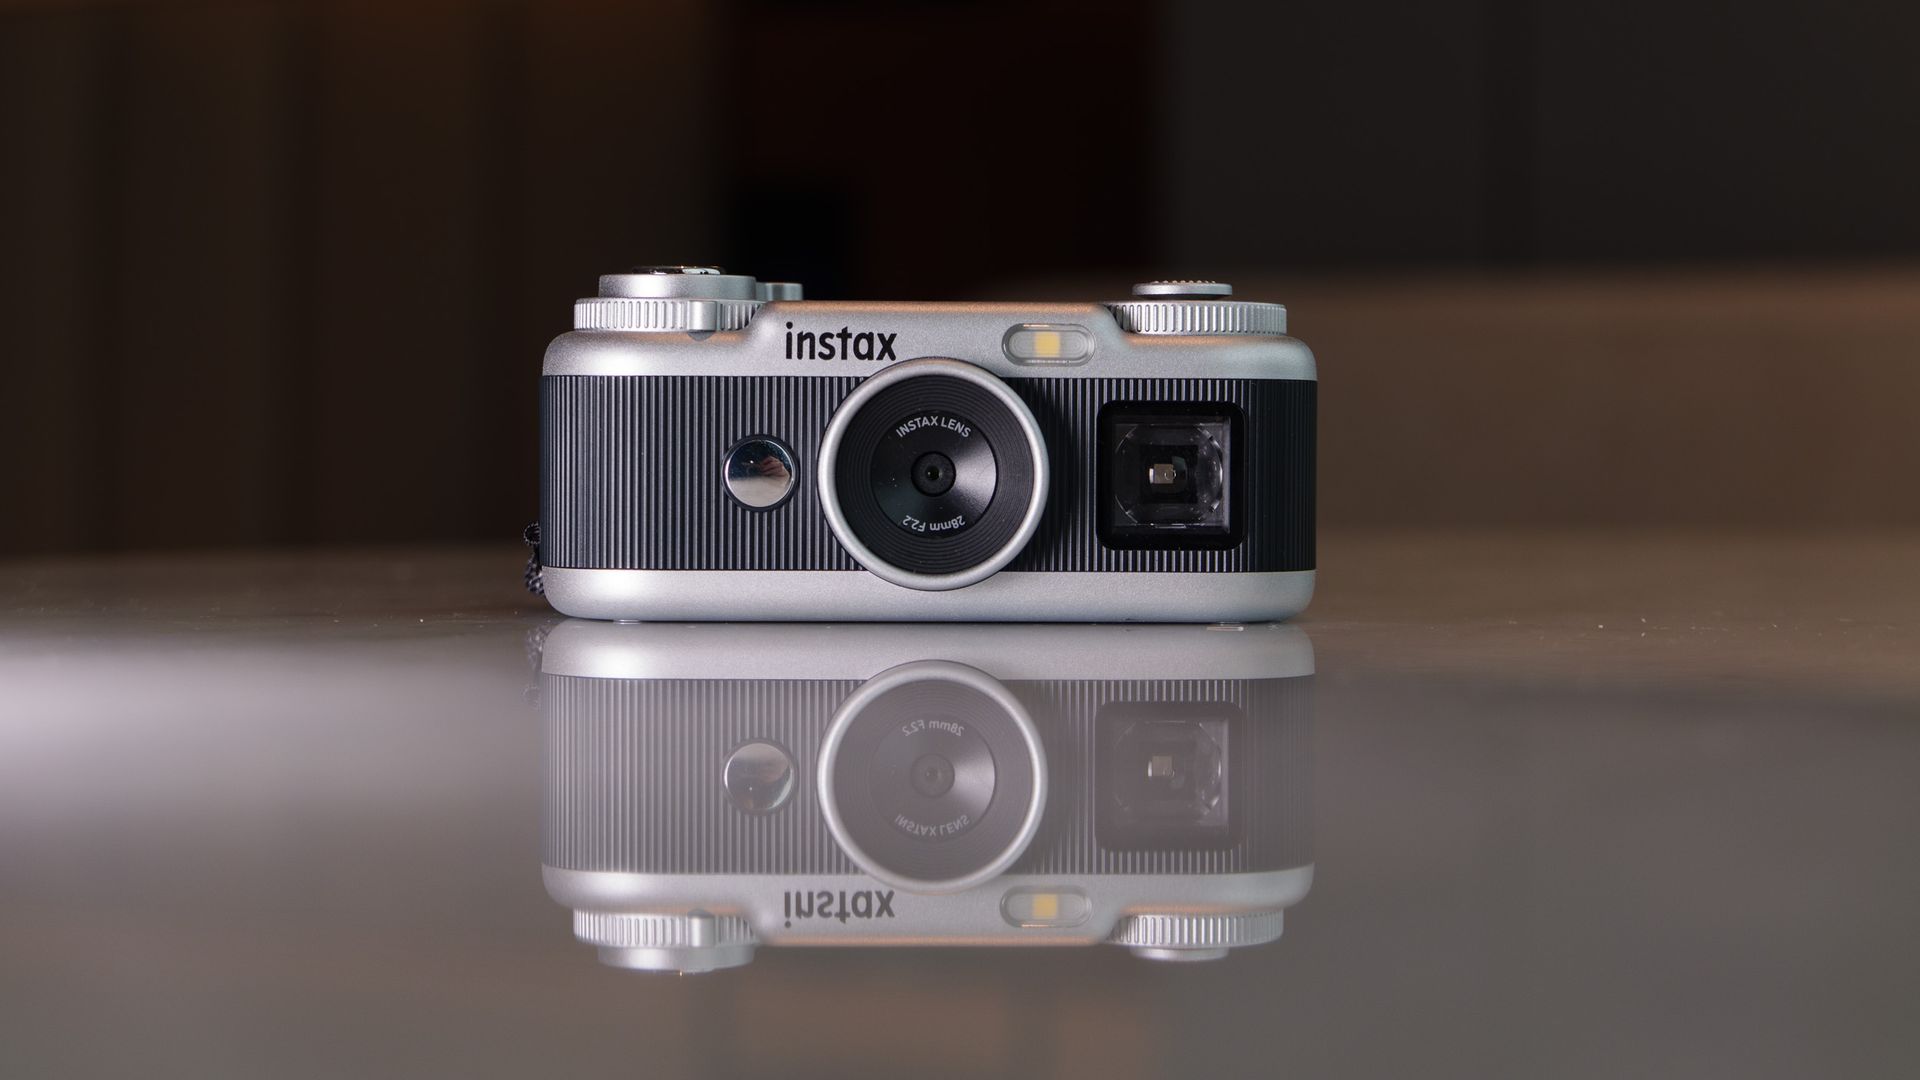
It might share the name as the original Pal, but the two cameras bear little resemblance to each other. The original Pal’s golf ball-like exterior is cast aside in favor of retro-style, mini Fujifilm camera-like body.
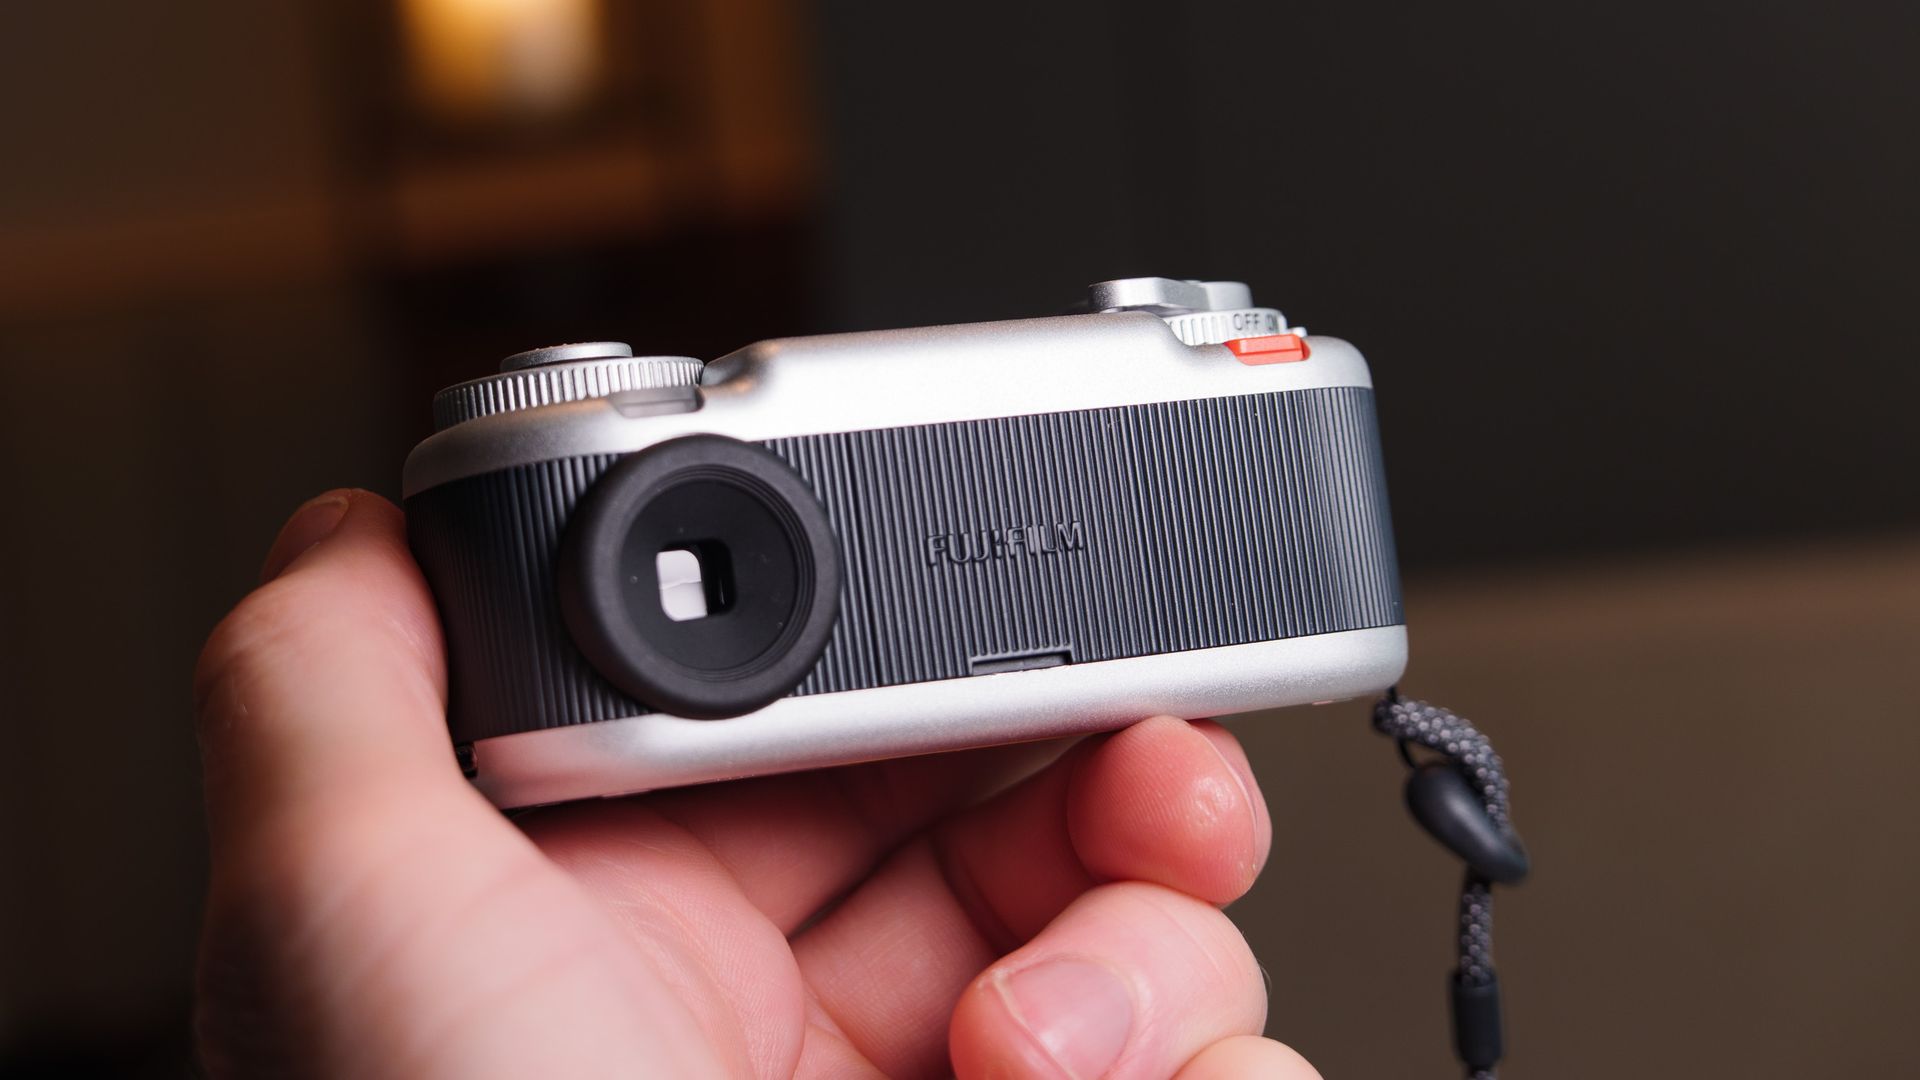
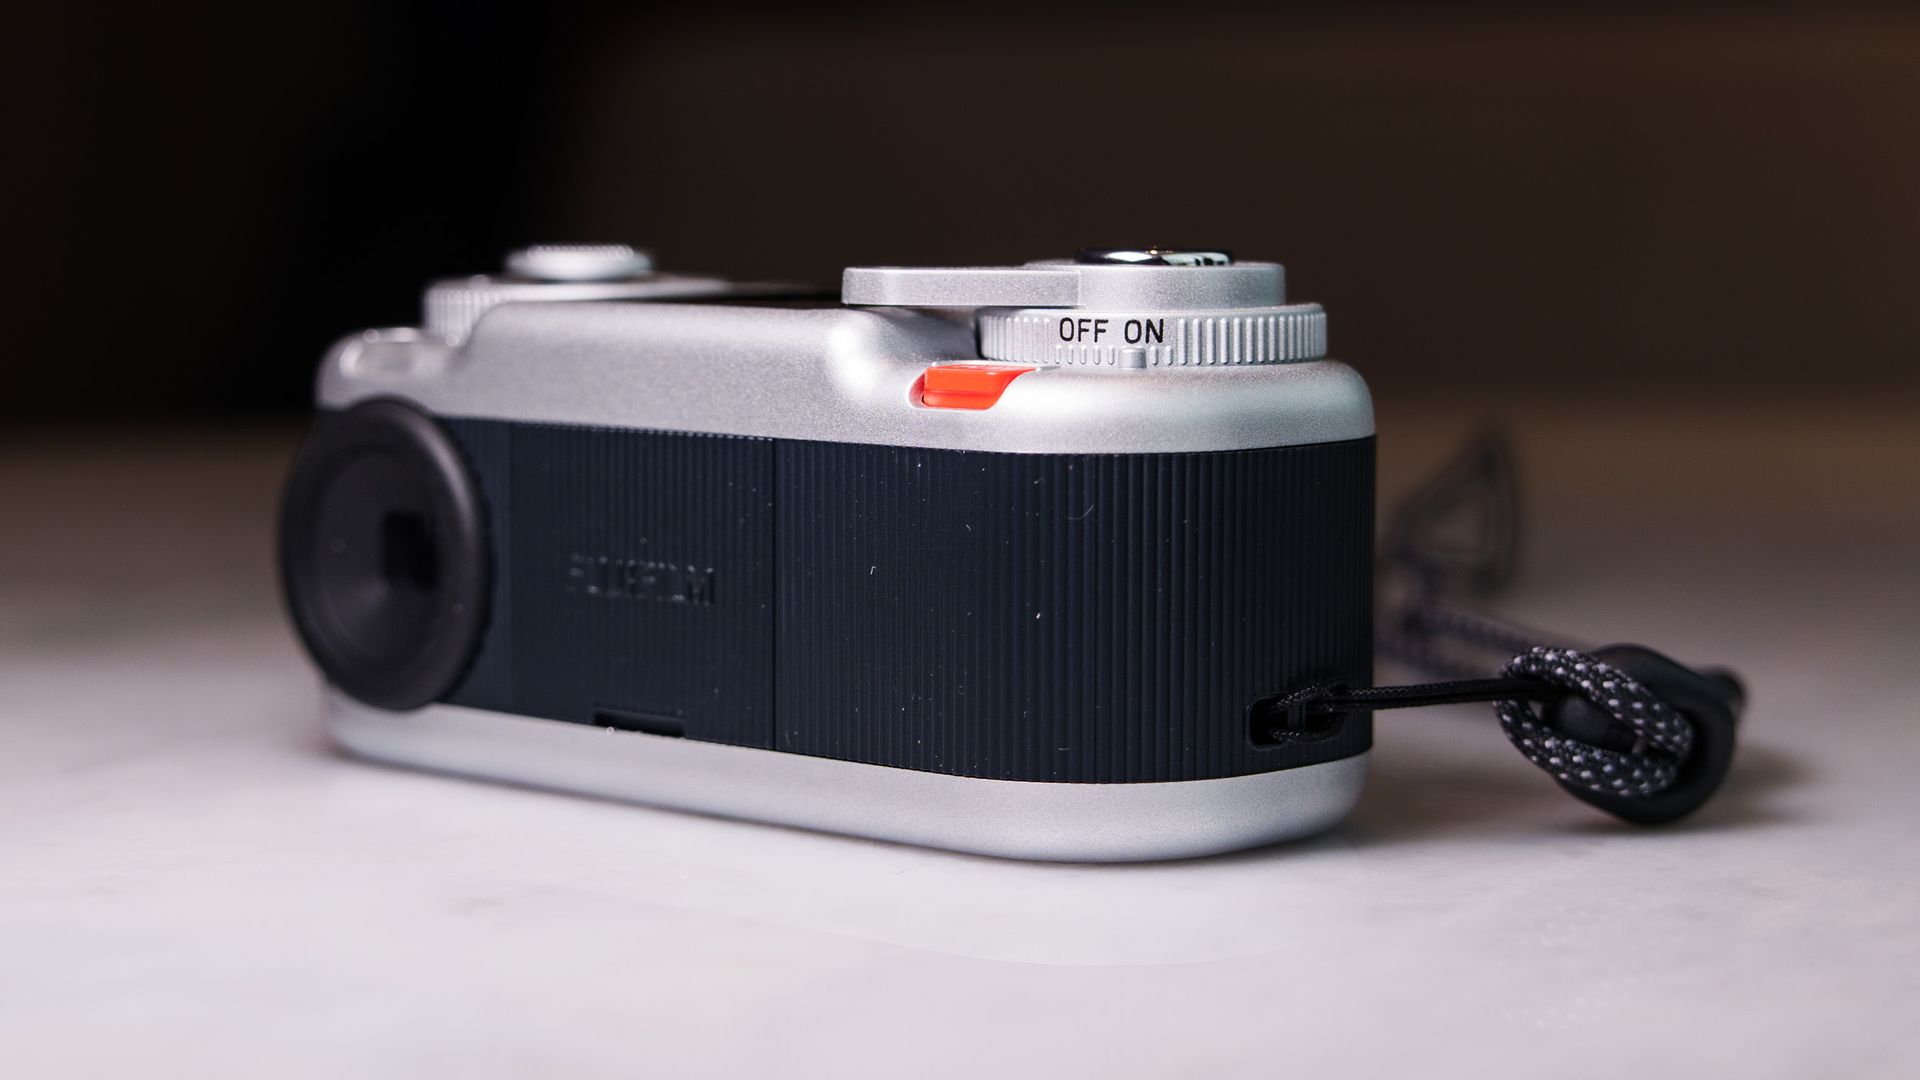
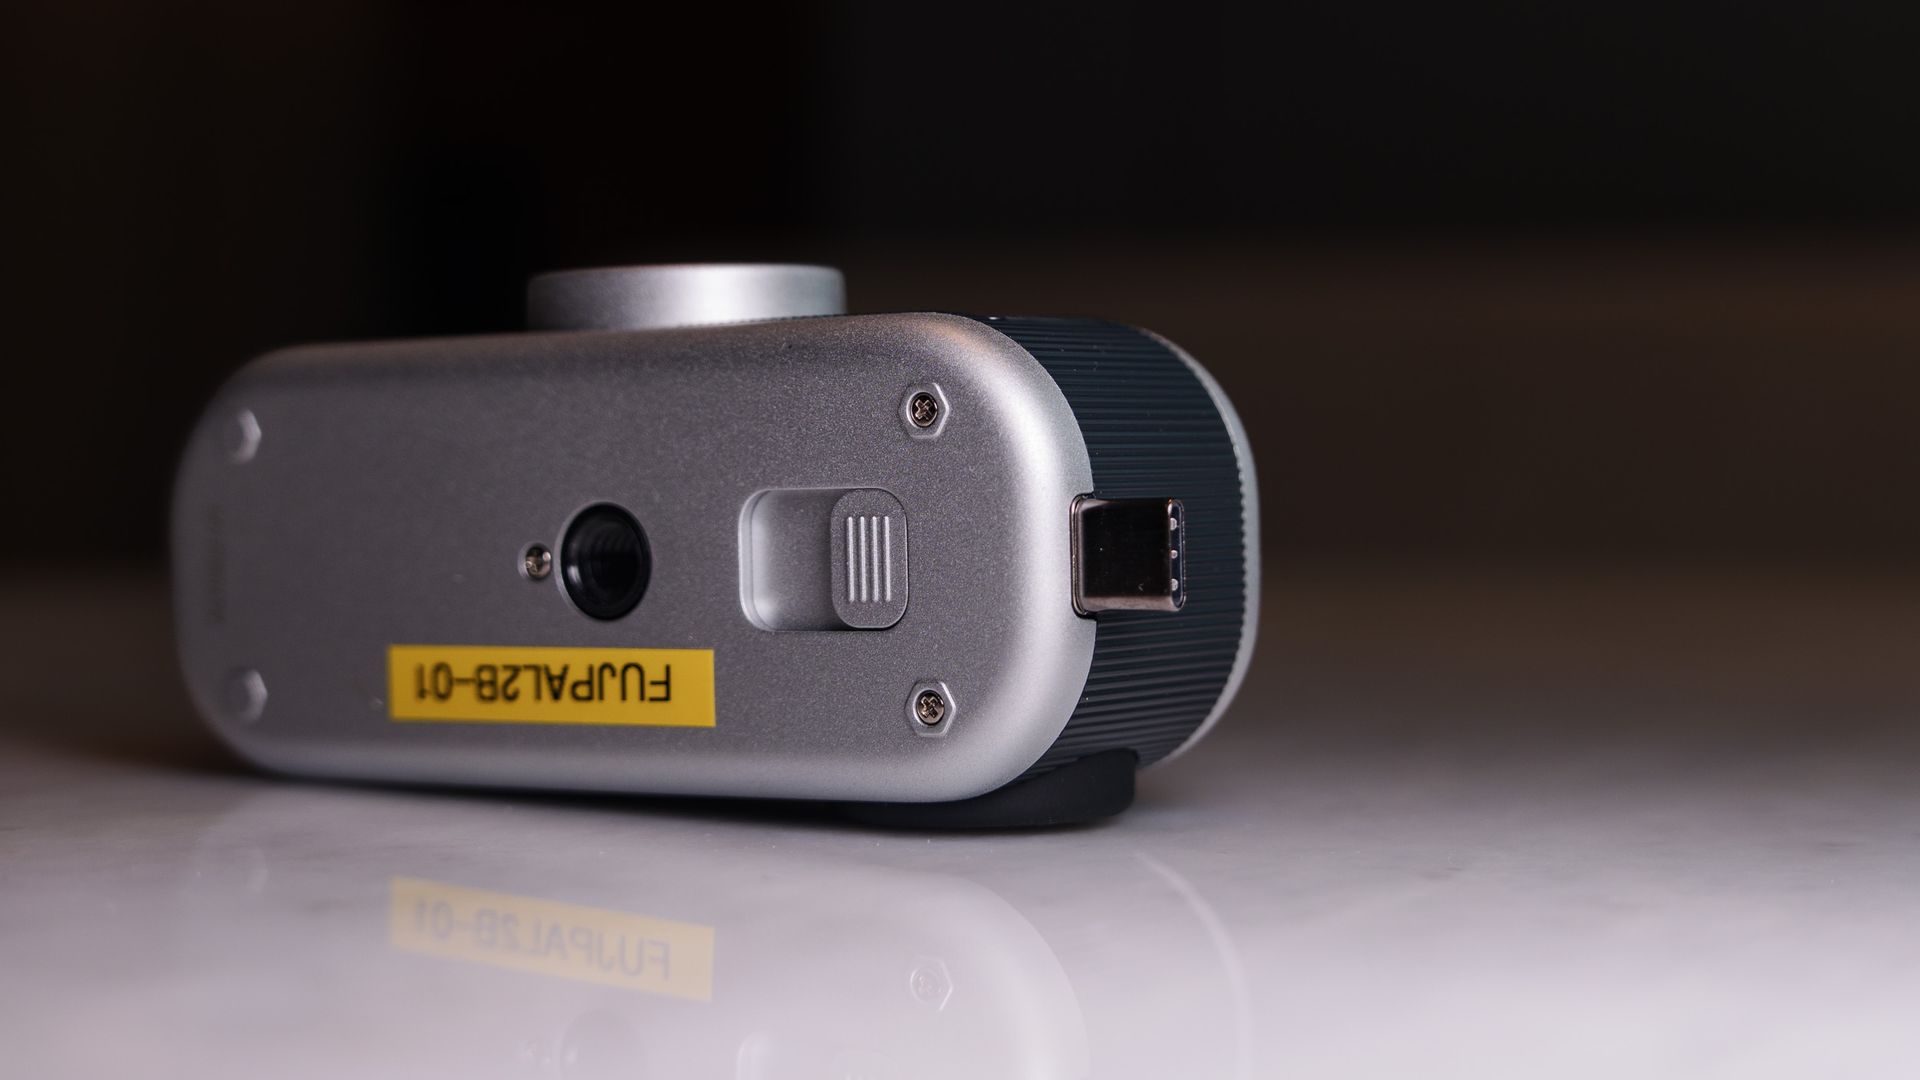
Fujifilm has packed a lot of controls and features into the tiny, palm-sized body, including a cut-out viewfinder, 1.3-inch top LCD, winding lever, on/off dial, a joystick set within another dial, playback and back buttons, a pop-out USB-C, and a tiny selfie mirror, tripod mount, microSD card slot, and LED flash.
Each control has its own distinct character, and it took me no time at all to memorize each one, meaning I could instinctively locate them.
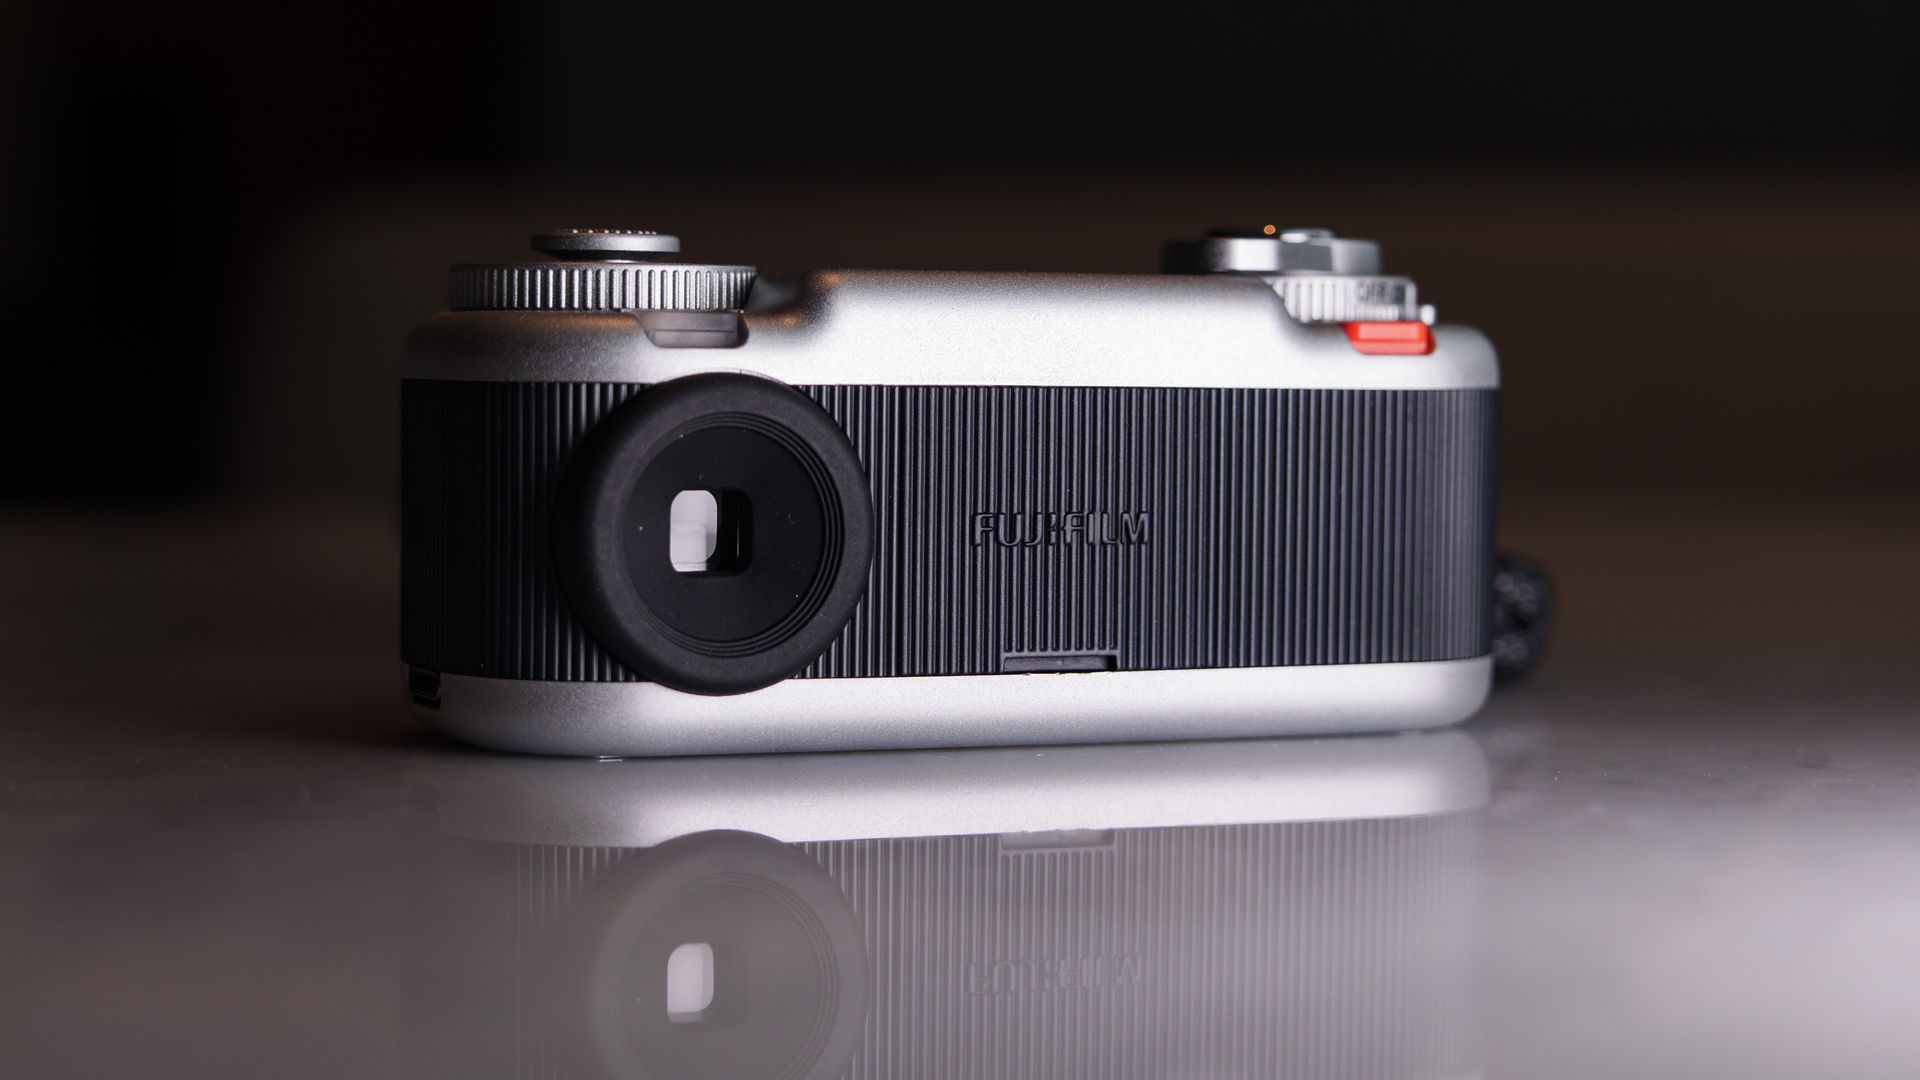
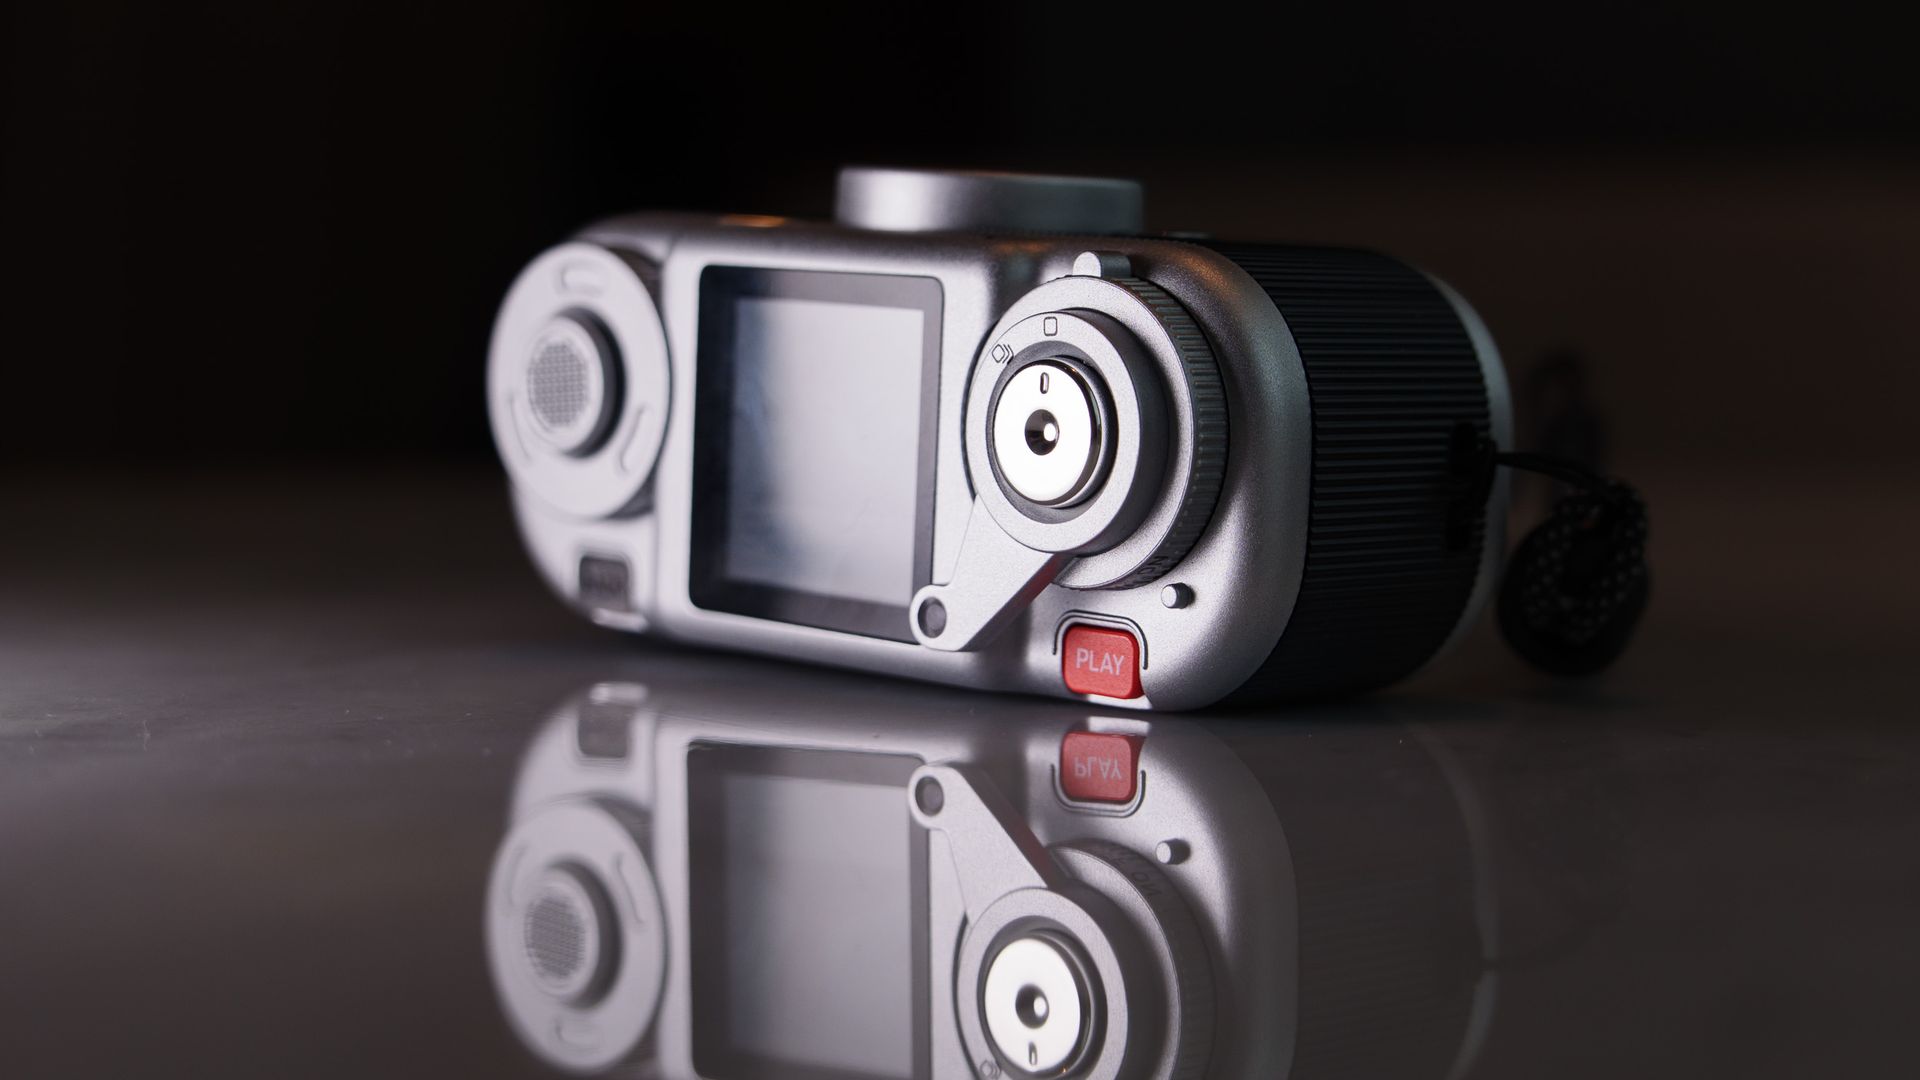
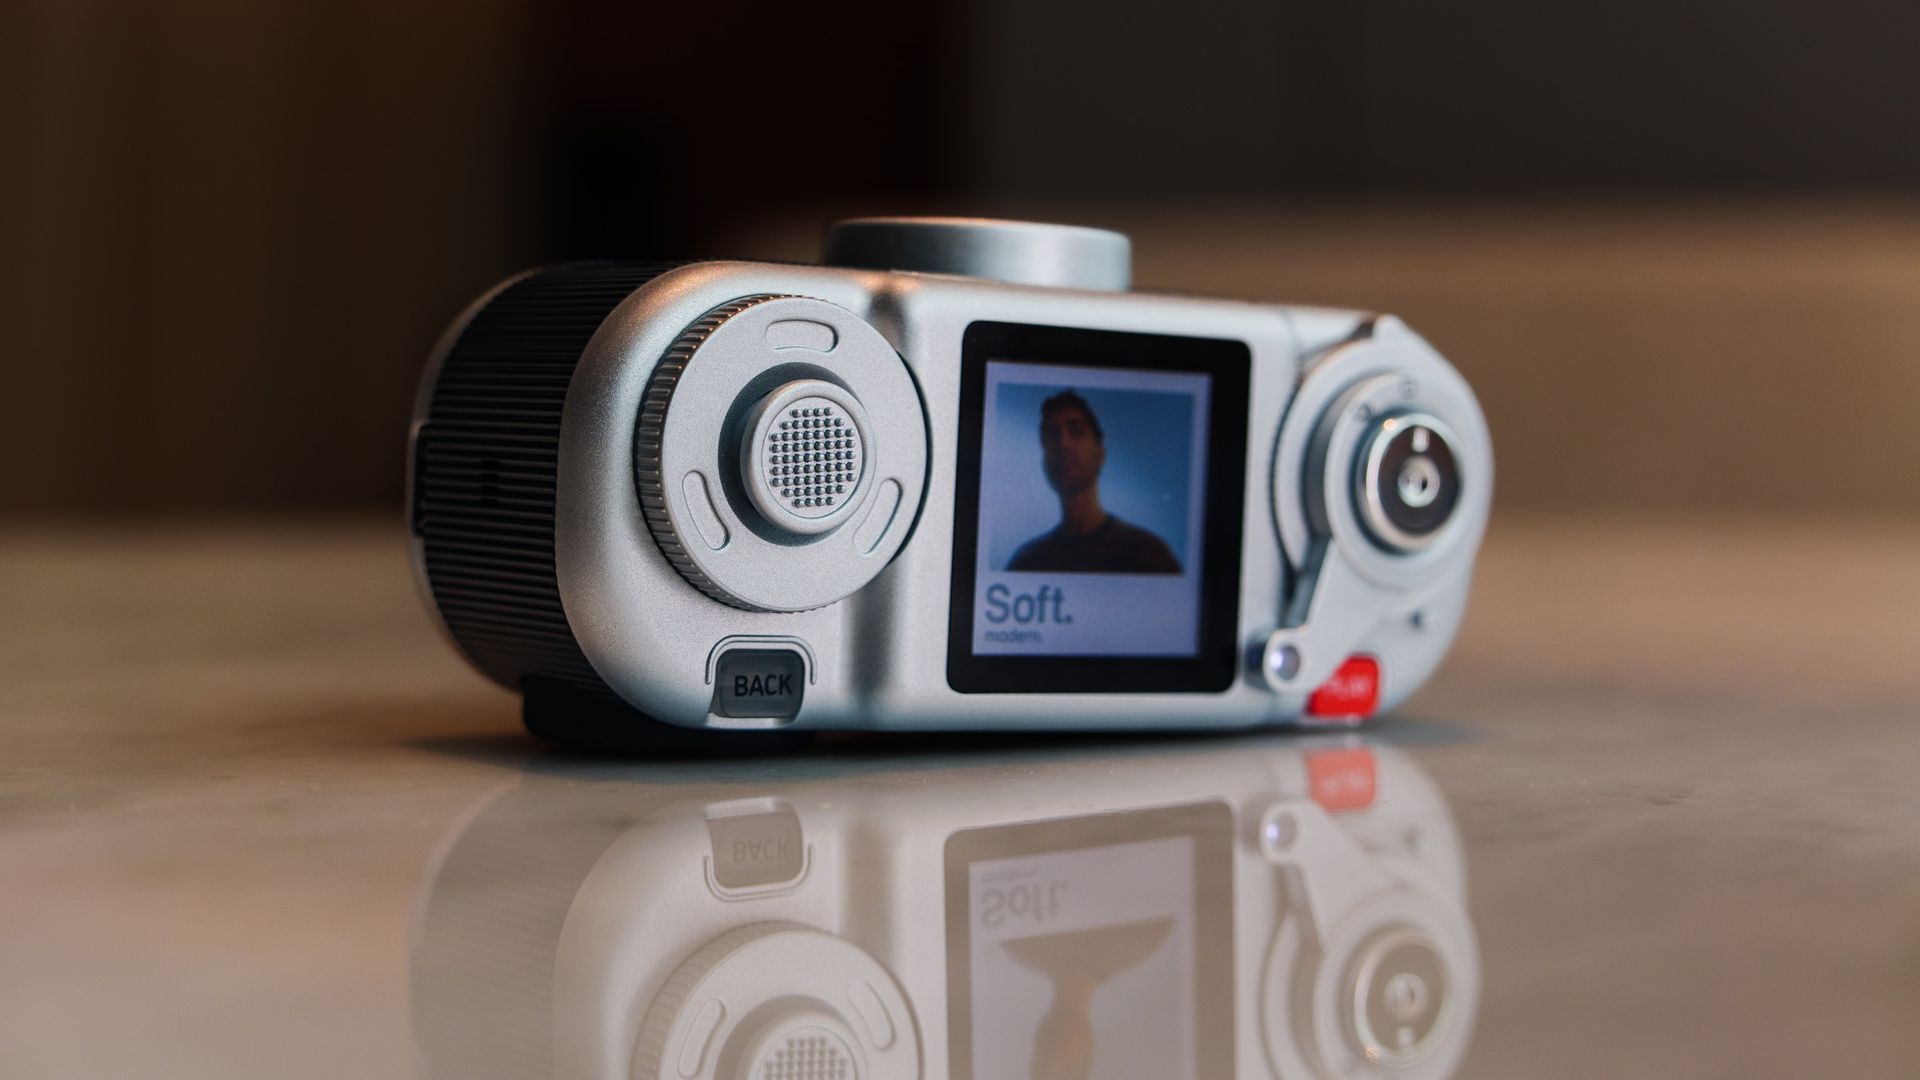
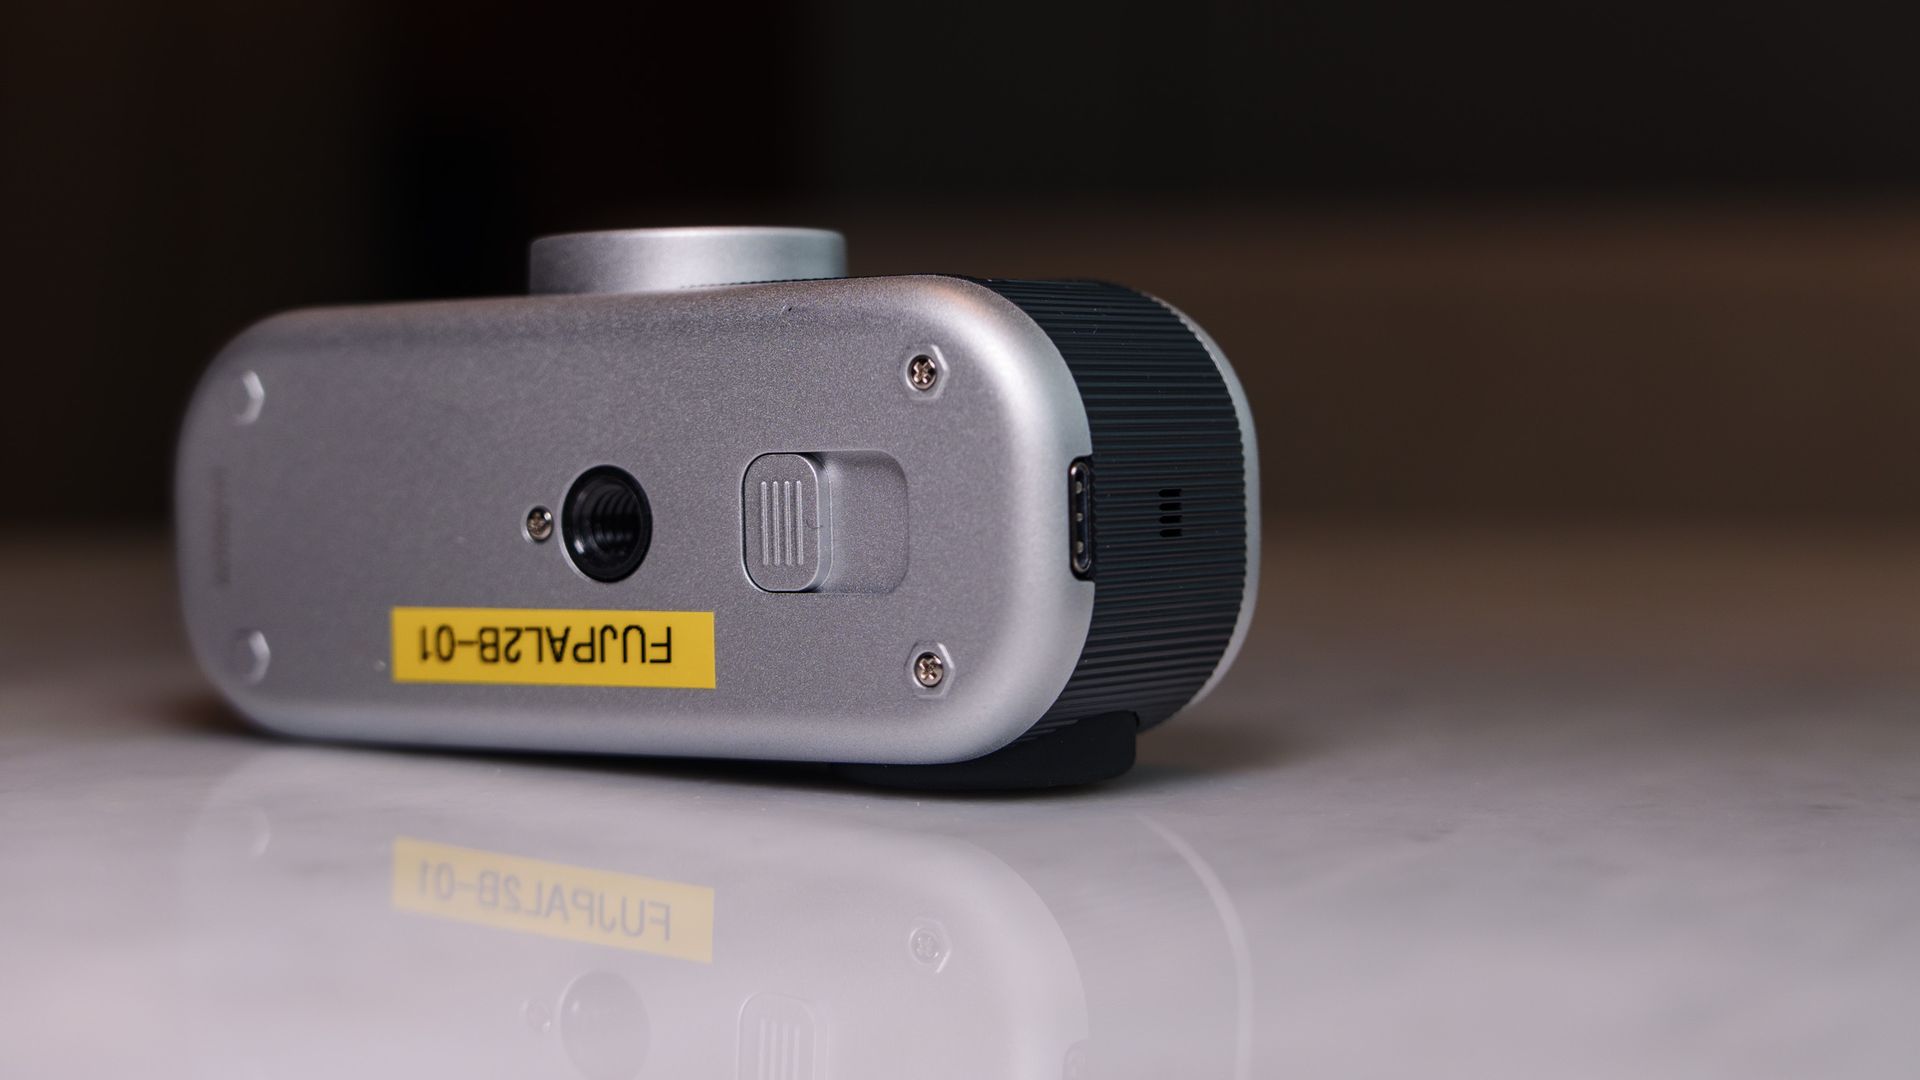
For the most part, I only found myself scrolling through the Instax film types (glorified aspect ratios) using the winding lever, and using the six picture styles, and the flash settings, self-timer and display mode options in the sub-menu. There’s little else to experiment with, besides perhaps exposure compensation, which is buried in the menu.
You can choose whether to display the selected picture style on the LCD display (kind of like a film roll), or the live view, when composing images. I'd hardly say composition is critical though, because the lens is a wide-angle 28mm optic, meaning you can blindly point the Pal 2 in the direction of your subject and it will be in the shot.
There’s plenty to like about the design of the Instax Pal 2. It’s a highly enjoyable camera to play around with, and it earned plenty of admiring comments from other tech journalists when I was attending another event.

The charming, tactile and dinky design is the major appeal of the Instax Pal 2 — you’re not buying it for its technically impressive images and high-speed performance.
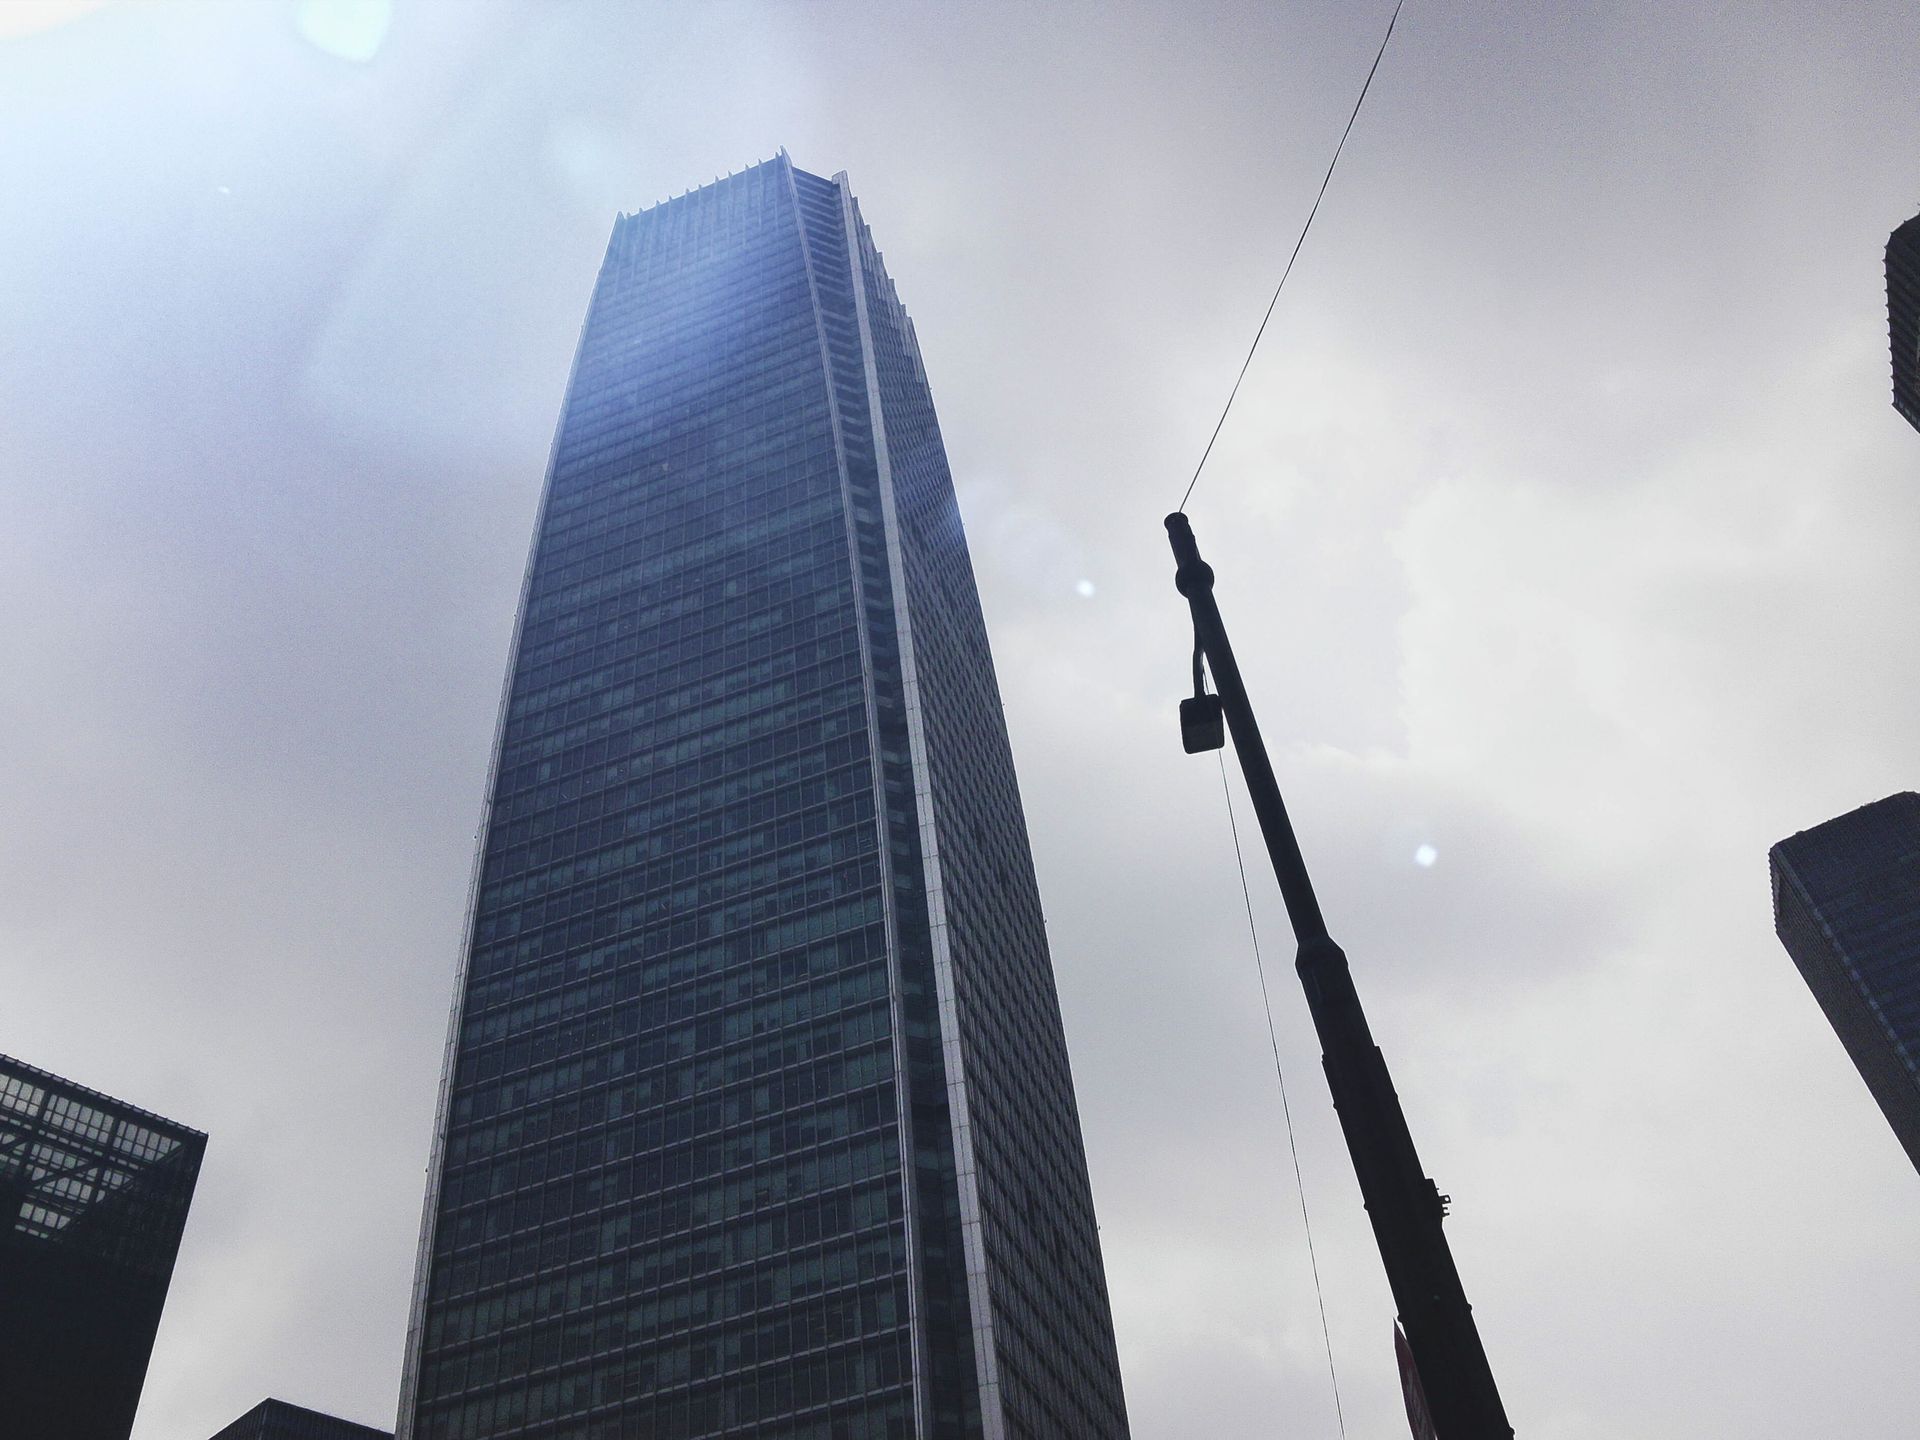
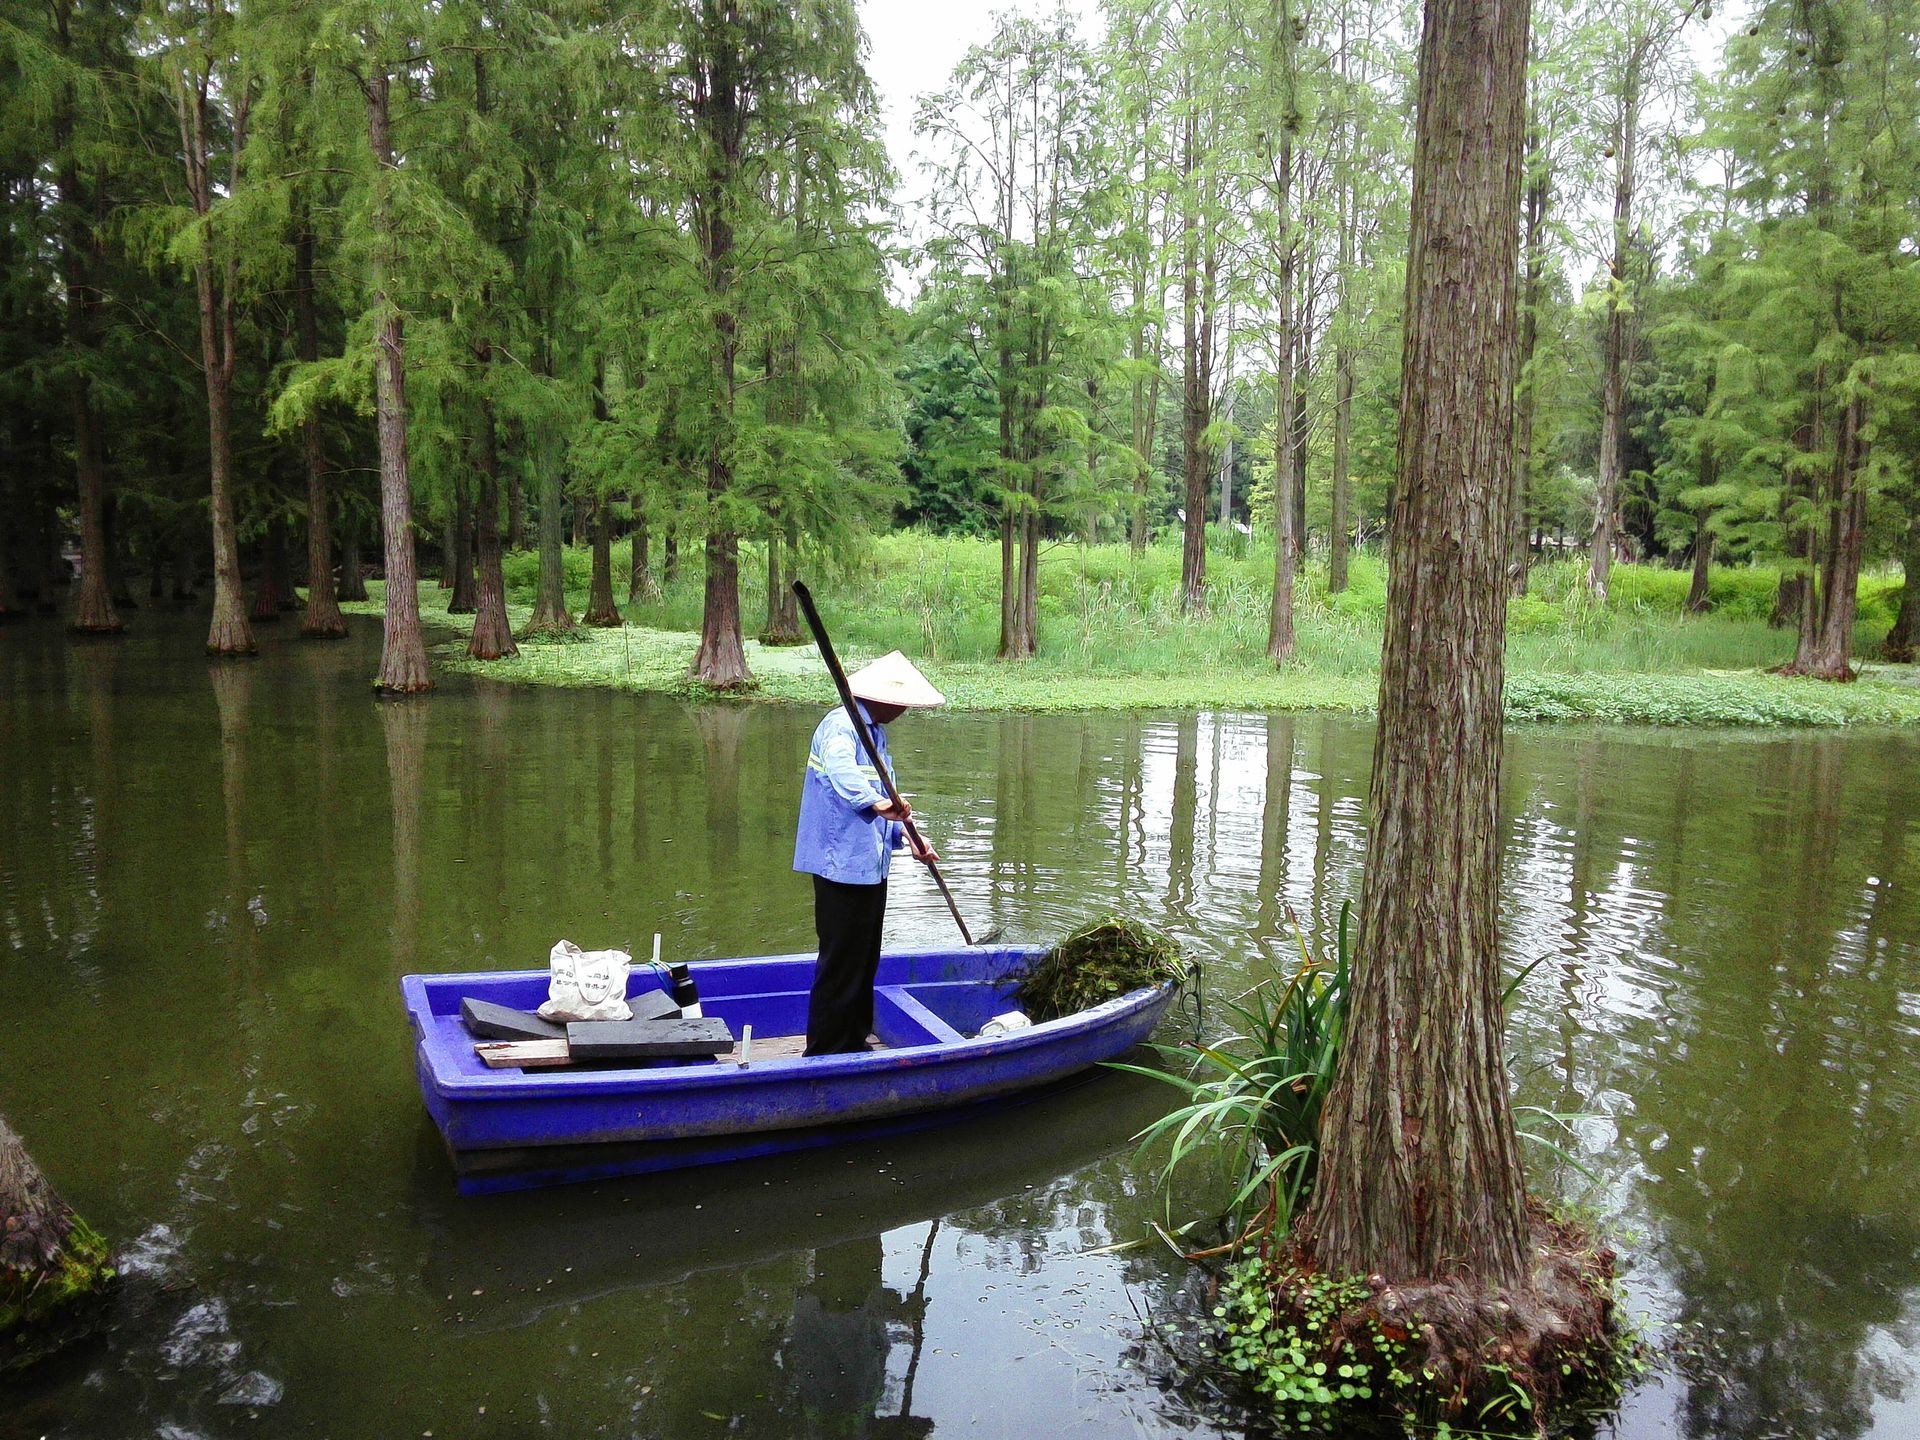
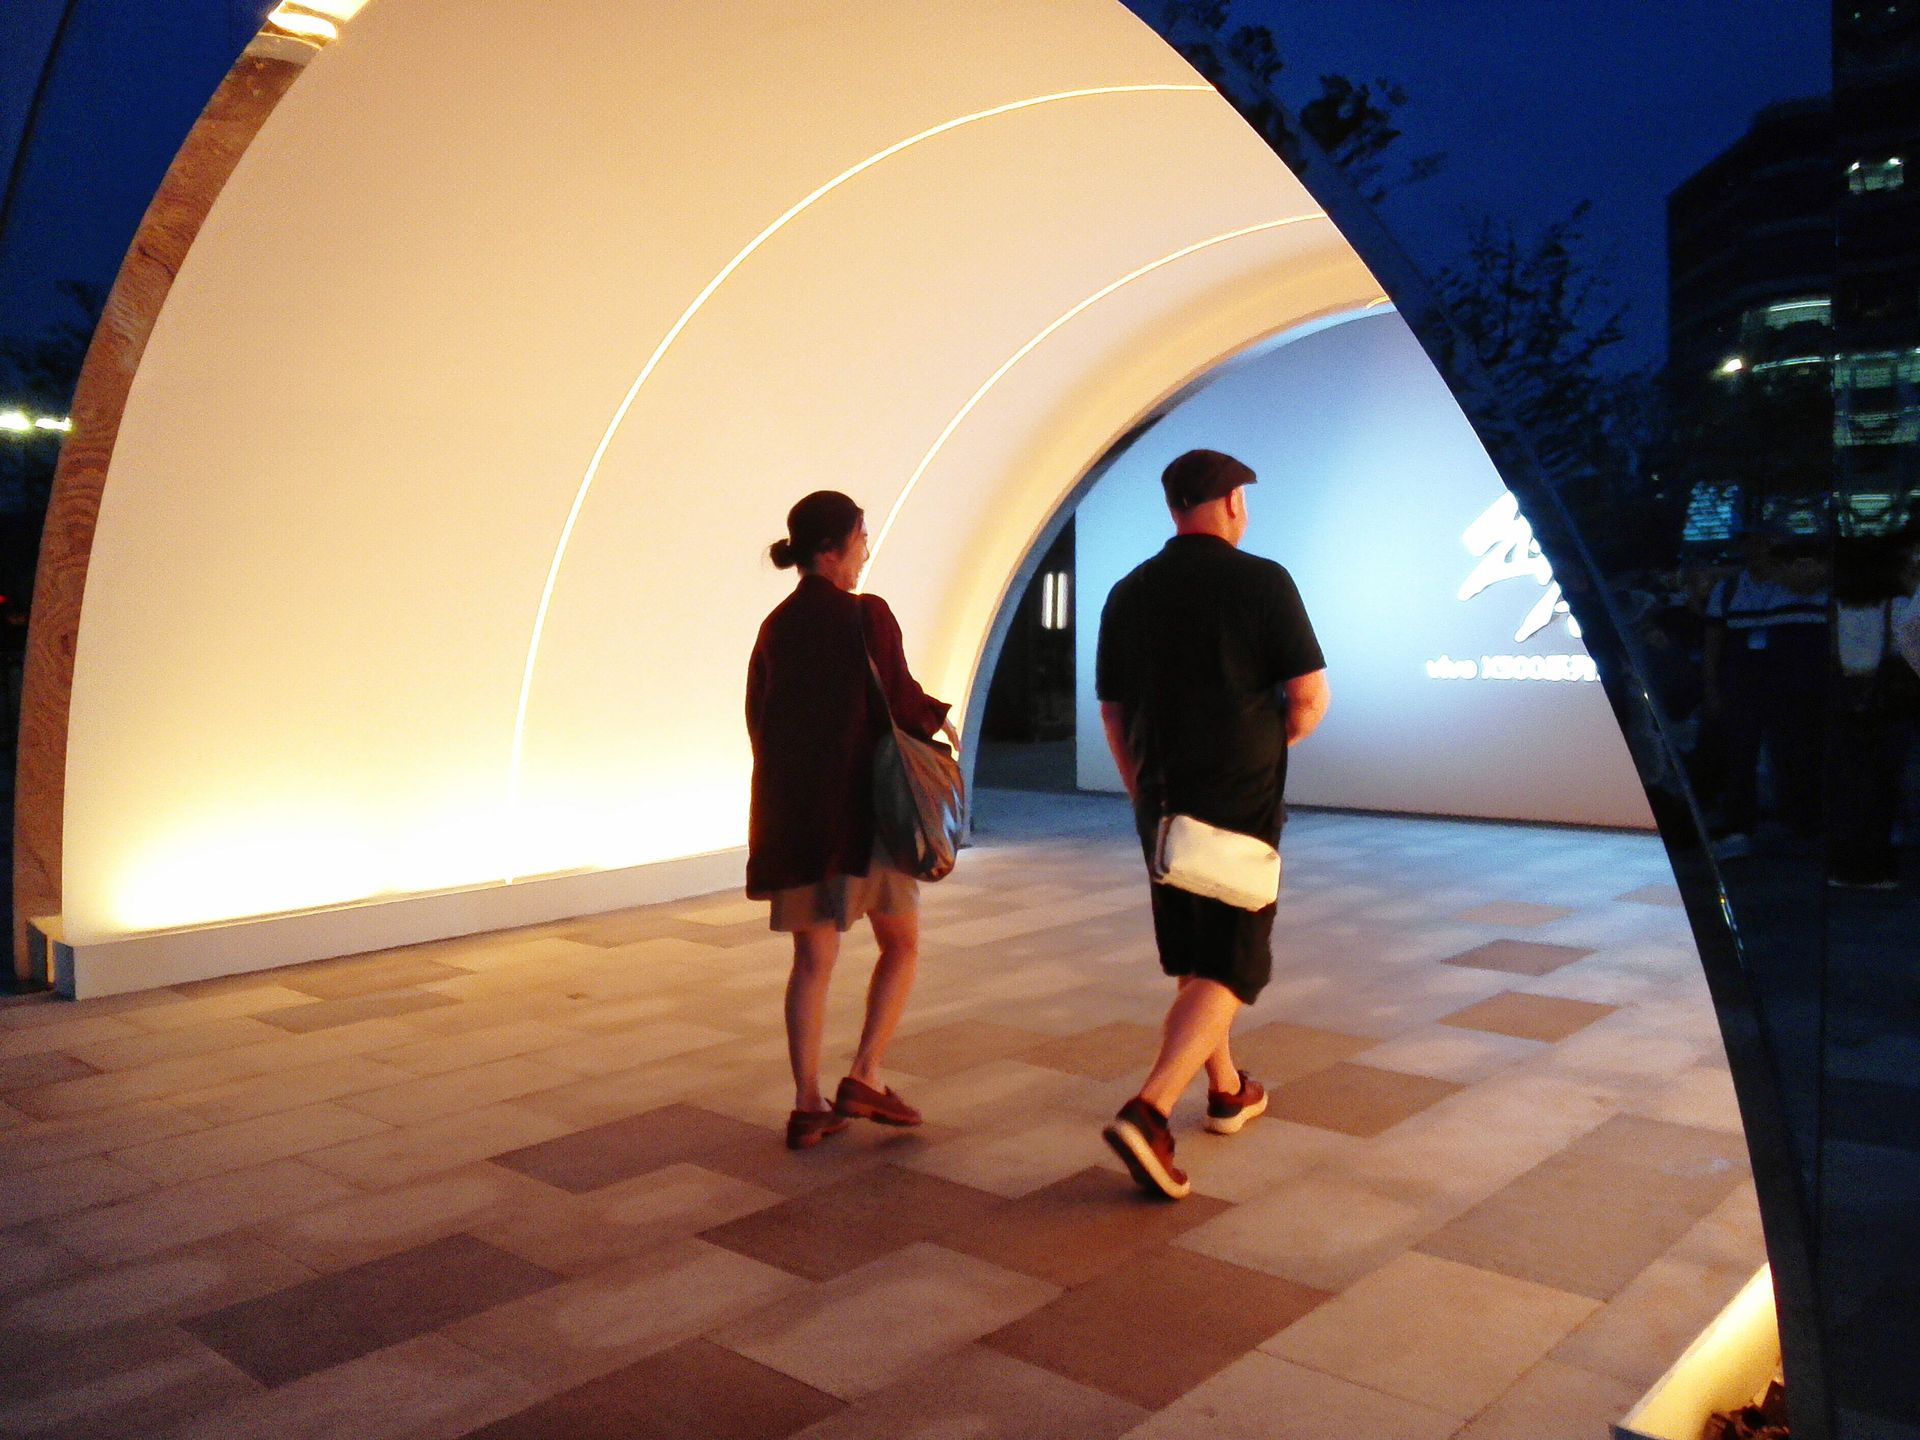
Take the JPEG-only photos (up to 10MP, depending on the aspect ratio) from the tiny 1/3.06-inch sensor and 28mm f/2.2 lens. There's no getting away from the fact they're lo-fi images; they're Better than the Charmera’s, but no match for your phone’s.
Don’t expect much detail in highlights, either — they blow out with the camera’s exposure metering left to its own devices, although ±2EV exposure compensation is buried in the camera’s main menu, so it is possibly to go for dark, moody photos too.
The six color profiles are all towards the vintage end of the scale, with options for Soft, Muted, Cool, Flare, Mono and Pure (see below). If you want a punchy, vivid setting, you’re out of luck. The picture style and aspect ratio used at the time of shooting, whether that’s mini, square, wide or no border, are locked in.
Technically this is a photo-only camera, but if you turn the winding lever clockwise (instead of counter clockwise for the Instax film borders), you can enter a burst-shooting 'animation' mode that takes up to 10 photos in a sequence and then pieces them into a single stop motion-like clip (see above).






There’s a built-in battery that's recharged through USB-C — and you’ll need to do that regularly, because battery life is poor. A combination of me playing around with the camera settings and taking around 50-75 images saw battery life depleted by three quarters, so you’ll struggle to get through a full day of shooting.
Shutter lag — the time between pressing the shutter button and the camera actually taking the photo — can get really frustrating, and it’s made worse with the LED flash active. You'll need to hold the camera steady after pressing the shutter, and hope that your subject stays still, otherwise you'll miss the shot
I had the flash mostly set to auto, and it mostly only fired in low light — this isn’t a flash-on for every photo setup, as is the case with some Instax mini cameras.
As with any wide-angle camera, but especially so with the Pal 2's small picture size, it pays to have your subject close and filling the frame to maximize the impact of the photo — this isn’t a camera for taking landscape images, in which detail will be lost.
A curiosity is that the camera limits users to 100 shots between connections to the Pal app, whether that's shooting onto the internal memory or the microSD card. This isn't an issue when shooting onto the internal memory, since there's only space for 100 shots, but I found it a frustrating and unnecessary restriction when shooting to the card.
The original Instax Pal app is also designed for the Pal 2, but at the time of writing there wasn't an update for the app, so I haven't been able to try it out with the latest camera yet. I'll update this review once I've tried wireless uploads and printing.








You love fun, tactile, cute cameras
The Pal 2 got lots of admiring looks during my test period, and the multi-sensory controls are super-fun.View Deal
You want an Instax-like experience, but control over what you print
As a digital-only camera, you choose which photos you'd like to print through the app, or via direct wireless connection with a mini Link Instax printer. View Deal
You just want a cheap toy camera
At over four times the price of the Kodak Charmera, the Pal 2 is one expensive toy. View Deal
You need a responsive camera
For me, shutter lag was the major drawback of the Pal 2 — there were many occasions when I missed a moment, or the camera shot a photo after I'd moved the camera. View Deal
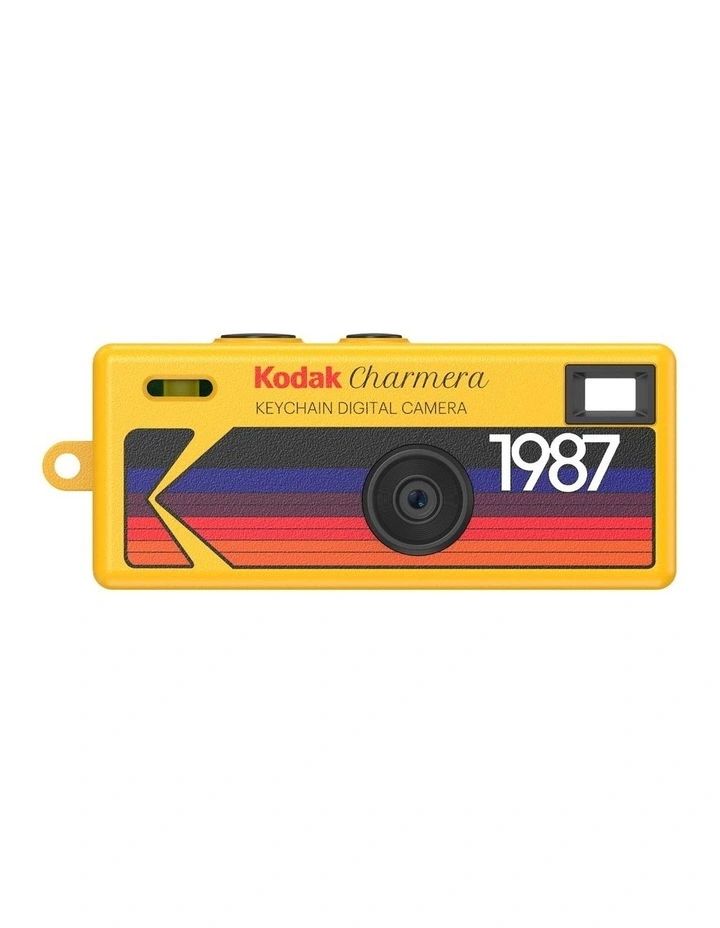
Kodak Charmera
If you simply want a tiny lo-fi camera, and really don’t care about picture quality or app connectivity, the Charmera is a much more affordable alternative.
Read our Kodak Charmera reviewView Deal
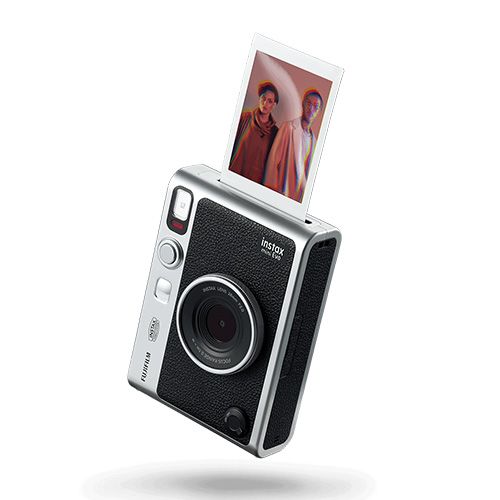
Fujifilm Instax Mini Evo
Also retro-styled, the Mini Evo is a digital camera with instant printer built in, and is all-round larger, including its screen. It's a similar price to the Instax Pal 2, and so it feels like better value, but it’s not pocketable in the same way.
See our Instax Mini Evo reviewView Deal
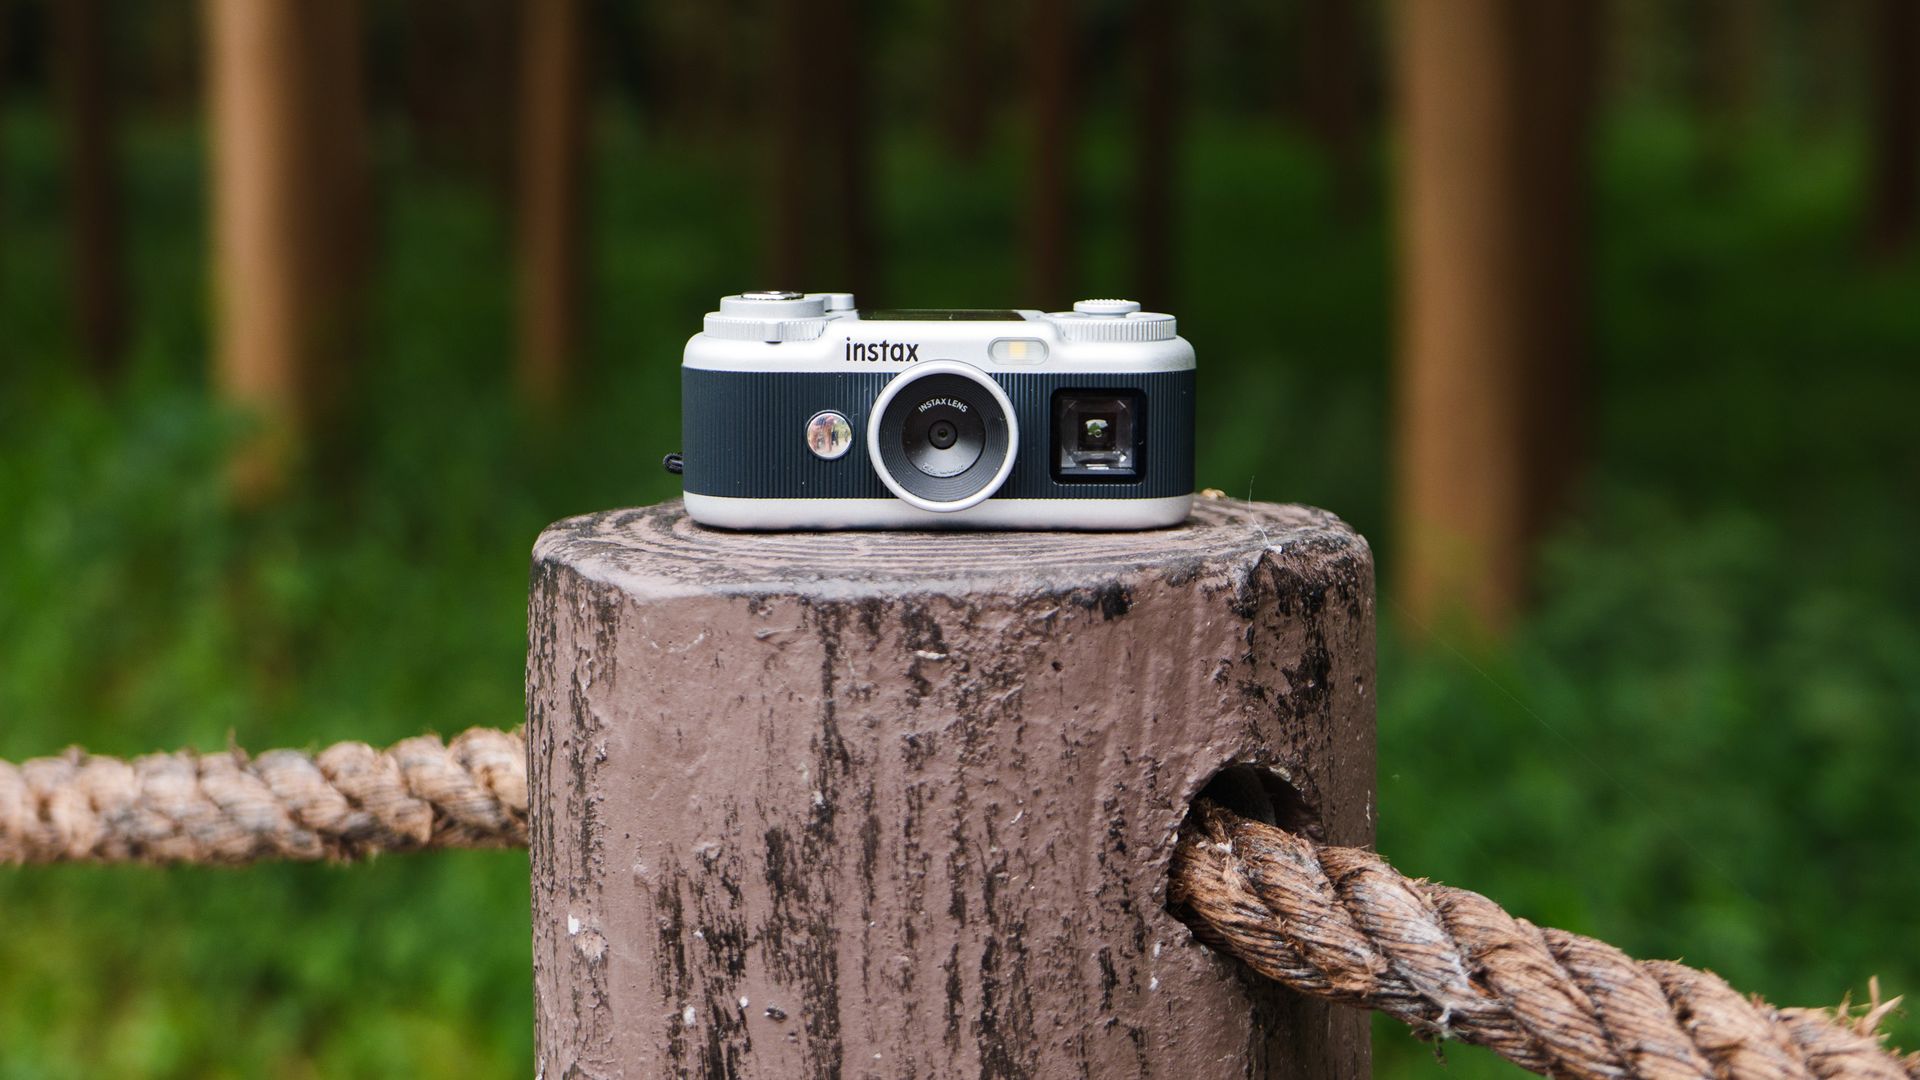
Instax loaned me the black-with-silver-trim version of the Pal 2 for a few weeks, during which time I’ve kept it on me as an everyday camera, and taken it to China on a work trip.
I’ve used the various picture effects, aspect ratios (Instax film types), the self-timer and the LED flash, and tried the 10-frame animation mode.
At the time of my review, the Instax Pal app wasn't updated for use with the Pal 2 (on Android, at least). I'll update this review once I've paired the camera with the app and used it properly.
It might look like a Sony or Nikon, but I can assure you that the EOS R8 Mark II is a Canon camera. It's the realization of a long-rumored model that was expected to be a digital remake of the AE-1 analog SLR camera to mark that camera's its 50th anniversary, only those rumors proved unfounded, with Canon working in a "modern twist".
I can see the faint resemblance between the two cameras, and I like the EOS R8 Mark II's angular look, but I also think Canon has missed a trick by not going all-out retro here, in the way Nikon did with its Zf.
Design should have been the major selling point here, but instead we have a camera that blends in, and that's not a compliment. This makes it harder to forgive the dated elements of the camera that have been carried over from the original EOS R8.
That's not to say the EOS R8 Mark II isn't a decent upgrade from the EOS R8 — it adds in-body image stabilization that's rated up to 7.5EV to the 24MP full-frame sensor, plus an AF joystick (Canon calls it a multi-controller) which makes autofocus selection simpler.
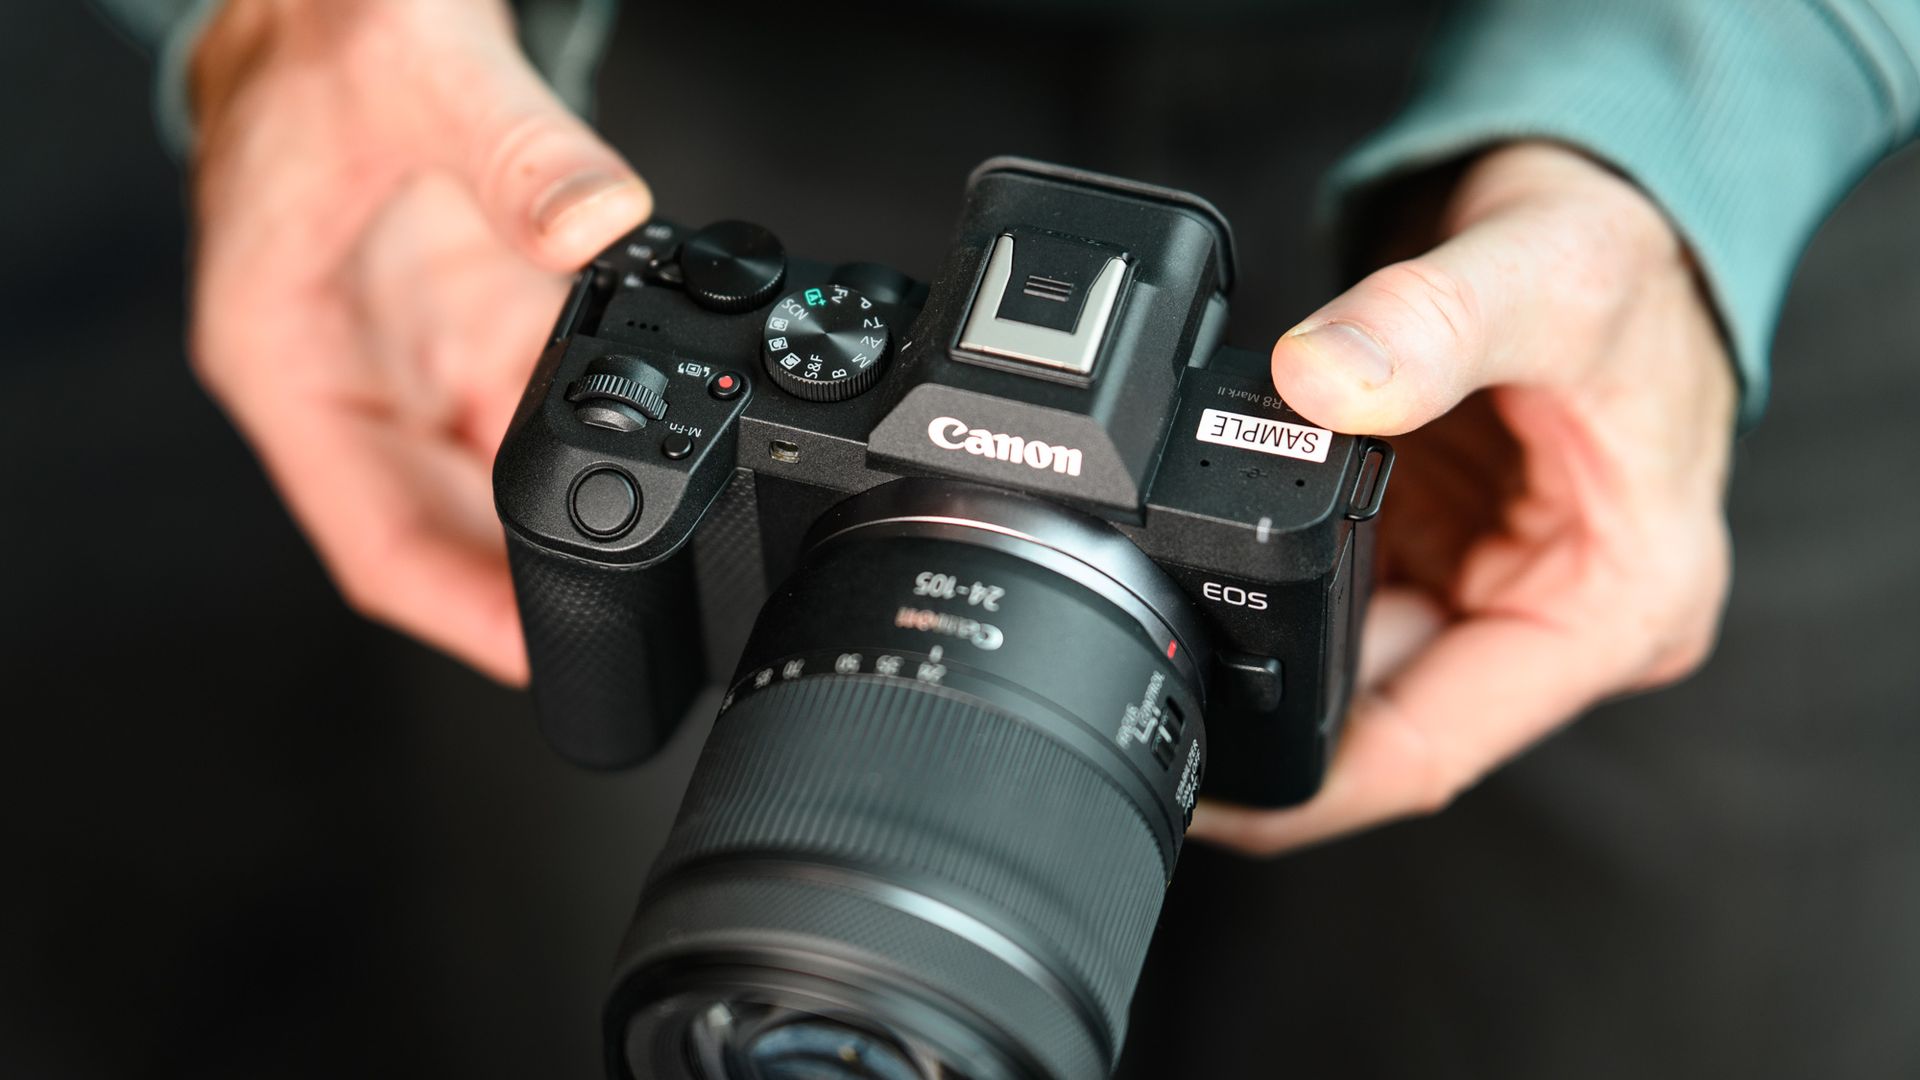
Video specs are also improved, autofocus performance enhanced, and pre-capture appears for the first time in a Canon camera at this price point.
The EOS R8 Mark II is a better camera than the EOS R8, but it also carries the same LCD and EVF displays, and the same tiny battery and entry-level build quality. These dated elements only highlight how much better a camera the Nikon Z5 II is — and that camera from 2025 costs less.
Still, if you're a Canon fan and committed to its system, the EOS R8 Mark II is a solid upgrade of the EOS R8, and a sensible alternative to the pricier EOS R6 Mark III for users who don't need the premium design, superior battery life and various high-end features.
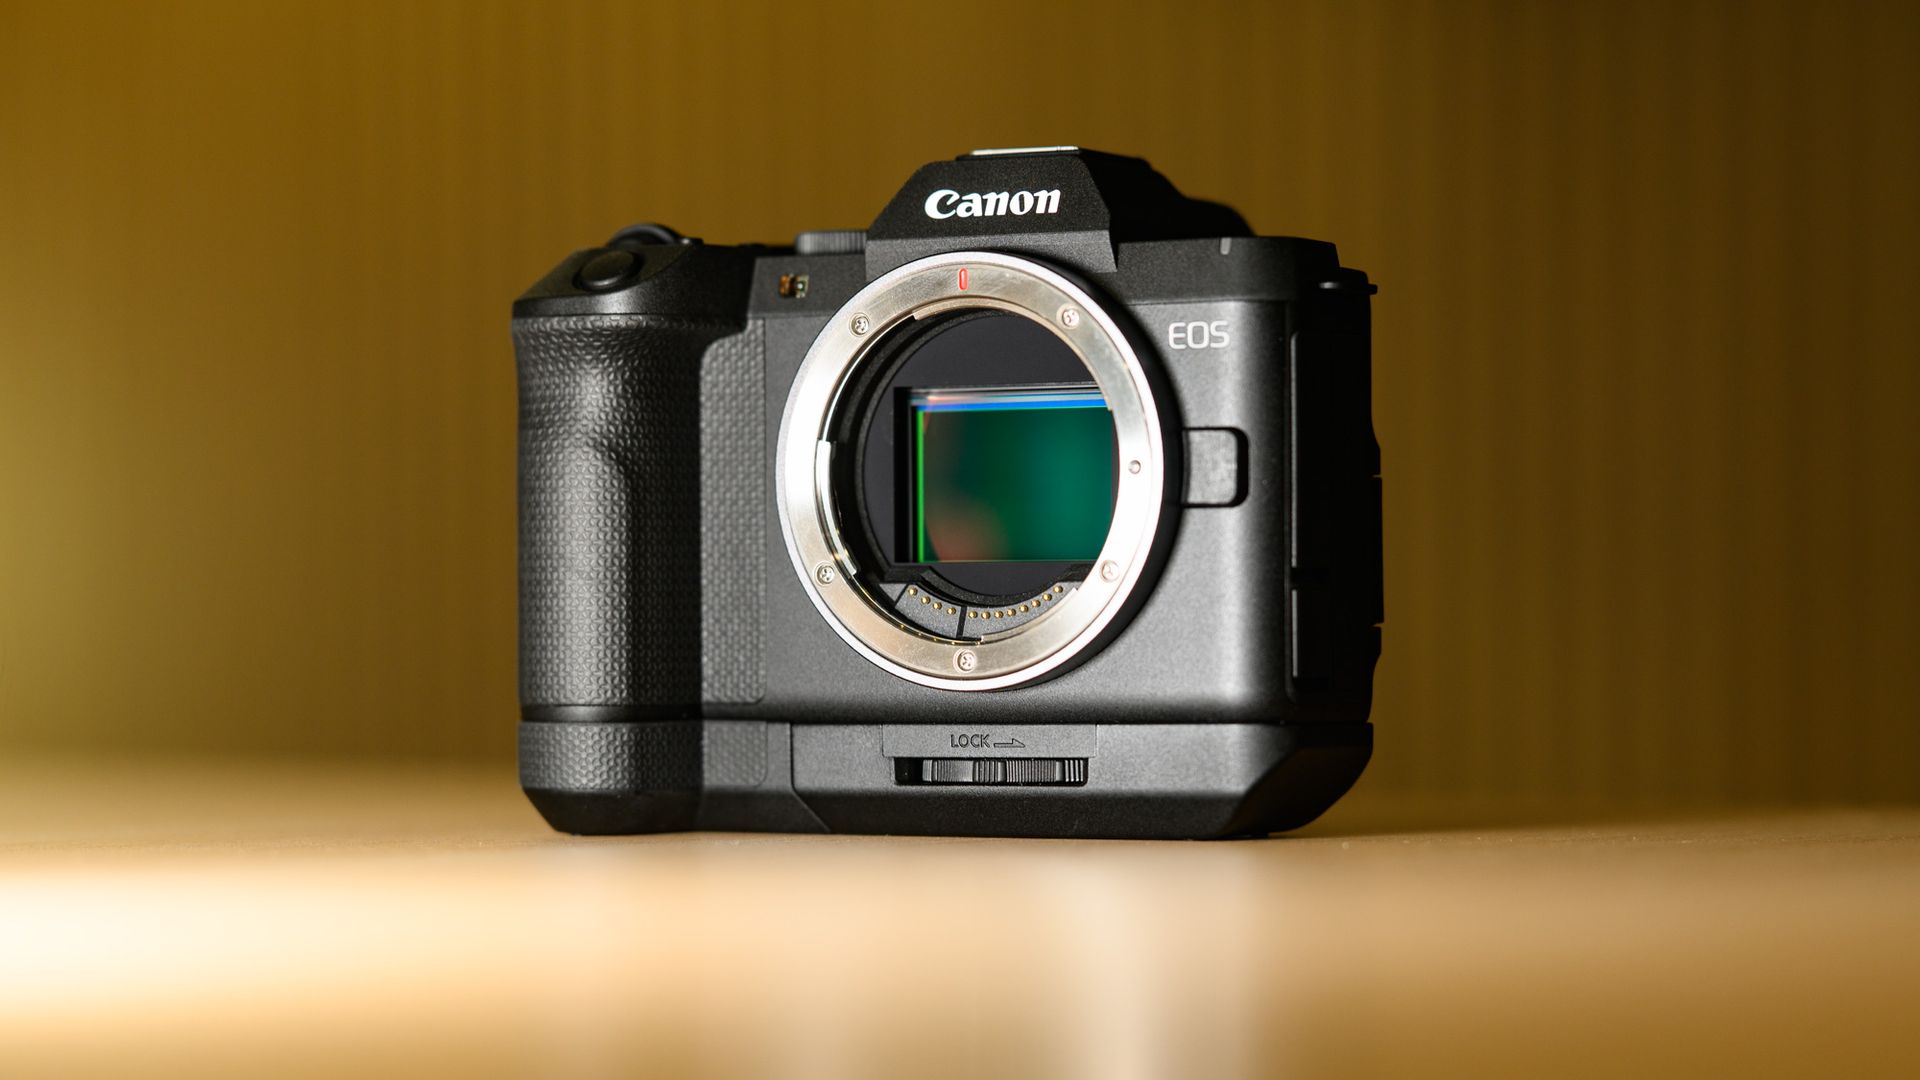
Canon is expected to sell the EOS R8 Mark II from October 20, with a body-only price of $1,899 / £1,729 / AU$2,529, which rises to £2,119 / AU$2,859 for the 24-105mm F4-7.1 IS STM kit (not to be confused with the pricier 24-105mm F4 L IS USM), while in the US there's a 24-50mm f/4.5-6.3 IS STM kit for $2,099. Other bundles will be available, including one with an additional battery.
Canon also launched a grip for the EOS R8 Mark II, which costs $99 / £89 / AU$169. It's a grip only, and doesn't feature a battery, but it does feature a hinge allowing direct access to the camera's battery door.
Type: | Mirrorless camera |
Mount: | Canon RF |
Sensor: | 24.2MP (effective) full-frame CMOS |
Autofocus: | Dual Pixel CMOS AF II with 1,053 zones, subject detection of people, animals and vehicles + Register People priority |
Continuous shooting: | Up to 40fps (electronic shutter) |
Video: | 4K up to 60fps, up to 10-bit, Canon C Log 3 profile |
Viewfinder: | 0.39-inch, 2.36M-dot OLED EVF, 0.70x magnification |
Screen: | 3.0-inch vari-angle touchscreen, 1.62m-dots |
Storage: | Single SD/SDHC/SDXC slot |
Connectivity: | 2.4 and 5GHz Wi-Fi, camera connect, clean (micro) HDMI, wired connectivity USB-C |
Dimensions: | 131.4 x 90.0 x 79.7mm |
Weight: | 19.3oz / 546g (with card and battery included, 499g without) |
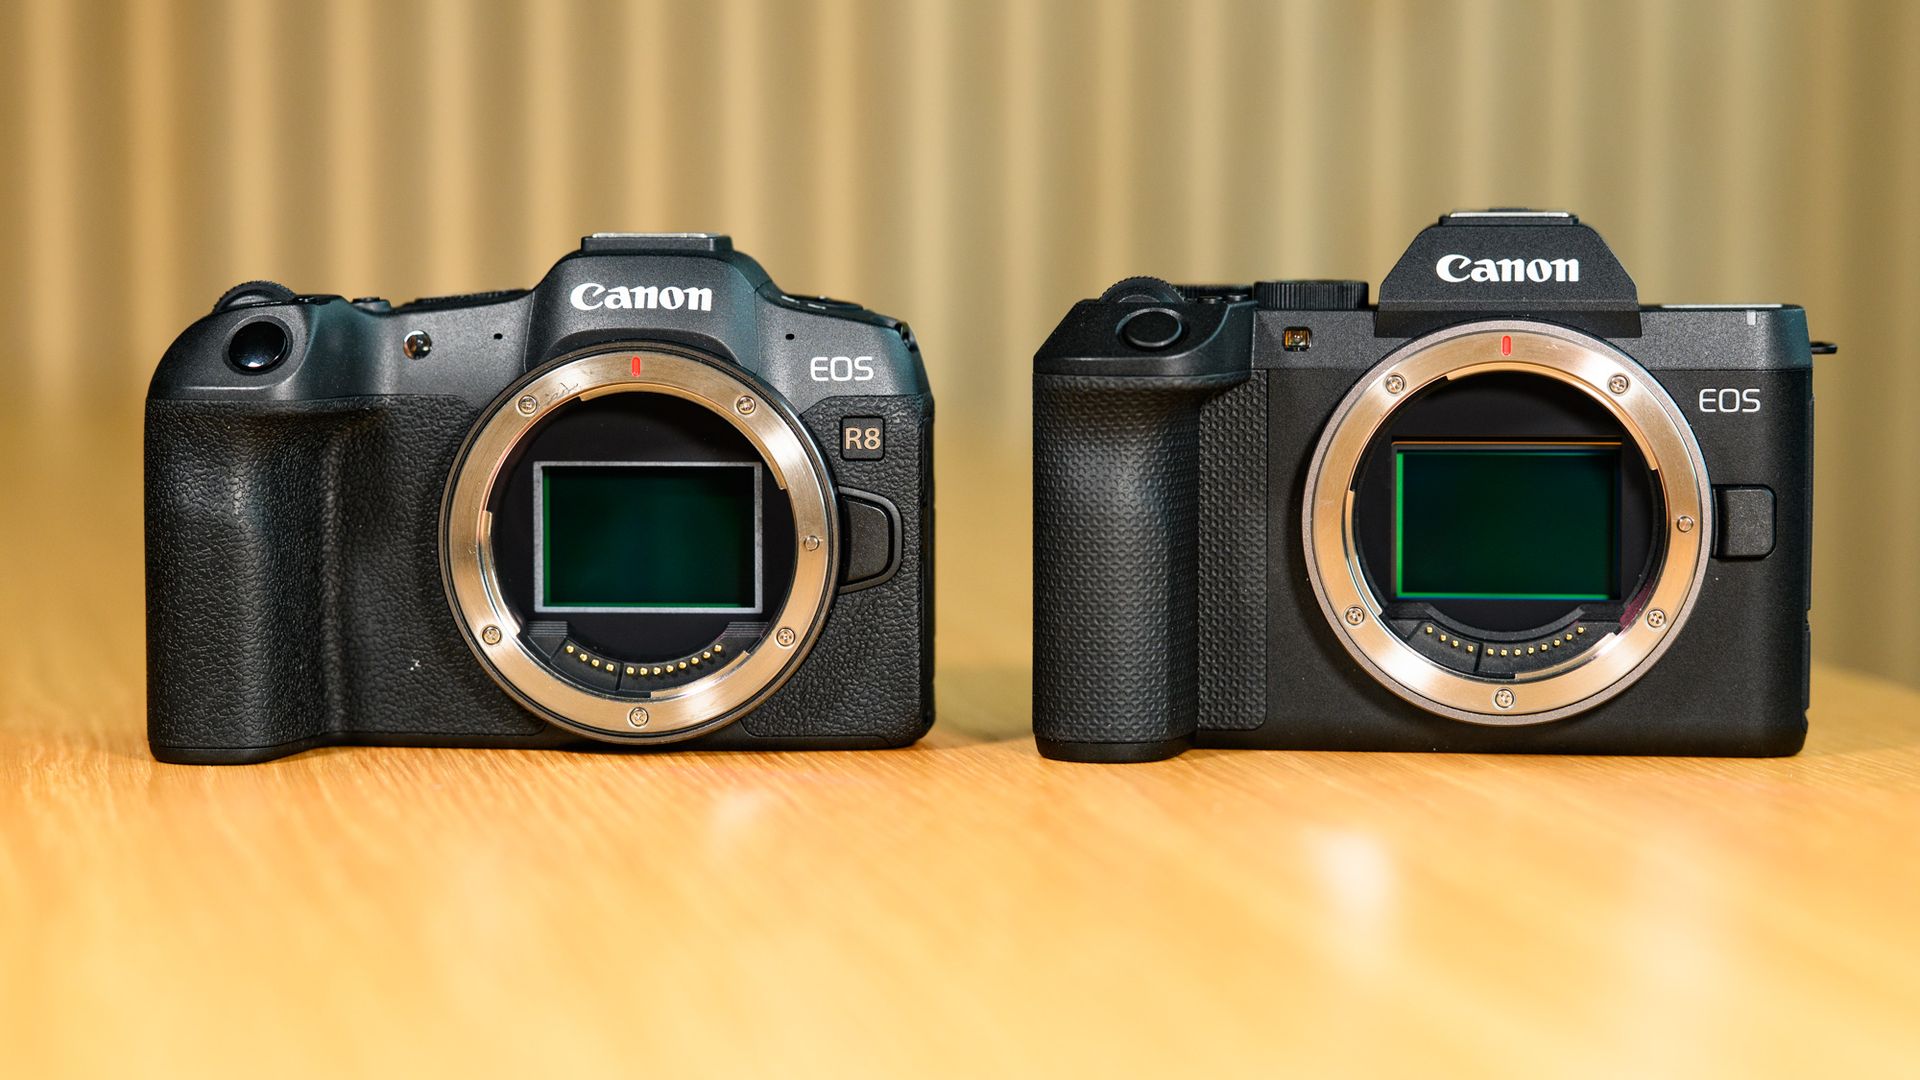
I've already covered the new look of the EOS R8 Mark II. Whether that fresh design is going to be worked into other Canon cameras or remain exclusive to the R8 series, or if an unadulterated retro mirrorless body is on the way, we'll have to wait and see. I asked a Canon spokesperson about the prospect of an all-out retro body, and they didn't rule it out.
I've included a side-by-side photo of the EOS R8 and and EOS R8 Mark II, below, and you can see the sharper lines, and the deeper and textured grip of the new model, which for me evoke the look of Sony bodies more than Canon heritage.
One welcome addition is Canon's multi-controller button, which can be used to select the autofocus point among other things, and is a much loved feature by users who like to control to how their camera autofocuses, included point selection.
I really appreciated the placement of the multi-controller alongside the AF-ON (autofocus) button, which are both within a slight move of your thumb where it naturally rests in the grip. As such, it was entirely possible to hold the camera and make autofocus point selection one-handed.
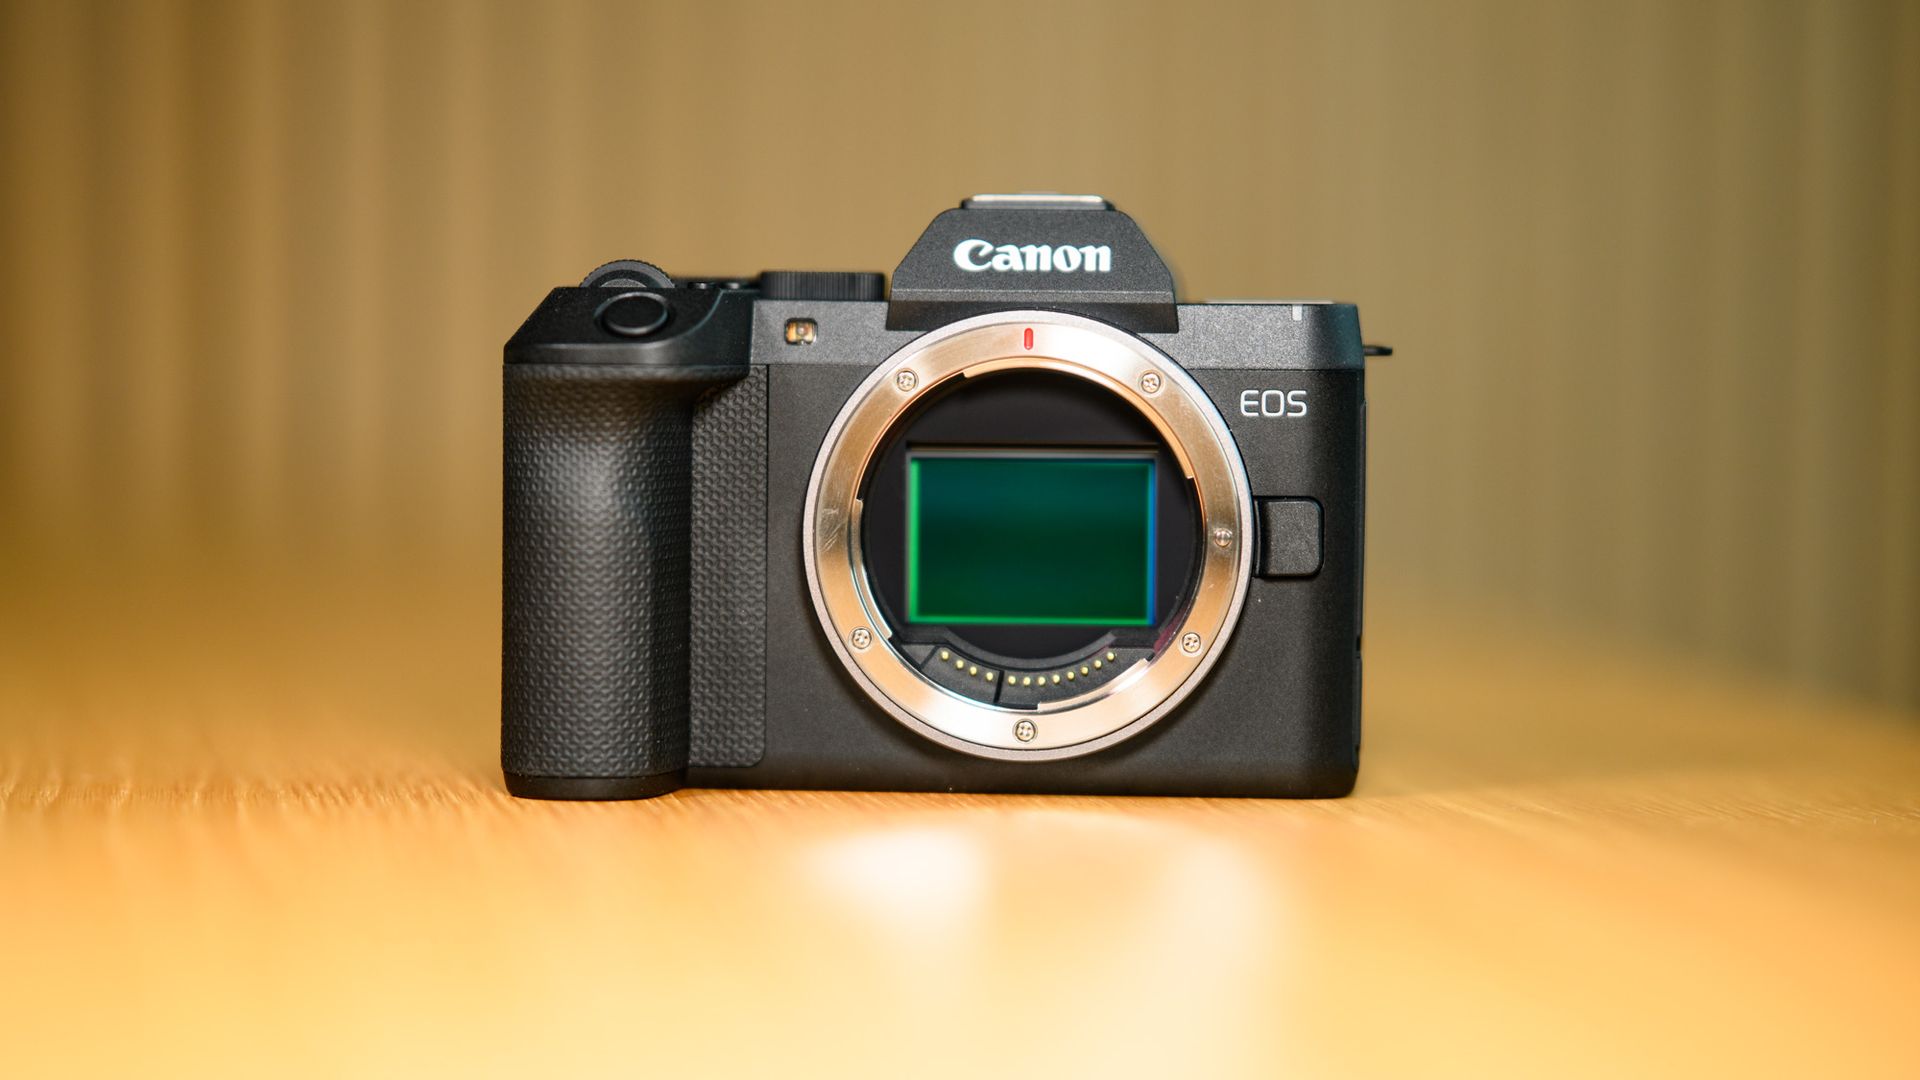
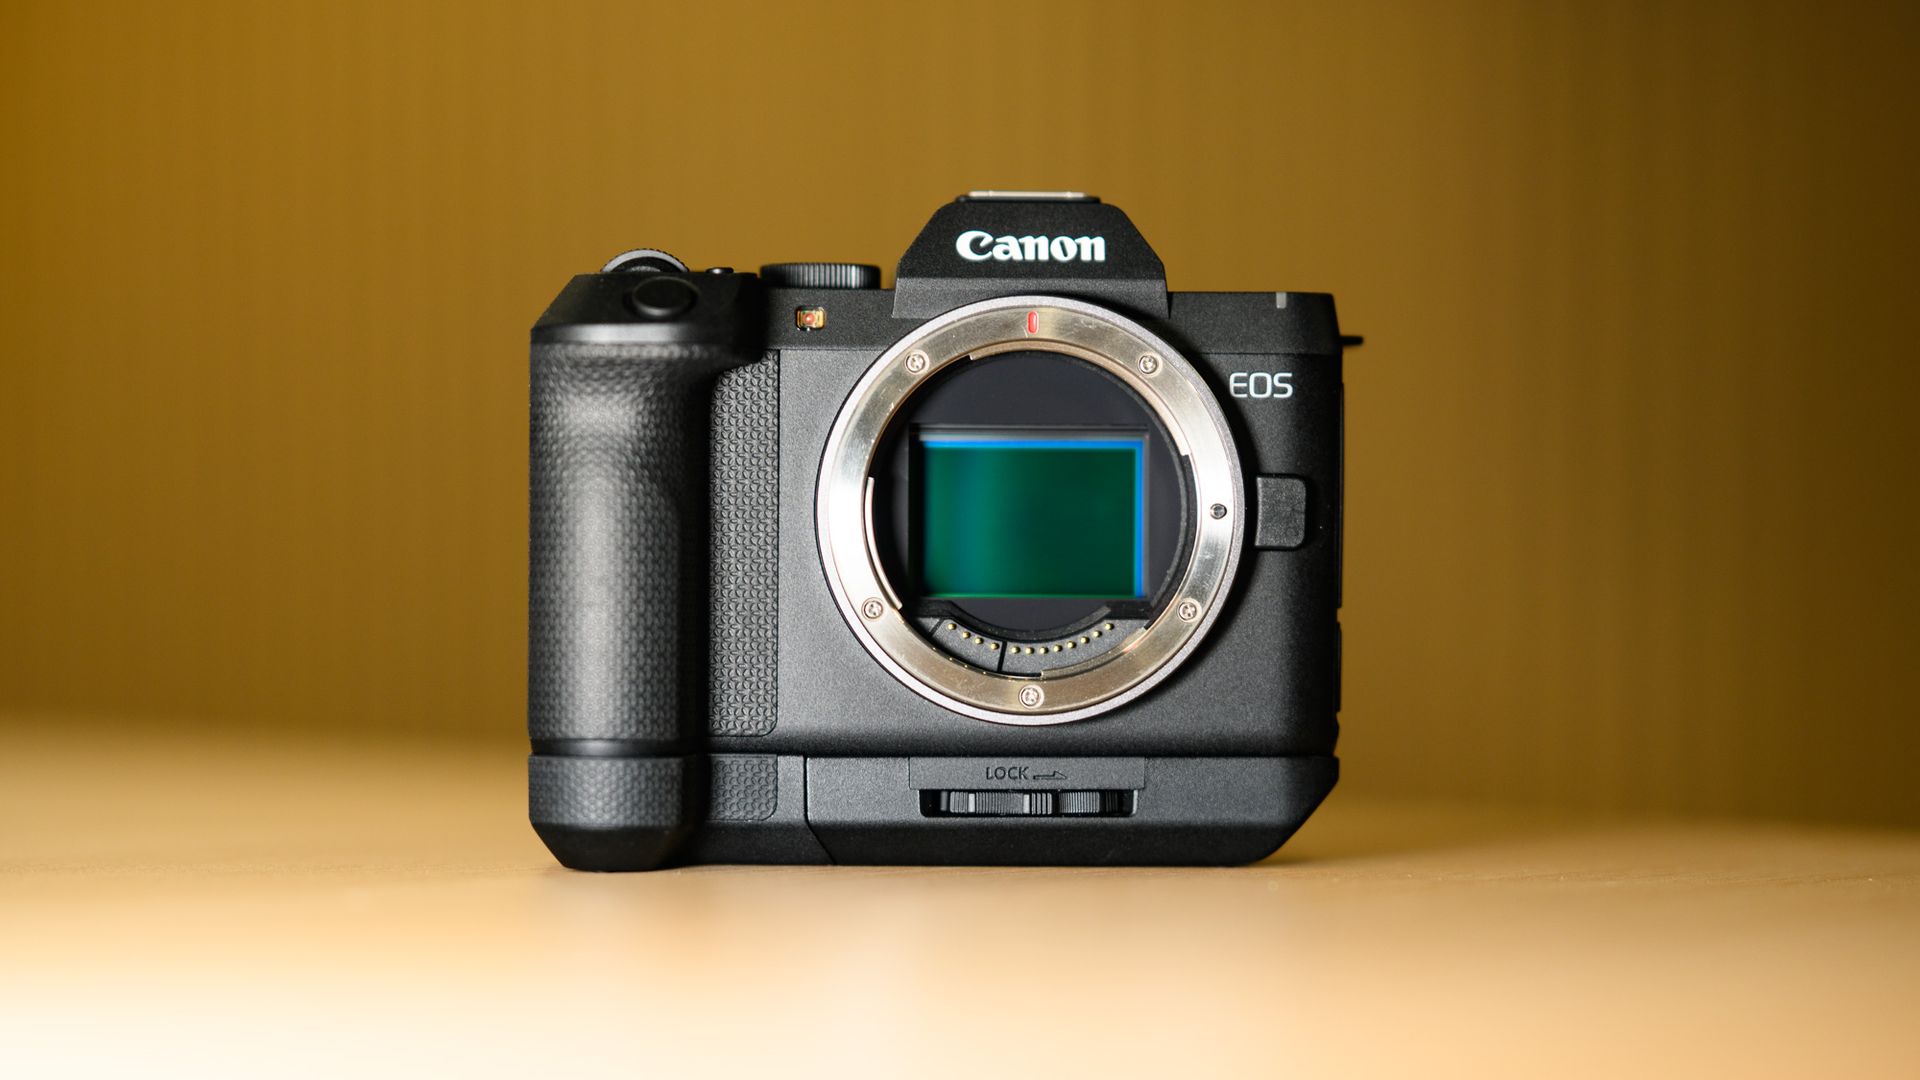
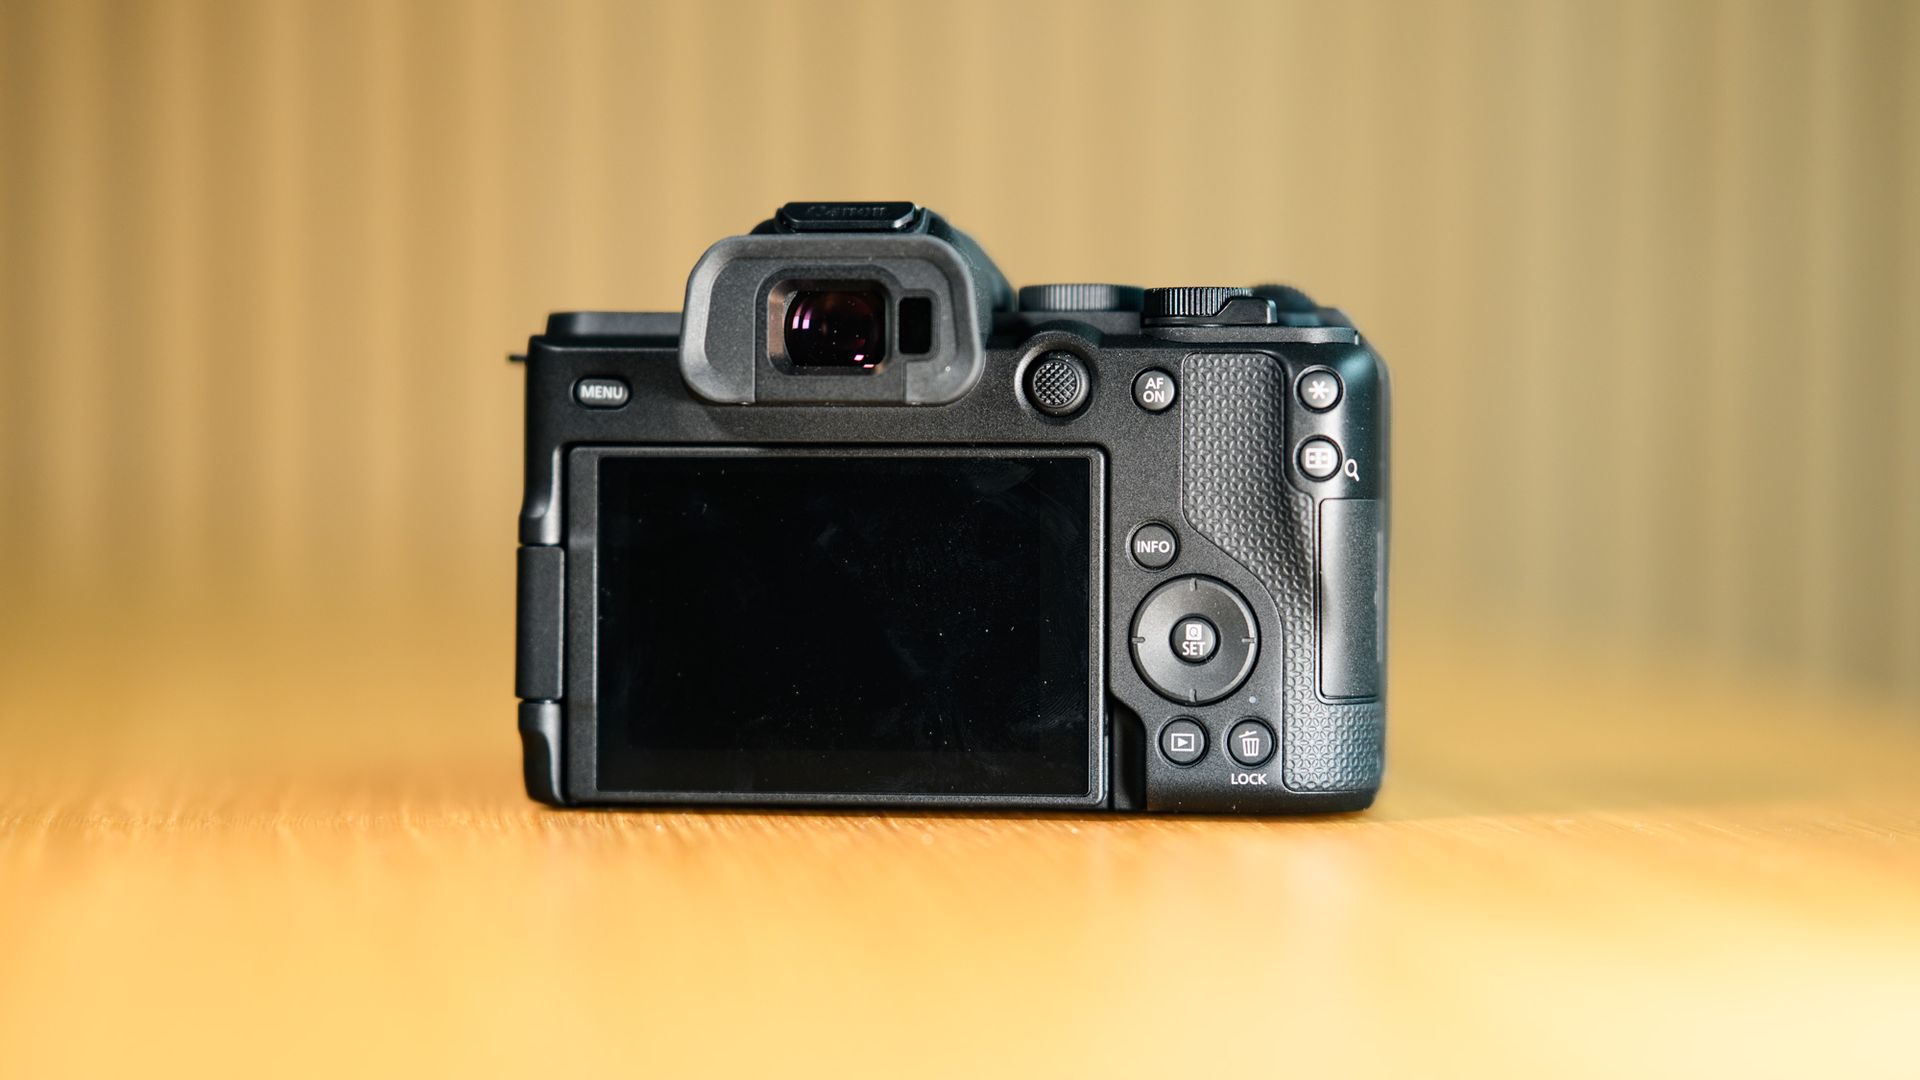
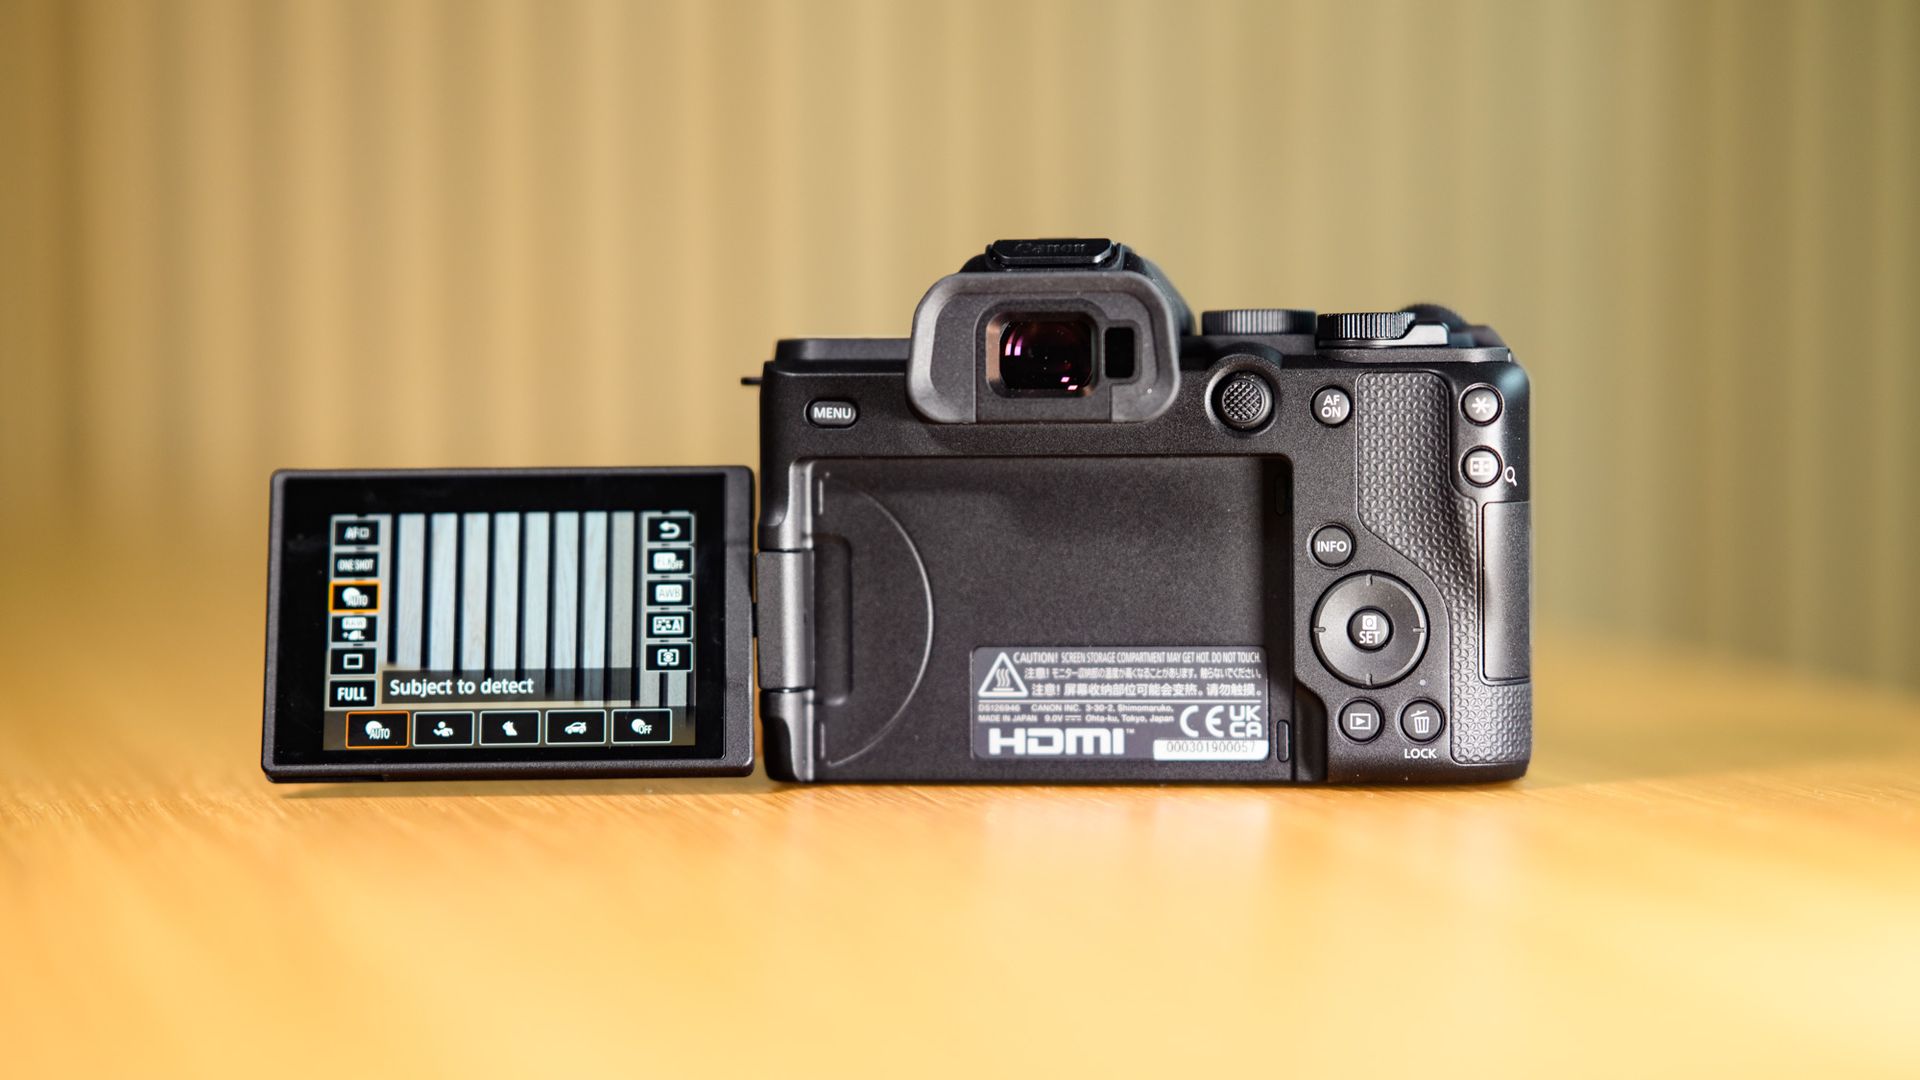
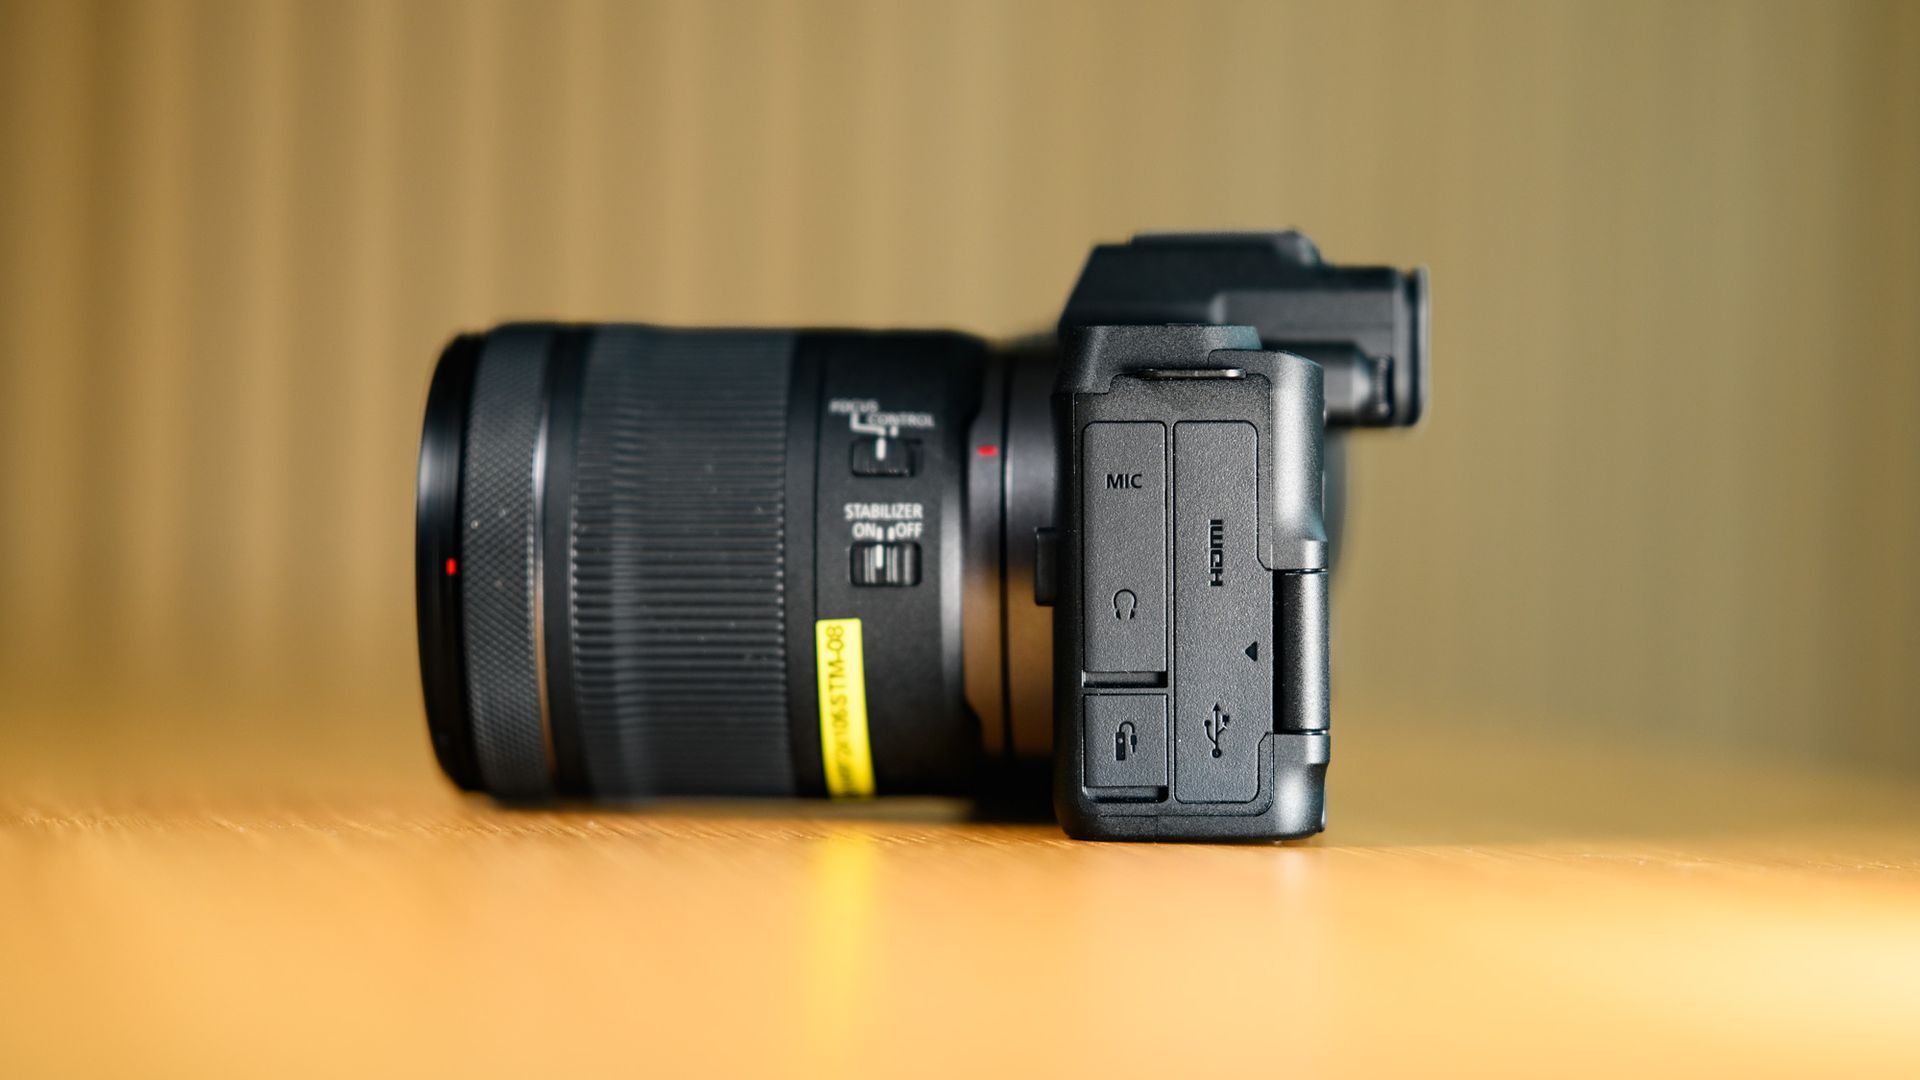
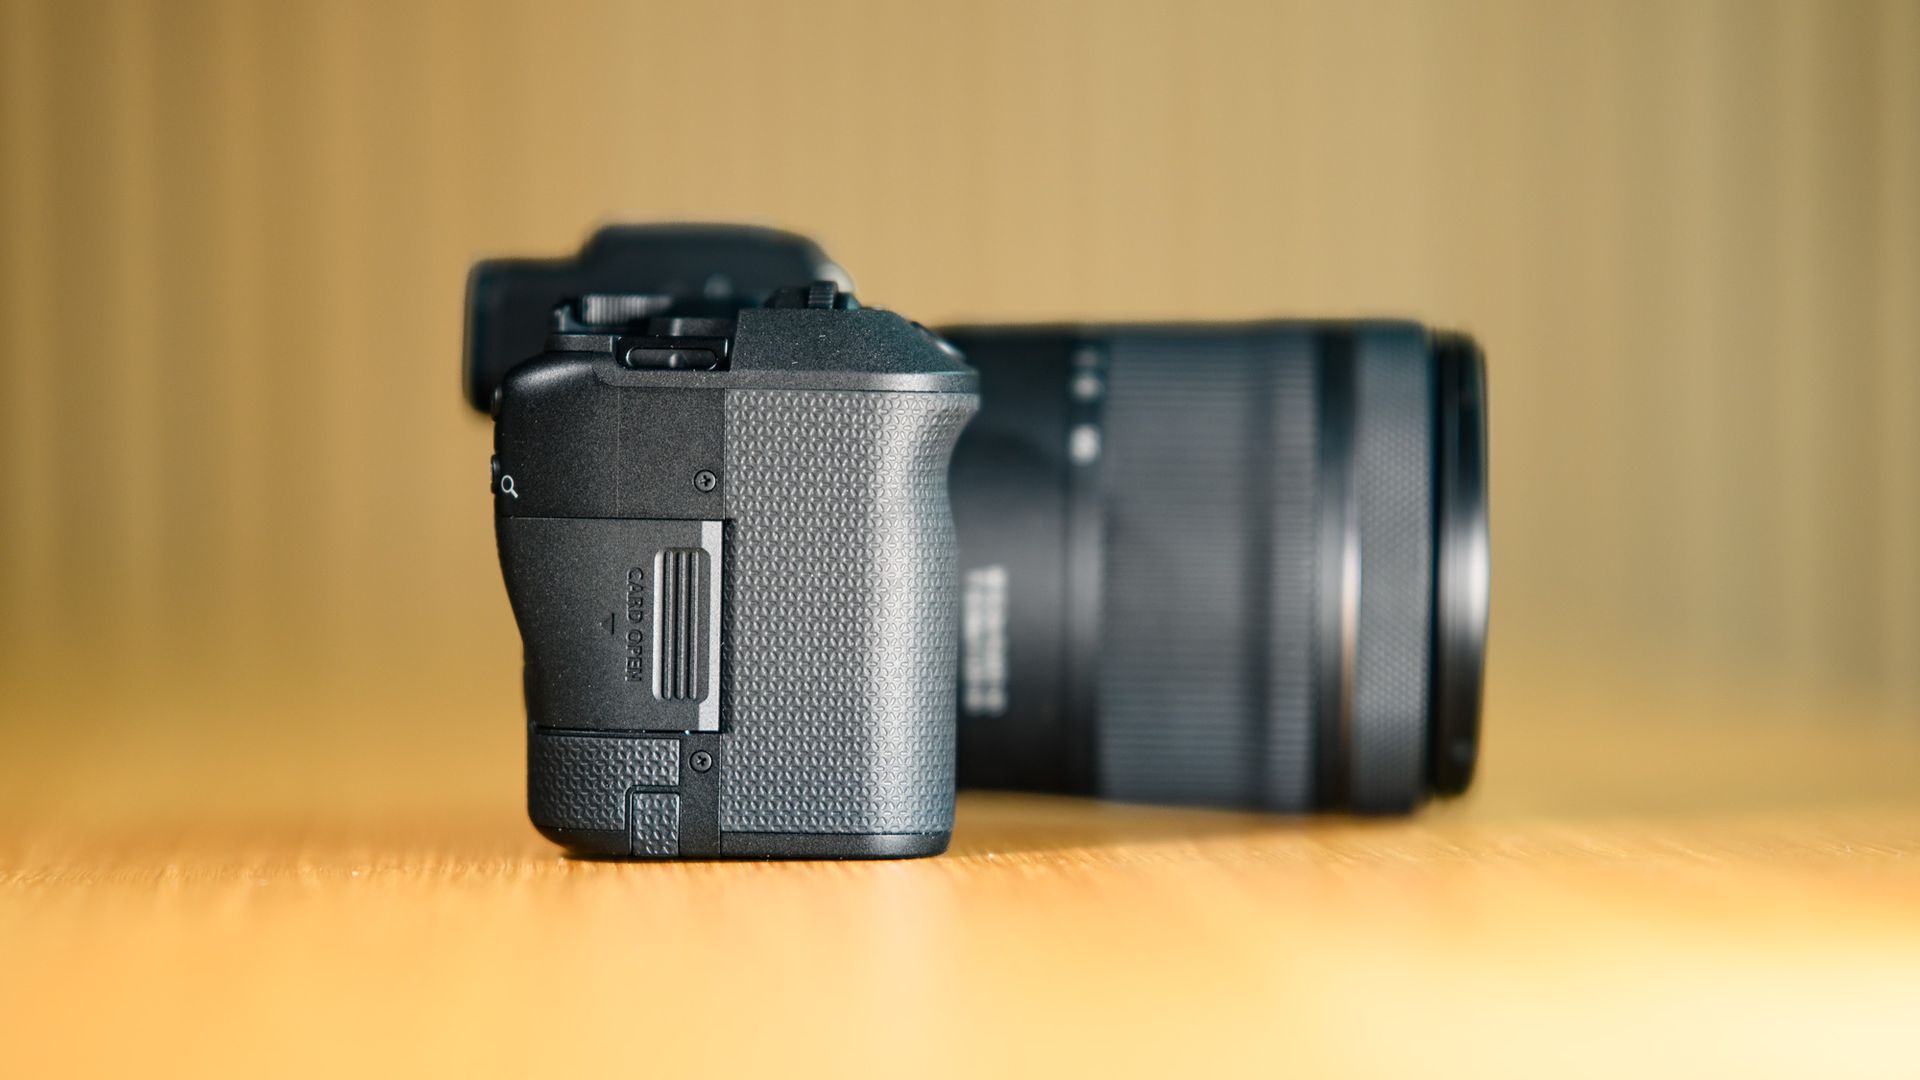
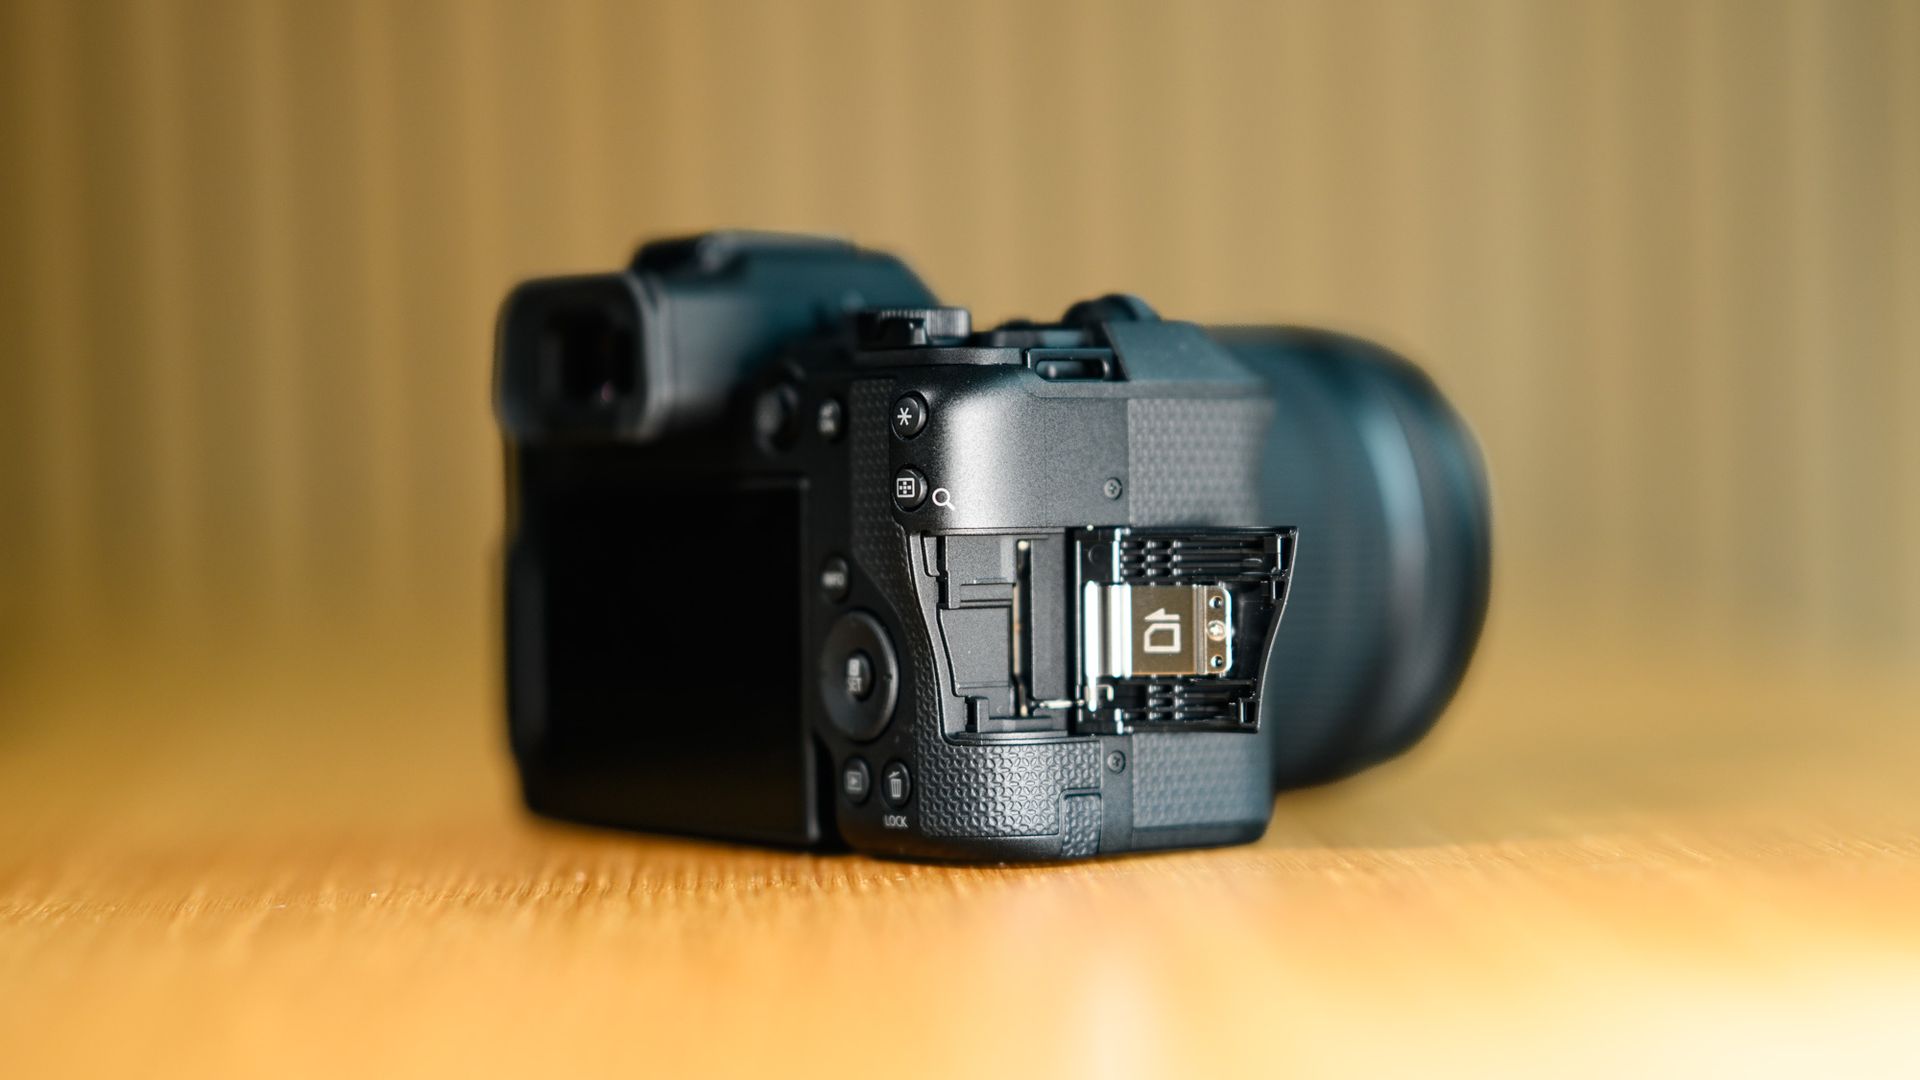
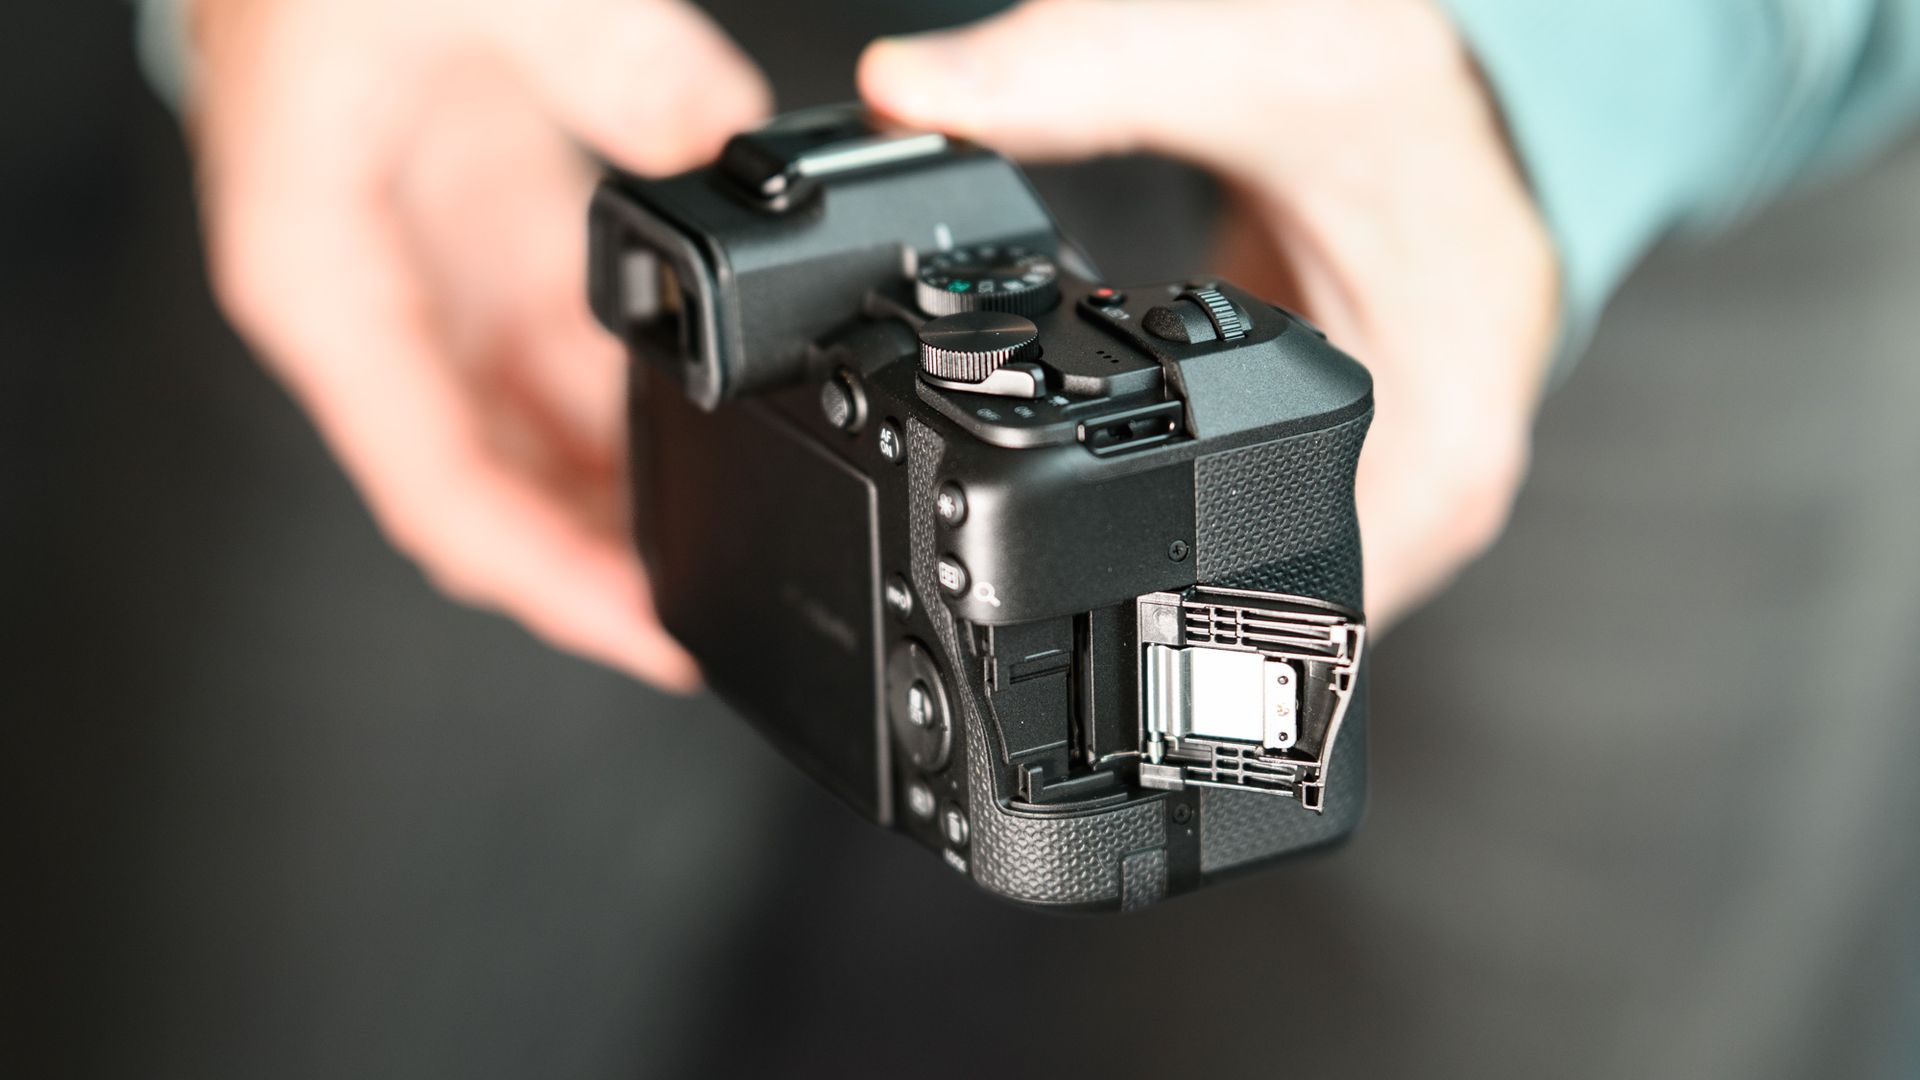
A tally lamp has been added to indicate when video recording is active, while the single SD card slot has been relocated to a dedicated door on the grip-side of the camera, whereas in the EOS R8 it was found behind the same door as the battery on the underside.
Sadly, Canon hasn't used the space saved in the battery compartment (and deeper handgrip) to fit in a larger-capacity battery. The EOS R8 Mark II uses the same battery as its predecessor — shot life was already a major weak point — and has an even lower battery life when the power-hungry image stabilization feature is active, being rated at 220 shots when using the viewfinder (or 340 shots with the LCD).
Nor has the quality of the body been improved — Canon notes that the EOS R8 Mark II's body materials are part aluminum alloy, part polycarbonate, and it's not weather resistant. The controls, and the build quality, really do feel entry-level.
The 3.0-inch 1.62m-dot vari-angle LCD and 0.39-inch 2.36m-dot EVF displays are unchanged from the EOS R8, and look fairly dated when you compare them to the Nikon Z5 II's displays.
The addition of in-body image stabilization (IBIS) is the major upgrade offered by the EOS R8 Mark II, and its effectiveness is rated up to 7.5EV. This feature makes life simpler shooting handheld in many scenarios — whether that's for sharp images in low light or with telephoto lenses, creative long-exposure shots, or run-and-gun video.
The sensor that incorporates the IBIS is otherwise the same as the one in the EOS R8 — a full-frame 24.2MP CMOS unit which is a decent all-purpose sensor. Nothing too exciting in 2026, but dependable.
Maximum burst-shooting speeds are once again up to 40fps, using the electronic shutter. Not that there's a choice — if you didn't already know it, the EOS R8 Mark II, like its predecessor, doesn't have a mechanical shutter.
Canon has added Pre-Continuous Shooting (more widely known as pre-capture) to the EOS R8 Mark II. In short, the camera is able to continually buffer up to 0.5 seconds while the shutter is half pressed, before the user fully presses the button to take photos. In this case, you get up to 20 photos spanning the half-second before you start photos — it's a really useful feature for wildlife and action photography, for when your reactions aren't otherwise up to speed. The feature was introduced in the EOS R5 Mark II, and the EOS R8 Mark II is the first Canon at this price point to get it.
Video recording has been improved in several ways. First of all, 4K footage is oversampled from 6K, so it should look sharper. Secondly, 4K frame rates have been upped to 60fps, while 1080p goes up to 180fps — that's 6x slow motion. Thirdly, there's the aforementioned IBIS, which makes smooth handheld shooting all the more possible. And then there are additional color profiles to choose from, including 'filmtone' looks and other picture styles which can be added using the Canon EOS Utility app.
Canon has also added a new 'defocus' feature, which can add a creative blur effect (not aperture dependent), and alter the speed of focus transitions. I haven't had the time yet to test any of the EOS R8 Mark II's video features, but I will do for my upcoming in-depth review.
Dual Pixel CMOS AF II powers the camera's autofocus, which like before includes subject detection of people, animals and vehicles, but which Canon says offers an improved performance. For example, the camera's focus sensitivity in low light has been improved, being rated to -7.5EV.
‘Register People Priority’ is a neat addition — users can select specific people’s faces, storing up to 10 people for the camera to prioritize. It's a handy feature for scenarios like a wedding, where you might want to keep the bride and groom in sharp focus among a sea of faces.



Nikon Z5 II
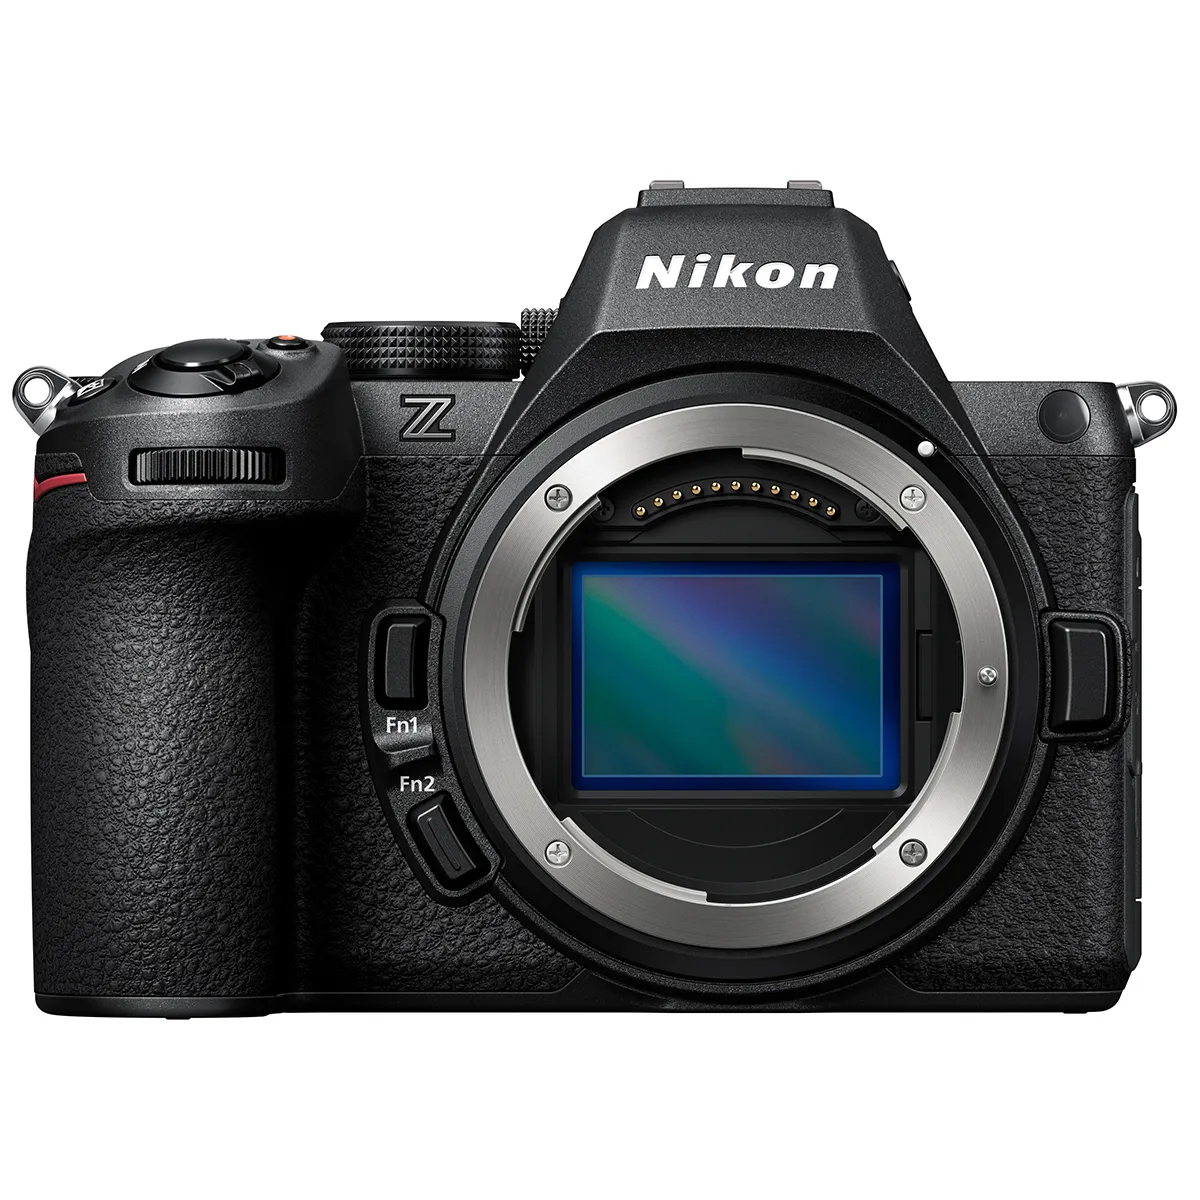
Nikon redefined what entry-level full-frame mirrorless cameras can do with its Z5 II. And despite costing less than the EOS R8 Mark II, it looks like the better camera overall. It also has a stabilized 24MP full-frame sensor, but its weather-resistant body has a magnesium alloy chassis, while its displays are superior, despite the camera coming more than a year earlier. If you're not tied to Canon, Nikon's Z5 II looks like the pick of the two cameras.
Read our in-depth Nikon Z5 II review
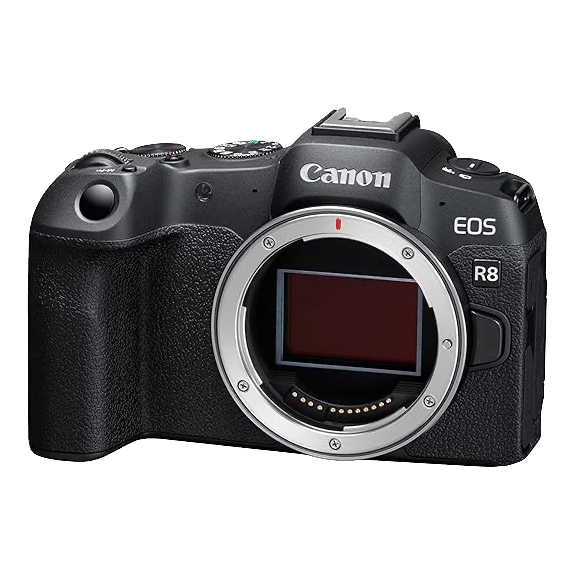
Canon EOS R8
Canon says the origial EOS R8 will remain on sale after the EOS R8 Mark II hits stores. The two cameras share the same 24MP full-frame sensor, burst-shooting speeds and displays, while the Mark II adds IBIS, a multi-controller, new design and more. The price of the EOS R8 has fallen since launch, so it's the more cost-effective option if you can live without the upgrades.
Read our in-depth Canon EOS R8 review
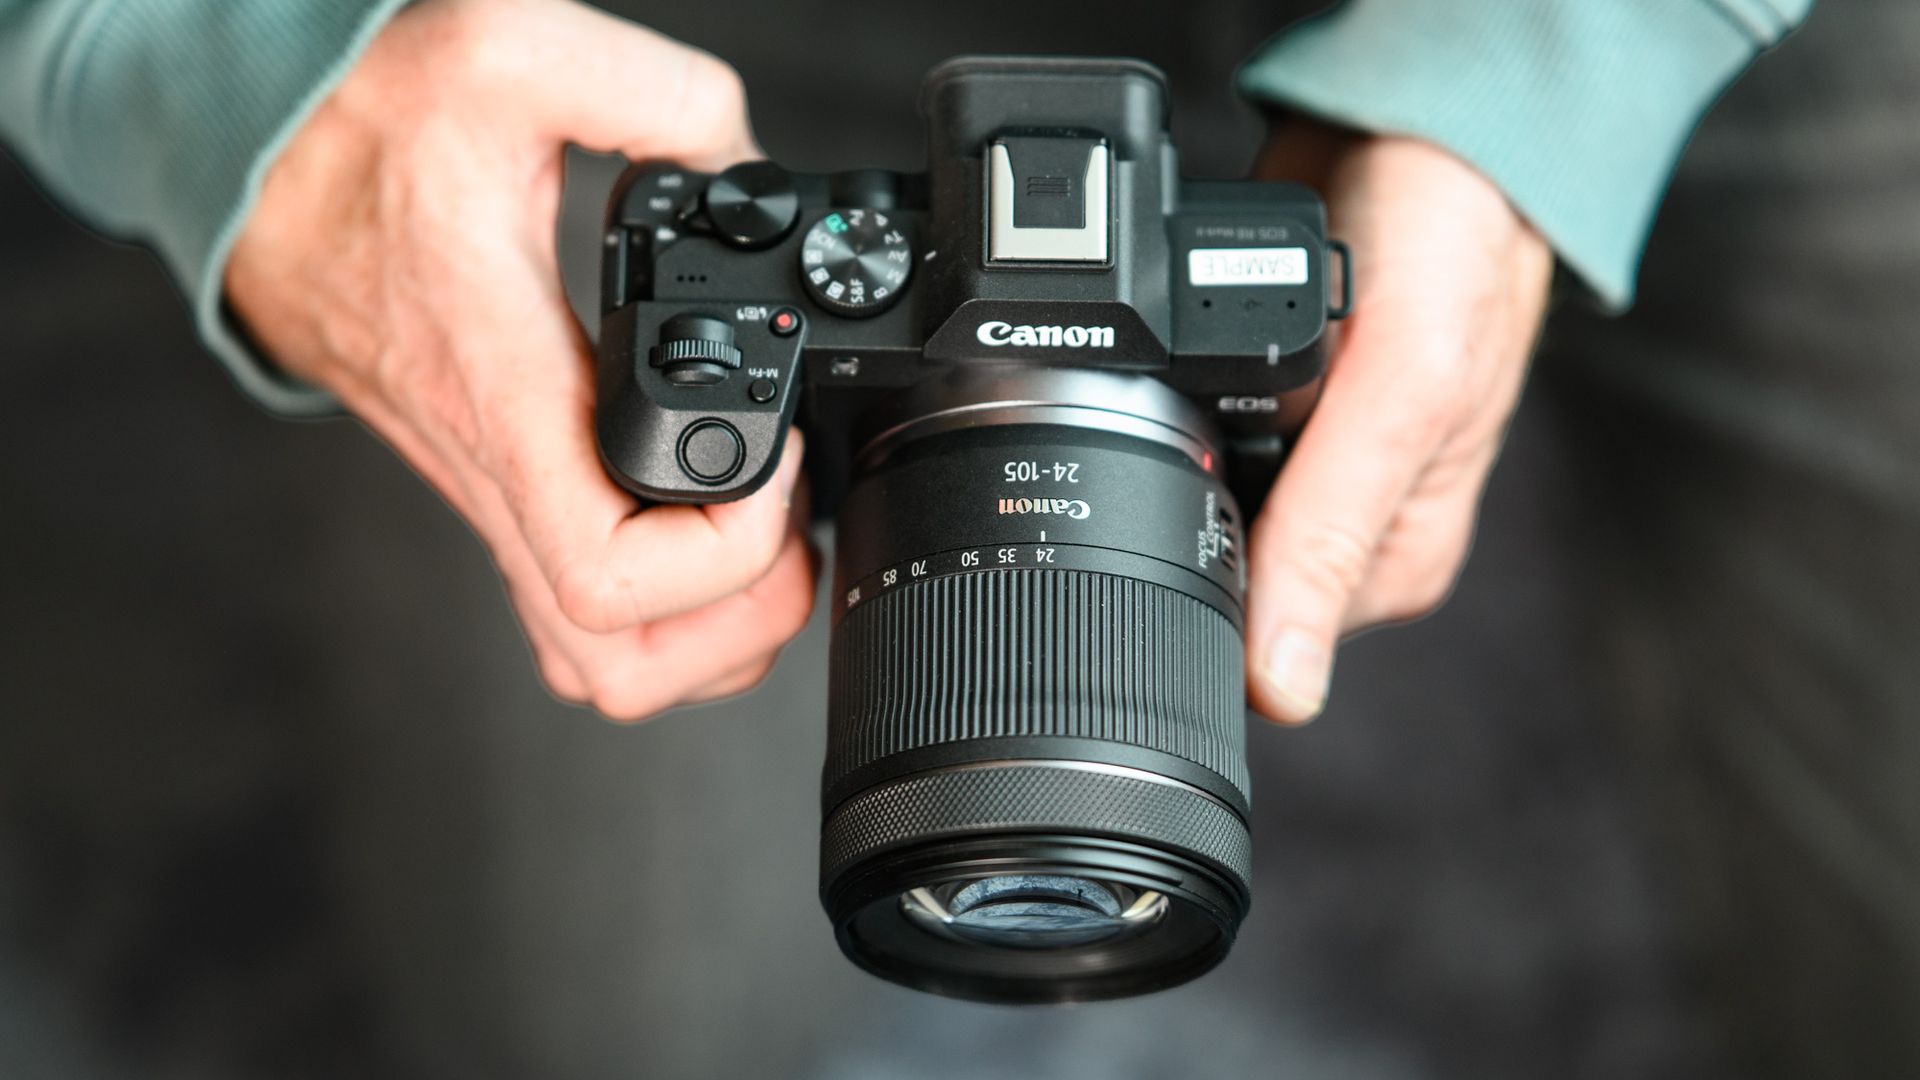
I've only used the EOS R8 Mark II for a couple of hours at Canon Europe's offices in London. During this time, I got a proper feel for the camera, and paired it with the 24-105mm F4-7.1 IS STM lens that the camera is available with in a kit.
Canon supplied me with the original EOS R8 and EOS R6 Mark III, so I was able to make direct comparisons between the three cameras, though only how they handle — I didn't have time to take like-for-like pictures.
I took a stroll in the outside space, and took various photos of birdlife, foliage and buildings. Look out for our in-depth review of the EOS R8 Mark II, coming soon.
The Instax Mini 13 is the newest instant-print camera in Fujifilm’s long-standing lineup of budget, easy-to-use party snappers. These film cameras are a great way to capture memories at shindigs, weddings and the sort, and this latest model is no different.
Like most Instax mini cameras, the Instax Mini 13 has a 60mm f/12.7 optical-grade plastic lens, making it ideal for close-up snaps and selfies that require a fixed field of focus. It even has an additional close-up mode to give you a little extra control over the focal length.
These are all features already found in the Instax Mini 12, which we rate as the best instant camera for most people for its point-and-shoot simplicity — but the Instax Mini 13 does have a few small tricks up its sleeve to warrant it being the step up model in the range.
The biggest upgrade from its predecessor that was released in 2023 is the addition of a self-timer, which is normally found on more expensive models like the Instax Mini 99 that retails for more than double the price.
And while the self-timer is the most significant upgrade from the Instax Mini 12, there are other small differences, including a fresh, playful ribbed design with new pastel colors, and a small, rubber wedge that hangs on the strap for propping the camera up on a table.
If I were to sum up the Instax Mini 13 in three words, I'd say it's cheap, cheerful and charming, which is exactly what you want from a fun instant camera that's a piece of cake to use.
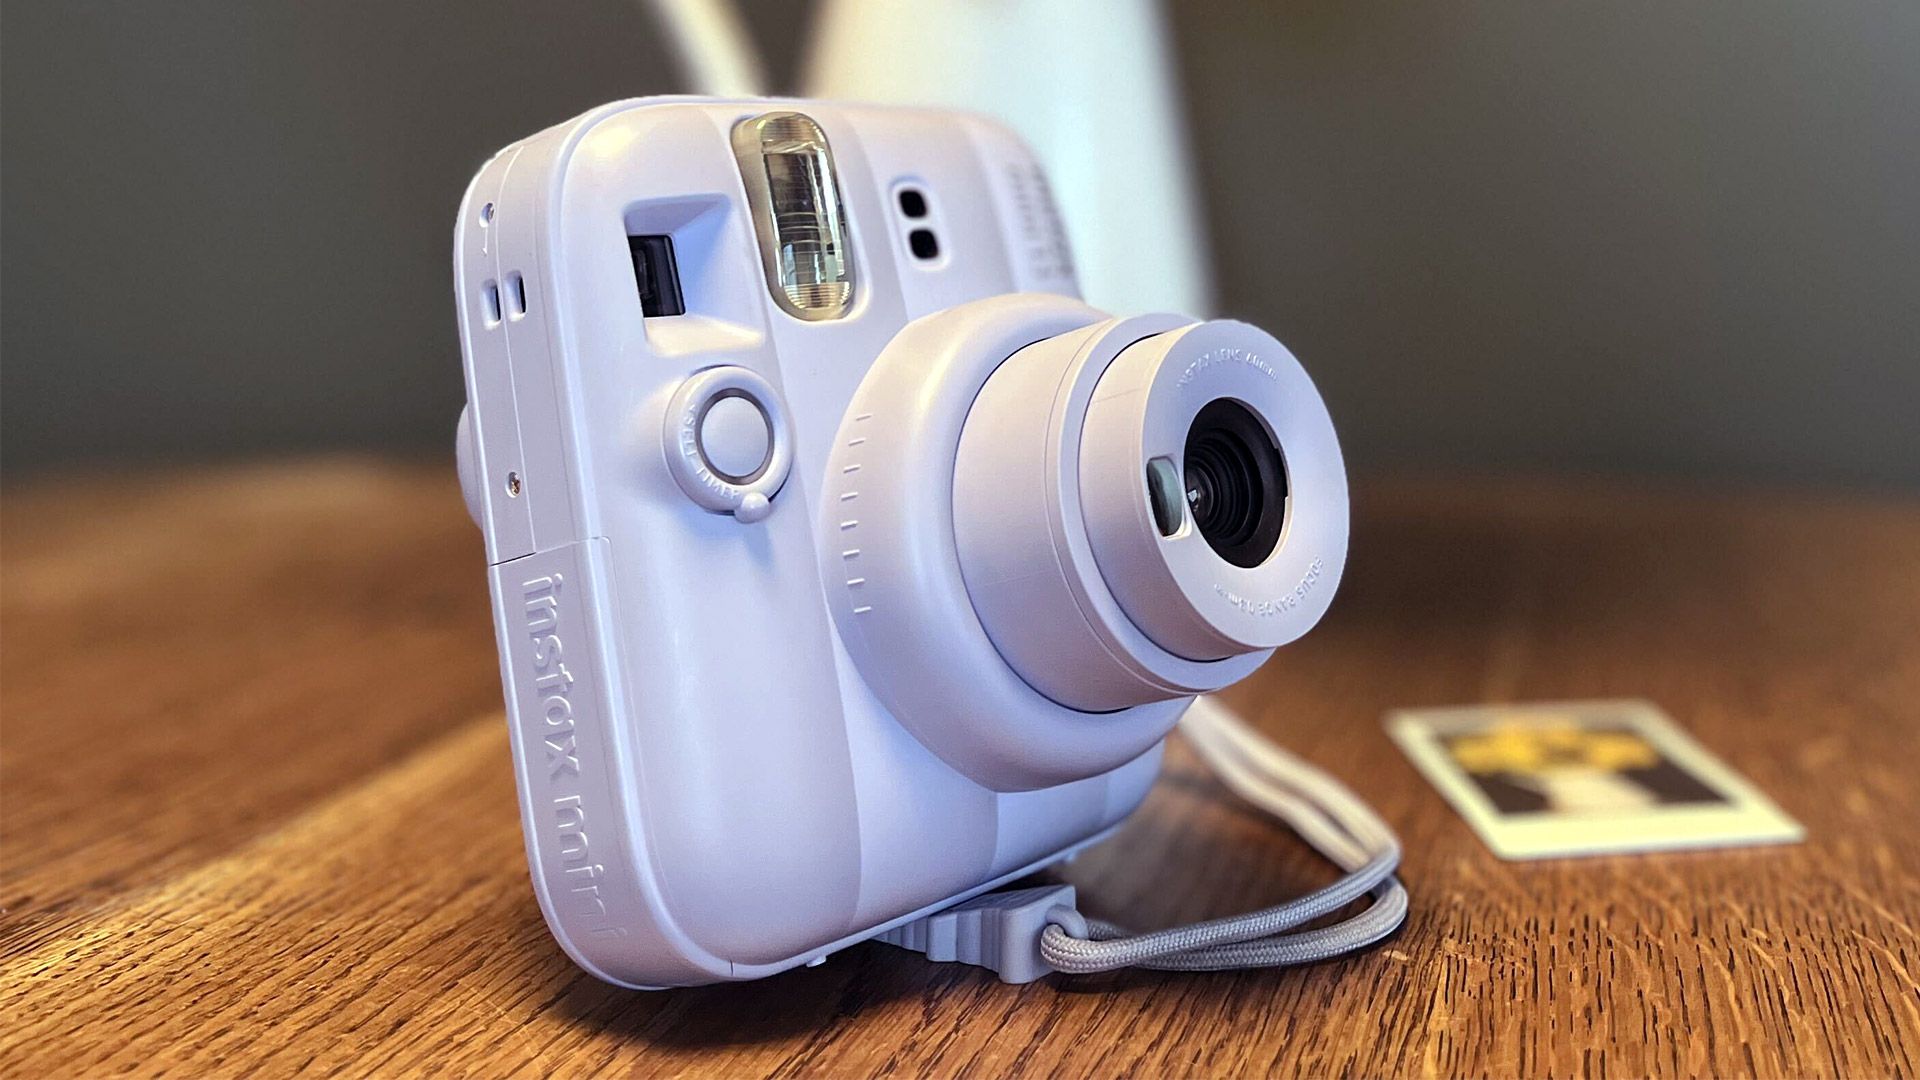
As noted in our Instax Mini 12 review, many of us camera nerds have come to expect a new Instax Mini instant camera every three years from the brand, so it was surprising that this model ended up having a staggered global rollout, without much fanfare. Aussies were the first to get their hands on the new camera on March 31, followed by the US and UK on June 25.
Even more surprising is the fact that those of us in the UK didn't see the same 15% price jump from the cost of the previous generation, with the Instax Mini 13 being priced at £79 — the same as the Instax Mini 12 at launch. Those in the US and Australia weren't as lucky, however, with the Instax Mini 13 seeing an 18% increase from the Instax Mini 12 to $94 and 16% to AU$139.
Film type | Fujifilm Instax Mini |
Print size | 62mm x 46mm |
Focus range | f = 60mm (equivalent to approximately 35-40mm) |
Aperture | f 12.7 |
Shutter speed | 1/2 second to 1/250 second |
Power | Two AA-size alkaline batteries |
Selt timer | 2 seconds or 10 seconds |
Dimensions | 105.5mm x 125mm x 124.7mm x 67.6mm |
Weight | 376g (without batteries, film or strap) |
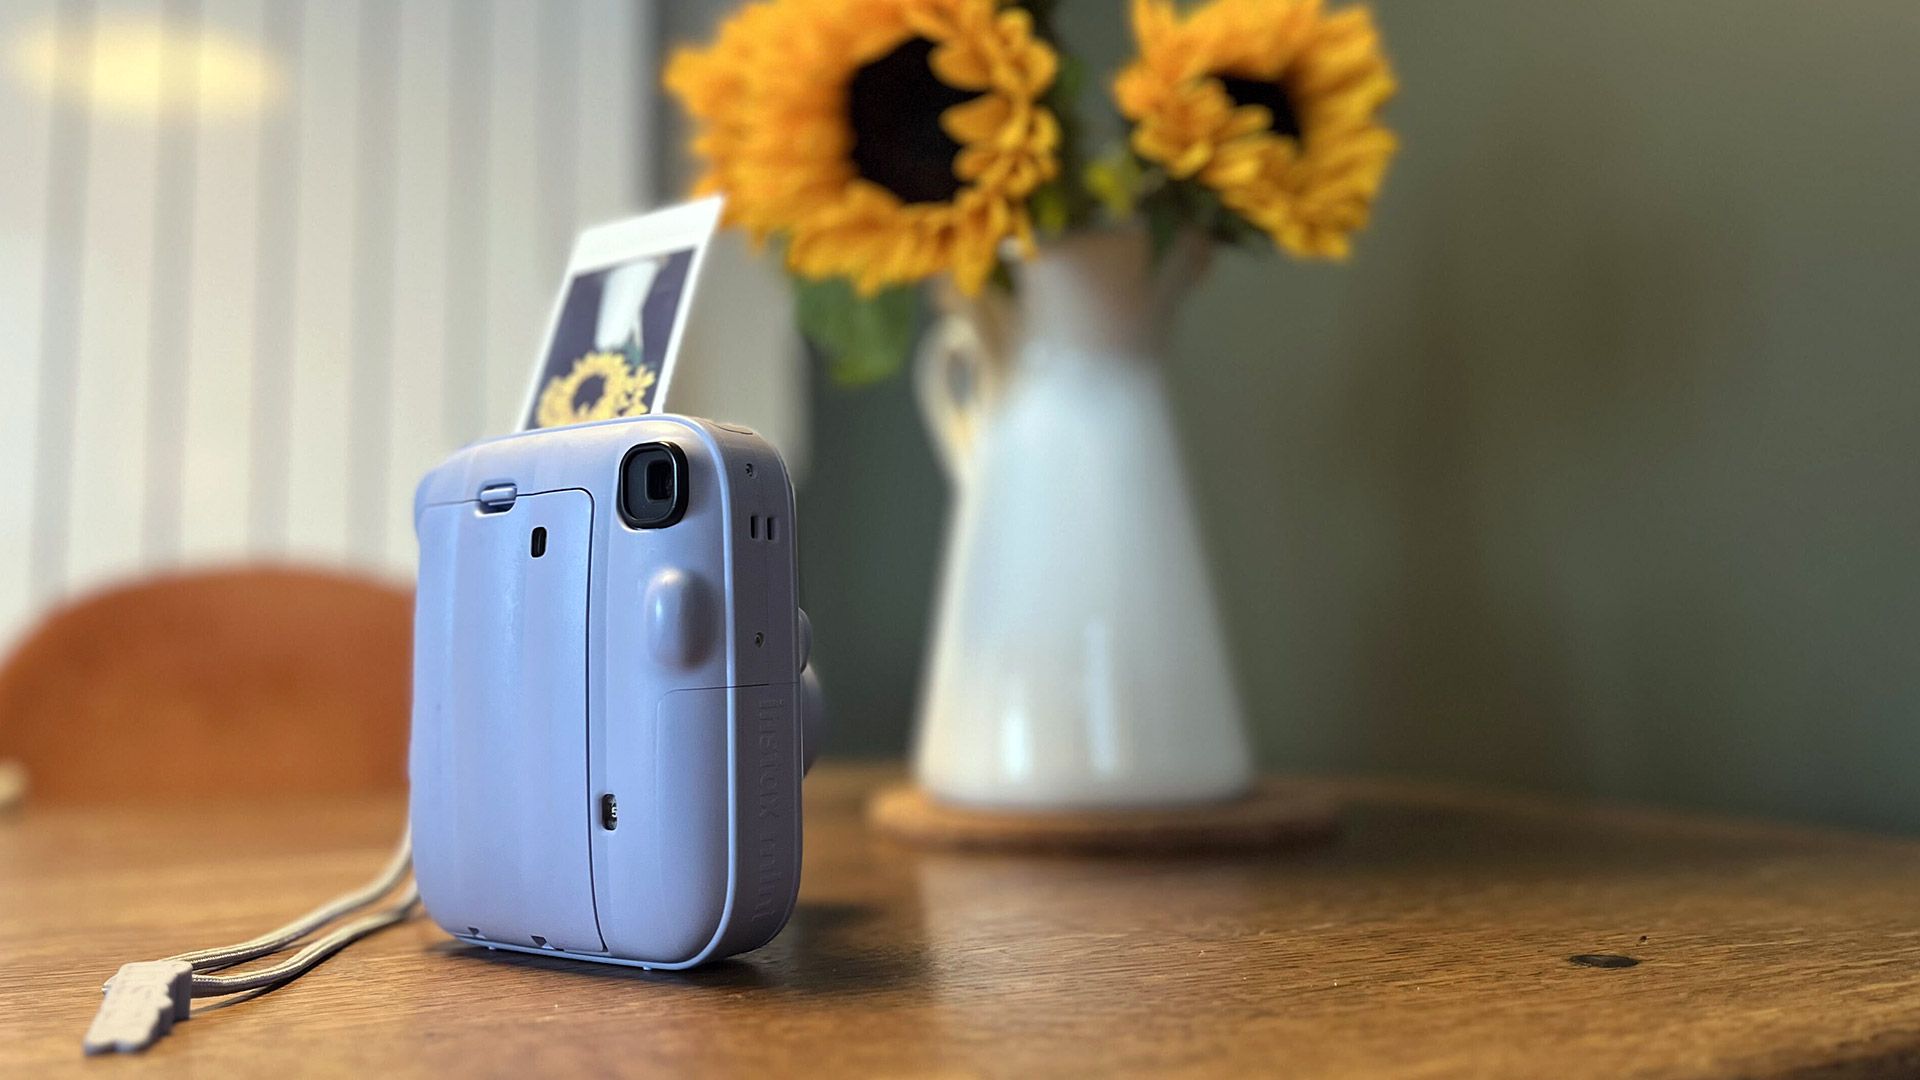
The most striking update to the Instax Mini 13 is the rounded, ribbed design and five new pastel colorways, which have been called Candy Pink, Frost Blue (featured in this review), Clay White, Lagoon Green and Dreamy Purple.
Although the new design does bring a new poppy look to the camera, the trade-off is that it's a bit bulkier and heavier than the likes of the Instax Mini 12. If that's a problem, and you're more so after a slimmer and compact build, take a look at our Instax Mini 99 review instead.
That model also has a built-in tripod thread at the bottom of the camera to help with taking group shots, which is one of the reasons why it's the more expensive, premium model. But the Instax Mini 13 brings a thoughtful budget accessory to help you stabilize shots: a rubber wedge attached to the strap that you can use to adjust the angle of the camera when placed on a surface.
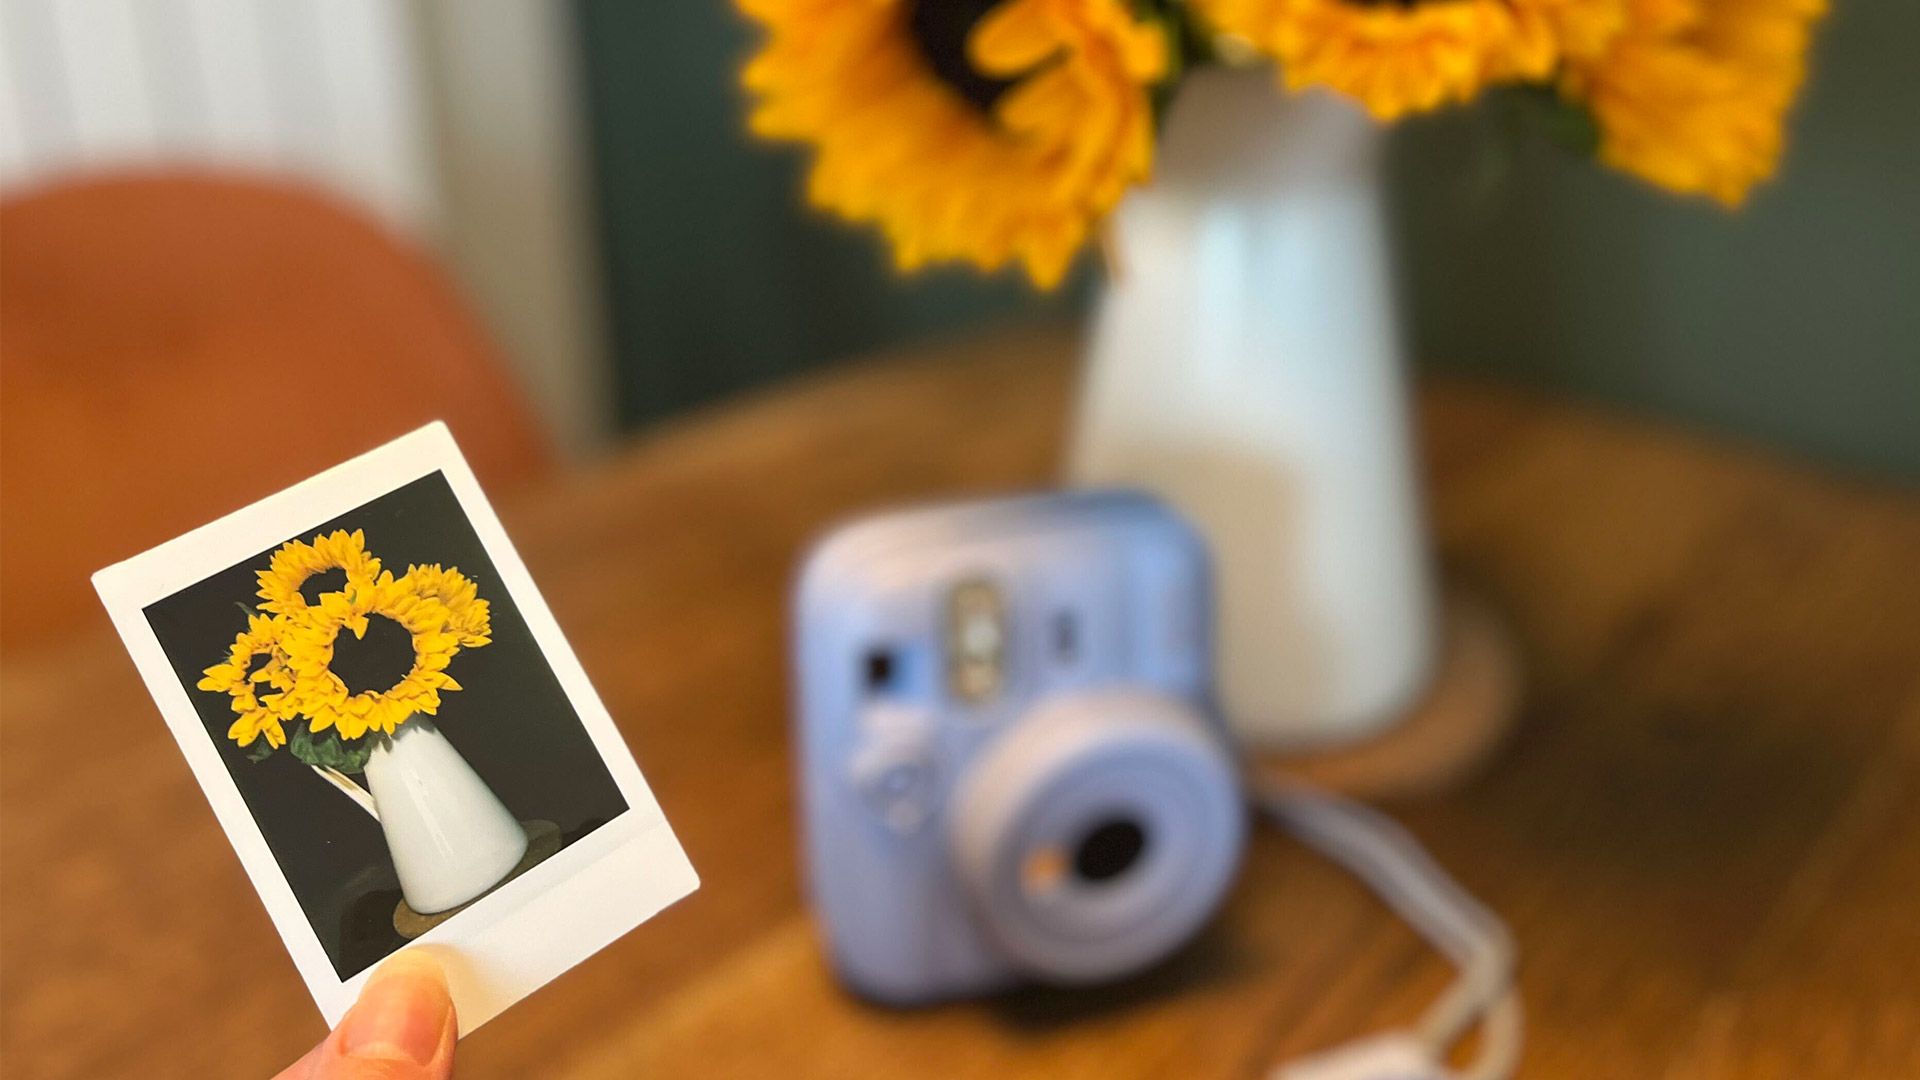
The biggest selling point of the Instax Mini 13 is the fact that it's so straightforward and easy to use. Simply load up Instax’s credit card-sized Mini Film pack of 10, spin the lens dial to turn it on, and you’re all set to go.
With a shutter speed range between 1/2 a second and 1/250 a second, and a film sensitivity rating of ISO 800, it's best used in well-lit spaces, as you'll run the risk of overexposing a shot if you were to shoot in direct, bright sunlight.
At night, the constant-firing flash will automatically adjust itself to different light levels on its own, but it's important to keep in mind the distance of your subject. As mentioned earlier, it's best to use it for close-up shots to get the best quality images. And the optimum range for the flash is the same, with a distance of 30cm to two metres being the most effective.
To make selfies ever easier to capture, the Instax Mini 13 has a self-timer that works brilliantly to stabilize any photograph by reducing the chances of blurring from pressing the shutter button. You simply have to spin the dial that's fitted around the shutter button to activate it. One rotation sets the timer at two seconds, which you can tell is on by the blinking light, while holding it down activates the 10 second timer.
My only gripe is that the self-timer doesn't give you a countdown light for when it's about to take the picture (say, the blinking light speeding up). Yes, I know I can simply count the seconds down myself from pressing the button, but when you're already trying to frame yourself in the small mirror that can easily be forgotten to do.

You love taking selfies
This is a no-brainer. Capture memories in an instant that you can share with family and friends. View Deal
You don't have a big budget
As one of the cheapest instant cameras in Fujifilm's lineup, you're getting a lot of great value. View Deal
You want manual controls
There's not a lot to get to grips with here. Simply frame your shot and pray that you don't waste one of your precious prints. View Deal
You prefer larger film prints
The Instax mini range only takes credit card-sized film prints, so you'll have a limited field of view. View Deal
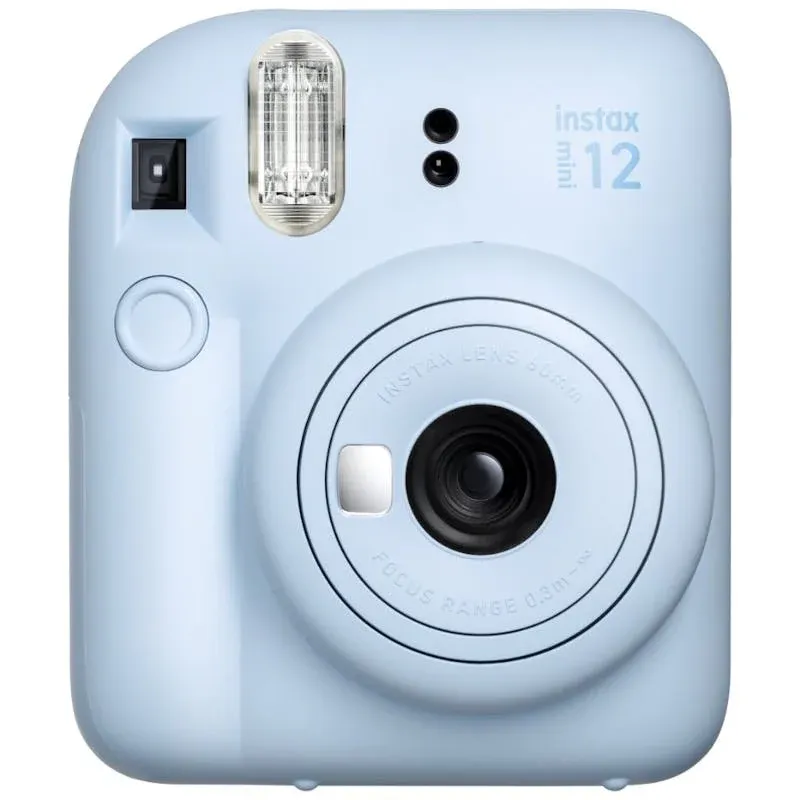
Fujifilm Instax Mini 12
It might not have the self-timer or ribbed design, but the Instax Mini 12 does retail for less than the Instax Mini 13, making it a great cheaper option, especially during the sales. You're still getting the same Fujifilm instant camera experience (minus a self timer), just for less money.
See our Instax Mini 12 reviewView Deal
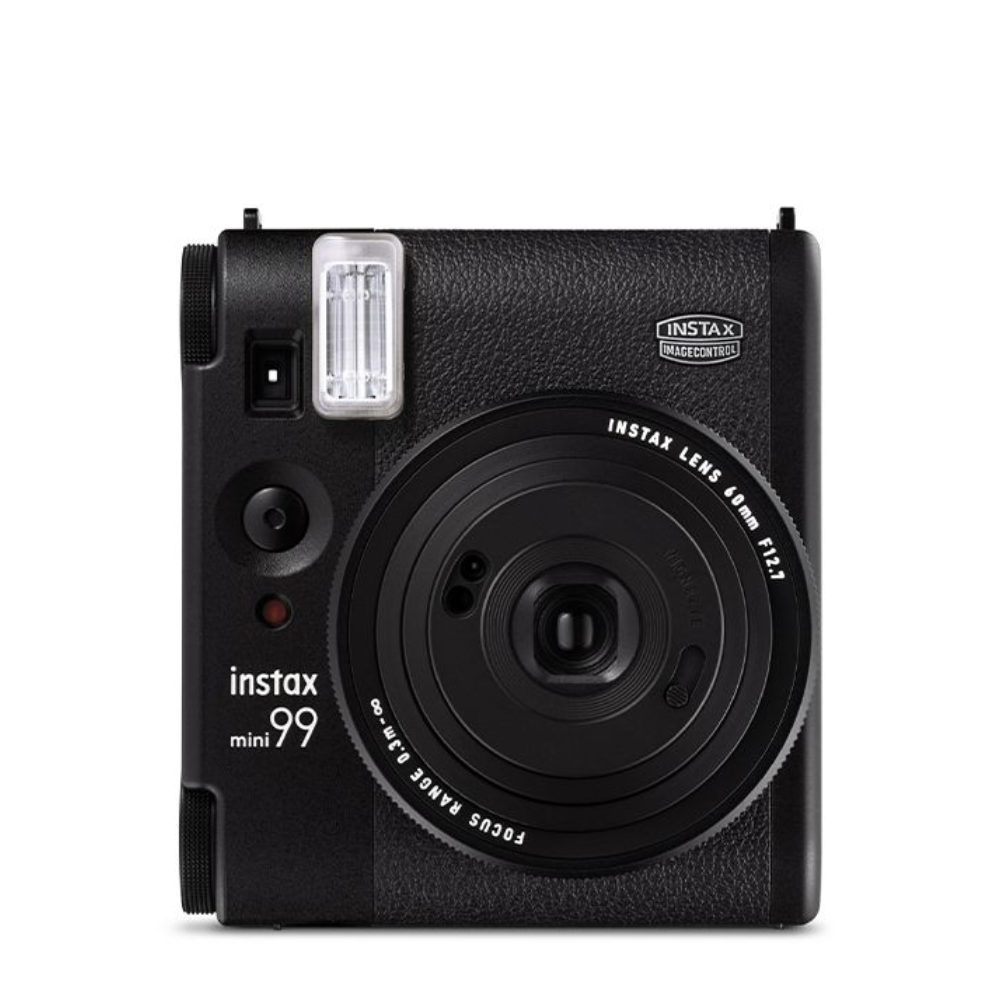
Fujifilm Instax Mini 99
If you've decided that a self-timer is an essential feature for your next instant camera purchase, you can also get the Instax Mini 99, which is the most premium model in Fujifilm's mini lineup, complete with an array of creative modes. Just note, you'll have to pay premium prices for it...
See our Insta Mini 99 reviewView Deal
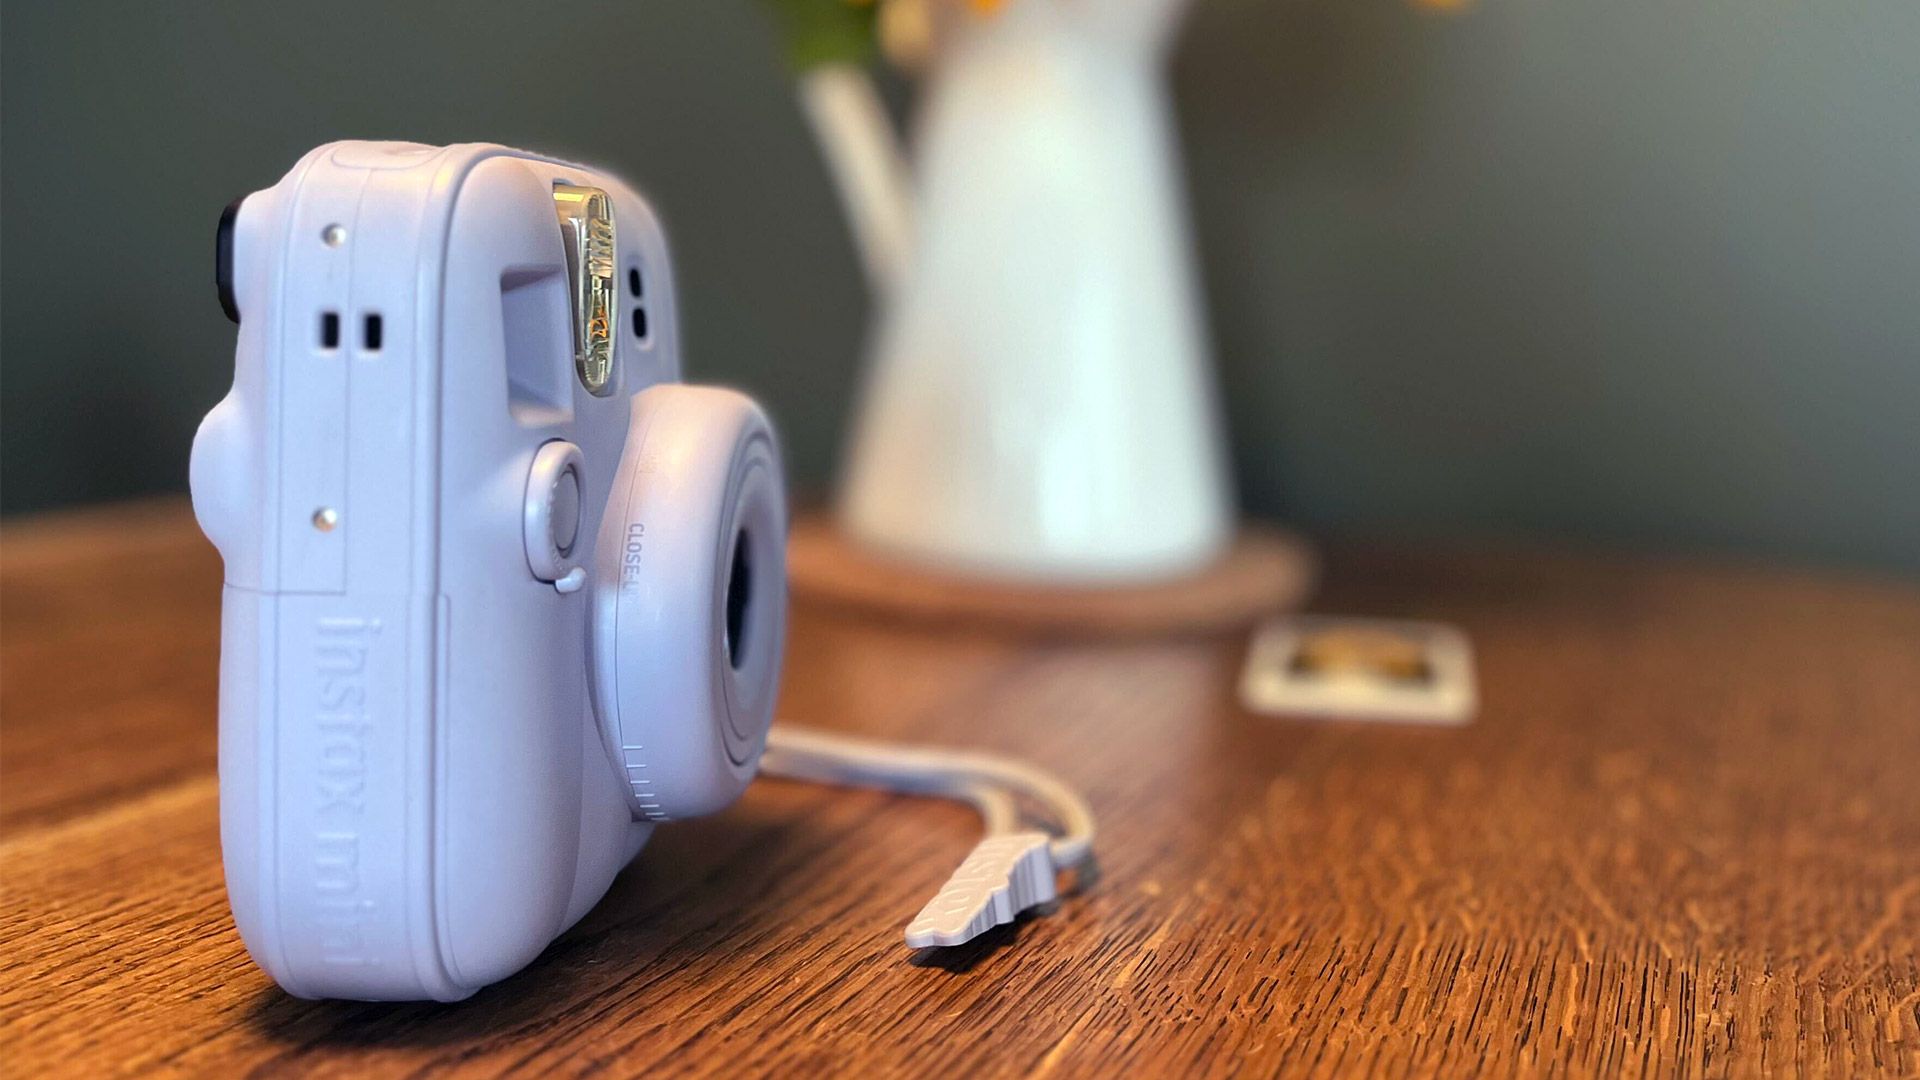
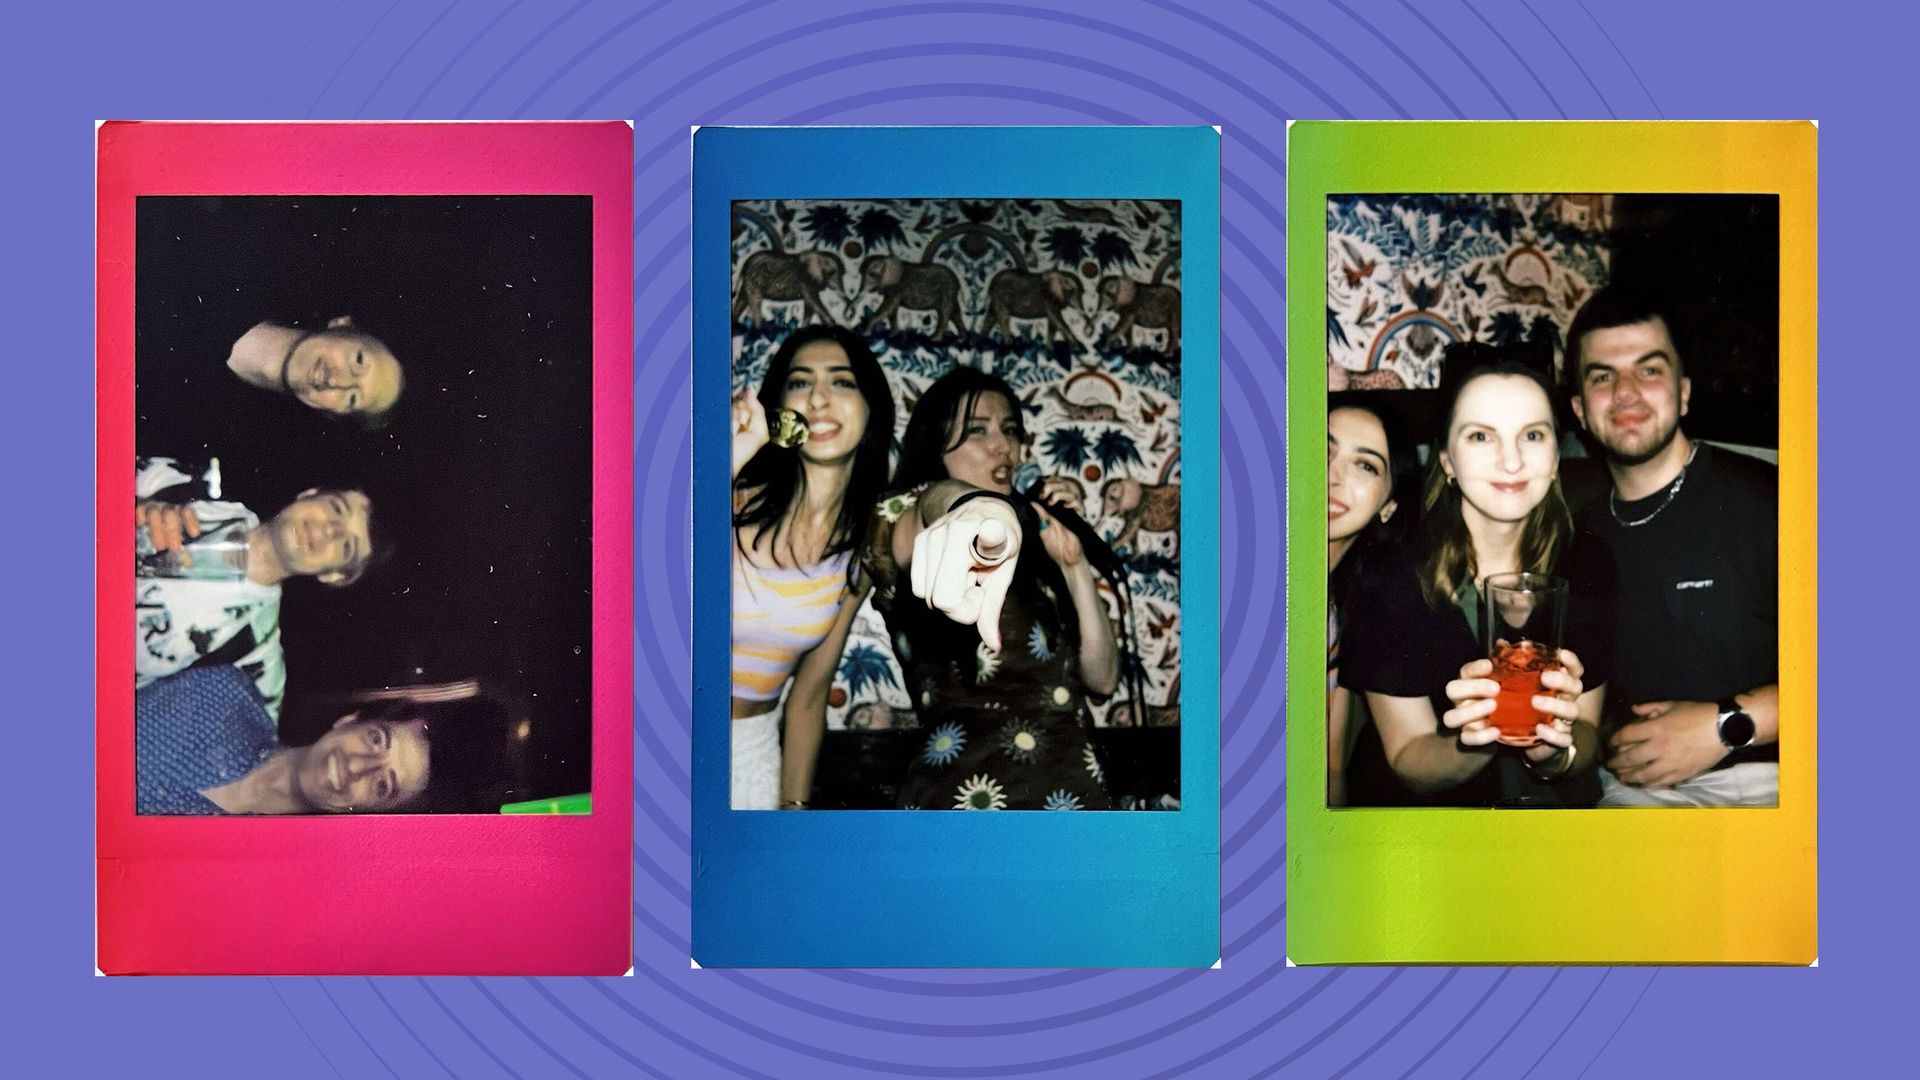
Being an instant camera fan, I knew the best places to bring the Instax Mini 13 to. From a friend's 30th birthday party to a Harry Styles concert, I snapped away to see how it performed in different lighting environments.
I went through two packs of Instax Mini film — the classic white border type and the Instax Mini Rainbow edition that prints out different colors. Unfortunately, the Pastel Galaxy film that was launched alongside the Instax Mini 13 wasn't available to test.
To show off some of the sample pictures I snapped over the two months that I tested the camera for, I scanned the prints onto my phone using the Instax UP! app.
Many have tried and failed to produce drones to rival DJI's, but the Potensic Atom 3 is a DJI drone alternative that's actually worth considering — and not just on paper, but in actual flight conditions.
The folding quadcopter impresses with level 5 wind resistance and a 10% bigger battery than its predecessor, the Atom 2, making for robust flight performance even in tricky conditions. It's gargantuan RC PTD 2 touchscreen controller (in the pricier bundle) feels top-drawer, too.
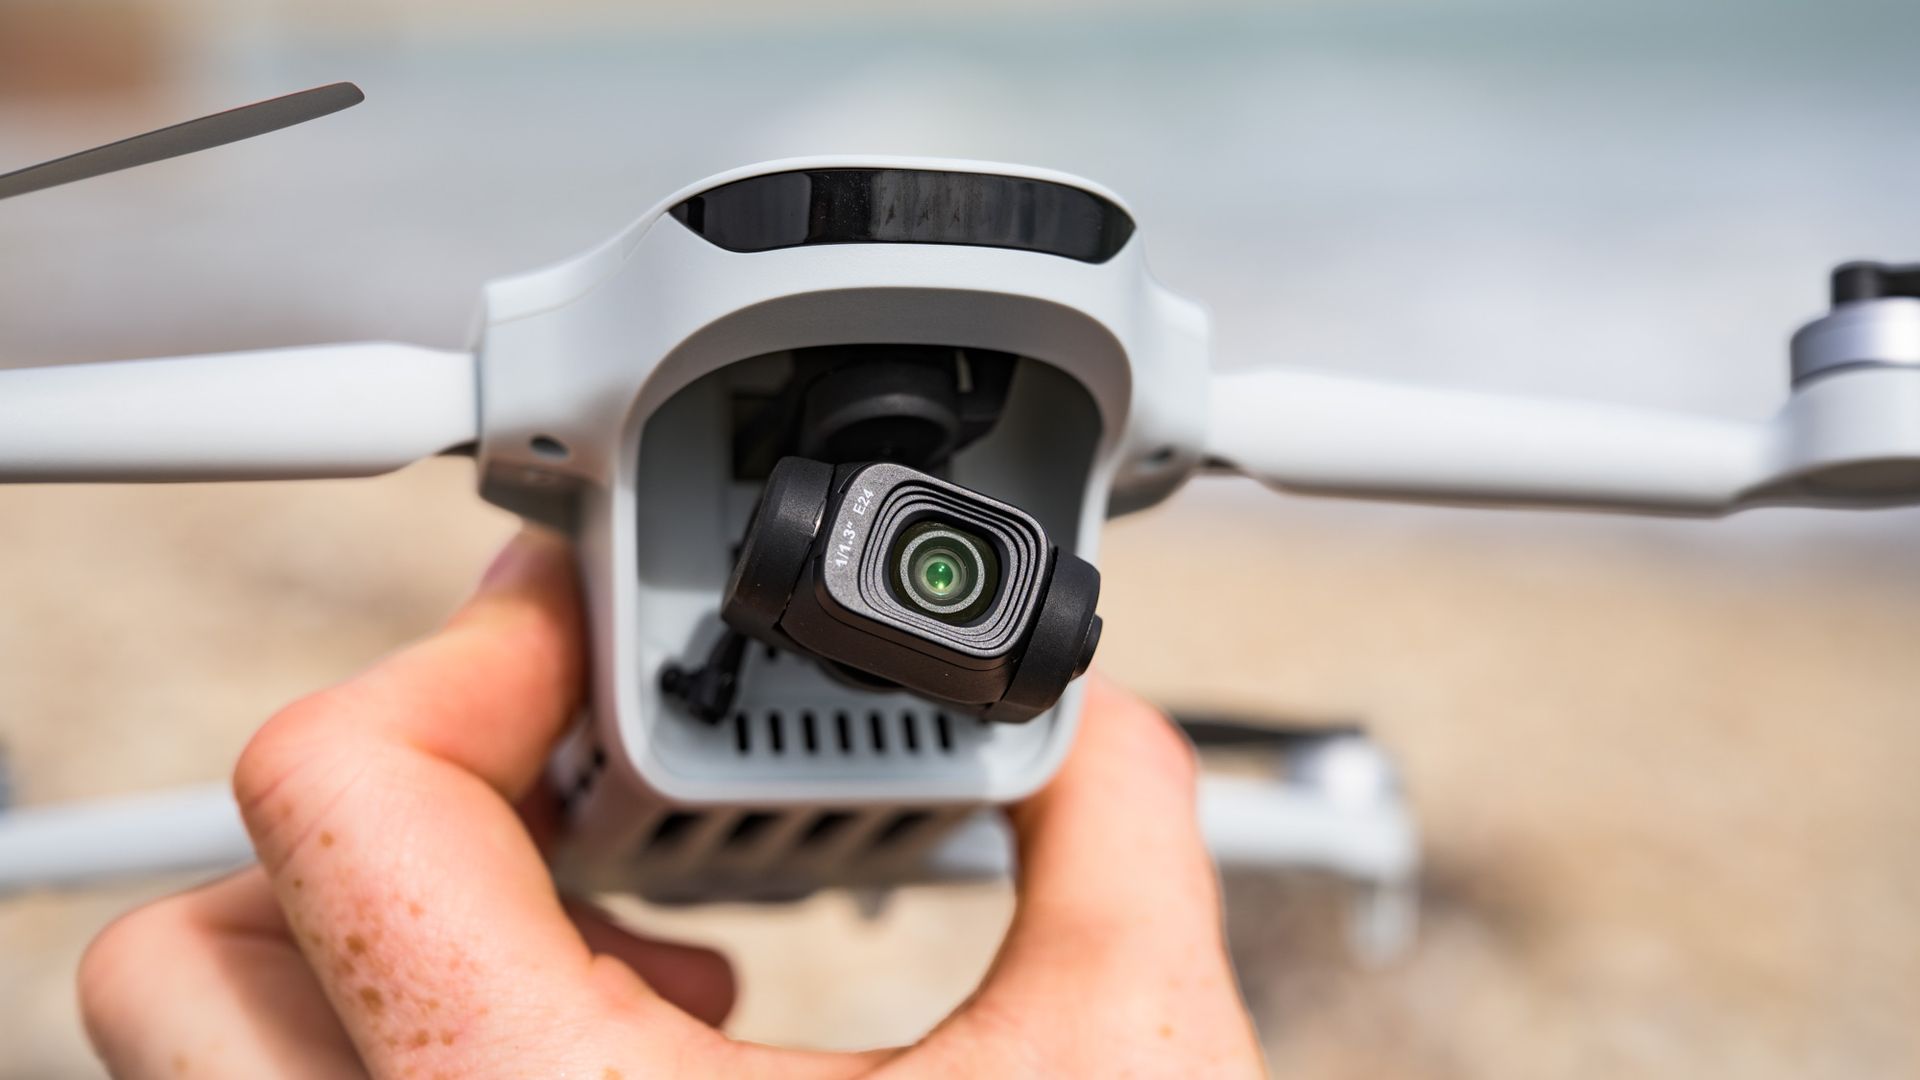
Its 3-axis gimbal camera isn't half-bad, either — being equipped with a 1/1.3-inch sensor and offering 4K video up to 60fps in standard, HDR or Log profiles, slow-motion recording, and up to 50MP stills in RAW and JPEG.
The larger sensor, higher 4K video frame rates and bitrates, plus improved battery life and transmission range are all meaningful upgrades on the Atom 2, and make the Atom 3 a compelling DJI Mini rival, especially given Potensic's competitive pricing.
Despite a few handling issues (which I'll get into below), the Atom 3 could have pinched top spot in our beginner drones guide... six months ago. The bad news for Potensic is that the DJI Lito X1 is now in the picture, raising the bar for any would-be challengers.
For practically the same money, the Lito X1 is the slightly more polished drone overall — and it features object sensing, which the Atom 3 lacks, delivering this incredibly useful feature at a new-low price point (compared to DJI's Mini 5 Pro). Ultimately, the Lito X1 gives consumers so much for the money that the fight here feels unfair.
Would I still recommend the Atom 3? Absolutely. It's way better than the Ruko U11Mini 4K, which we recently tested, and the next best thing for consumers who don't want, or can't buy, a DJI drone (US pricing is displayed on the Potensic website, suggesting it could become available there, unlike new DJI products, but currently Potensic is locked out of the US too). Ultimately, Potensic's best drone yet is a highly capable beginner option — but it remains one big step behind the DJI competition.
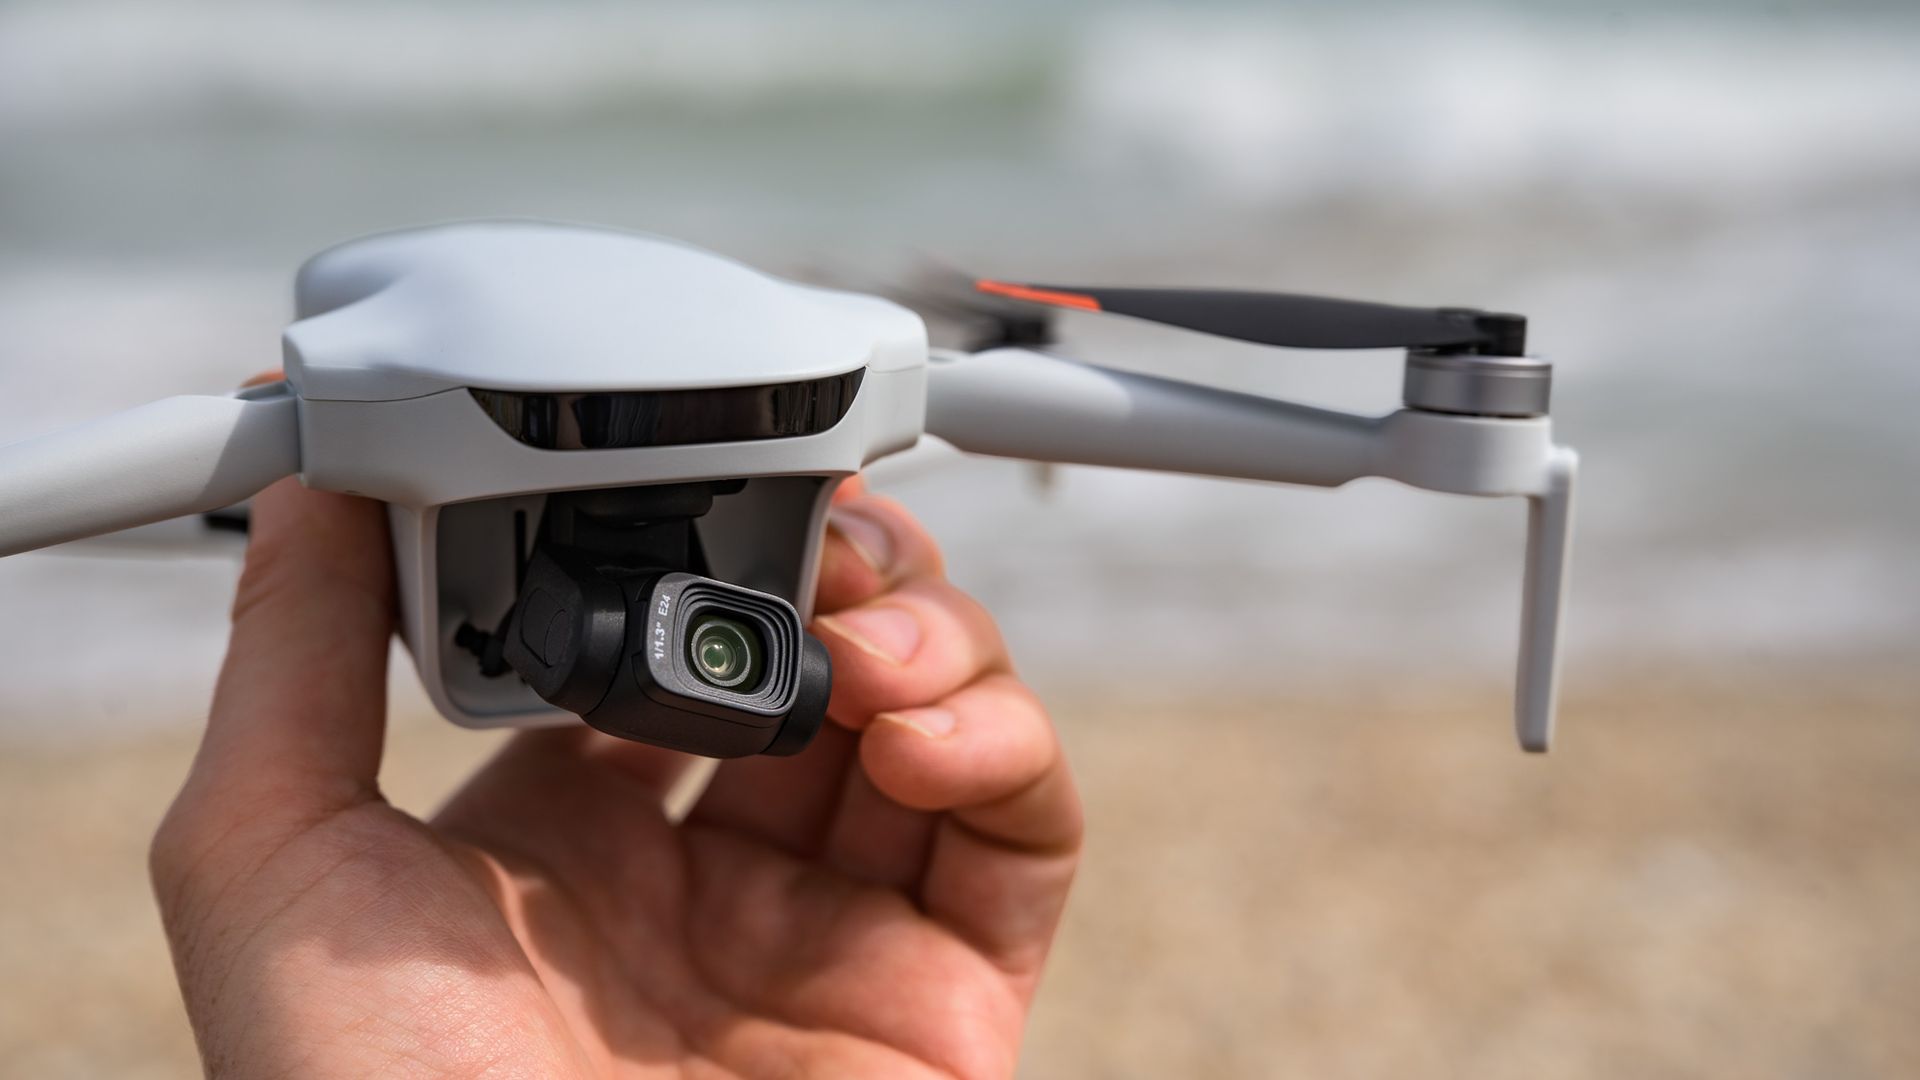
The Potensic Atom 3 is available now directly through Potensic's website and via Amazon in the UK. There's US pricing on the Potensic site, but the company told me the Atom 3 is not available there, while it's yet to hit stores in Australia.
Pricing varies considerably depending on the region and the bundle. In the UK, the base package costs £339.99, with the price rising to £579.99 for the Fly More Combo with RC PTD 2 bundle (which I tested), which includes two additional batteries, a charging hub, case, and the touchscreen RC PTD 2 controller in place of the standard smartphone-based remote.
US pricing starts at $429.99, while the Fly More Combo, which includes the standard smartphone-based remote, costs $549.99. At the time of writing only two of the five bundles have pricing — none of which include bundles with the touchscreen RC PTD 2 controller. However, despite pricing being on the Potensic site, the drone is not available there "due to FCC regulations", Potensic told me, and that "our team is actively working on the relevant certification to make it available in the future".
At the time of writing, the Potensic Atom 3 is not available in Australia, but Potensic does have a dedicated Australia website which is the best place to check for future availability.
DJI's Lito X1 is the Atom 3's obvious rival, and it costs from £359 at Amazon UK, so just a little extra money gets you that drone's massively useful object-sensing feature. However, like other DJI drones, the Lito X1 is not available to buy in the US.
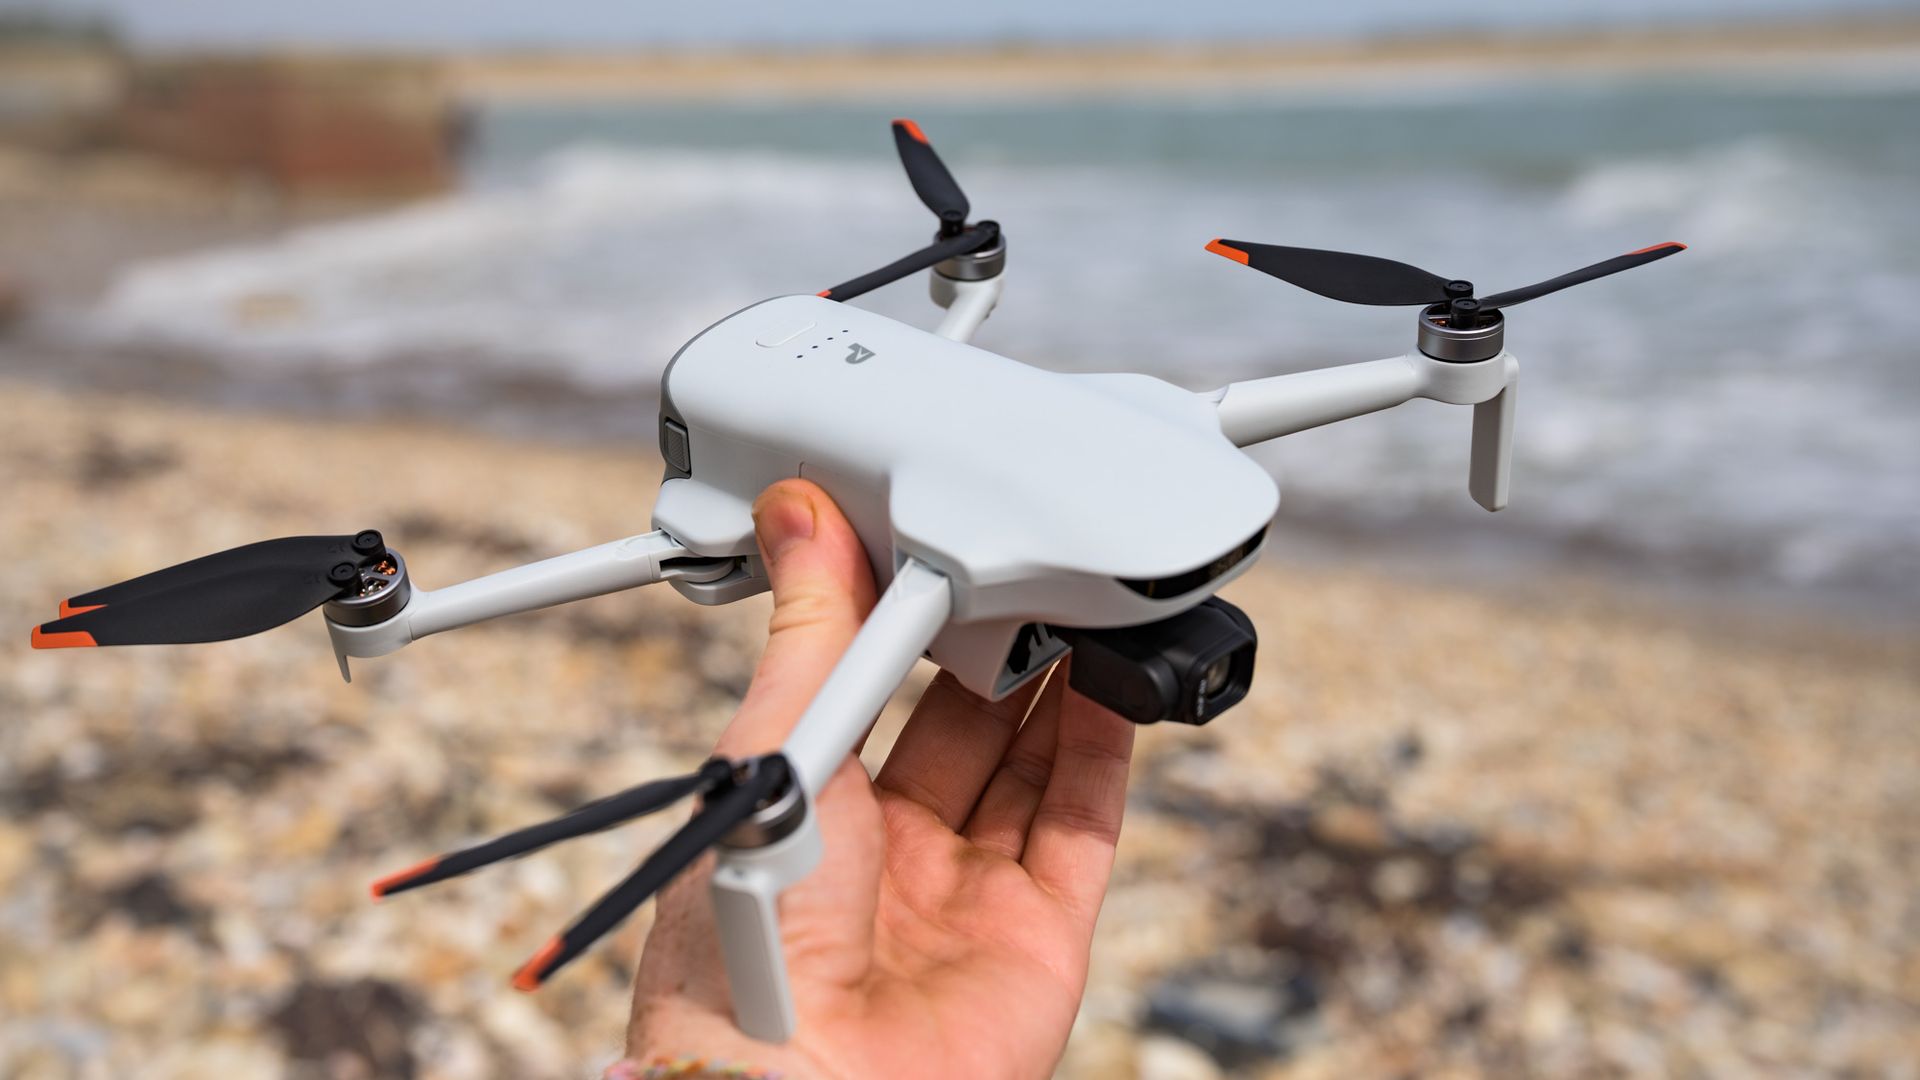
Potensic Atom 3 | |
Camera: | 12.5MP 1/1.3-inch CMOS sensor (with 50MP mode) |
Video: | 4K 60fps |
Flight modes: | 3x speeds, 7x Quickshots, 3x AI tracking |
Storage: | MicroSD card slot, no internal storage |
Battery: | 2,590mAh / up to 40 minutes flight time |
Charger type: | USB-C / Battery Charging Hub (Fly More Combo) |
Weight: | 249g / 8.8oz approx (C0 EU class) |
Dimensions: | 148 x 91 x 62mm / 5.83 x 3.58 x 2.44 inches (folded) |
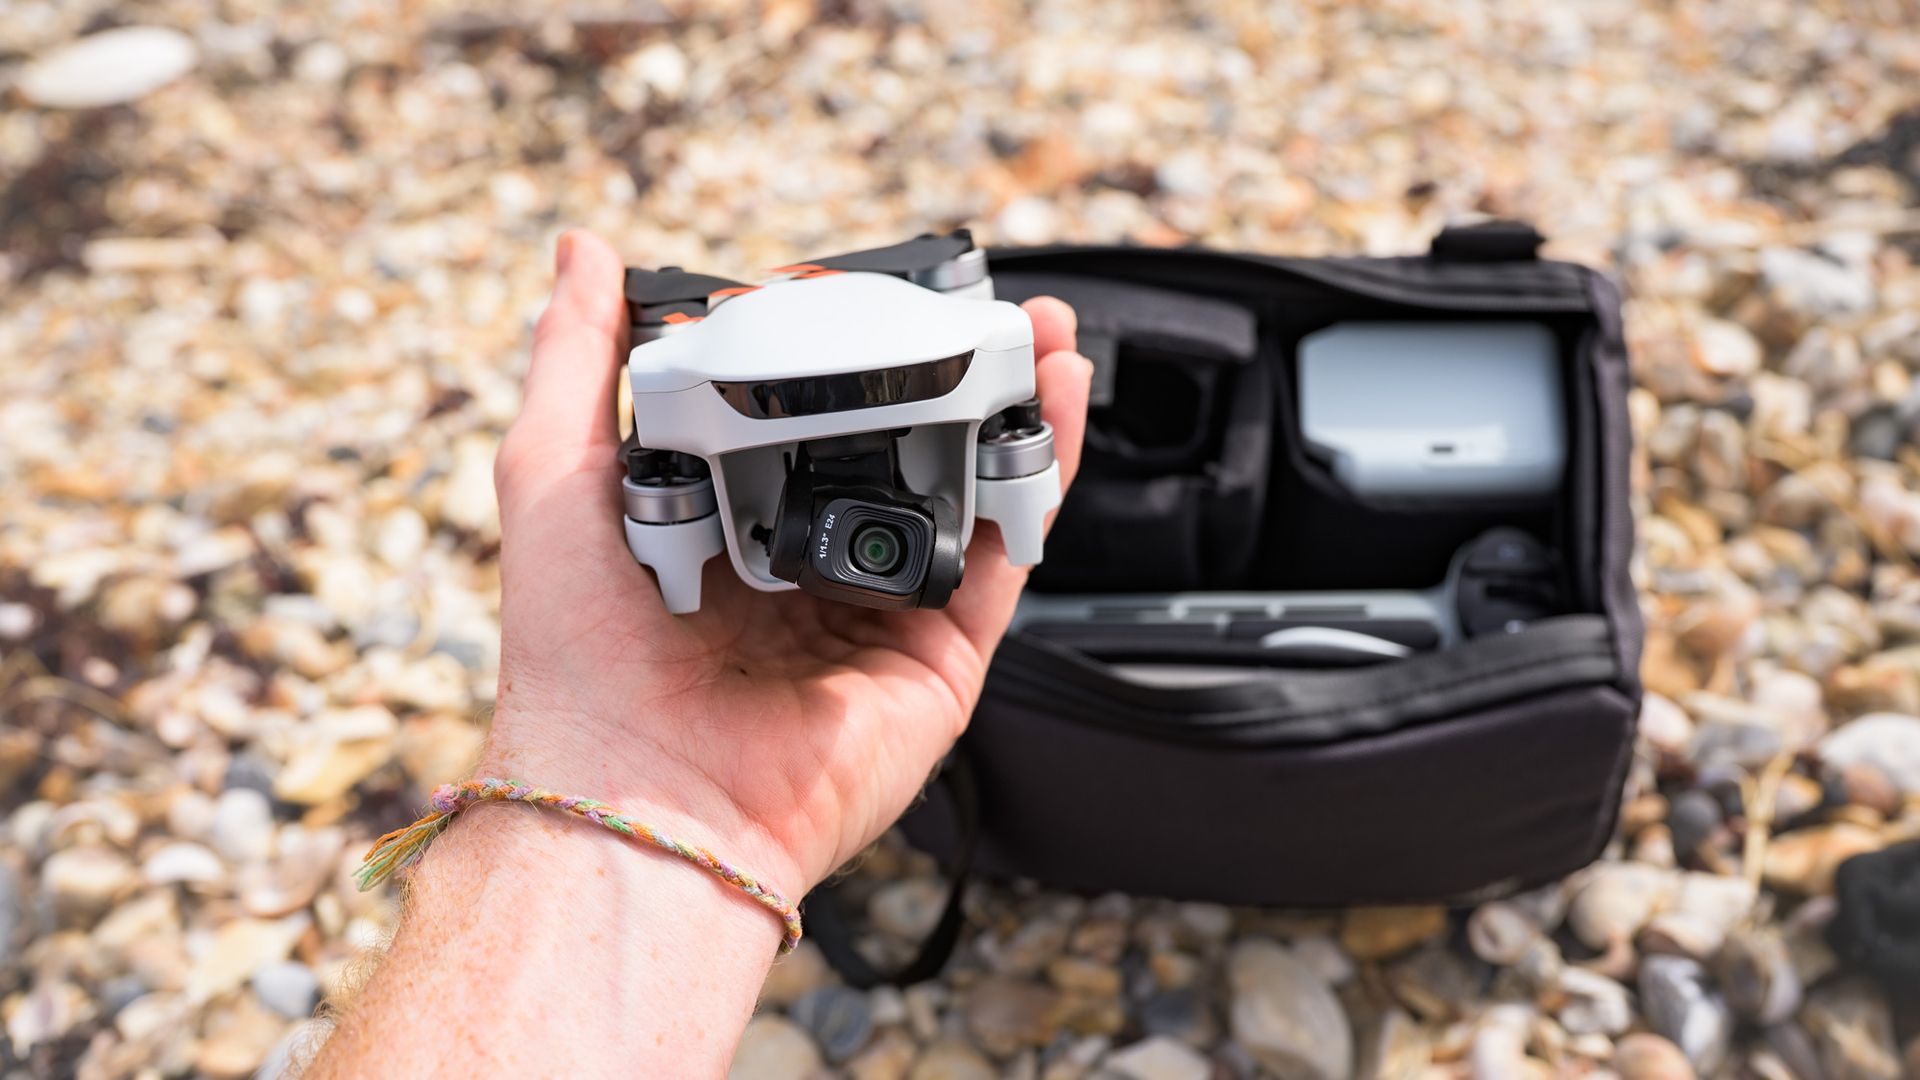
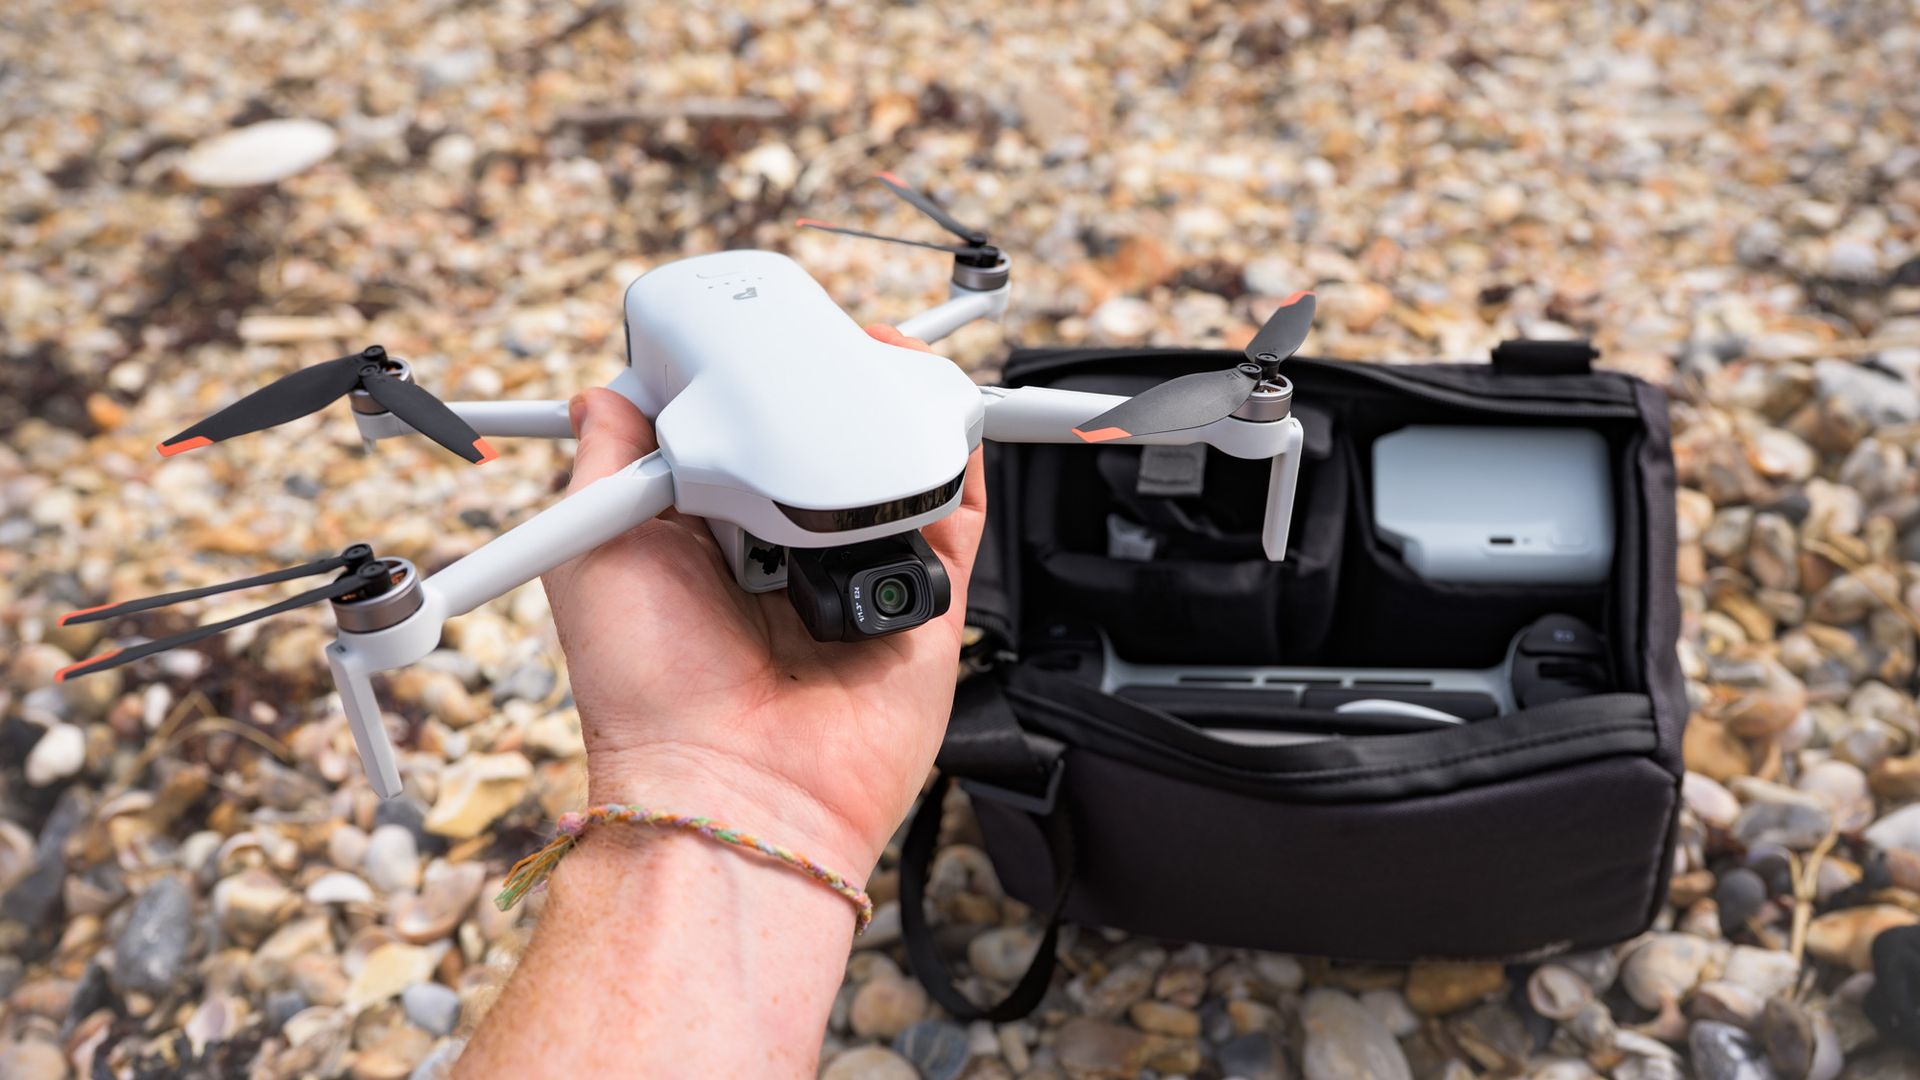
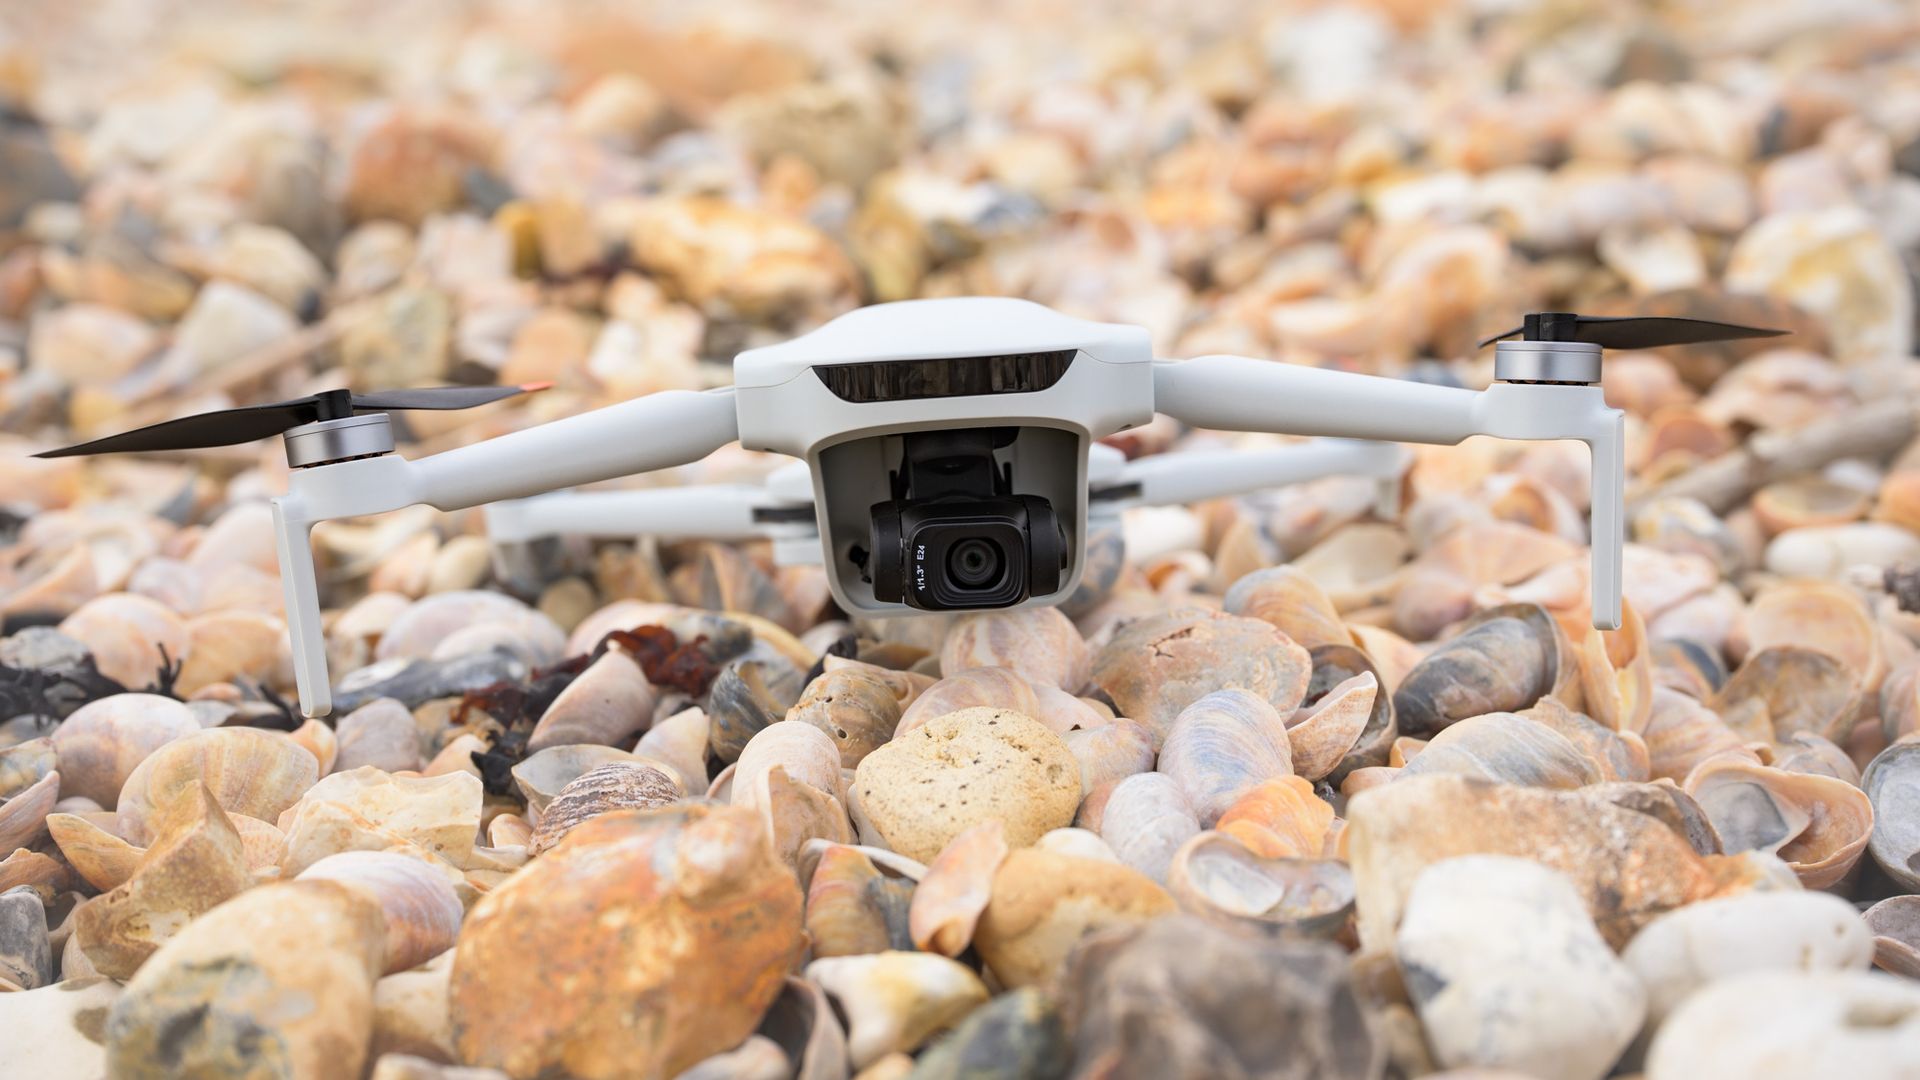
The Atom 3's hard-plastic design is strikingly similar to recent models in DJI's Mini and Lito series of sub-250g folding quadcopter drones. It's a familiar formula — the drone folds down to a coat pocket-able size and, like most beginner models, weighs under 249g. Sub-250g drones are exempt from the strictest drone registration requirements in most regions, including the UK and US.
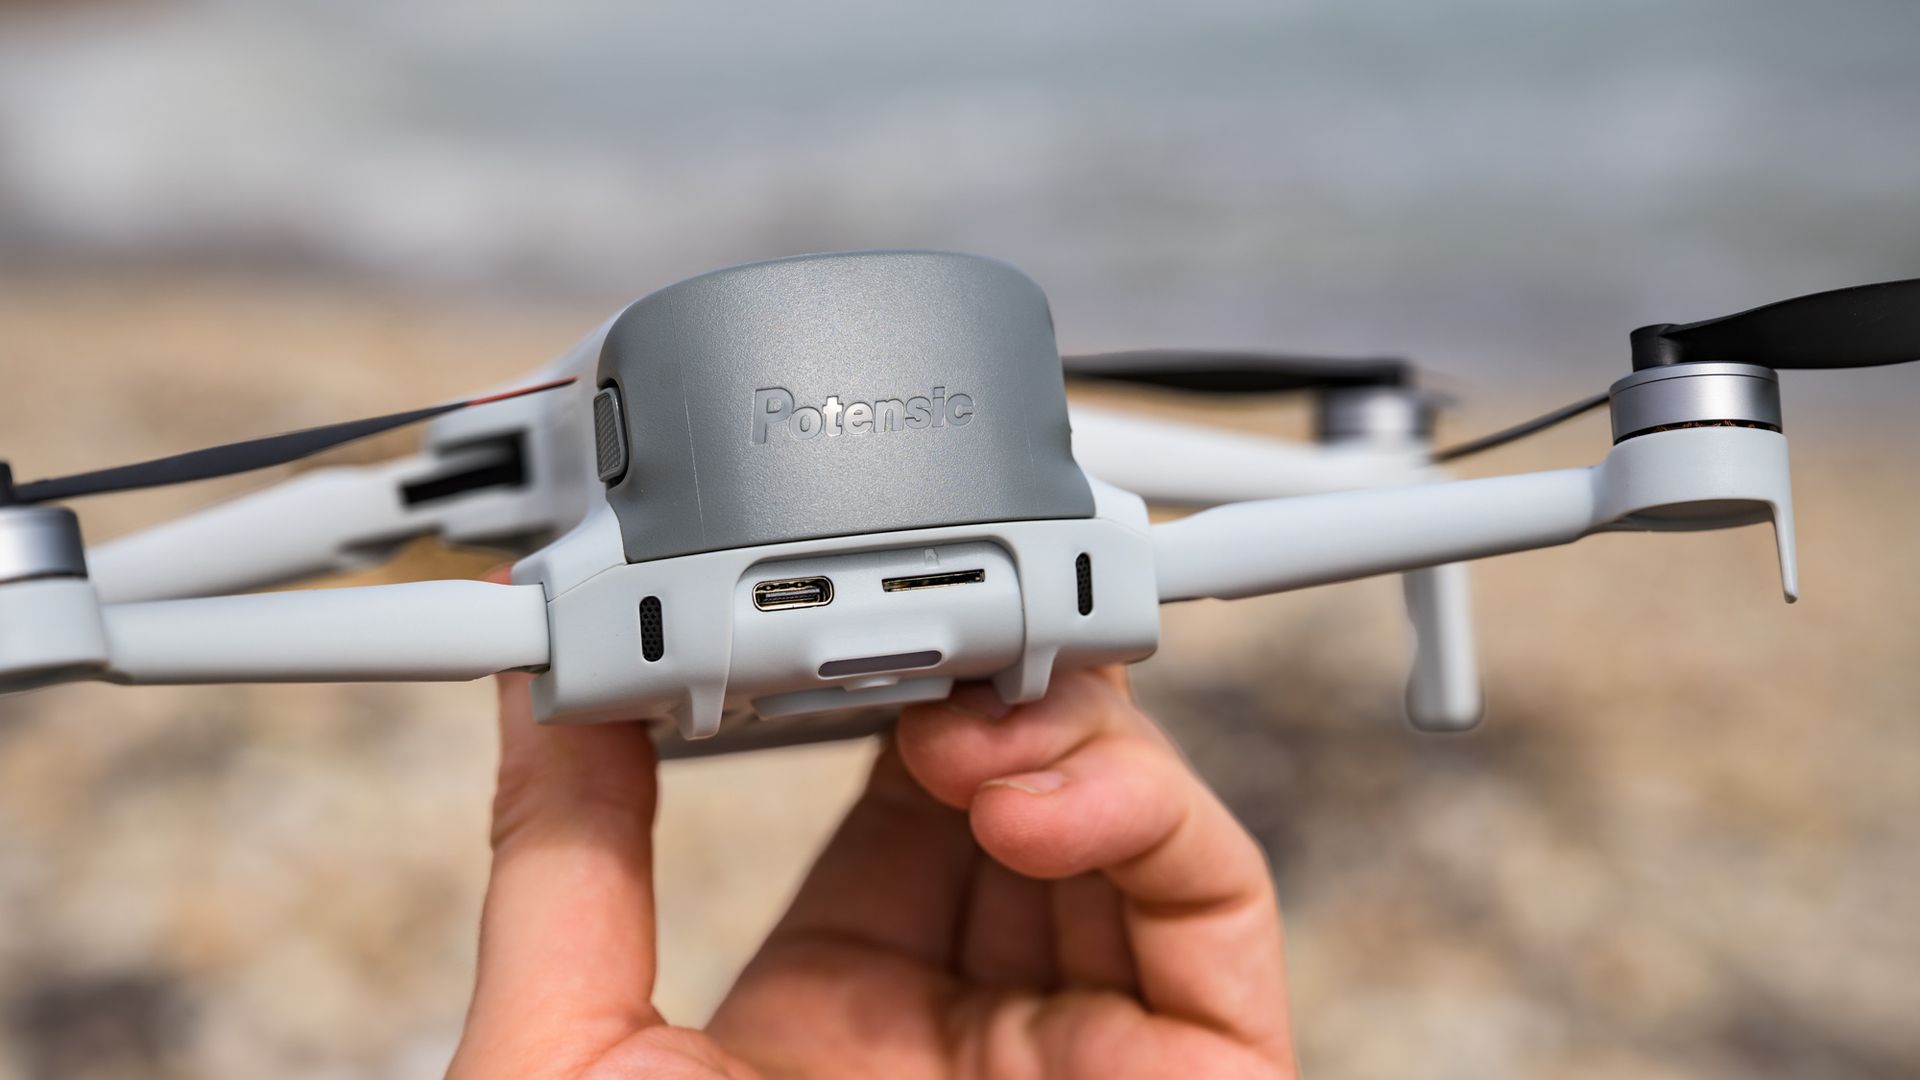
At the rear of the drone is a USB-C slot for charging the device directly, and for transferring images from the inserted microSD card. The card slot is also at the rear — there's no internal storage.
I was able to transfer files directly onto a MacBook Pro via that USB-C wired connection, but when I tried connecting the memory card directly my computer was unable to read it. Another option for file transfer is to download the desired files through the Potensic app, which is a reliable albeit slower process.
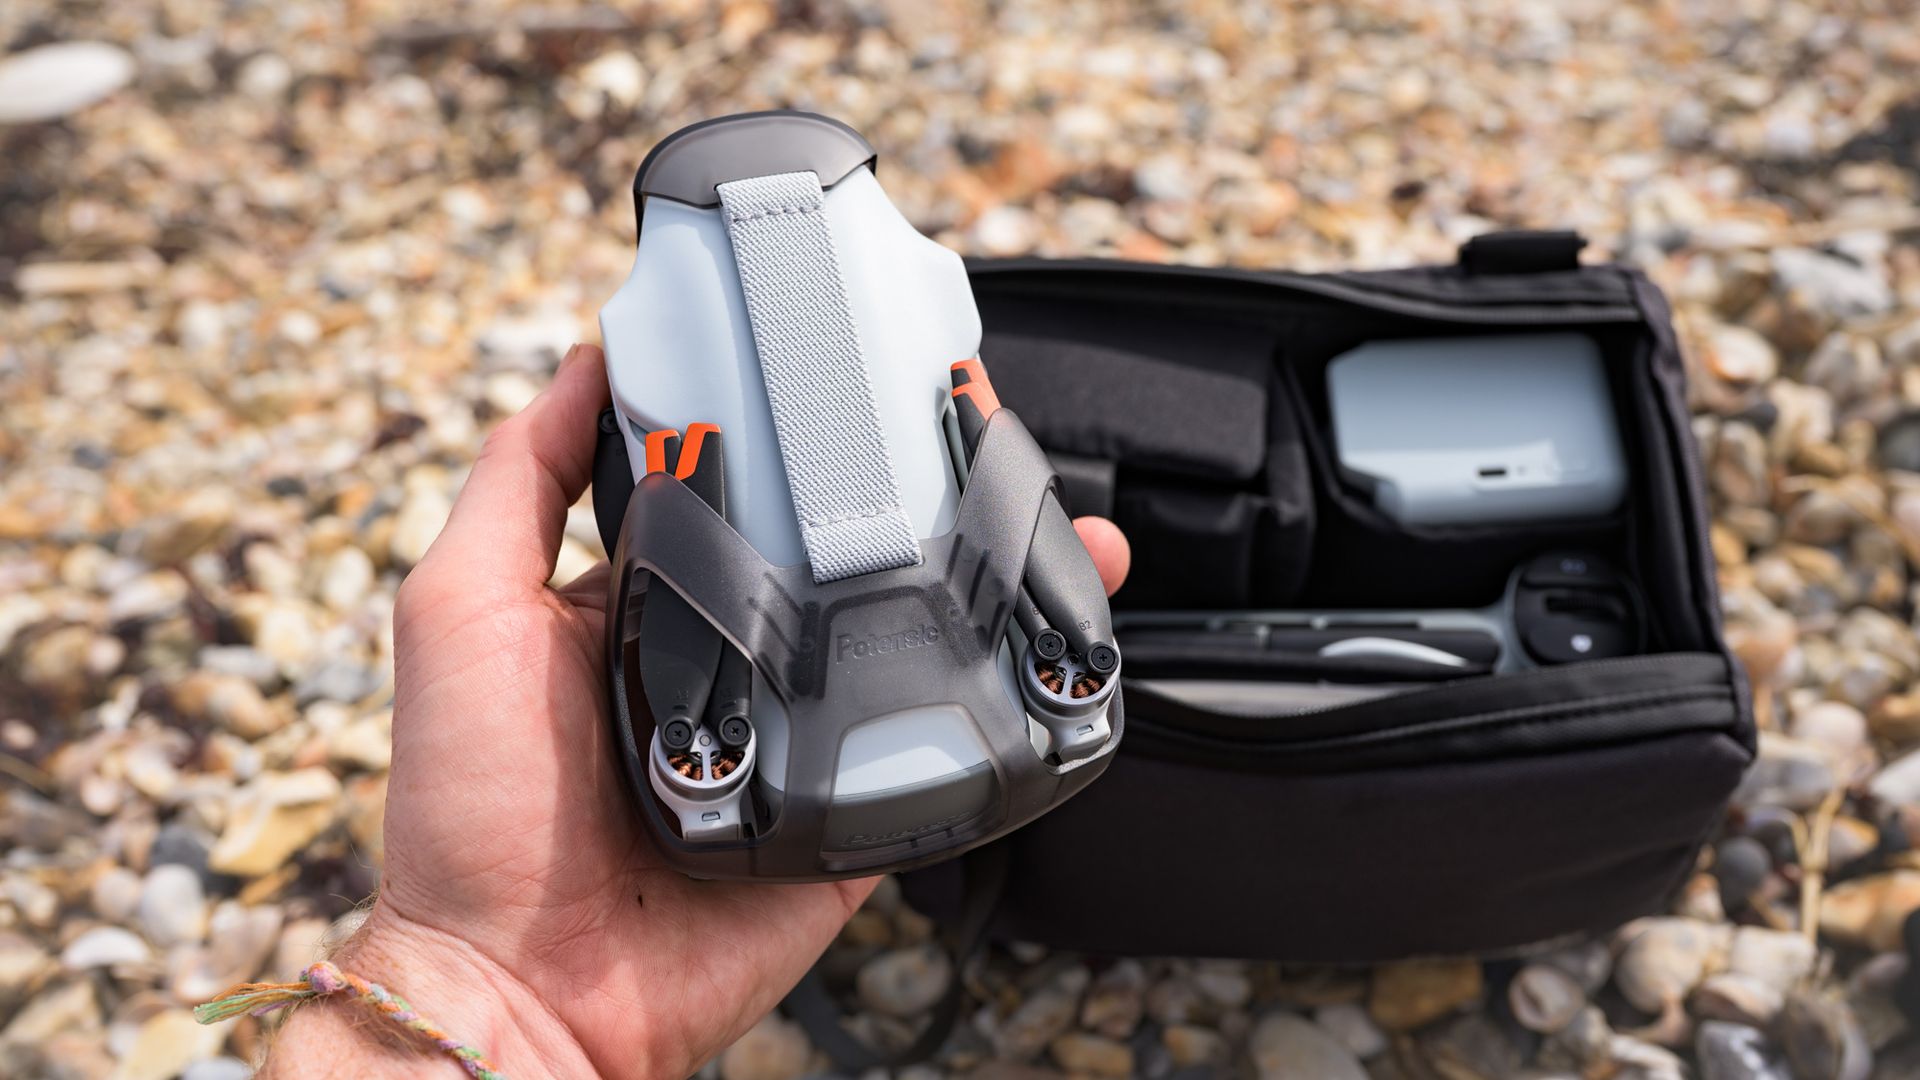
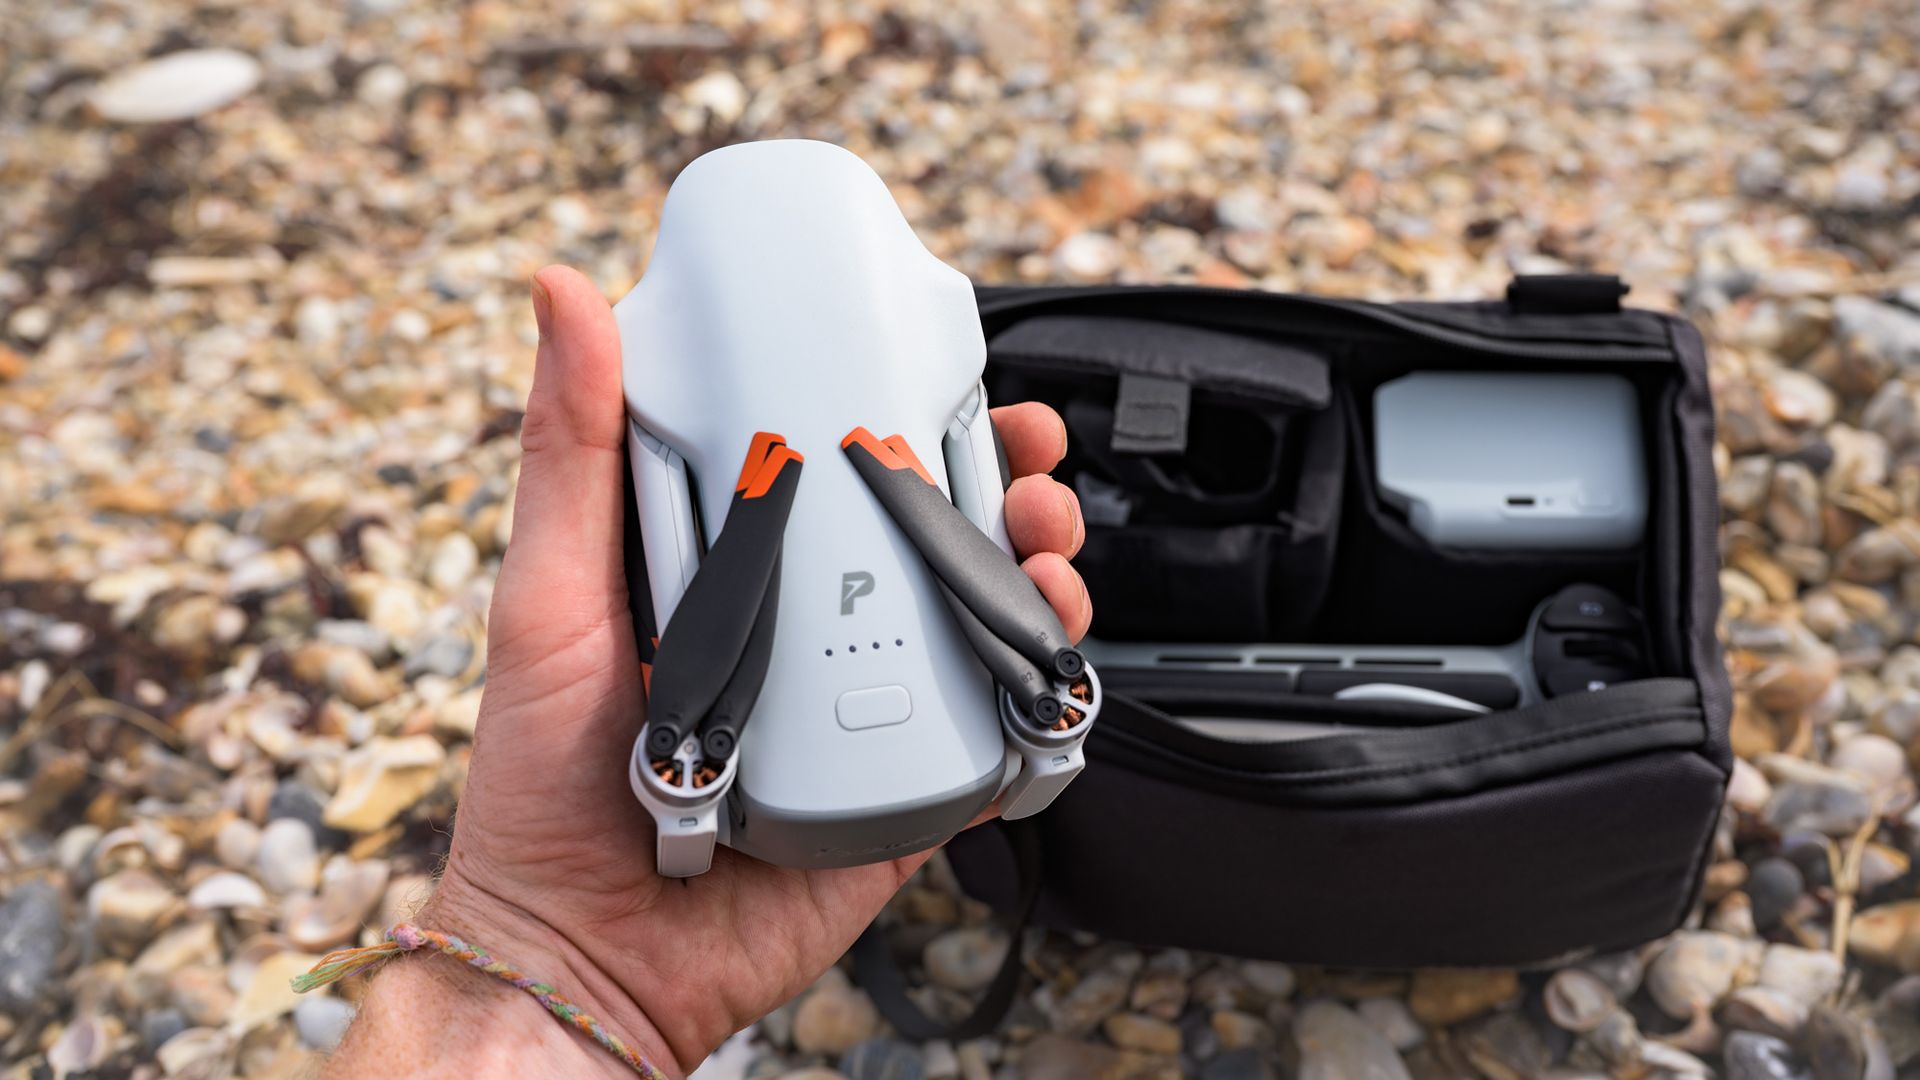
A clip-on cover ably protects the camera and gimbal mechanism when the drone isn't in use, and this is locked in place with a rear clip by stretching an elasticated band that connects the two (see above).
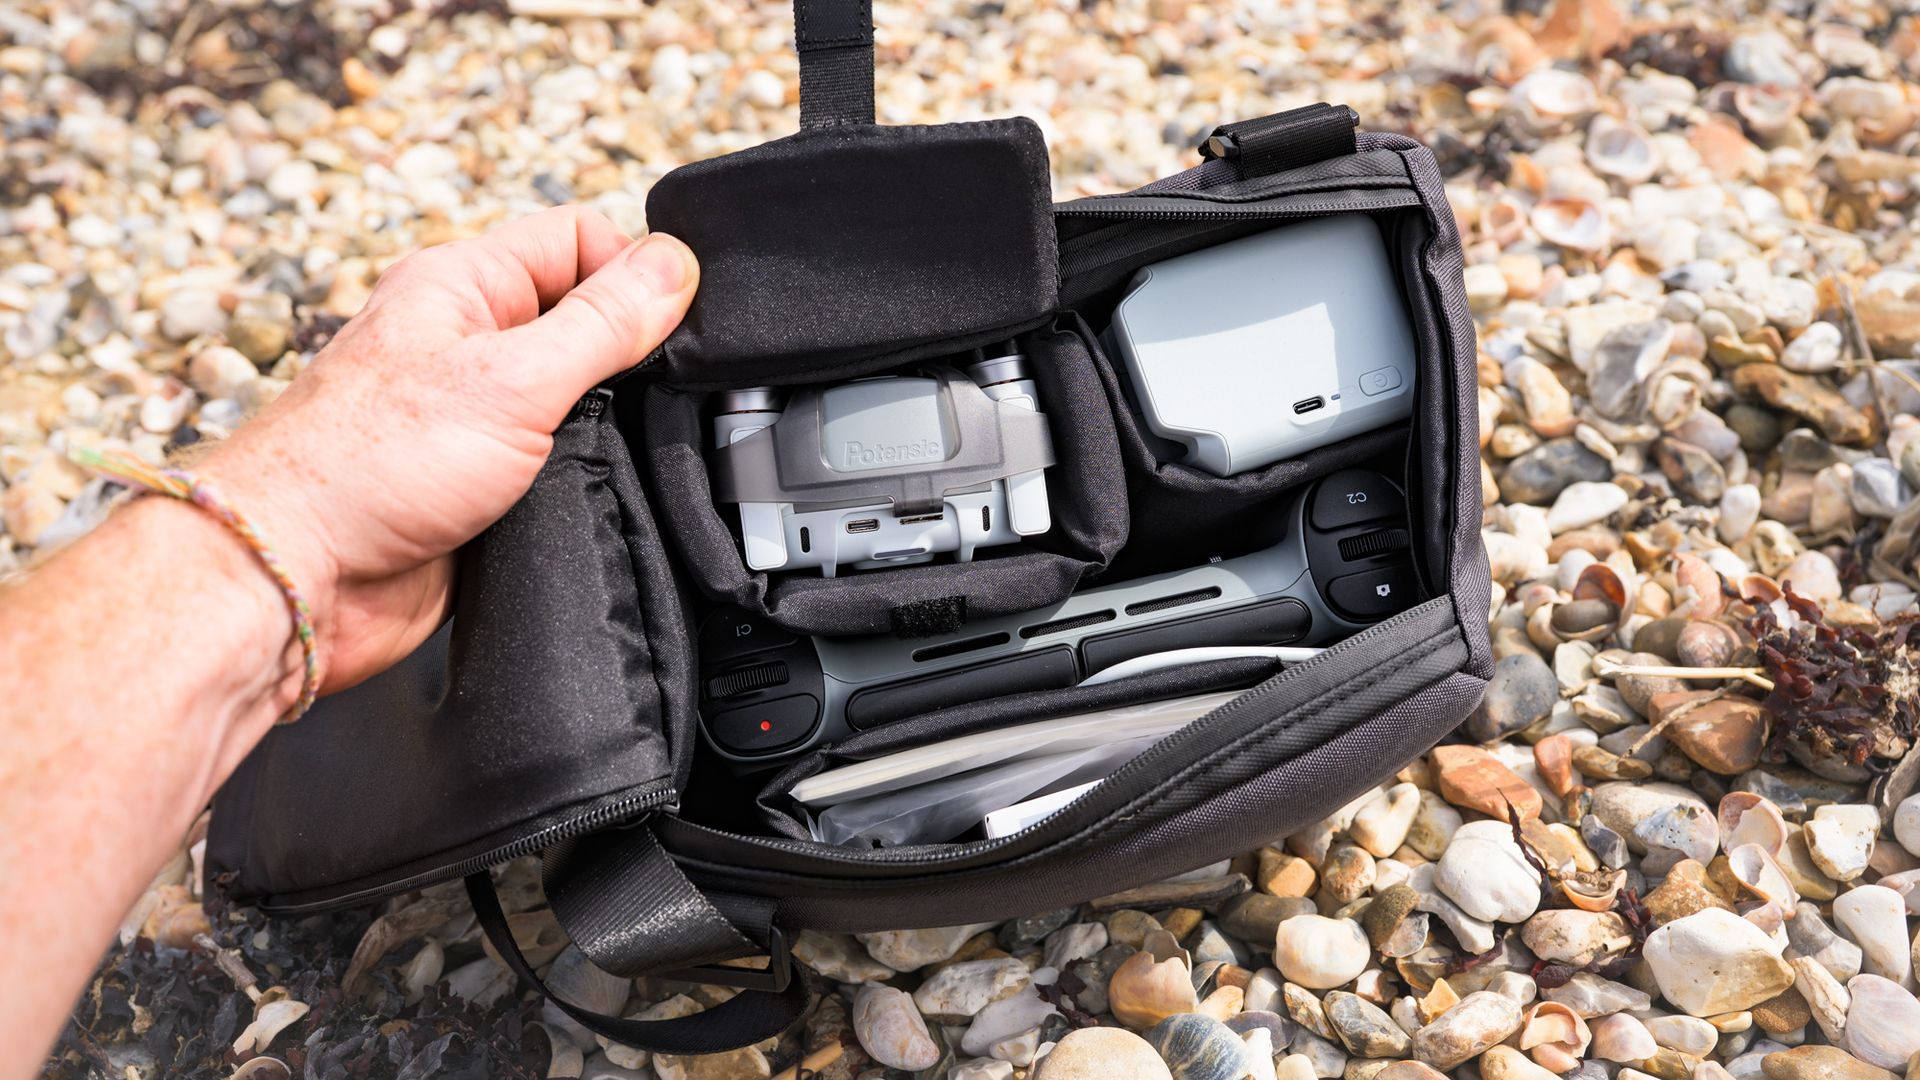
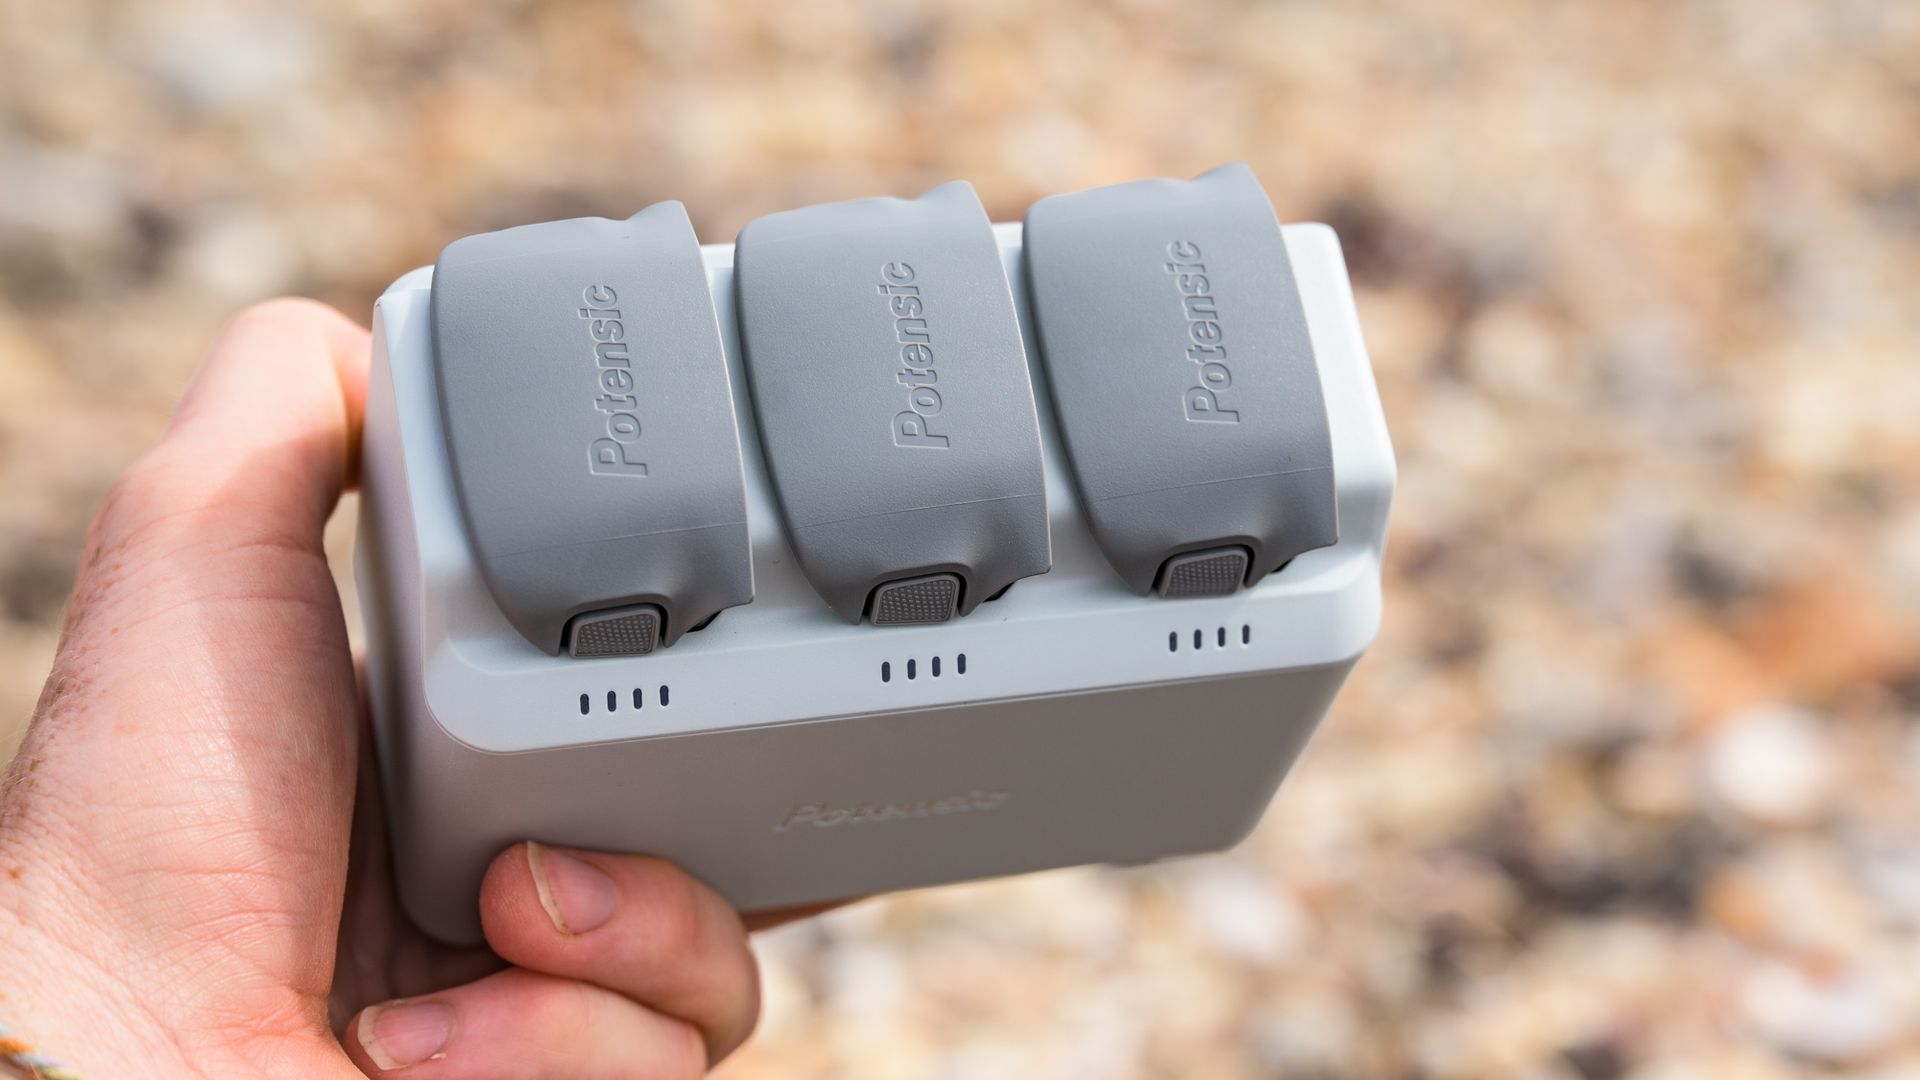
The Fly More Combo (with RC PTD 2 remote controller), which Potensic supplied for this review, comes with a padded zipped case that holds the drone, the charging hub with its two additional batteries, and the sizable controller. The case is notably larger than the one for the equivalent DJI Mini 4K bundle.
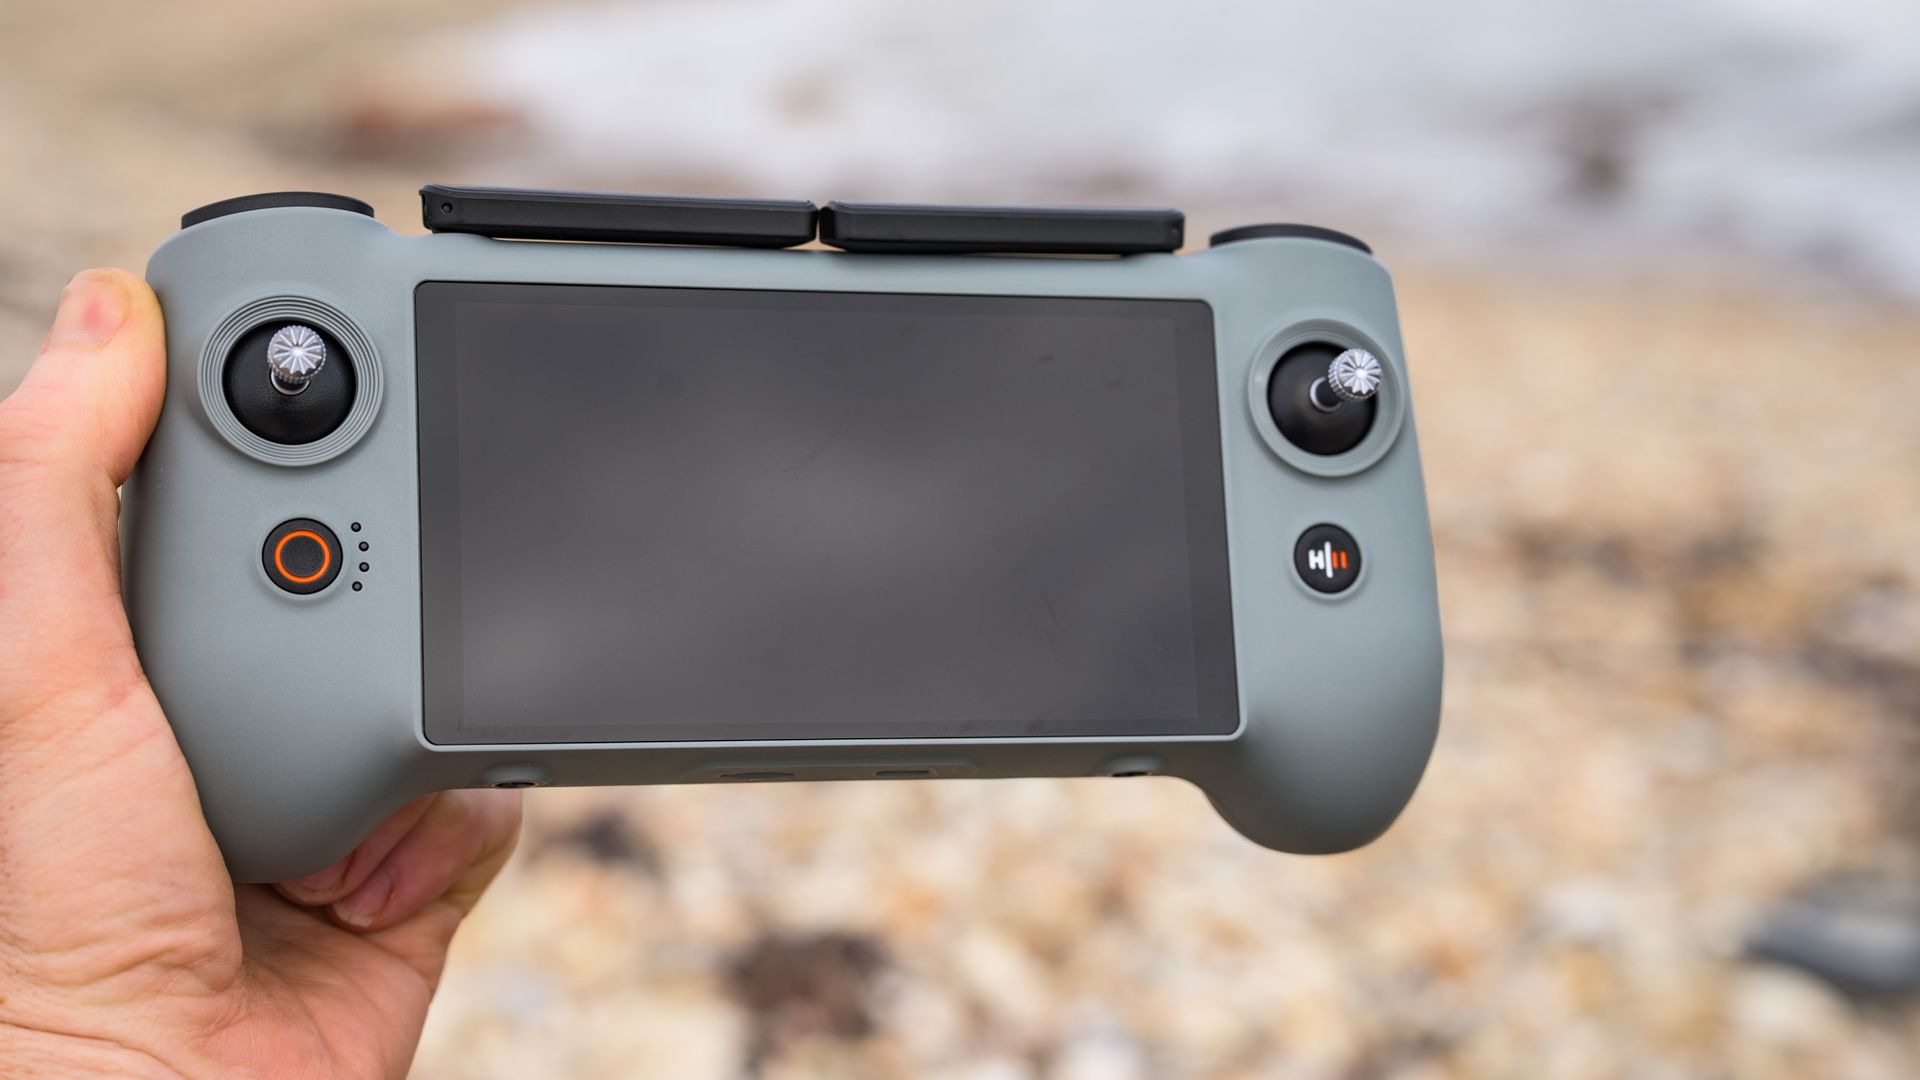
The touchscreen controller feels high-quality; the screen is huge, detailed, and provides a 1080p feed up to 60fps, with Potensic's latest PixSync 5.0 video transmission system boosting the range from 10km to up to 16km, and reducing latency to 150ms. In short, the on-screen feed is smooth and immersive beyond distances that you'll ever realistically fly over.
I found certain movements of the controller's joysticks a little jerky, which spoiled some of my footage, but with practice I was able to find the sweet spots of those controls for smoother moves.
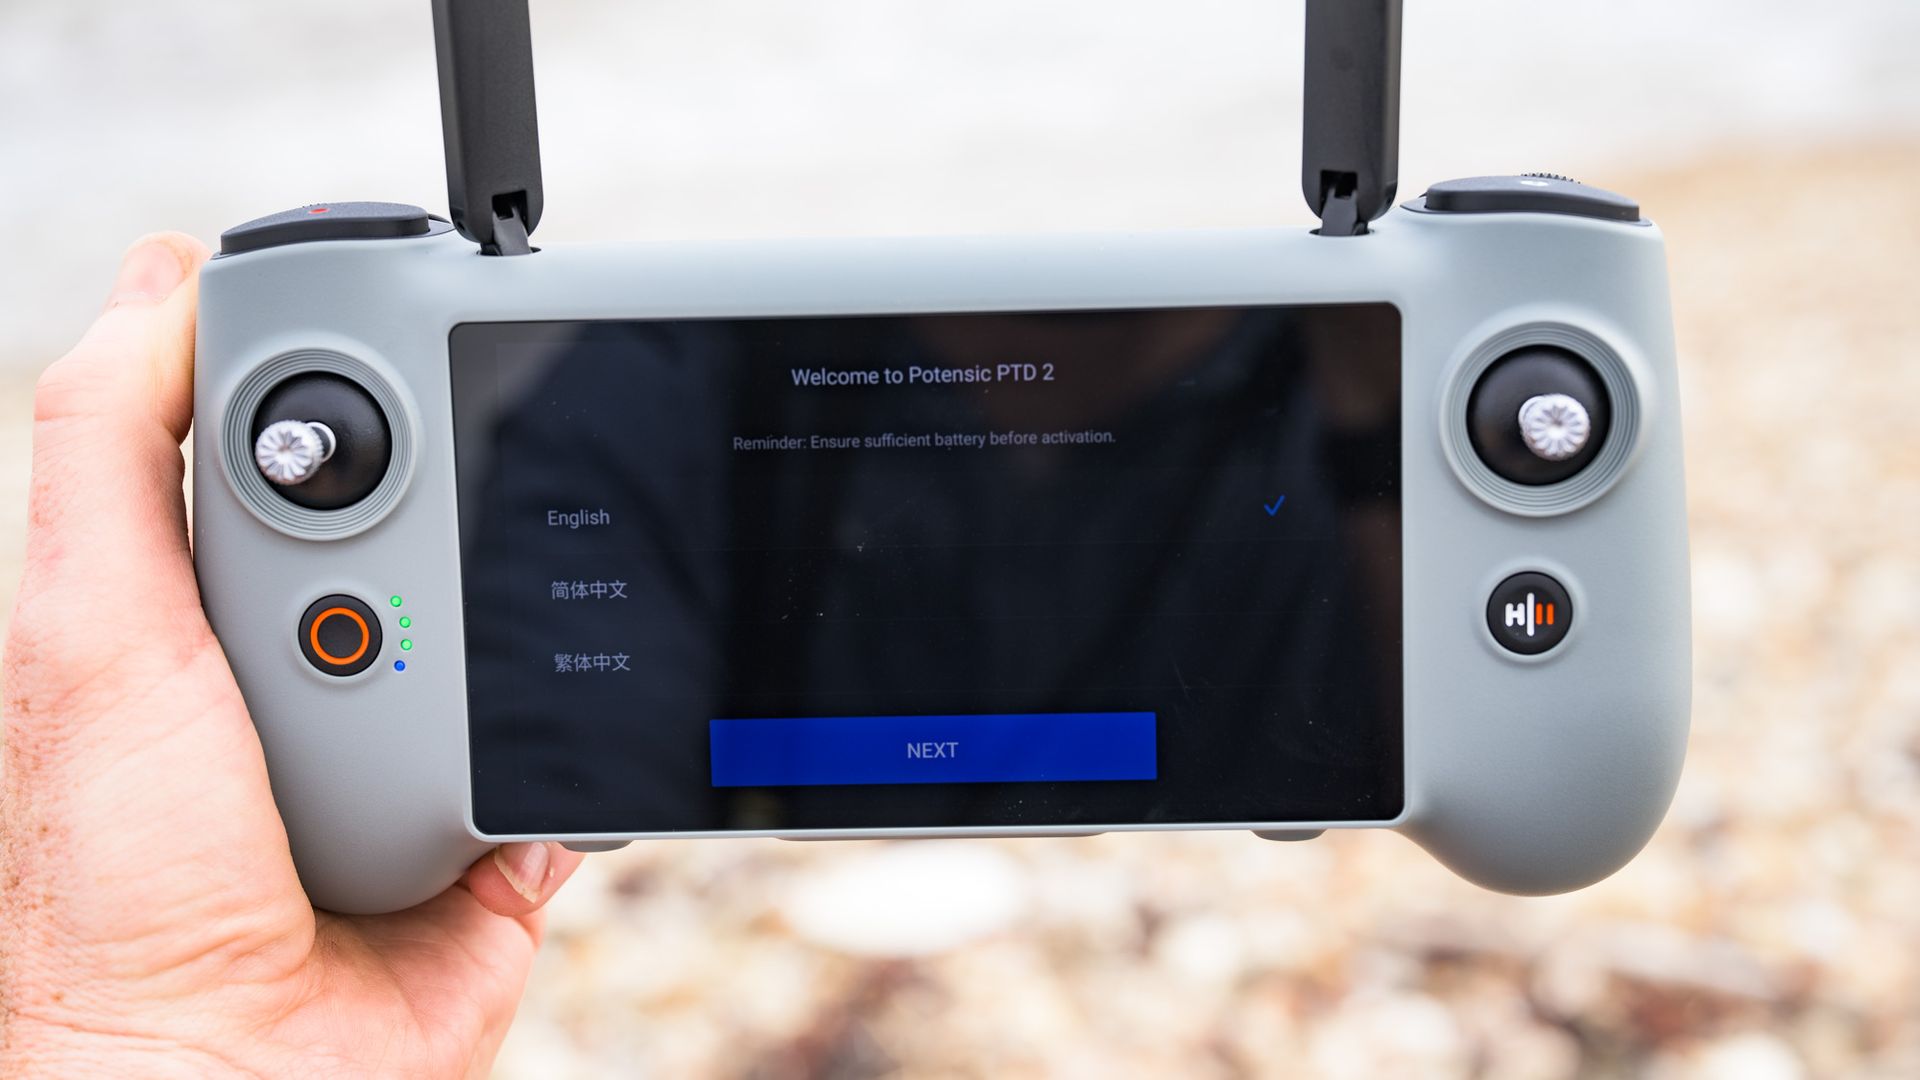
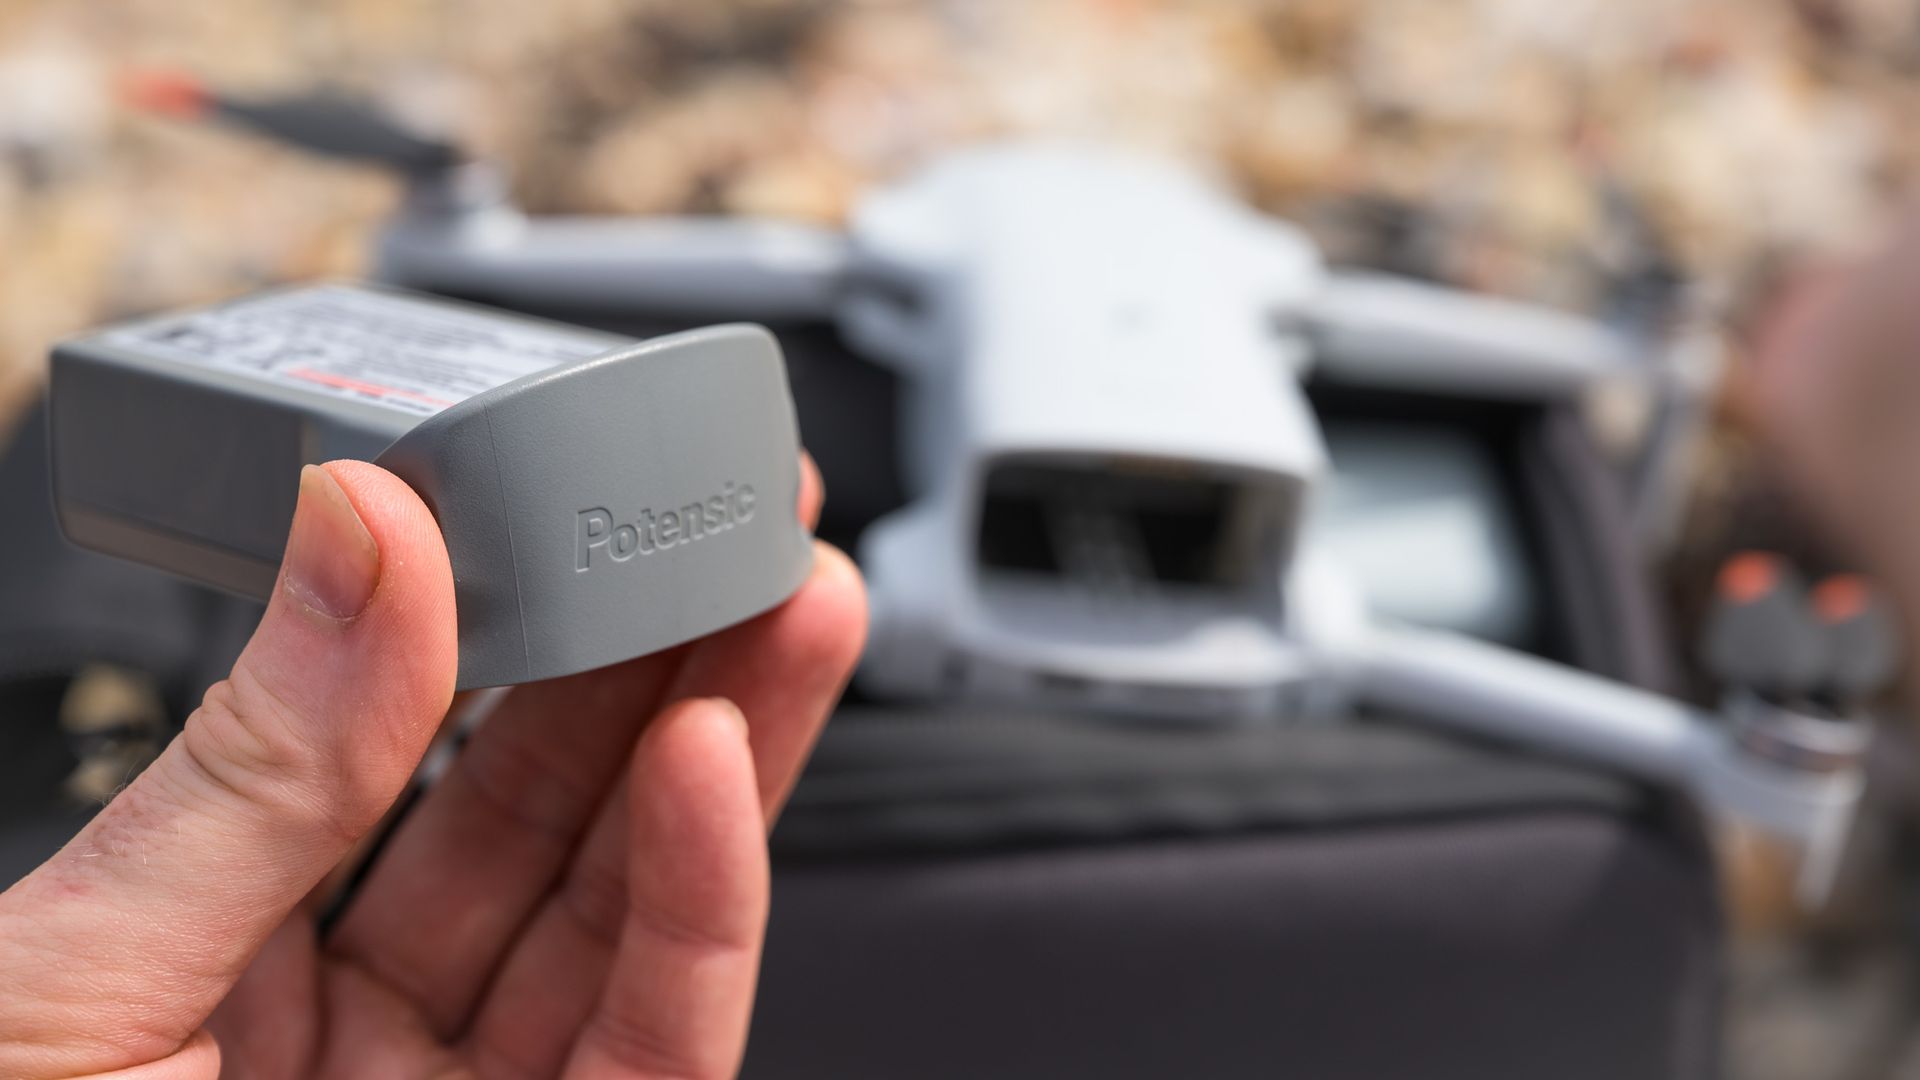
Potensic quotes a battery life of 40 minutes for the Atom 3, which is an improvement over the Atom 2, thanks to a 10% (approx) higher-capacity 2,590mAh unit, and on paper, this performance beats the comparable DJI; however, I didn't get close to this in real-world use.
The best battery performance I got during testing was more like 25 minutes on a calm day, while in windy coastal conditions I rarely, if ever, got more than 20 minutes. The drone's level 5 wind-resistance rating (19-24mph) seems fair, though — I used the Atom 3 in such conditions, and I found flight to be impressively stable and smooth, even if headwinds further drained the battery as I fought to bring the drone home when power was low.
When battery life drops to 10%, the drone automatically initiates landing (avoiding it simply dropping from the sky), so that's something to bear in mind, especially if you're flying over risky areas such as bodies of water.
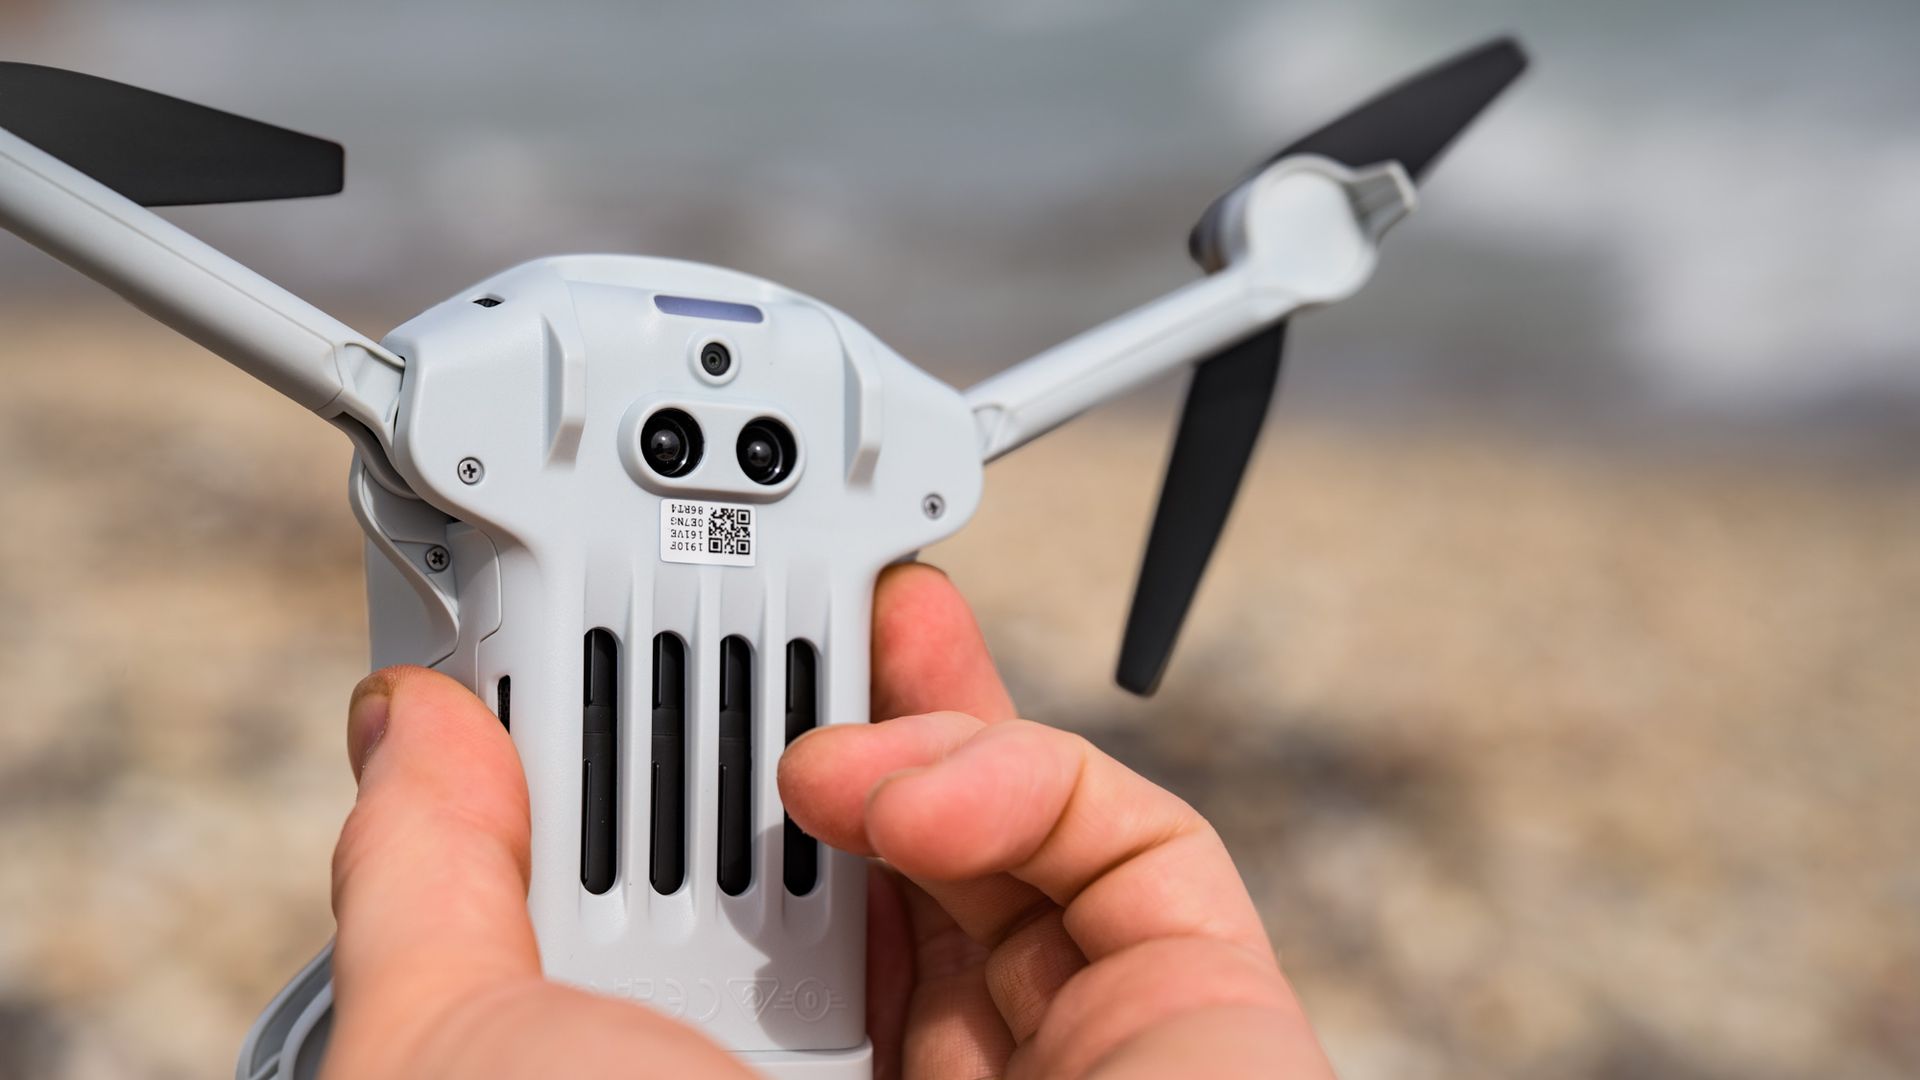
The Atom 3 has downward-facing sensors for takeoff and landing, with the useful Return to Home feature, but there are no front-, side- or rear-facing sensors, like you get with pricier drones equipped with omni-directional object sensing.
Six months ago I wouldn't have expected any more from a drone at this price point, but DJI has since brought object sensing to the much more affordable Lito X1. If Potensic is to go up a level, adding this incredibly useful feature is the logical next step for the Atom series.
Return to Home (RTH) worked flawlessly, with the drone automatically updating its position at takeoff — there's also an on-screen guide indicating where the RTH position is in relation to where the drone is in the air. It's possible to update the RTH position mid-flight, say if you move to a different location during flight and want it to land at your new location.
For regular flight, there are three speeds to choose from, with the Sport Mode being the quickest at 16m/s (horizontal), 5m/s ascent and 4m/s descent. It's not the quickest drone around, but it's zippy enough for beginner use.
I really did miss object sensing, given that I regularly fly in object-packed areas to capture dynamic footage, so I needed to be extra cautious about where I flew the drone. It is possible to get smooth and stable-looking footage, though, after much practice to get a feel for the controller's joysticks.
There's a good selection of DJI-style 'QuickShot' flight moves, which perform an automated move using a selected subject as the reference point. To do this, you drag a box over the subject using the controller's touchscreen (or your smartphone's screen if using the basic controller). There are seven automated moves in all, including pull-away, rocket and boomerang.
I was happy to see three tracking modes too: Follow, Parallel and Spotlight, each of which keep your subject in the center of the frame as they move. 'Follow' tracks your moving subject from behind (though remember there's no object sensing), while 'Parallel' does the same but from the side. 'Spotlight' simply keeps the subject central as they move around the frame.
The tracking modes are hamstrung by several frustrating limitations, while the omission of object sensing further limits where you can fly. For example, to initiate Follow, the angle of the camera needs to be pointed down a certain degree — in other words the drone needs to be quite high up.
For me, the most dynamic 'follow' footage would be from a lower angle. It's possible to override the limit in the app's menu, which requires checking the option to say that propellor guards are installed (whether in reality they are or are not). Even with the options selected to free up the drone for tracking from a lower altitude, I regularly found that the drone reset itself, reimposing the restriction.
I also found that the tracking functions gave up altogether in less-open areas, when the GNSS (GPS/ GLOSNASS / Galileo / BeiDou) signal was weak. One example was trying to get tracking video of myself biking in my local woods — the drone kept stopping just a second or so into sequences. I had no such issues in the same scenario when testing the DJI Mini 5 Pro (which also has omni-directional object sensing).
Those flight moves are great to have, but adding object sensing, and addressing the other limitations, would make them way more useful for dynamic footage.
Video and photo quality are an upgrade from the older Atom 2, with the Atom 3's camera using a larger 1/1.3-inch CMOS sensor that's comparable to those in the DJI Mini 4 Pro / Lito X1, rather than the Atom 2's 1/2-inch sensor. There's also a slight change to the lens — it's a wider 24mm f/2.8, where the Atom 2 uses a 26mm lens with brighter f/1.8 aperture, which somewhat counters the sensor-based advantage the Atom 3 has.
4K video recording up to 60fps can be done the easy way or the hands-on way, using the standard or detail-rich HDR profiles for ready-to-go footage, or the flat P-Log profile, which holds more detail in highlight and shadow areas, but which requires editing to taste later.
I tried all three profiles at 30fps and 60fps, and then took P-log footage to Adobe Premiere Pro for editing and compared the footage. There are incremental image quality gains when using P-Log, but on the whole I found myself happy with the quality of HDR footage, saving myself the editing hassle.
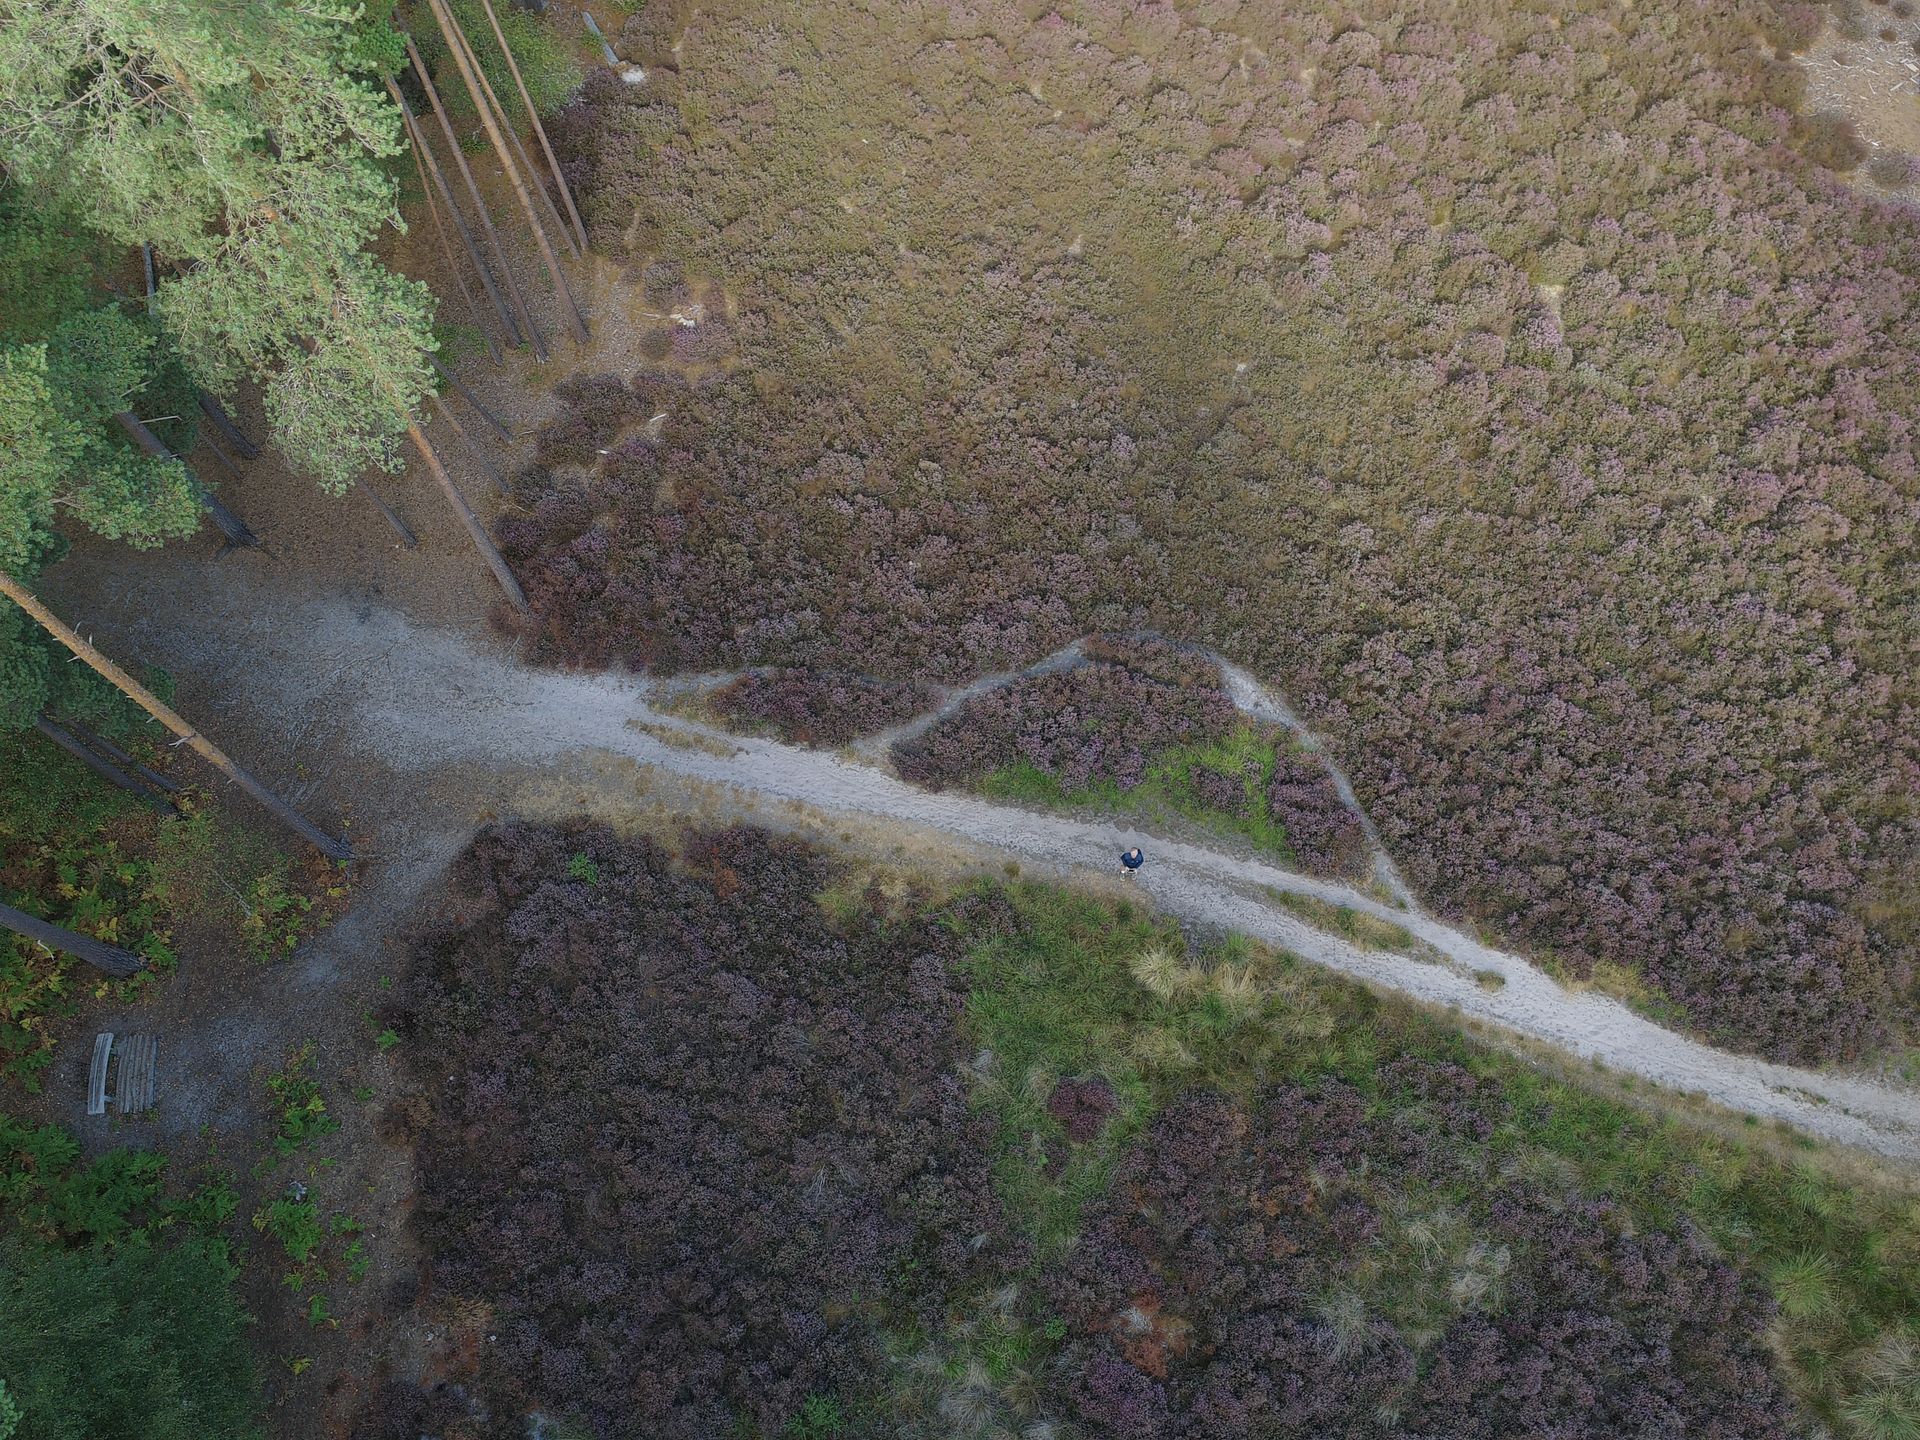
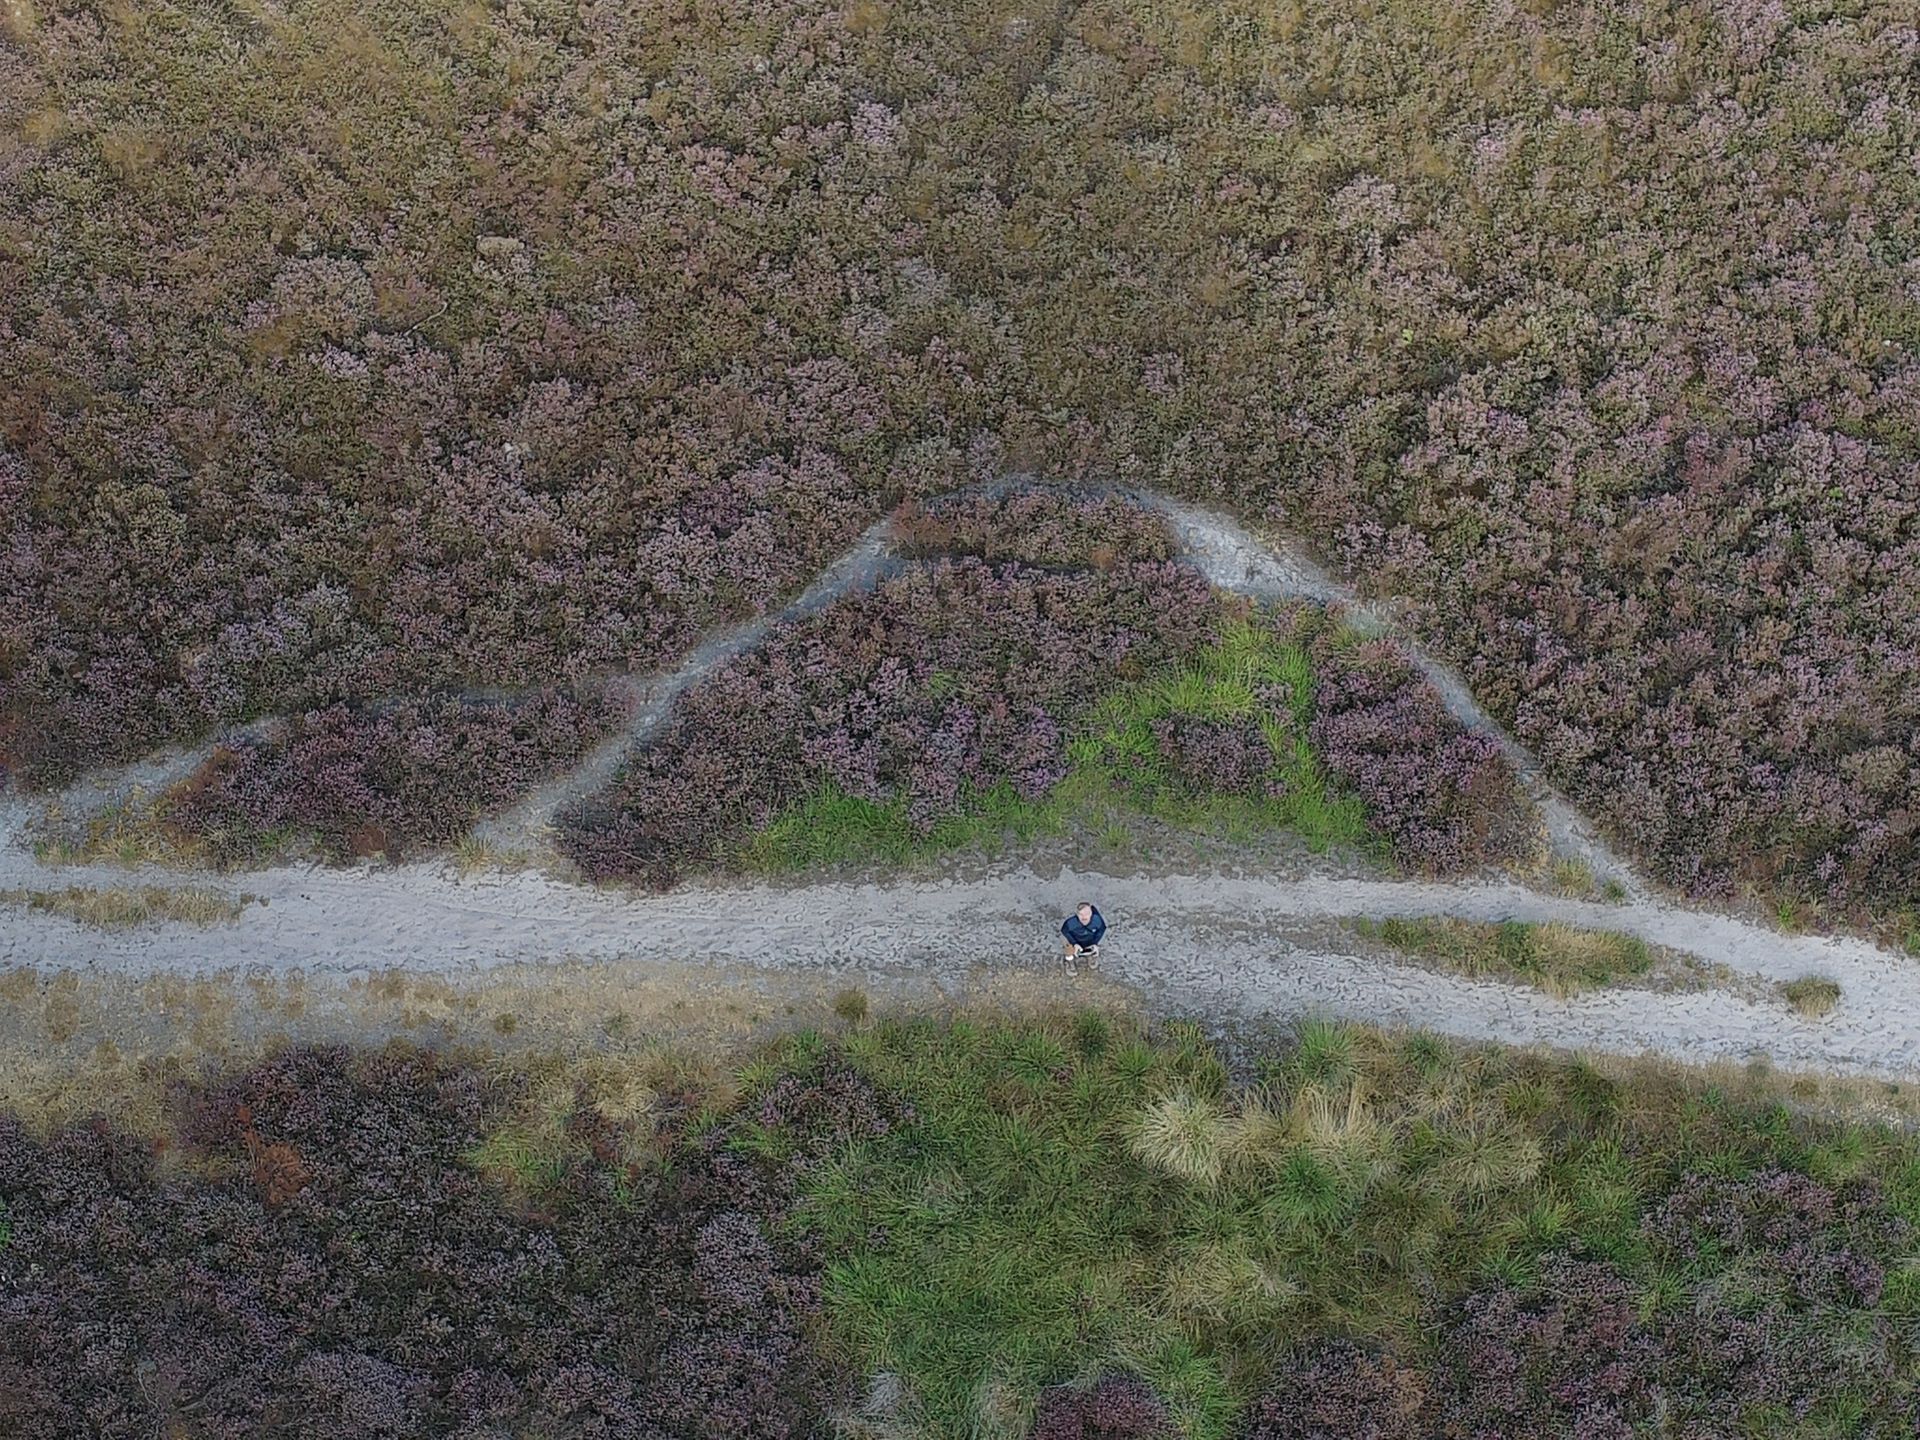
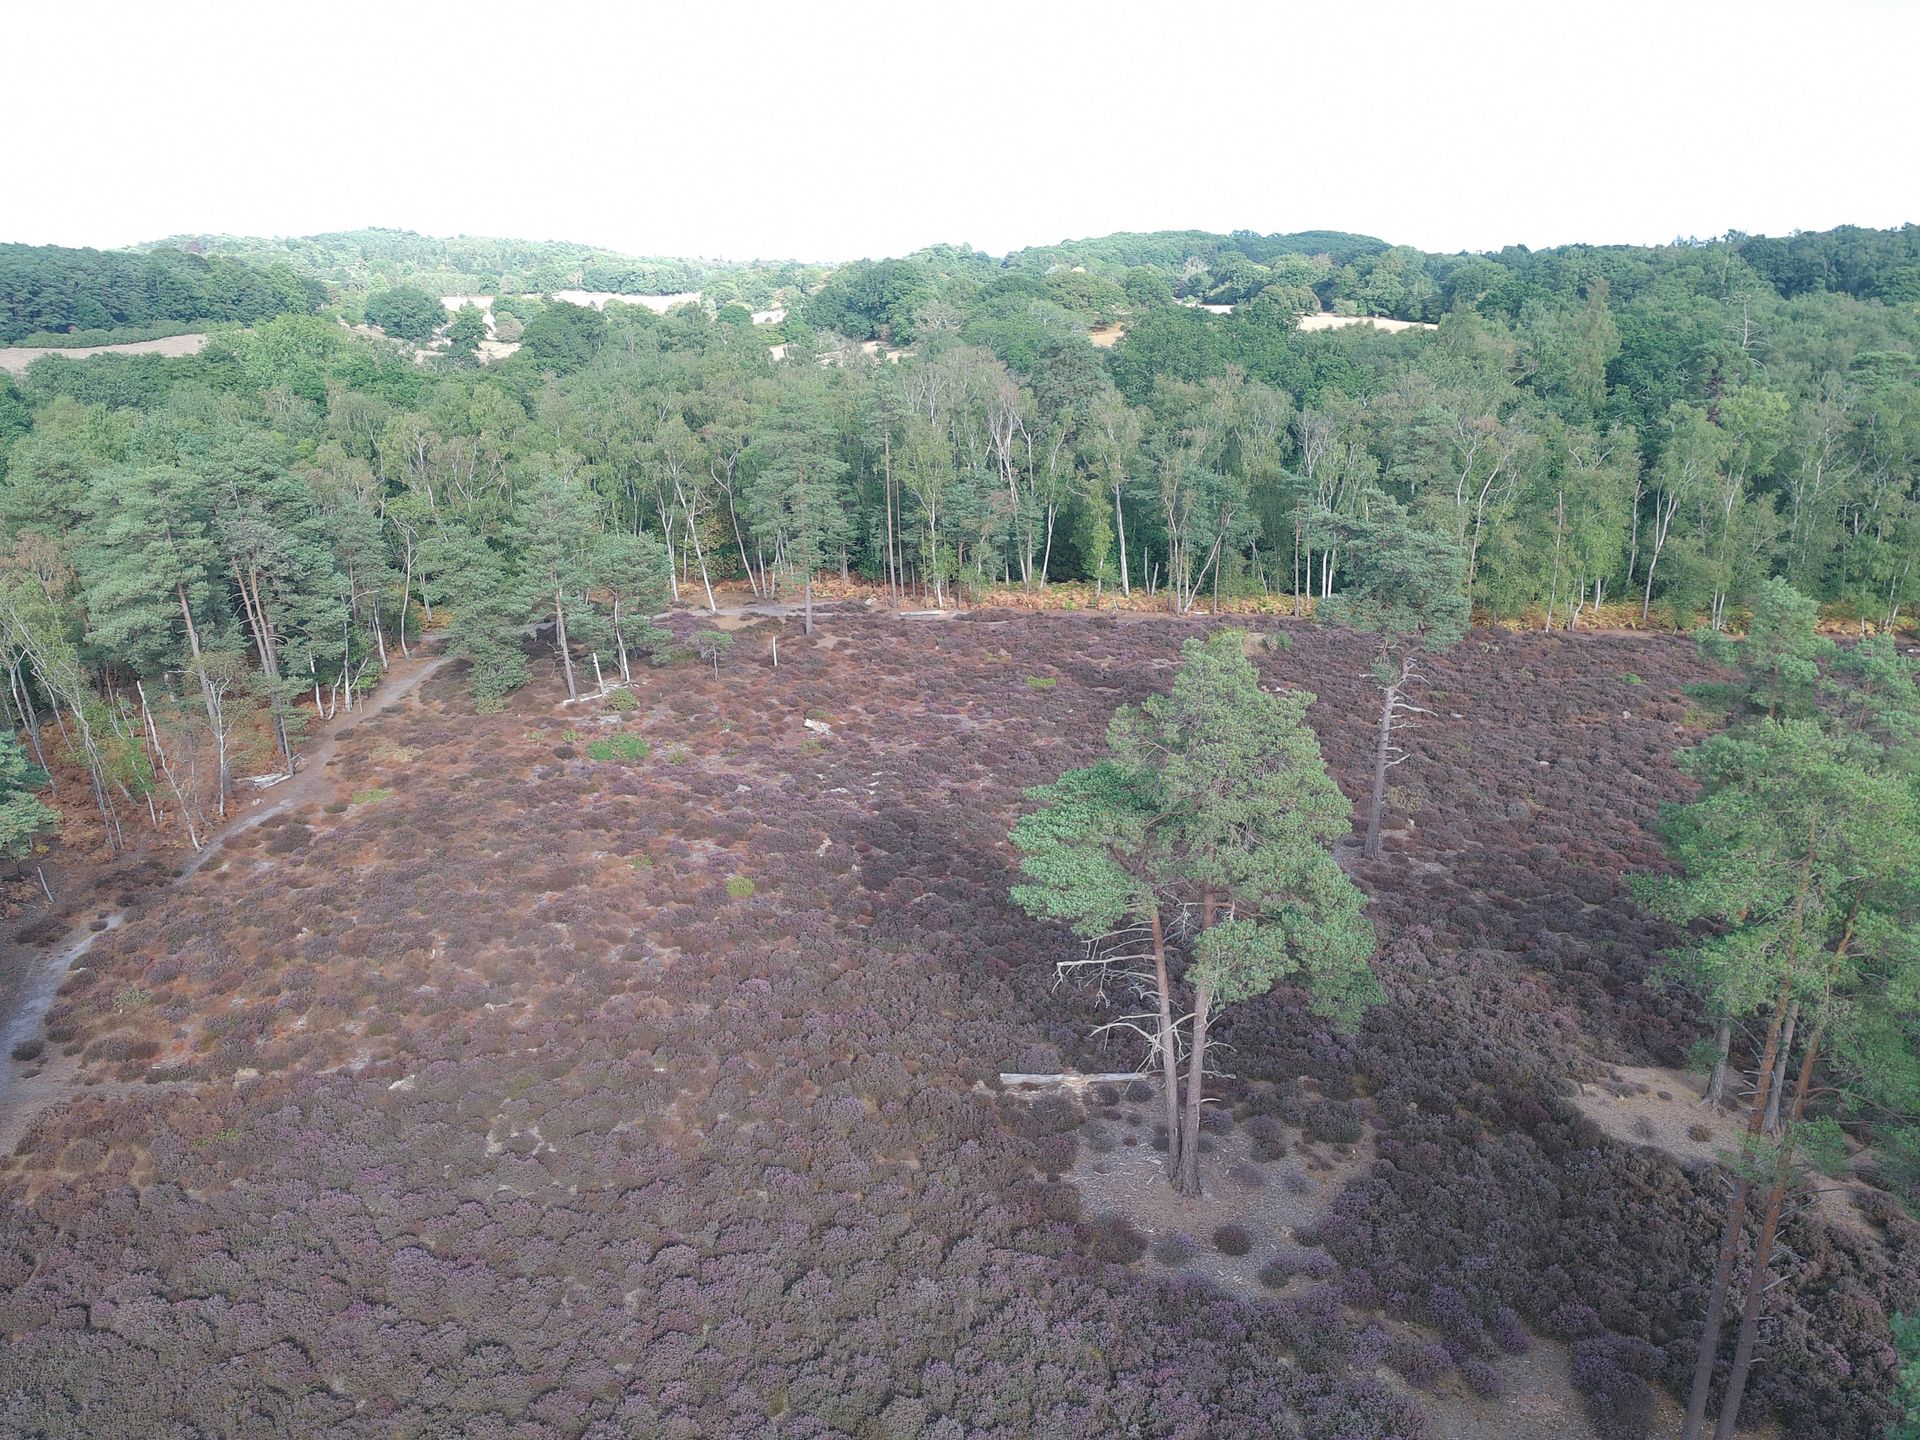
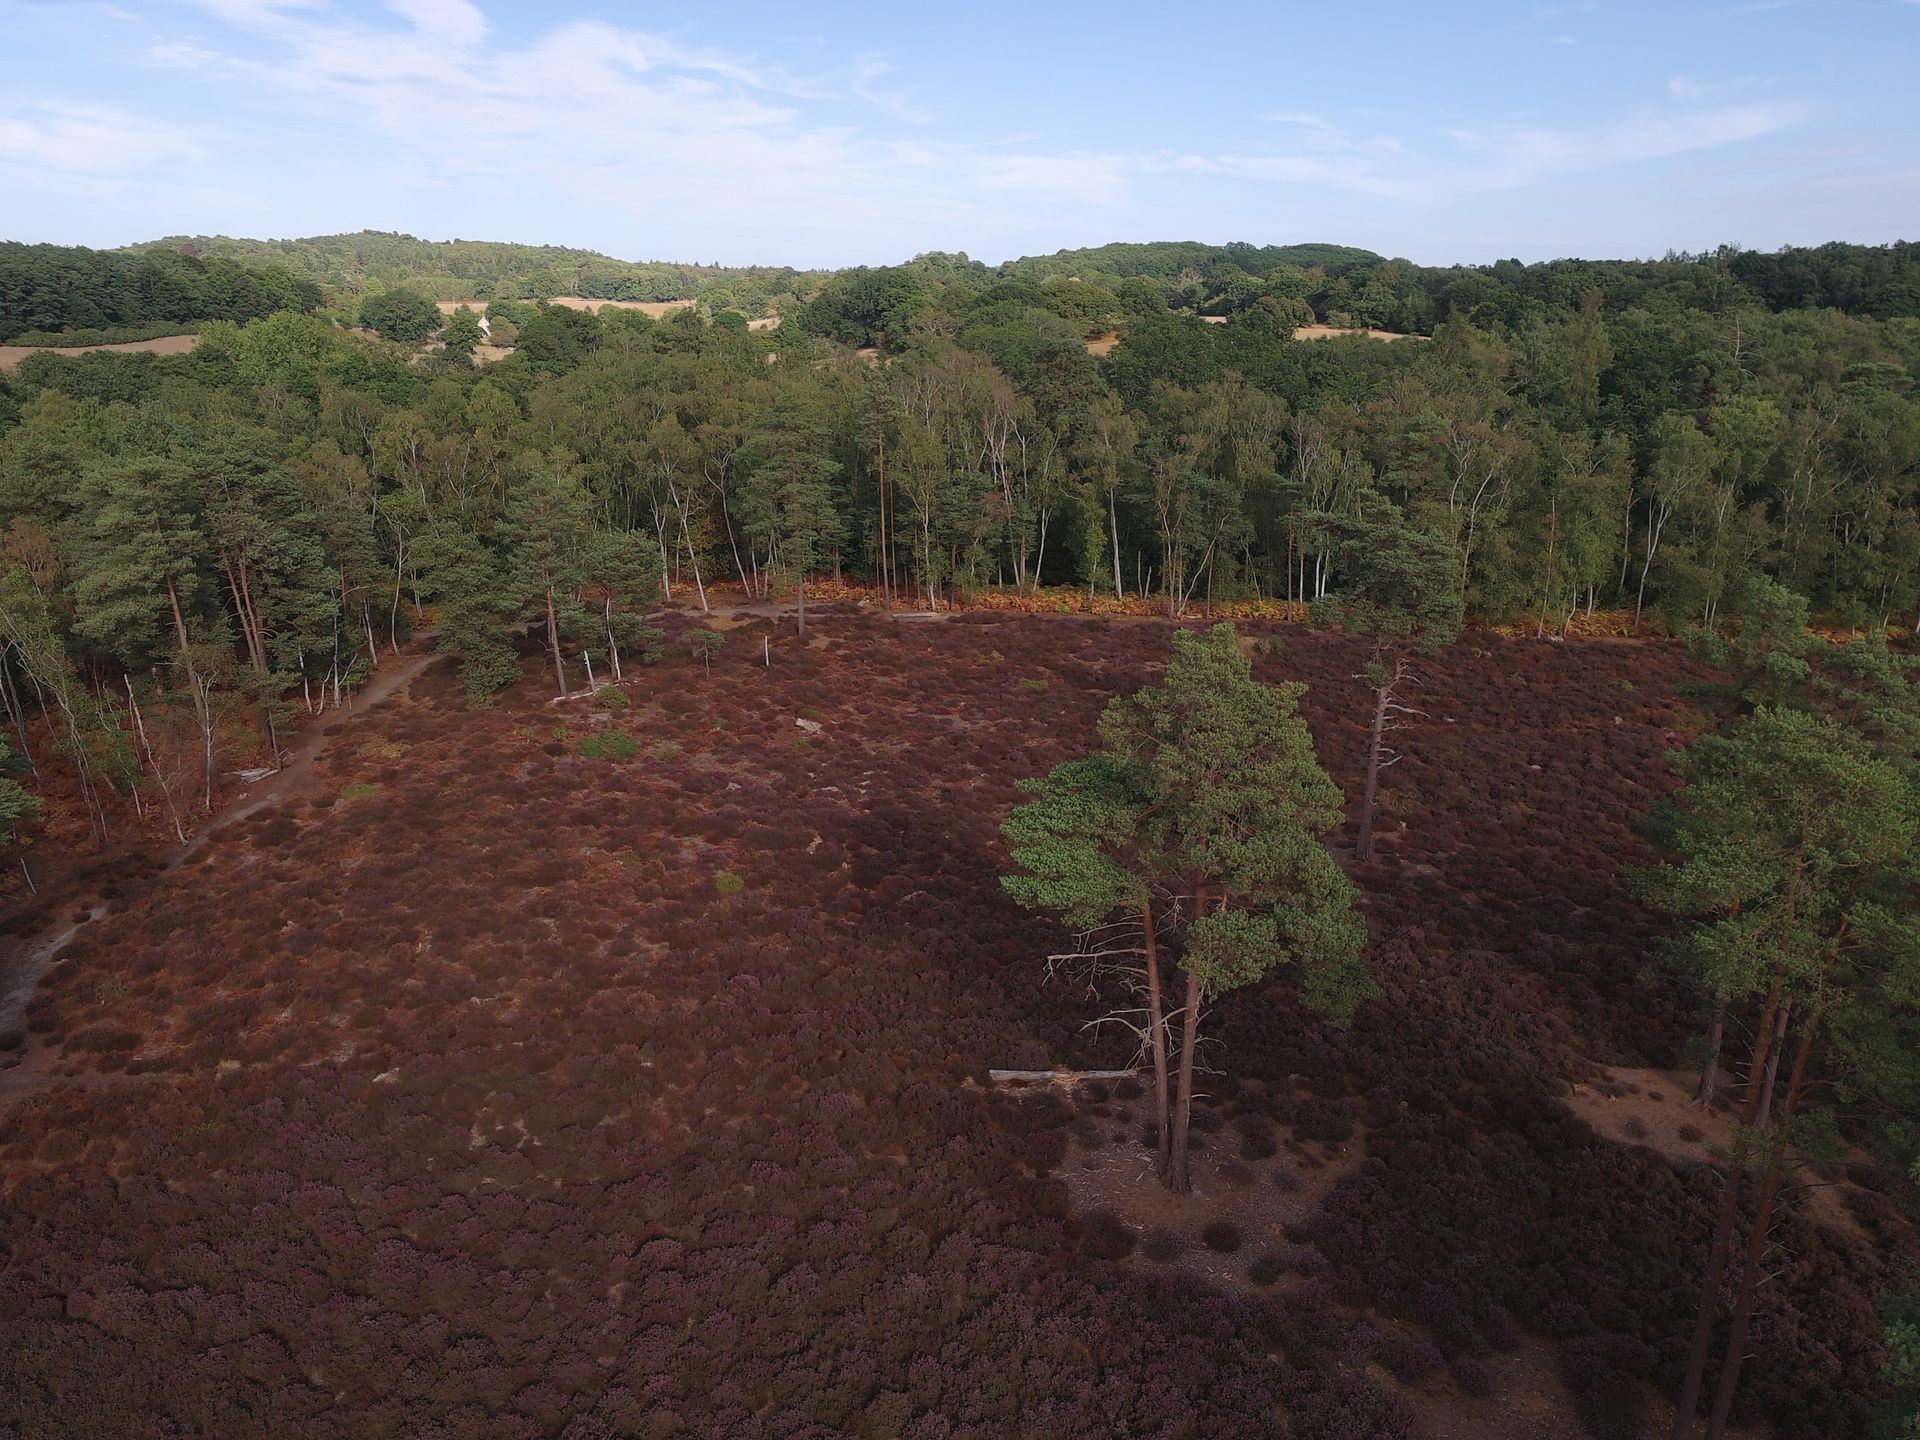



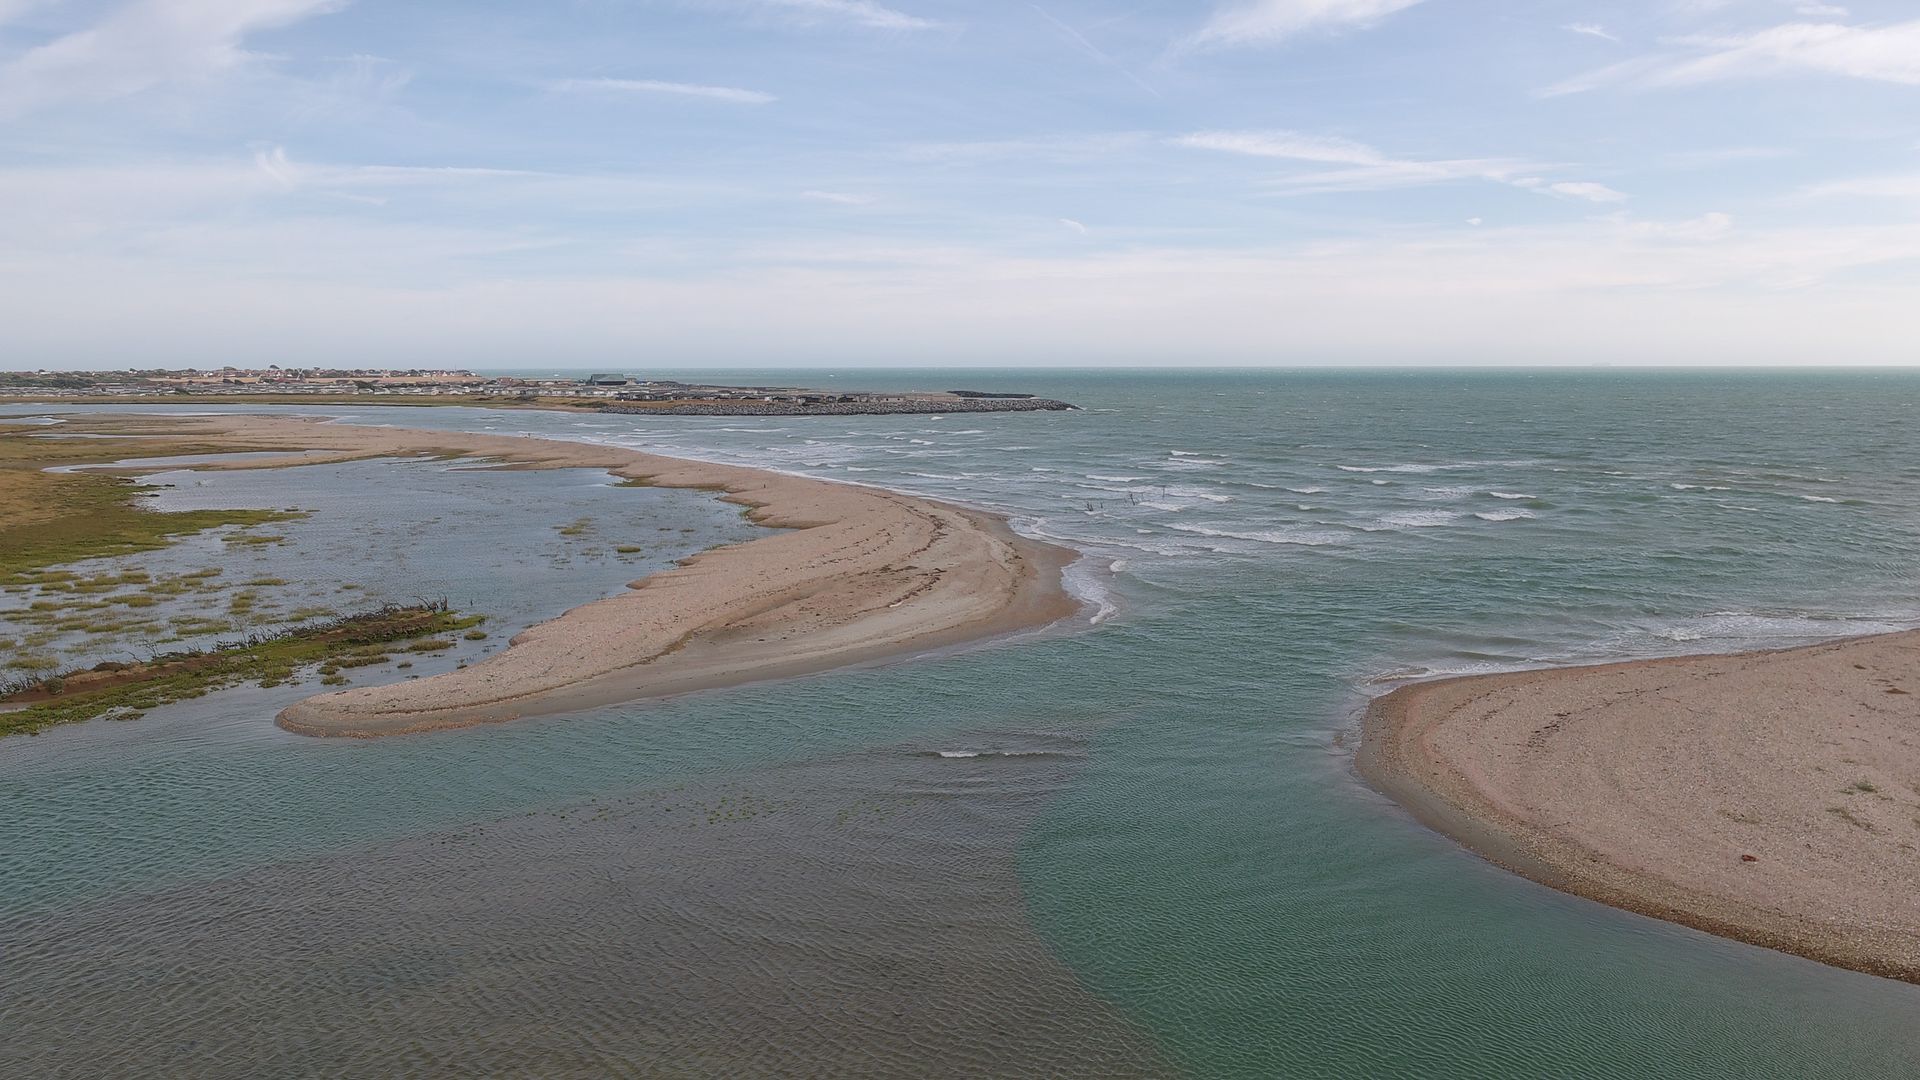
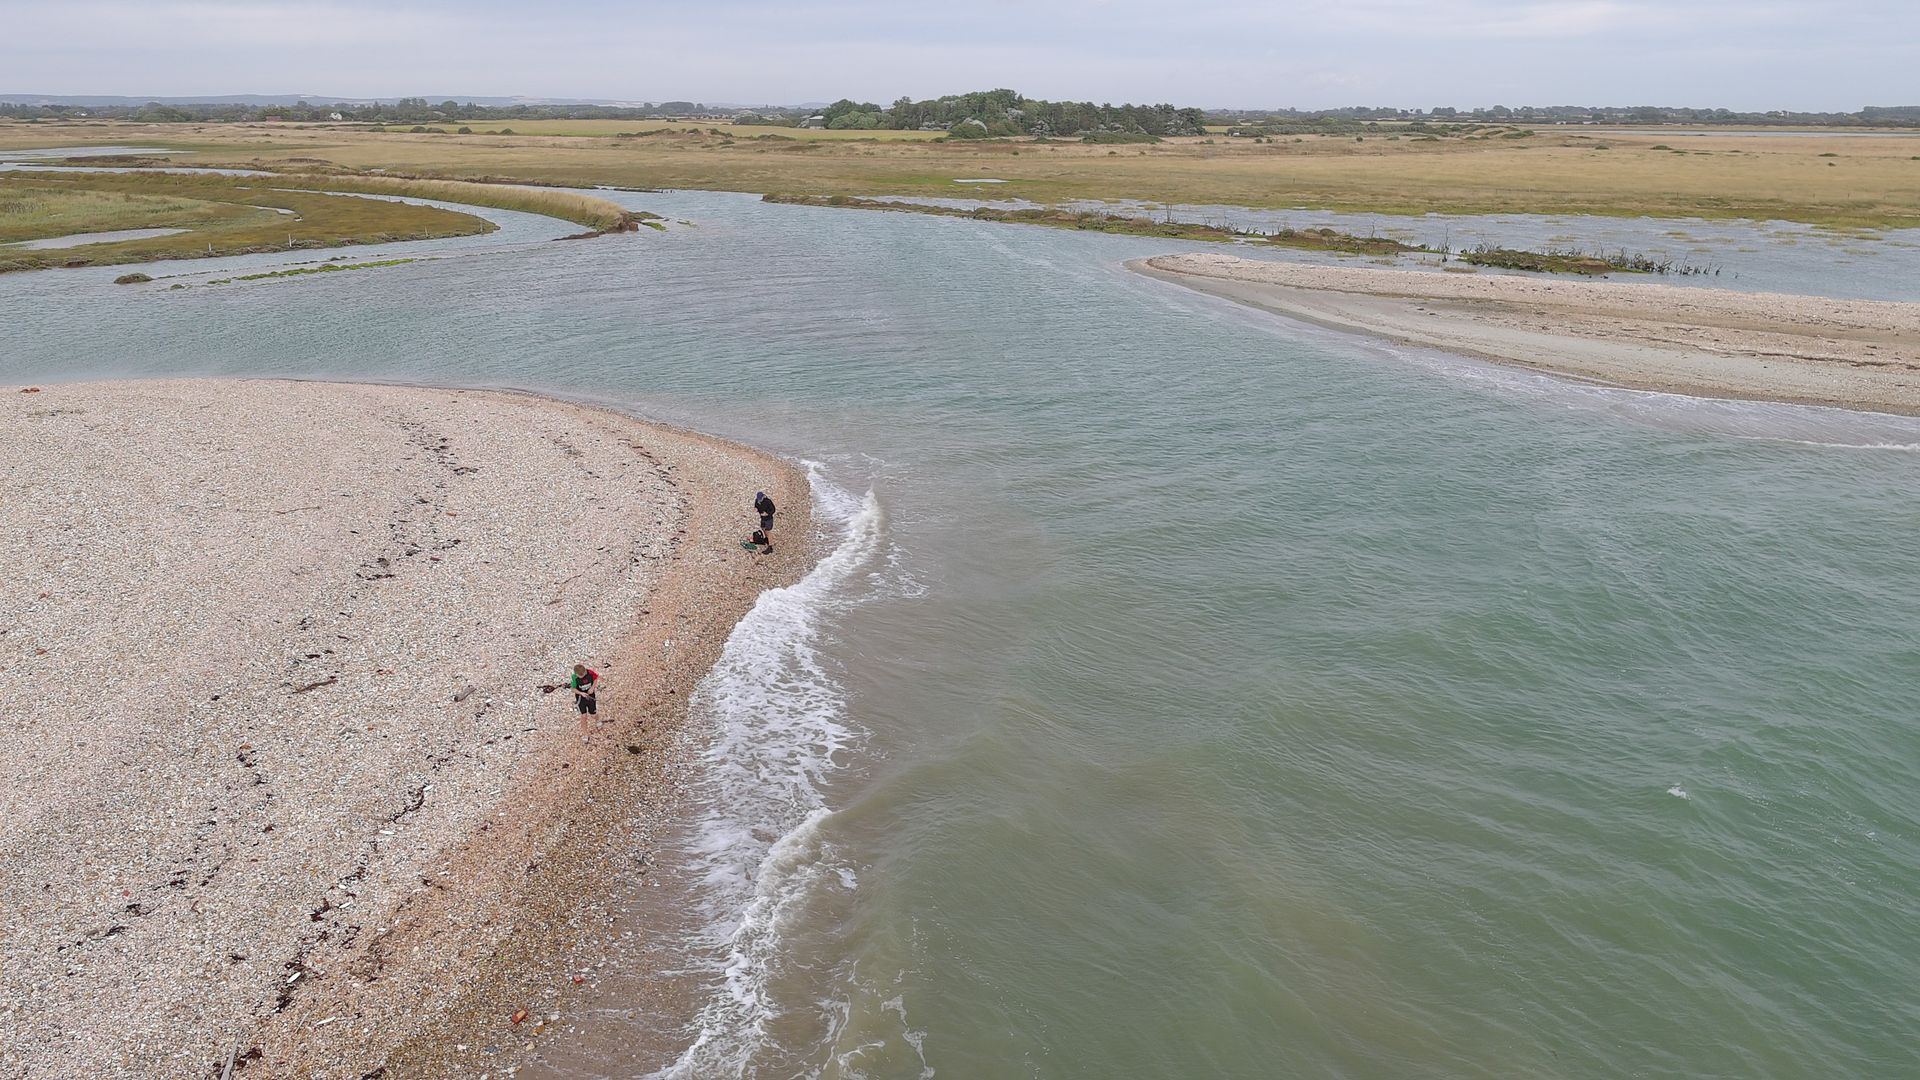
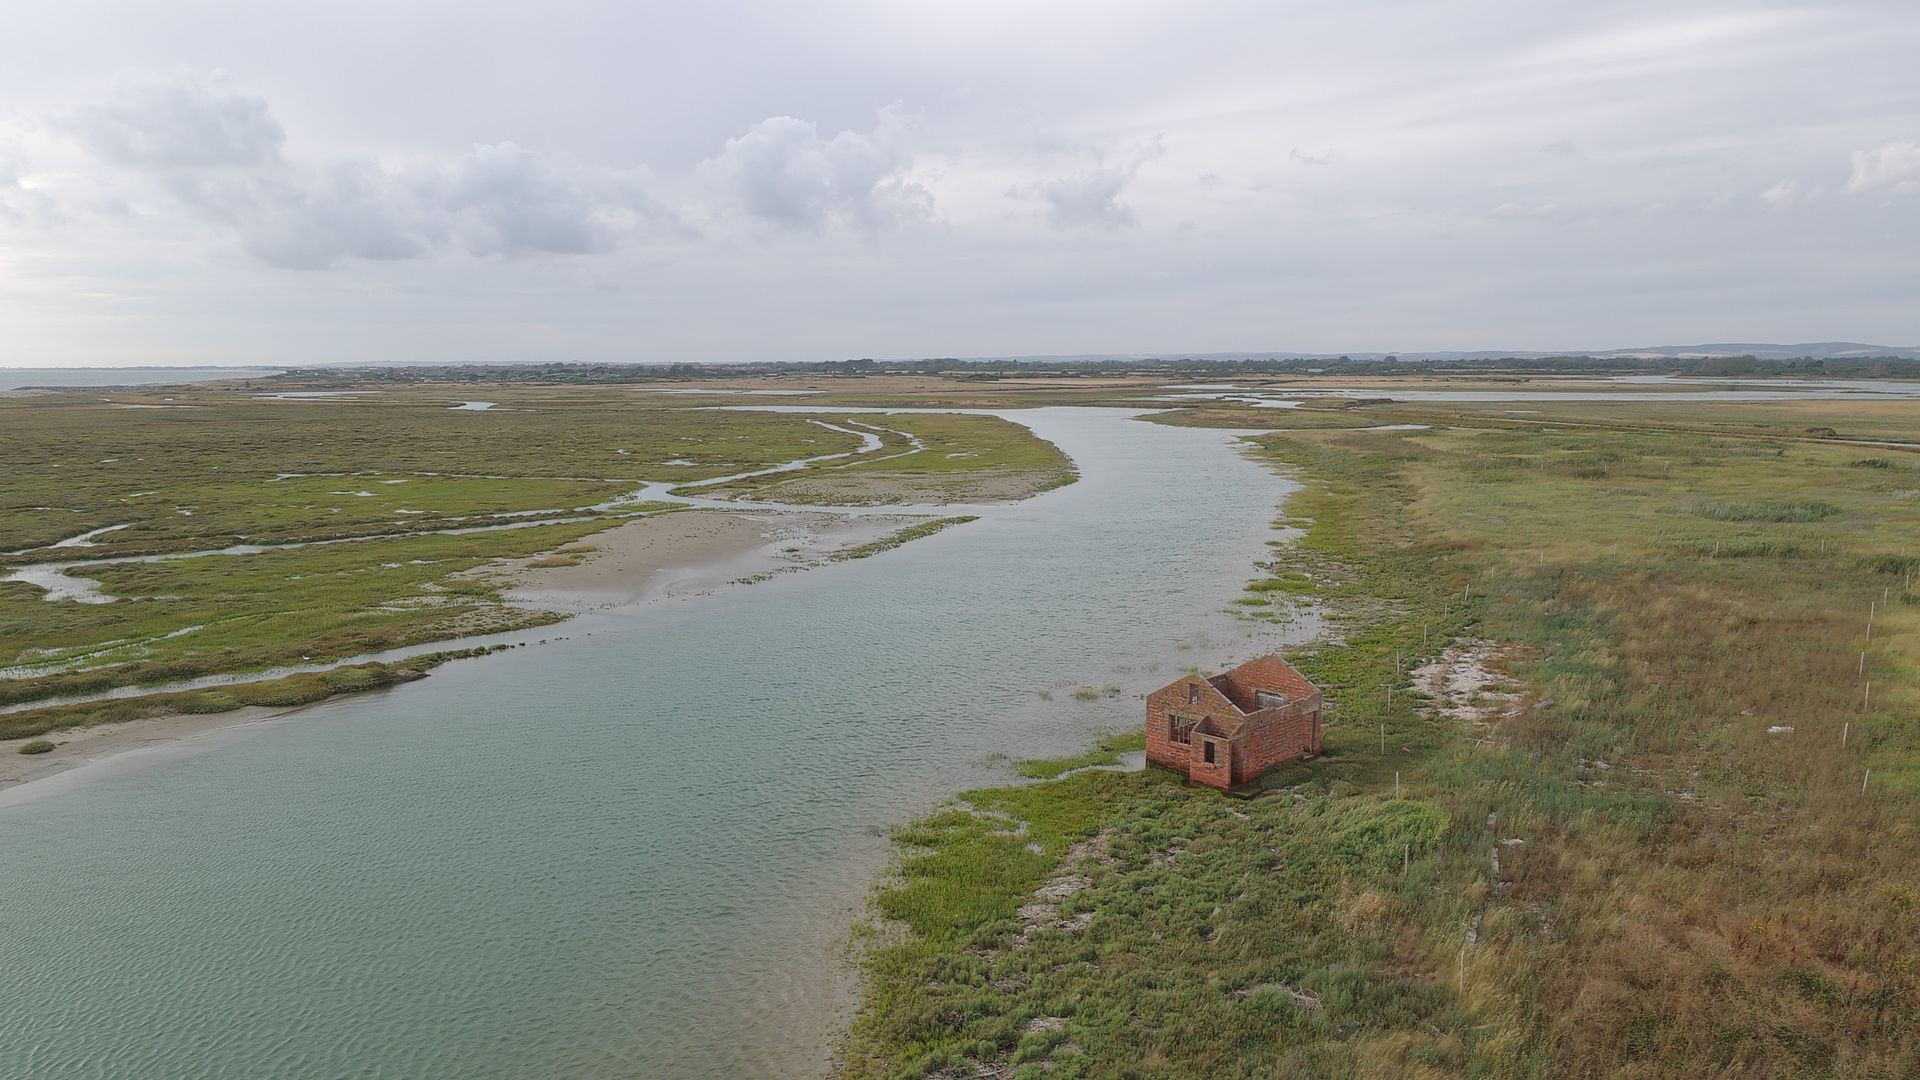
In addition to 4K video, there's slow-motion capture up to 7x, but only in 1080p HD resolution. Meanwhile, stills are reasonable: 12.5MP as standard, or 50MP in the '8K' mode, with JPEG and RAW formats available.
Where photo quality impresses is in how much tonal depth is retained, although images benefit from a little sharpening afterwards. Another option for further increasing shadow and highlight detail is the 'bracket' mode, which combines multiple photos at different brightness values into one with a wider range of tones, but the standard mode already does a good job.
Interval and burst shooting modes are also included, while a panorama mode combines multiple images into one ultra-wide perspective that covers 180 degrees, with the drone automatically capturing multiple frames one after the other.
I'd say image quality is just about on par with the DJI Lito X1 / Mini 4 Pro, and it's clearly a cut above the recent Ruko model.



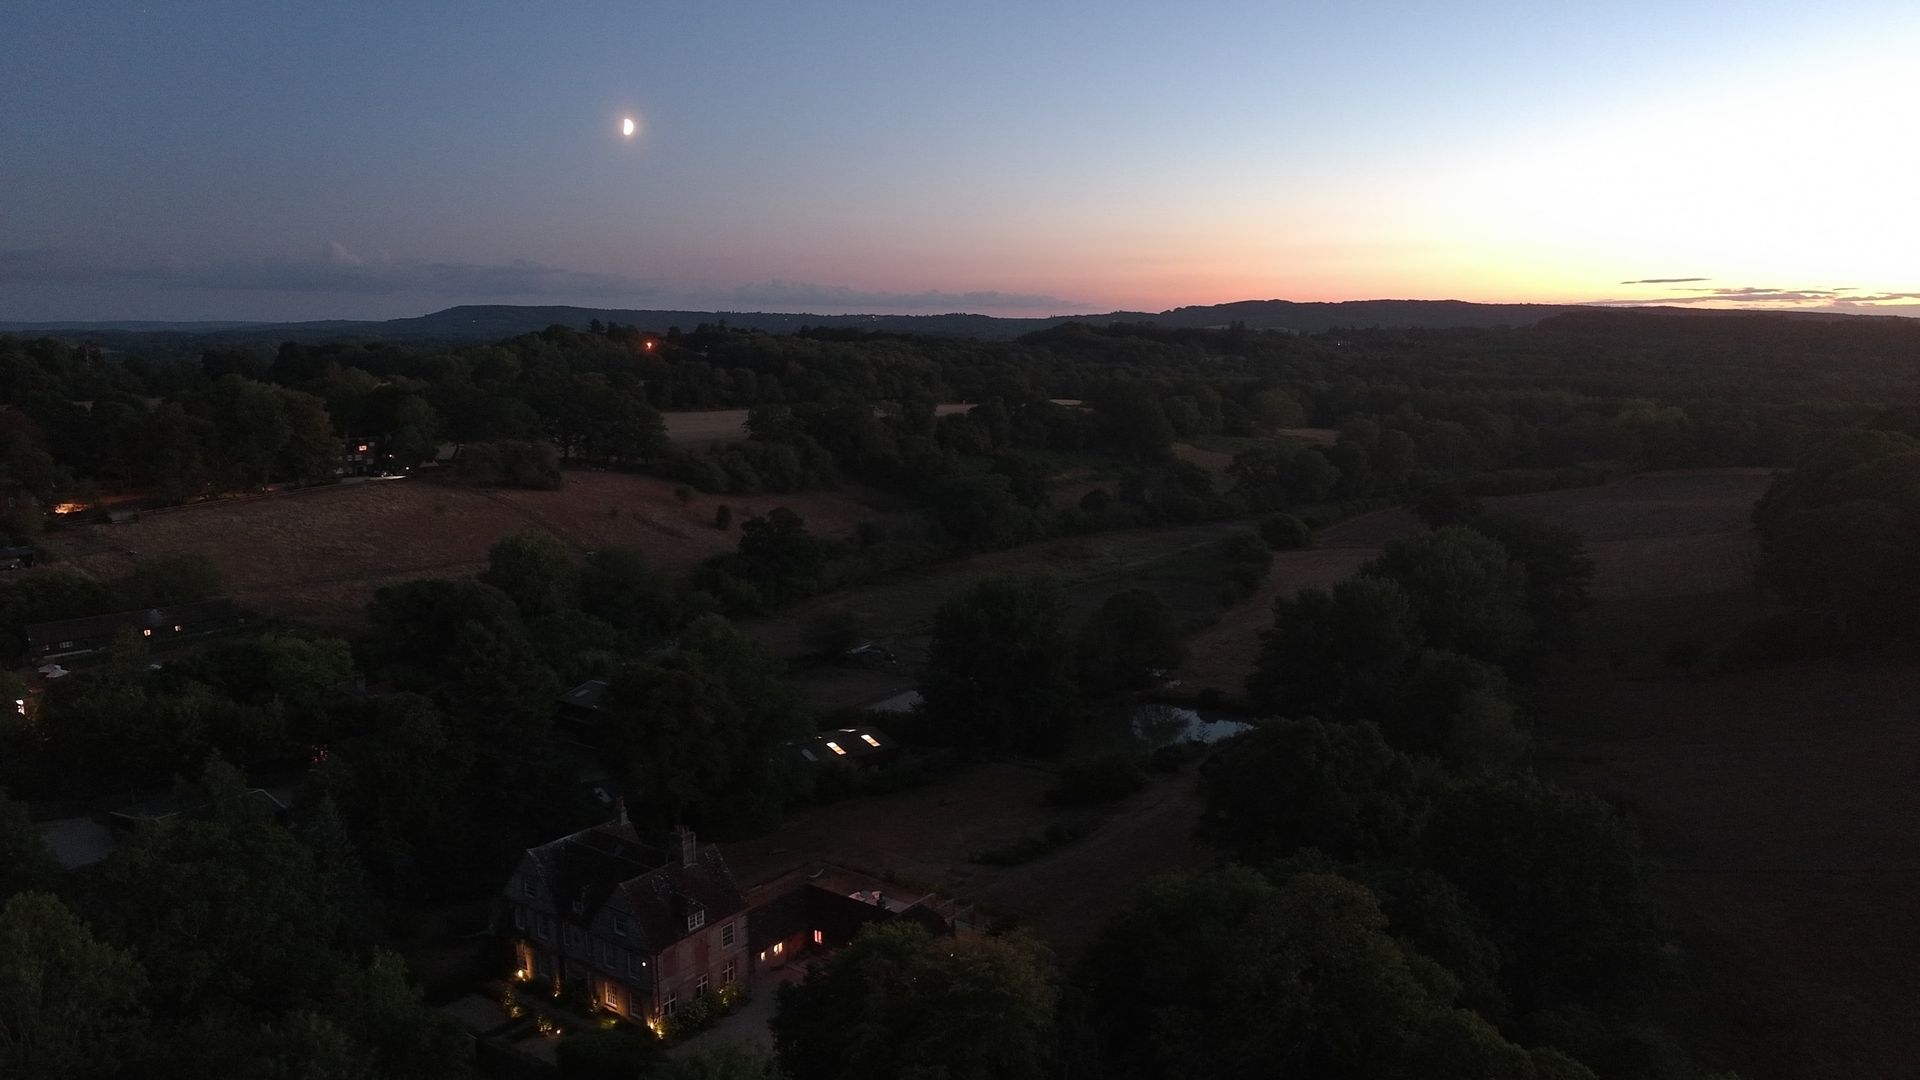
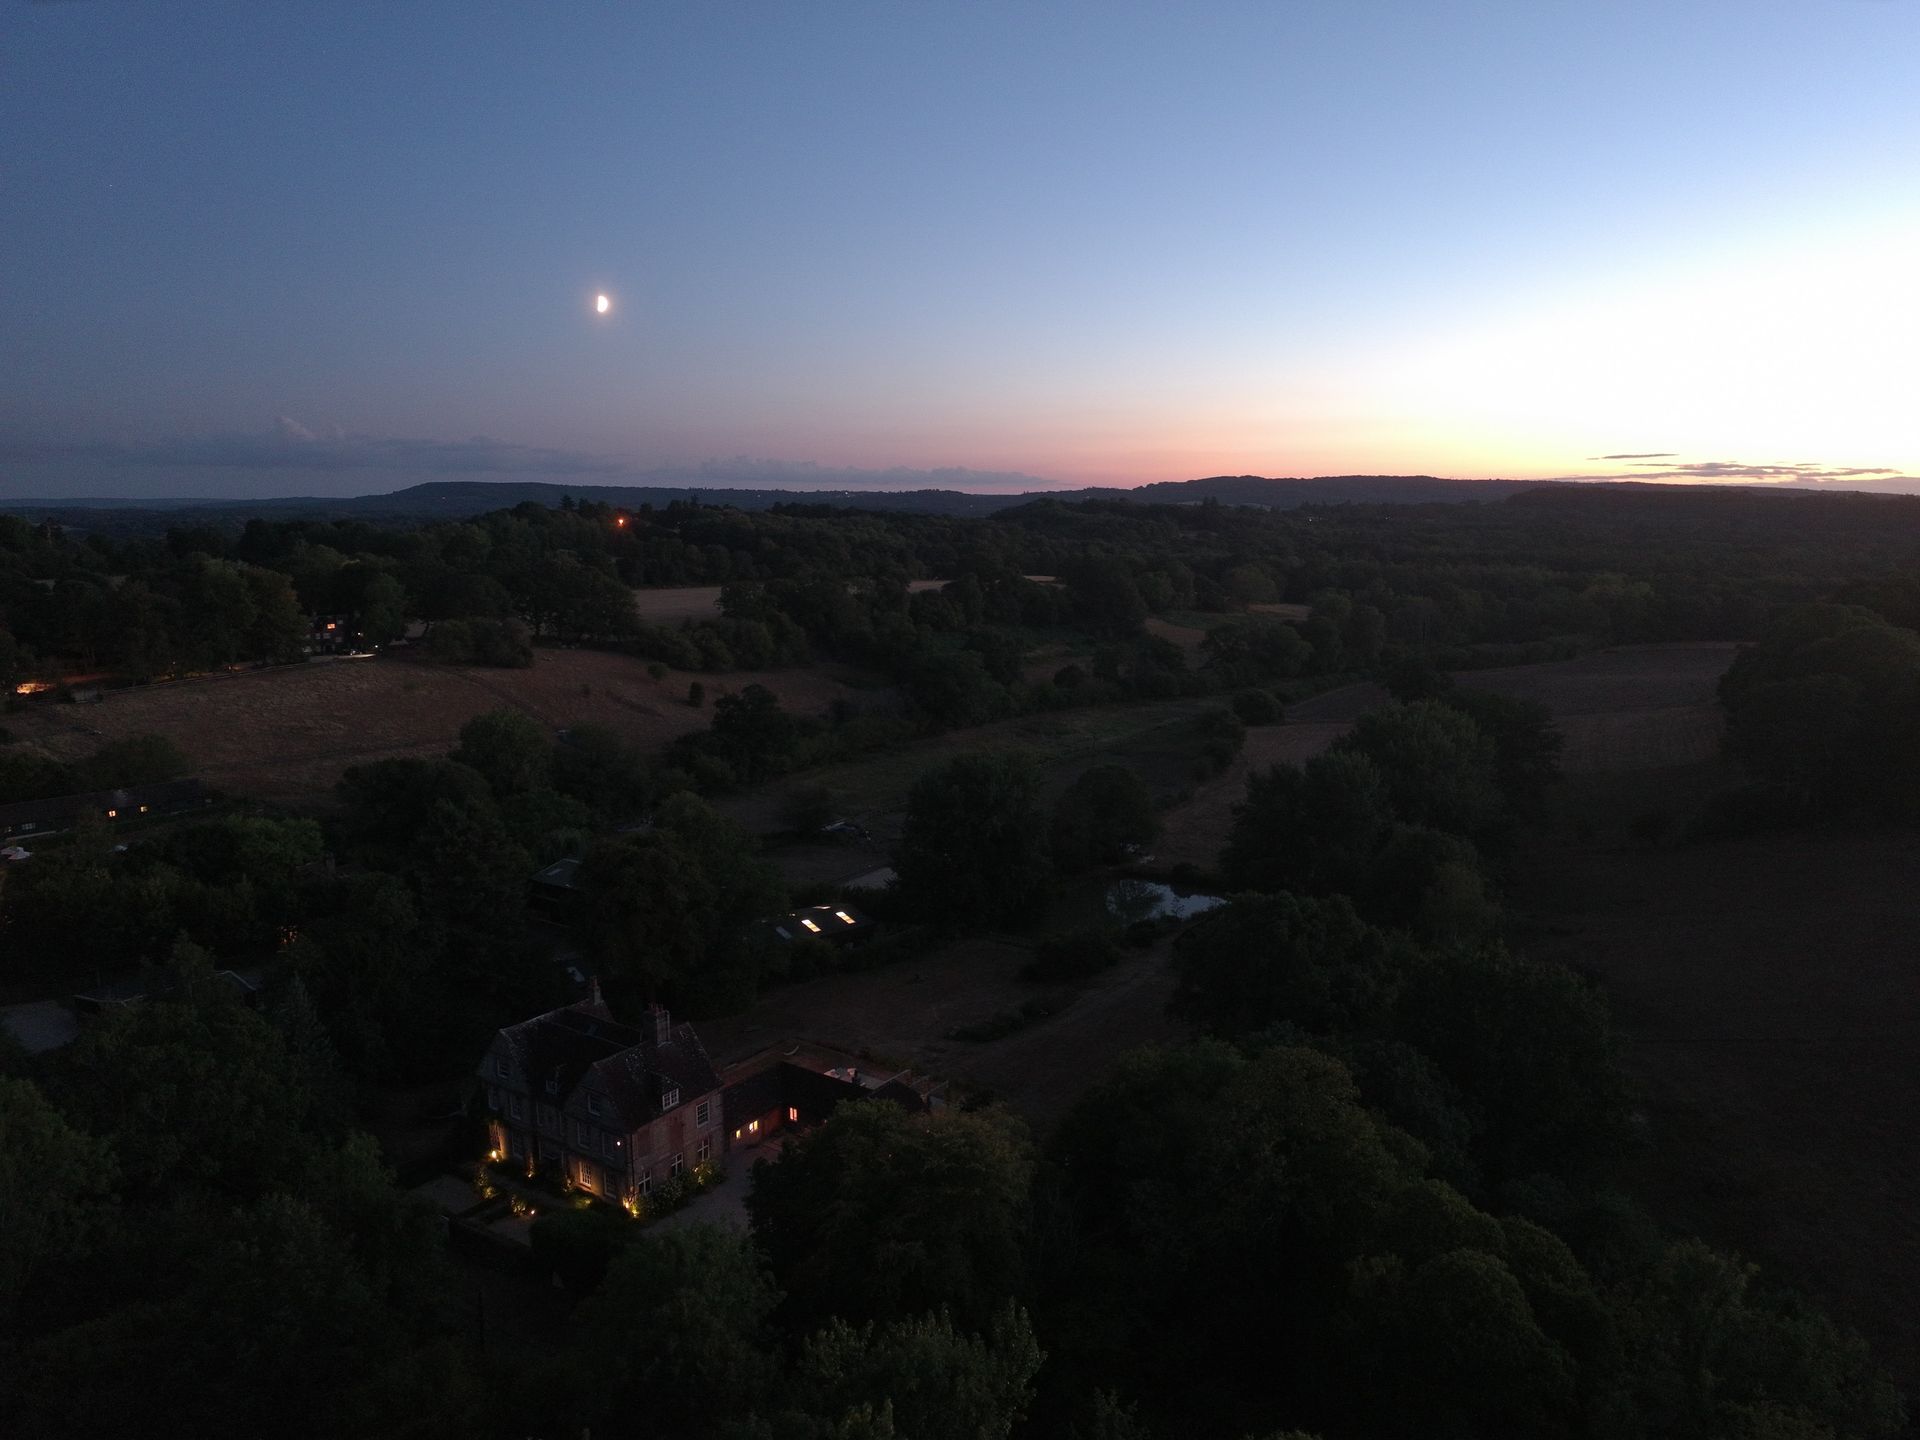
Attributes | Notes | Rating |
|---|---|---|
Price | Competitively priced, but matched by the overall better DJI Lito X1. | 4/5 |
Design | DJI-like build quality, immersive touchscreen controller (optional), no internal storage | 4.5/5 |
Features and flight | Stable flying, sticky controls, no obstacle avoidance, flight modes hit with limitations | 3.5/5 |
Image and video quality | Smooth video even in windy conditions, decent 4K video quality, punchy HDR setting, and detailed stills. Digital-only zoom, though | 4.5/5 |
You're a US buyer and beginner pilot
With the Lito 1 and Lito X1 unavailable in the US, the Potensic Atom 3 gives budget-conscious American buyers another option to weigh against older DJI models like the Mini 4K.
You want attractive footage straight out of camera, plus the option of flexible editing
Attractive standard and HDR footage looks great, with no editing required, while a flat P-Log profile better enables editors to get the look they like from footage with wide dynamic range.View Deal
You plan to fly in places with lots of hazards
The Atom 3 has no obstacle-avoidance safety features whatsoever, but the similarly priced Lito X1 does. Some of its flight modes, such as Follow, didn't work for me in obstruction-filled areas such as forests, either.
You want a super-cheap 4K drone
The Atom 3 is the best DJI alternative for beginners, but the Atom 2 remains a decent buy for less, if you can live without the latest model's upgrades.
You want precise joystick control
Even the pricier RC PTD 2 controller by Potensic lacks the finesse I've experienced with DJI's alternative controller, making cinematic movements a challenge. View Deal
DJI Lito X1
DJI's Lito X1 is not available in the US, but for other regions it's the better pick over the Atom 3, for a similar price. Video and photo specs are similar, but the X1's flight modes are more polished and flight features are superior, including obstacle avoidance, which is lacking in the Atom 3. DJI has really made it tough for others to compete with the X1.
Read our in-depth DJI Lito X1 review
Potensic Atom 2
The Atom 3 is a solid upgrade over the Atom 2, with a larger sensor, high video frame-rates and 10-bit color depth with P-Log color profile. However, the Atom 2 offers a similar flying experience, and costs less.
Read our in-depth Potensic Atom 2 review
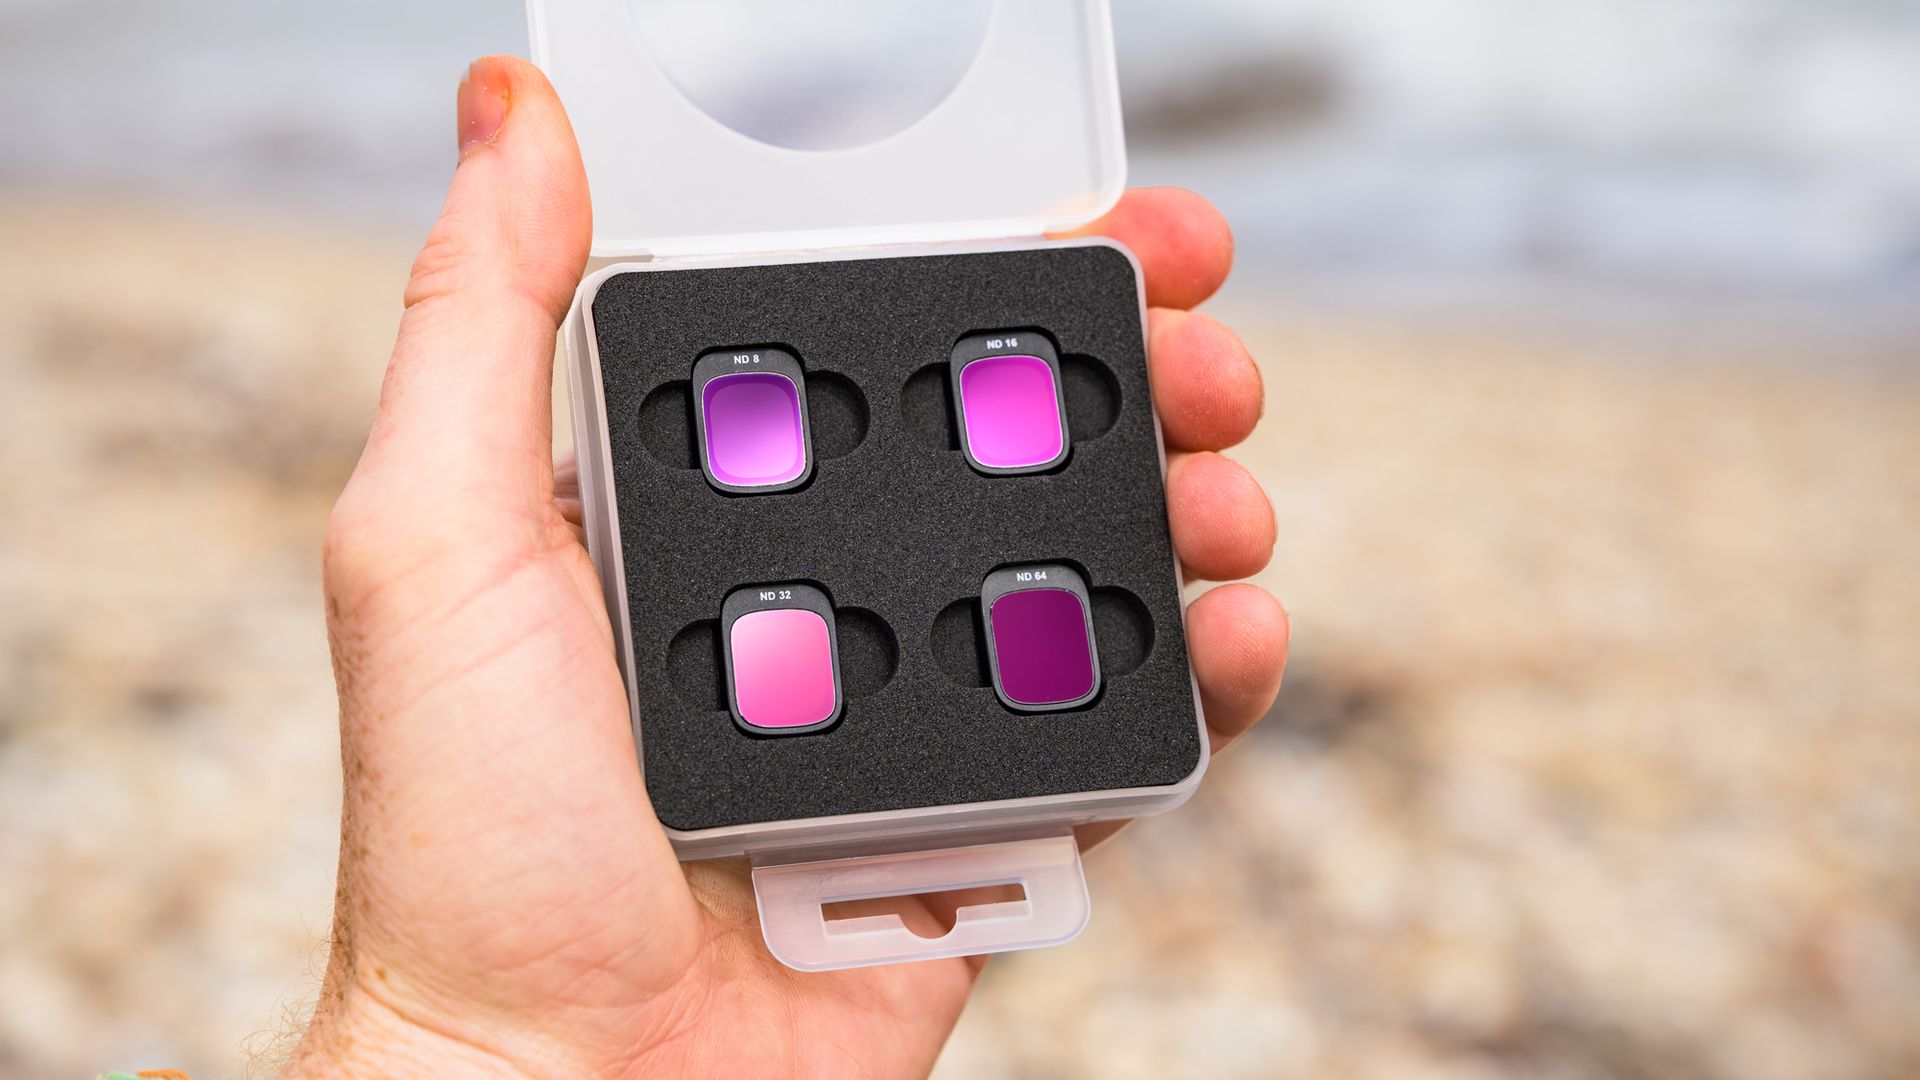
Potensic sent me the Atom 3 Fly More Combo kit with the RC PTD 2 touchscreen controller. The kit included the drone, battery hub with three batteries, controller, ND filter pack, spare propellors and a USB-C to USB-C charging cable.
I conducted multiple flights in daylight and in low light at dawn / dusk, and in both calm and particularly windy coastal conditions. I tried the various flight settings and modes, and regularly ran the three batteries down, making notes of real flight times and flight stability.
I took the same video sequences in the various color modes; standard, HDR and P-Log, and at 30fps, 60fps and 6x slow motion, and compared the 4K footage. I also tried the various photo modes, including RAW & JPEG capture, panorama and 8K (48MP) modes. I edited photos in Adobe Camera Raw and videos in Premiere Pro.
By: Mathieu Stern
►You can find all the free models i speak about here :
Photo background : https://www.thingiverse.com/thing:101…
Sony rear Lens cap : https://www.thingiverse.com/thing:753741
Front cap : https://www.thingiverse.com/thing:110870
mountain sd card holder : https://www.thingiverse.com/thing:149…
Framing spiral : http://www.thingiverse.com/thing:1358472
Screw mount : https://www.thingiverse.com/thing:578514
Fujian lens hood : https://www.thingiverse.com/thing:258…
Lens cap holder : https://www.thingiverse.com/thing:276…
Kiev 10-15 adapter for Helios 60 : http://www.thingiverse.com/thing:1464062
Lithophane : http://3dp.rocks/lithophane/
►Learn more about the cheap Cetus 3D printer :
https://www.cetus3d.com
By: Darren Miles
http://www.DarrenMiles.com – Southwest Florida – Bonita Springs based, Family, Portrait, Wedding and Real Estate Photographer.
Links to the websites mentioned here:
Google News
Google News